The Apple Watch Series 5 looked similar to the Series 4, but had an “Always-On” Retina display “that never sleeps,” a faster processor, and more storage. The GPS model required an iPhone tether to use the phone features (higher-end models had built-in wireless cellular). This watch added international emergency calling that allowed calling “emergency services directly from Apple Watch in over 150 countries, even without iPhone nearby.”
Like all previous Apple Watch models, the Apple Watch Series 5 uses a Digital Crown and a touch display. The screen is OLED at 368×448 with haptic feedback and a Force Touch display. New health and fitness features with Series 5 included Cycle Tracking, the Noise app and Activity Trends.
Previous Apple Watch models used screens that went black to conserve power. The Always-On screen in the Series 5 was made possible by the OLED display and other hardware and software. According to Apple:
“Each watch face has been carefully optimized for the new display and to preserve battery life, the screen intelligently dims when a user’s wrist is down and returns to full brightness with a raise or a tap. Several advanced technologies work together to deliver this new feature, including the industry’s only low-temperature polysilicon and oxide display (LTPO), ultra-low power display driver, efficient power management integrated circuit and new ambient light sensor.”
Three different stainless steel options were available: gold, silver, and space black—all three available on the previous model. The Series 5 introduced the “Apple Watch Studio,” both on the Apple website and on the Apple Store app. The Apple Watch Studio allowed the opportunity for buyers to select a “preferred case and band combination to create a look that is uniquely their own.”
New materials were also offered with the Series 5, including natural titanium and space black titanium. Aluminum cases in silver, gold, and space gray were offered in “100 percent recycled 7000 series aluminum.”
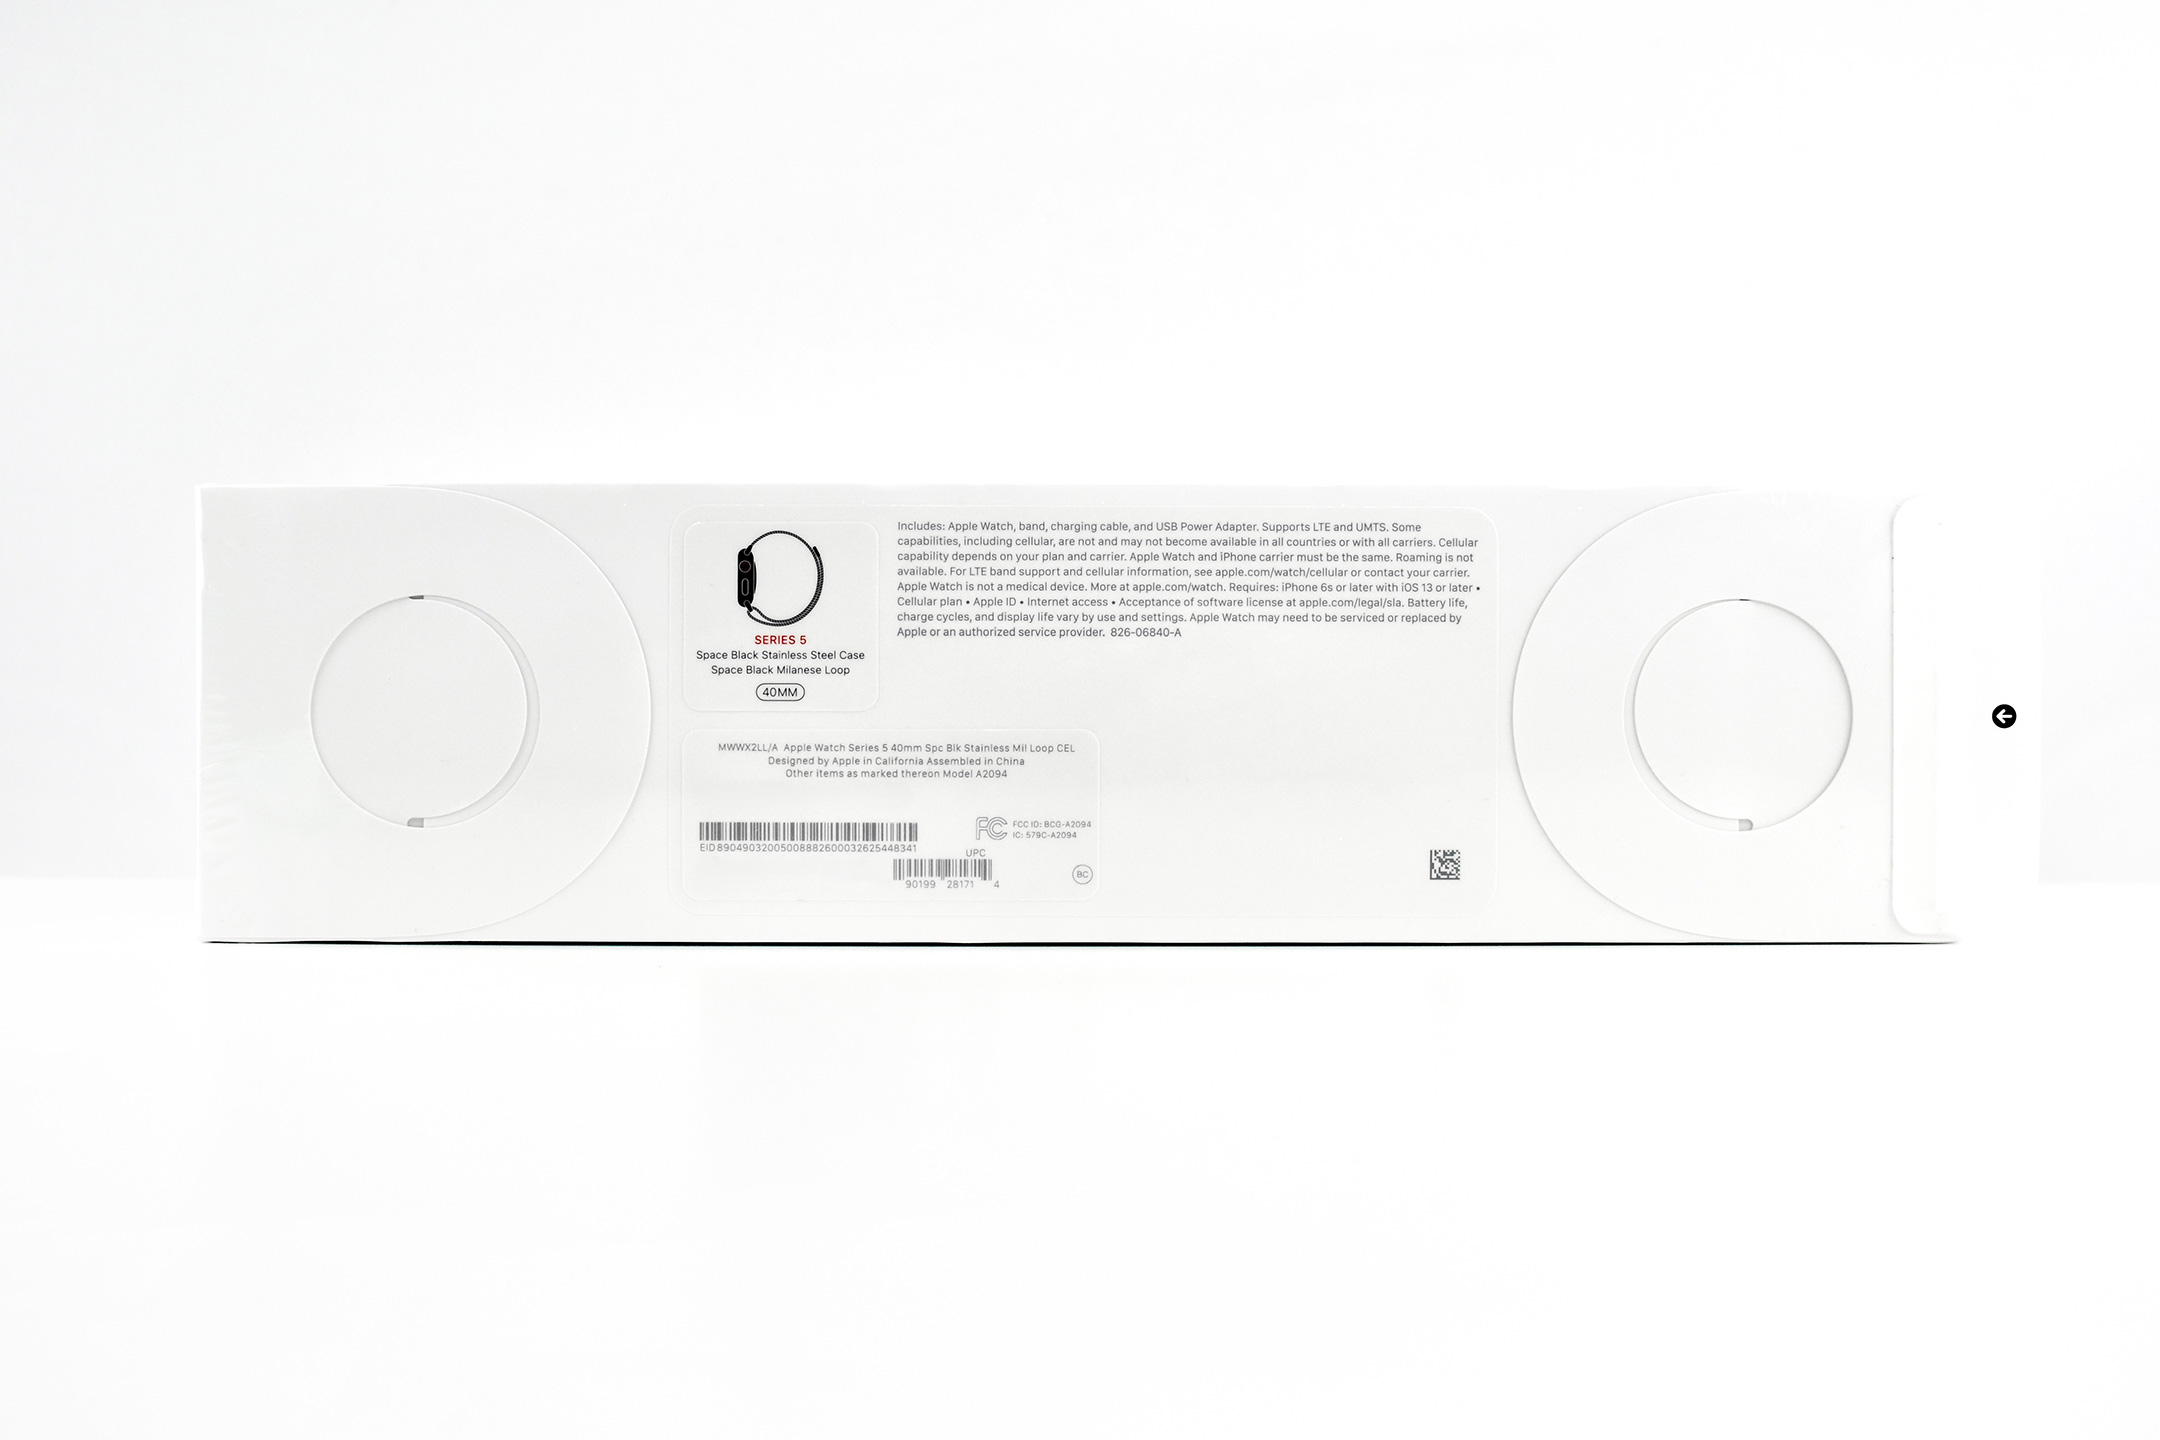
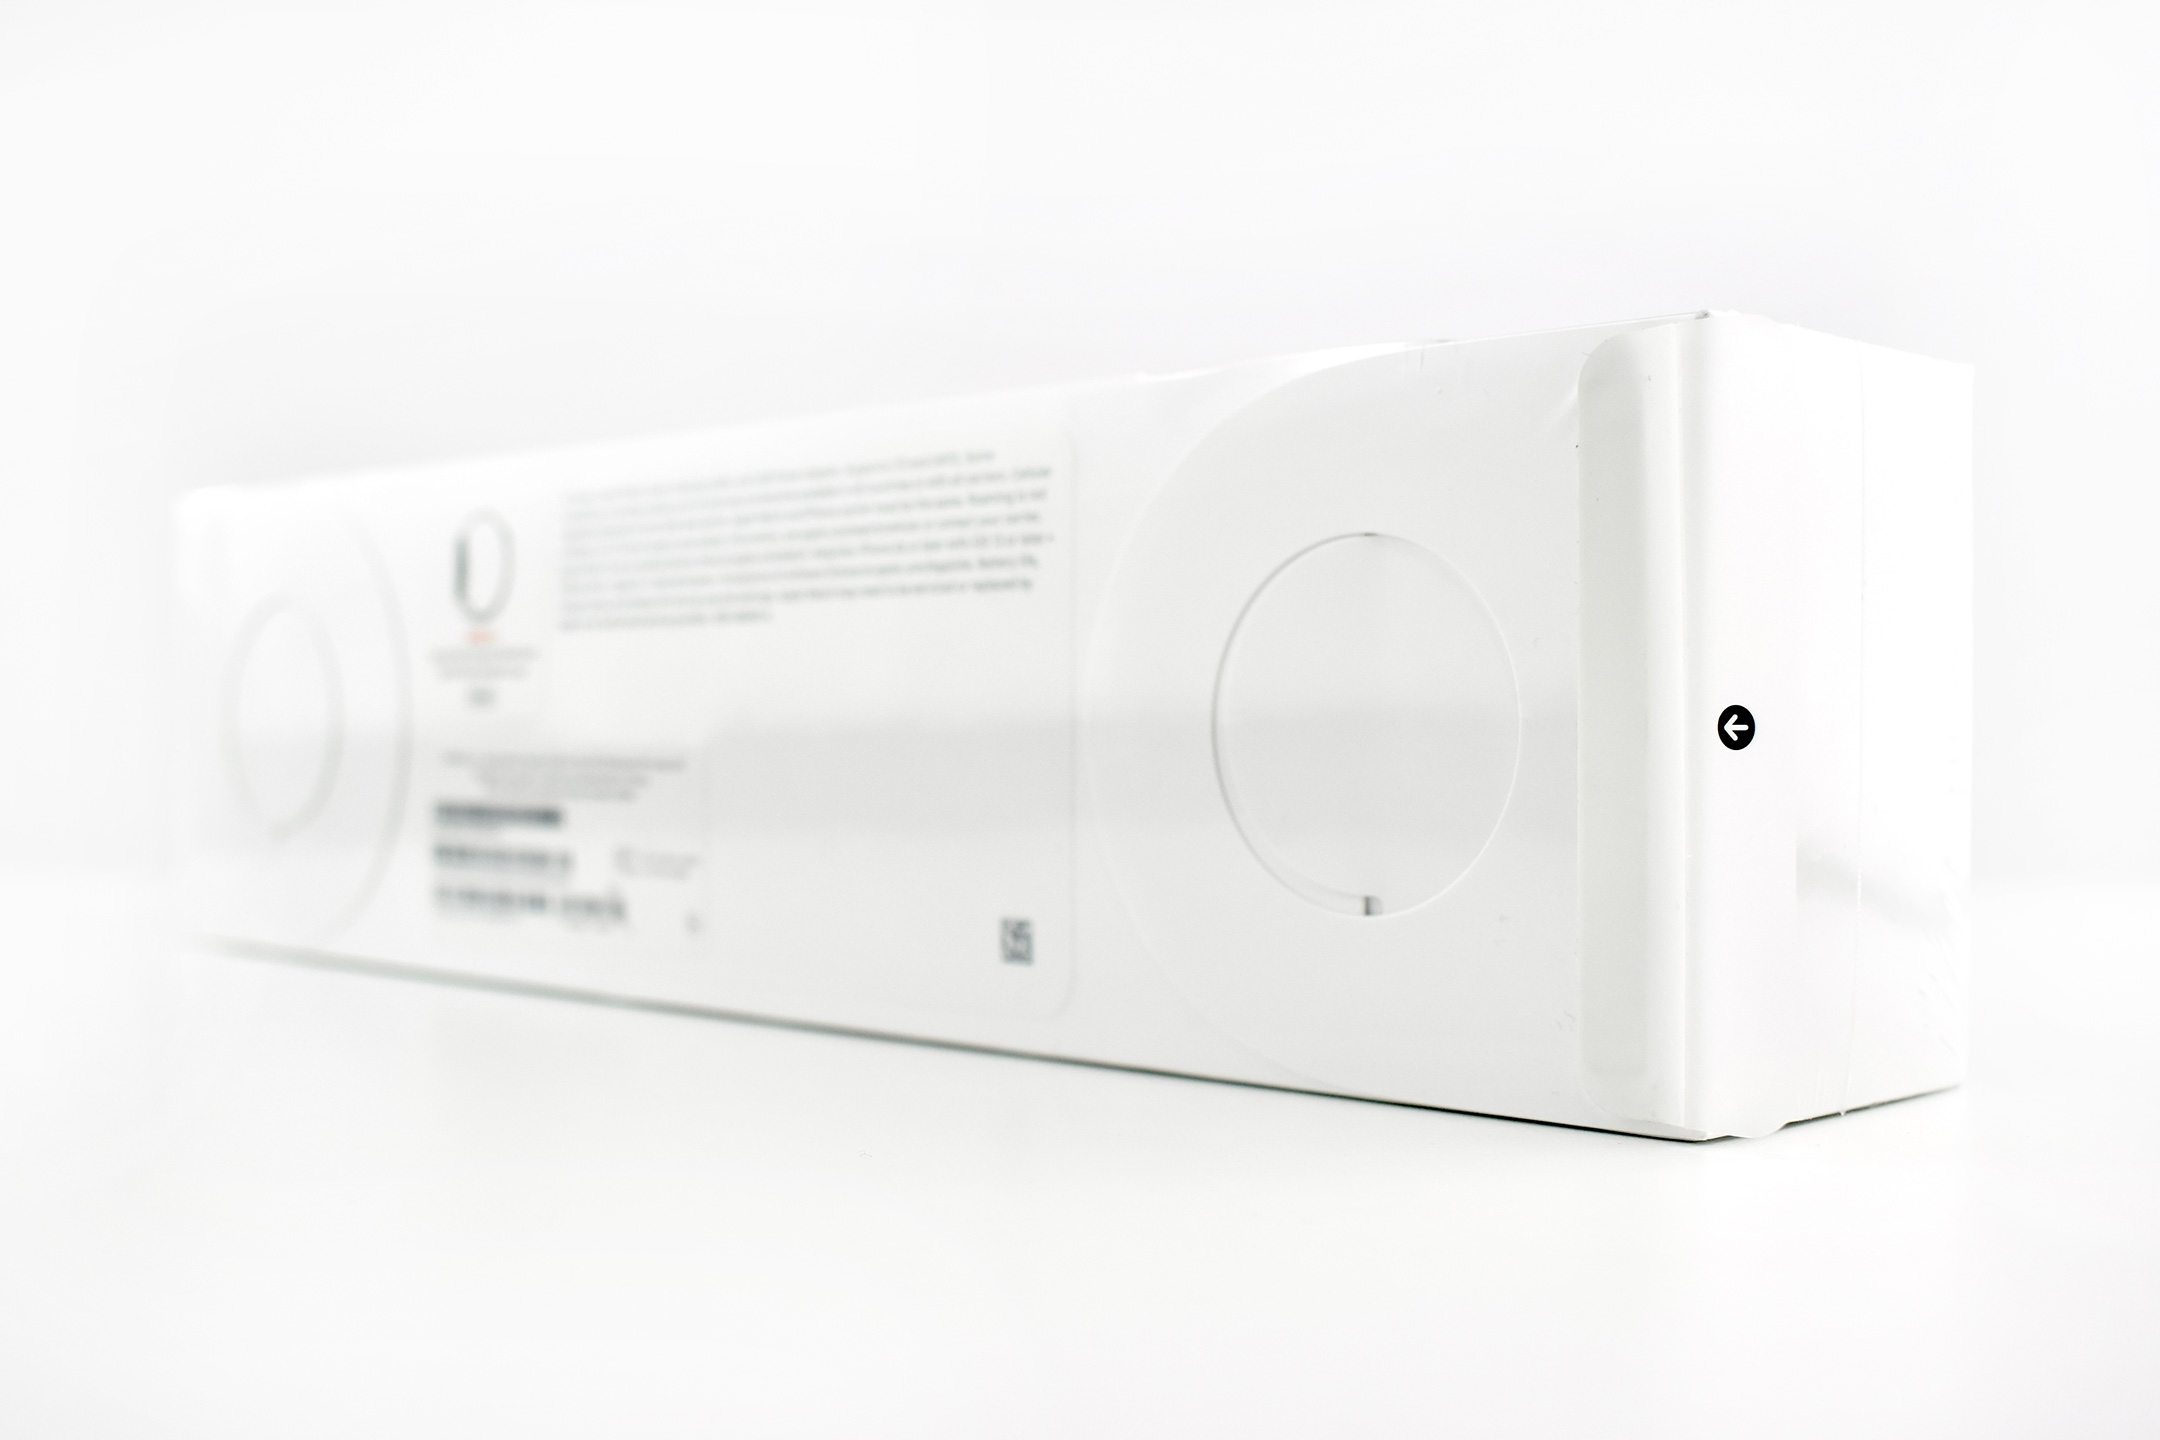
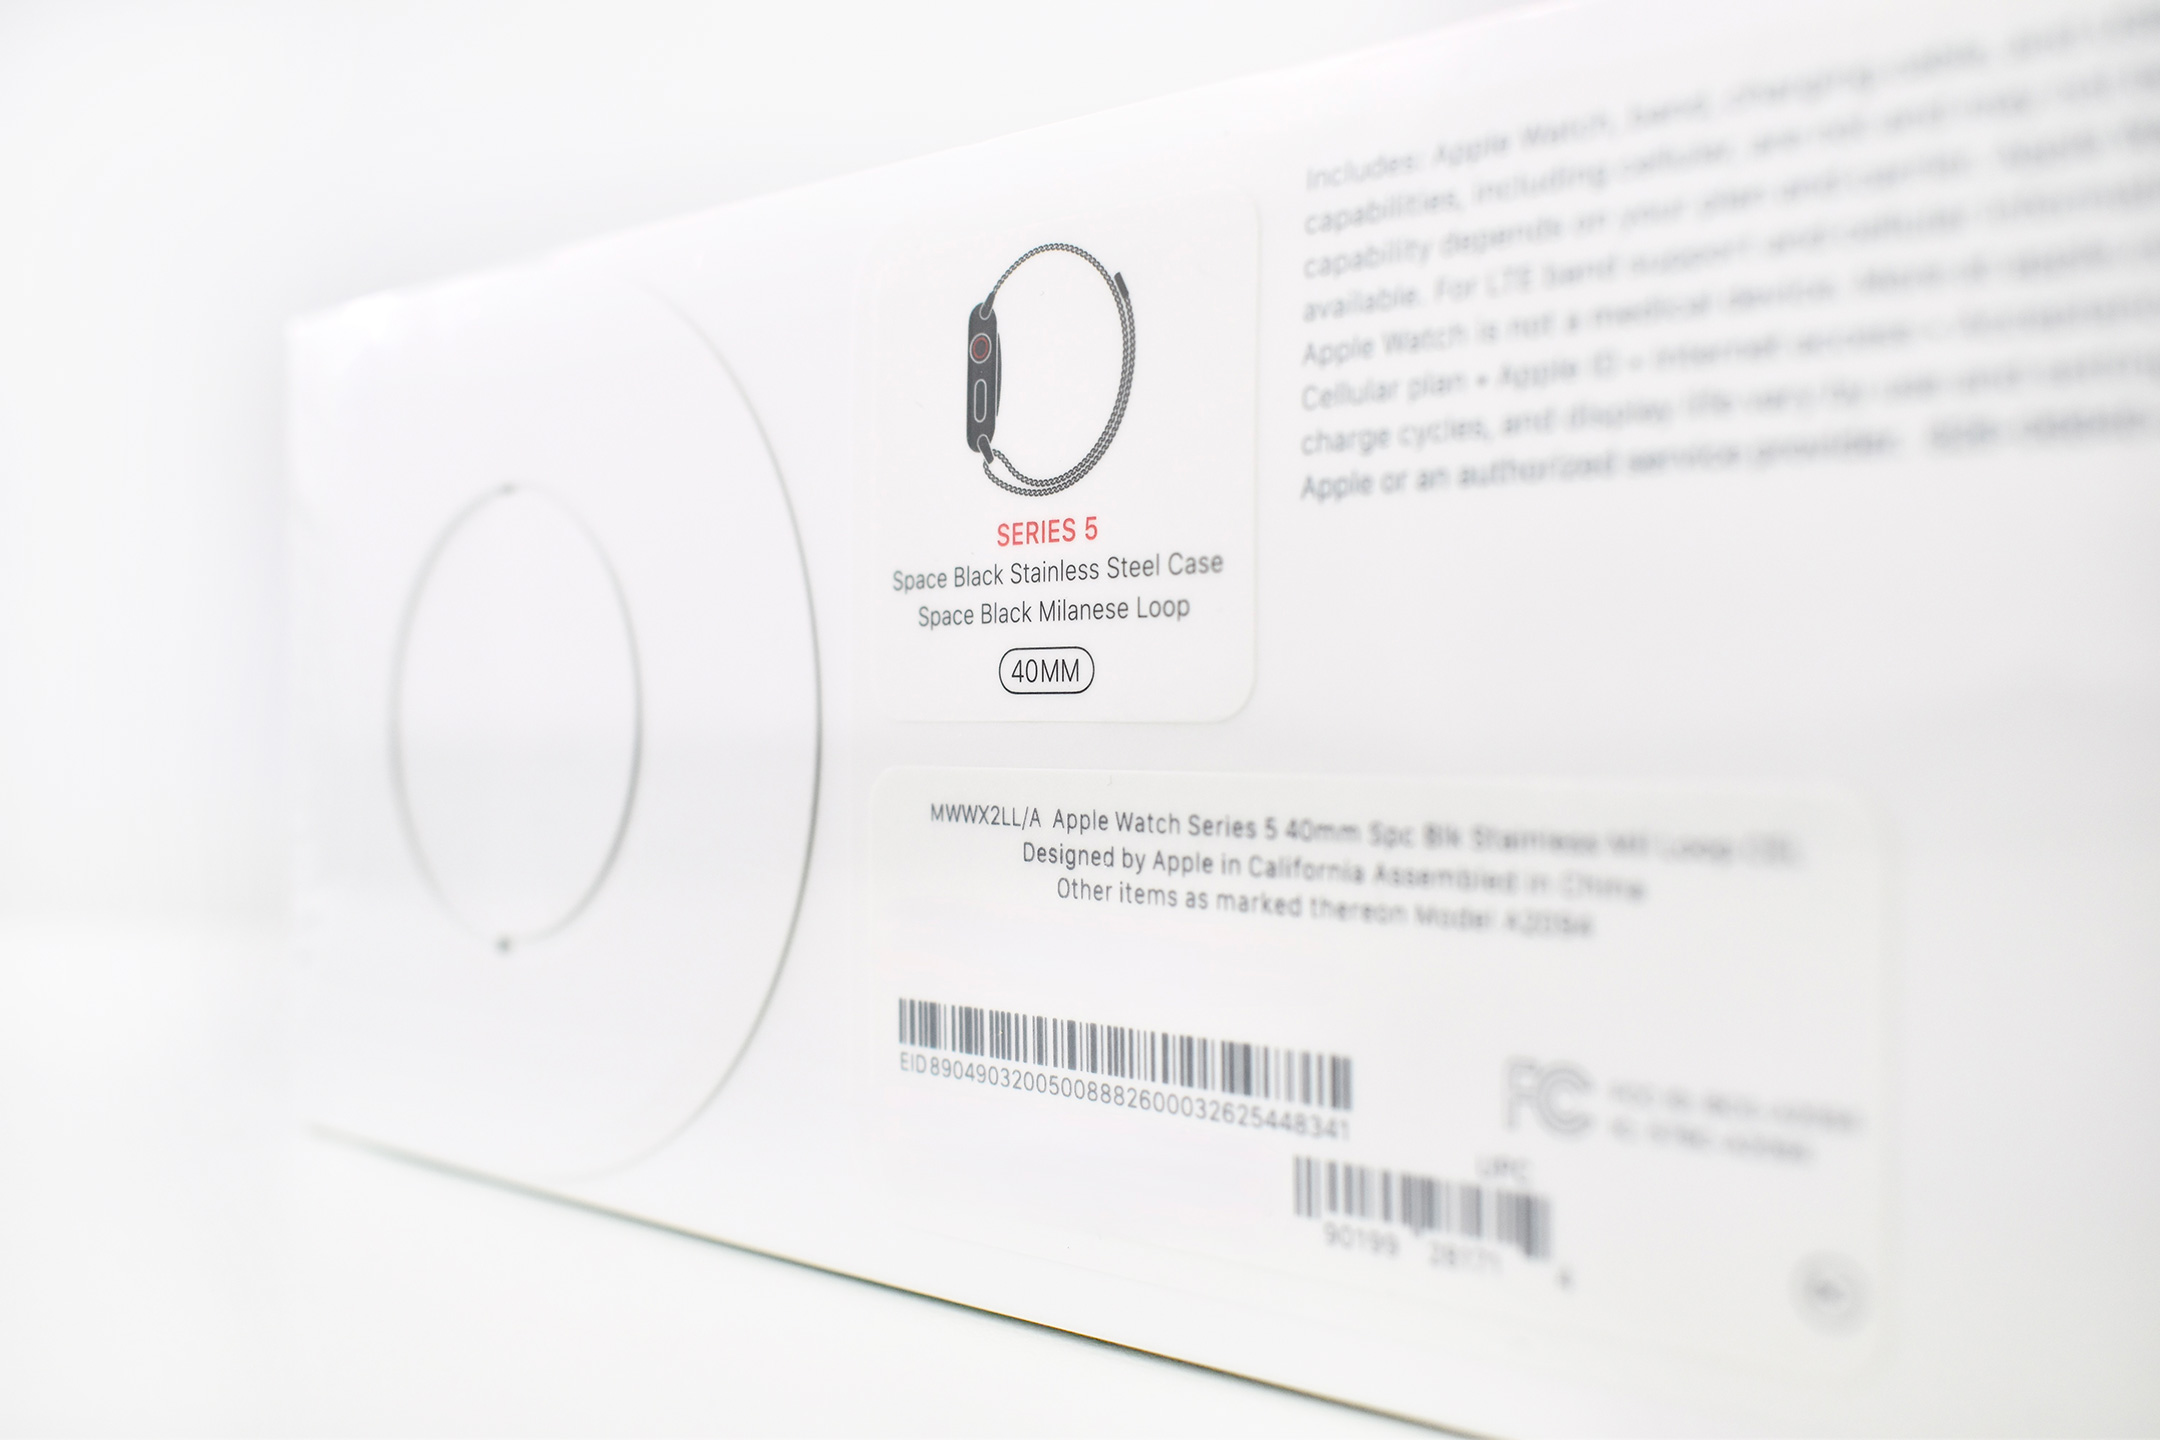
This unopened Apple Watch Series 5 is Space Black Stainless Steel in the 40 mm (a rare inclusion in my collection of mostly large-size Apple Watch models). This example includes a matching Space Black Milanese Loop.
Beats by Dr. Dre (“Beats”) was founded in 2006 by Dr. Dre and Jimmy lovine. Beats makes a collection of headphones, earphones, and speakers, and aims to “bring the energy, emotion and excitement of playback in the recording studio back to the listening experience for music lovers worldwide.” Beats was acquired by Apple in July 2014.
As a company owned by Apple, Beats have many of the same features found in Apple-branded audio products, but Beats seems to more prominently feature Android compatibility in product specifications (compared to Apple’s AirPods products). The Beats product overview notes:
“The Beats Studio Pro custom acoustic platform delivers an immersive listening experience. Each custom 40mm driver has been engineered for optimal clarity, with near-zero distortion even at high volume – an improvement of up to 80% compared to Beats Studio3, providing increased audio fidelity. An integrated digital processor optimizes the final frequency response for a powerful, yet balanced sound profile crafted to bring out the subtle details of whatever you’re listening to.”
The product packaging touts the following features:
Sound that surrounds you with Personalized Spatial Audio and dynamic head tracking
Active Noise Cancelling (ANC) for immersive listening
Transparency mode blends your listening experience with the world around you
Two additional EQ-optimized sound profiles while using USB-C audio
Voice targeting mics for clear call performance
UltraPlush engineered leather cushions for extended comfort and durability
The “Enhanced Apple Compatibility” features of Beats Studio Pro Wireless Headphones include one-touch pairing with every device in your iCloud account, “Hey Siri” compatibility, Find My suport, and Over-the-air updates.
“Enhanced Android Compatibility” features include Google Fast Pair to all Android or Chrome devices registered to a Gmail account, Audio Switch between Android and Chromebook devices, Google Find My Device support, and a Beats app for Android to “unlock access to product customization, software updates, and new features to get the most out of your headphones.”
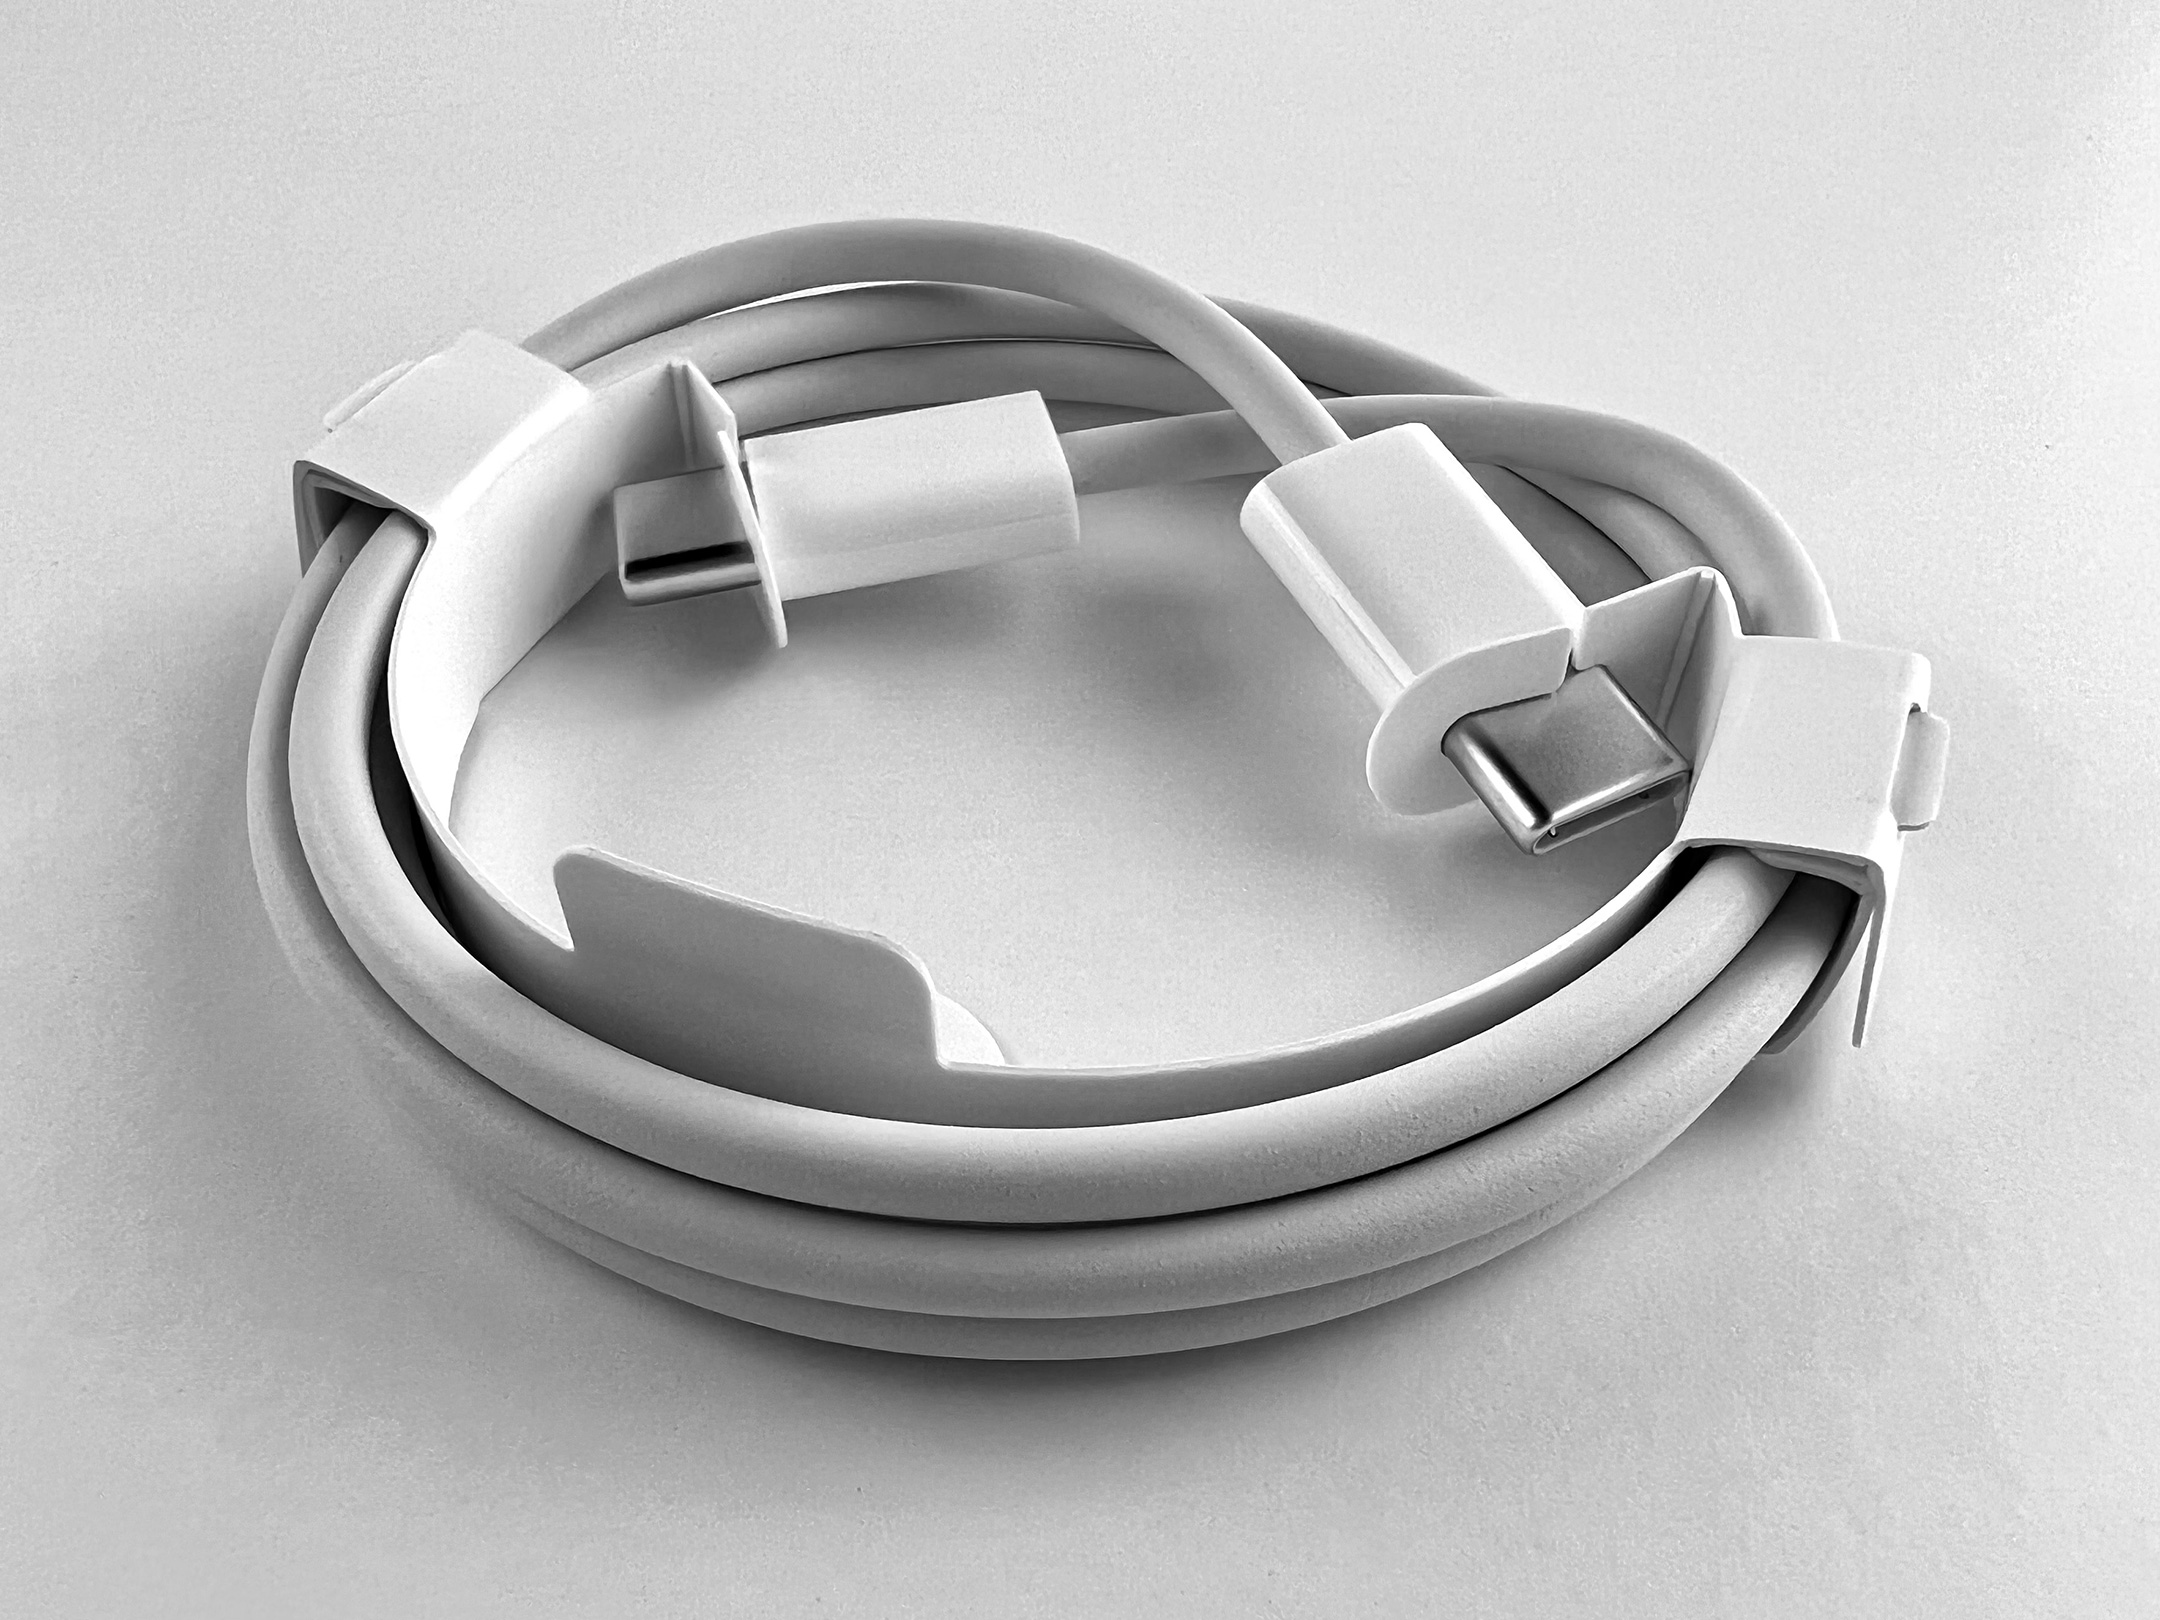
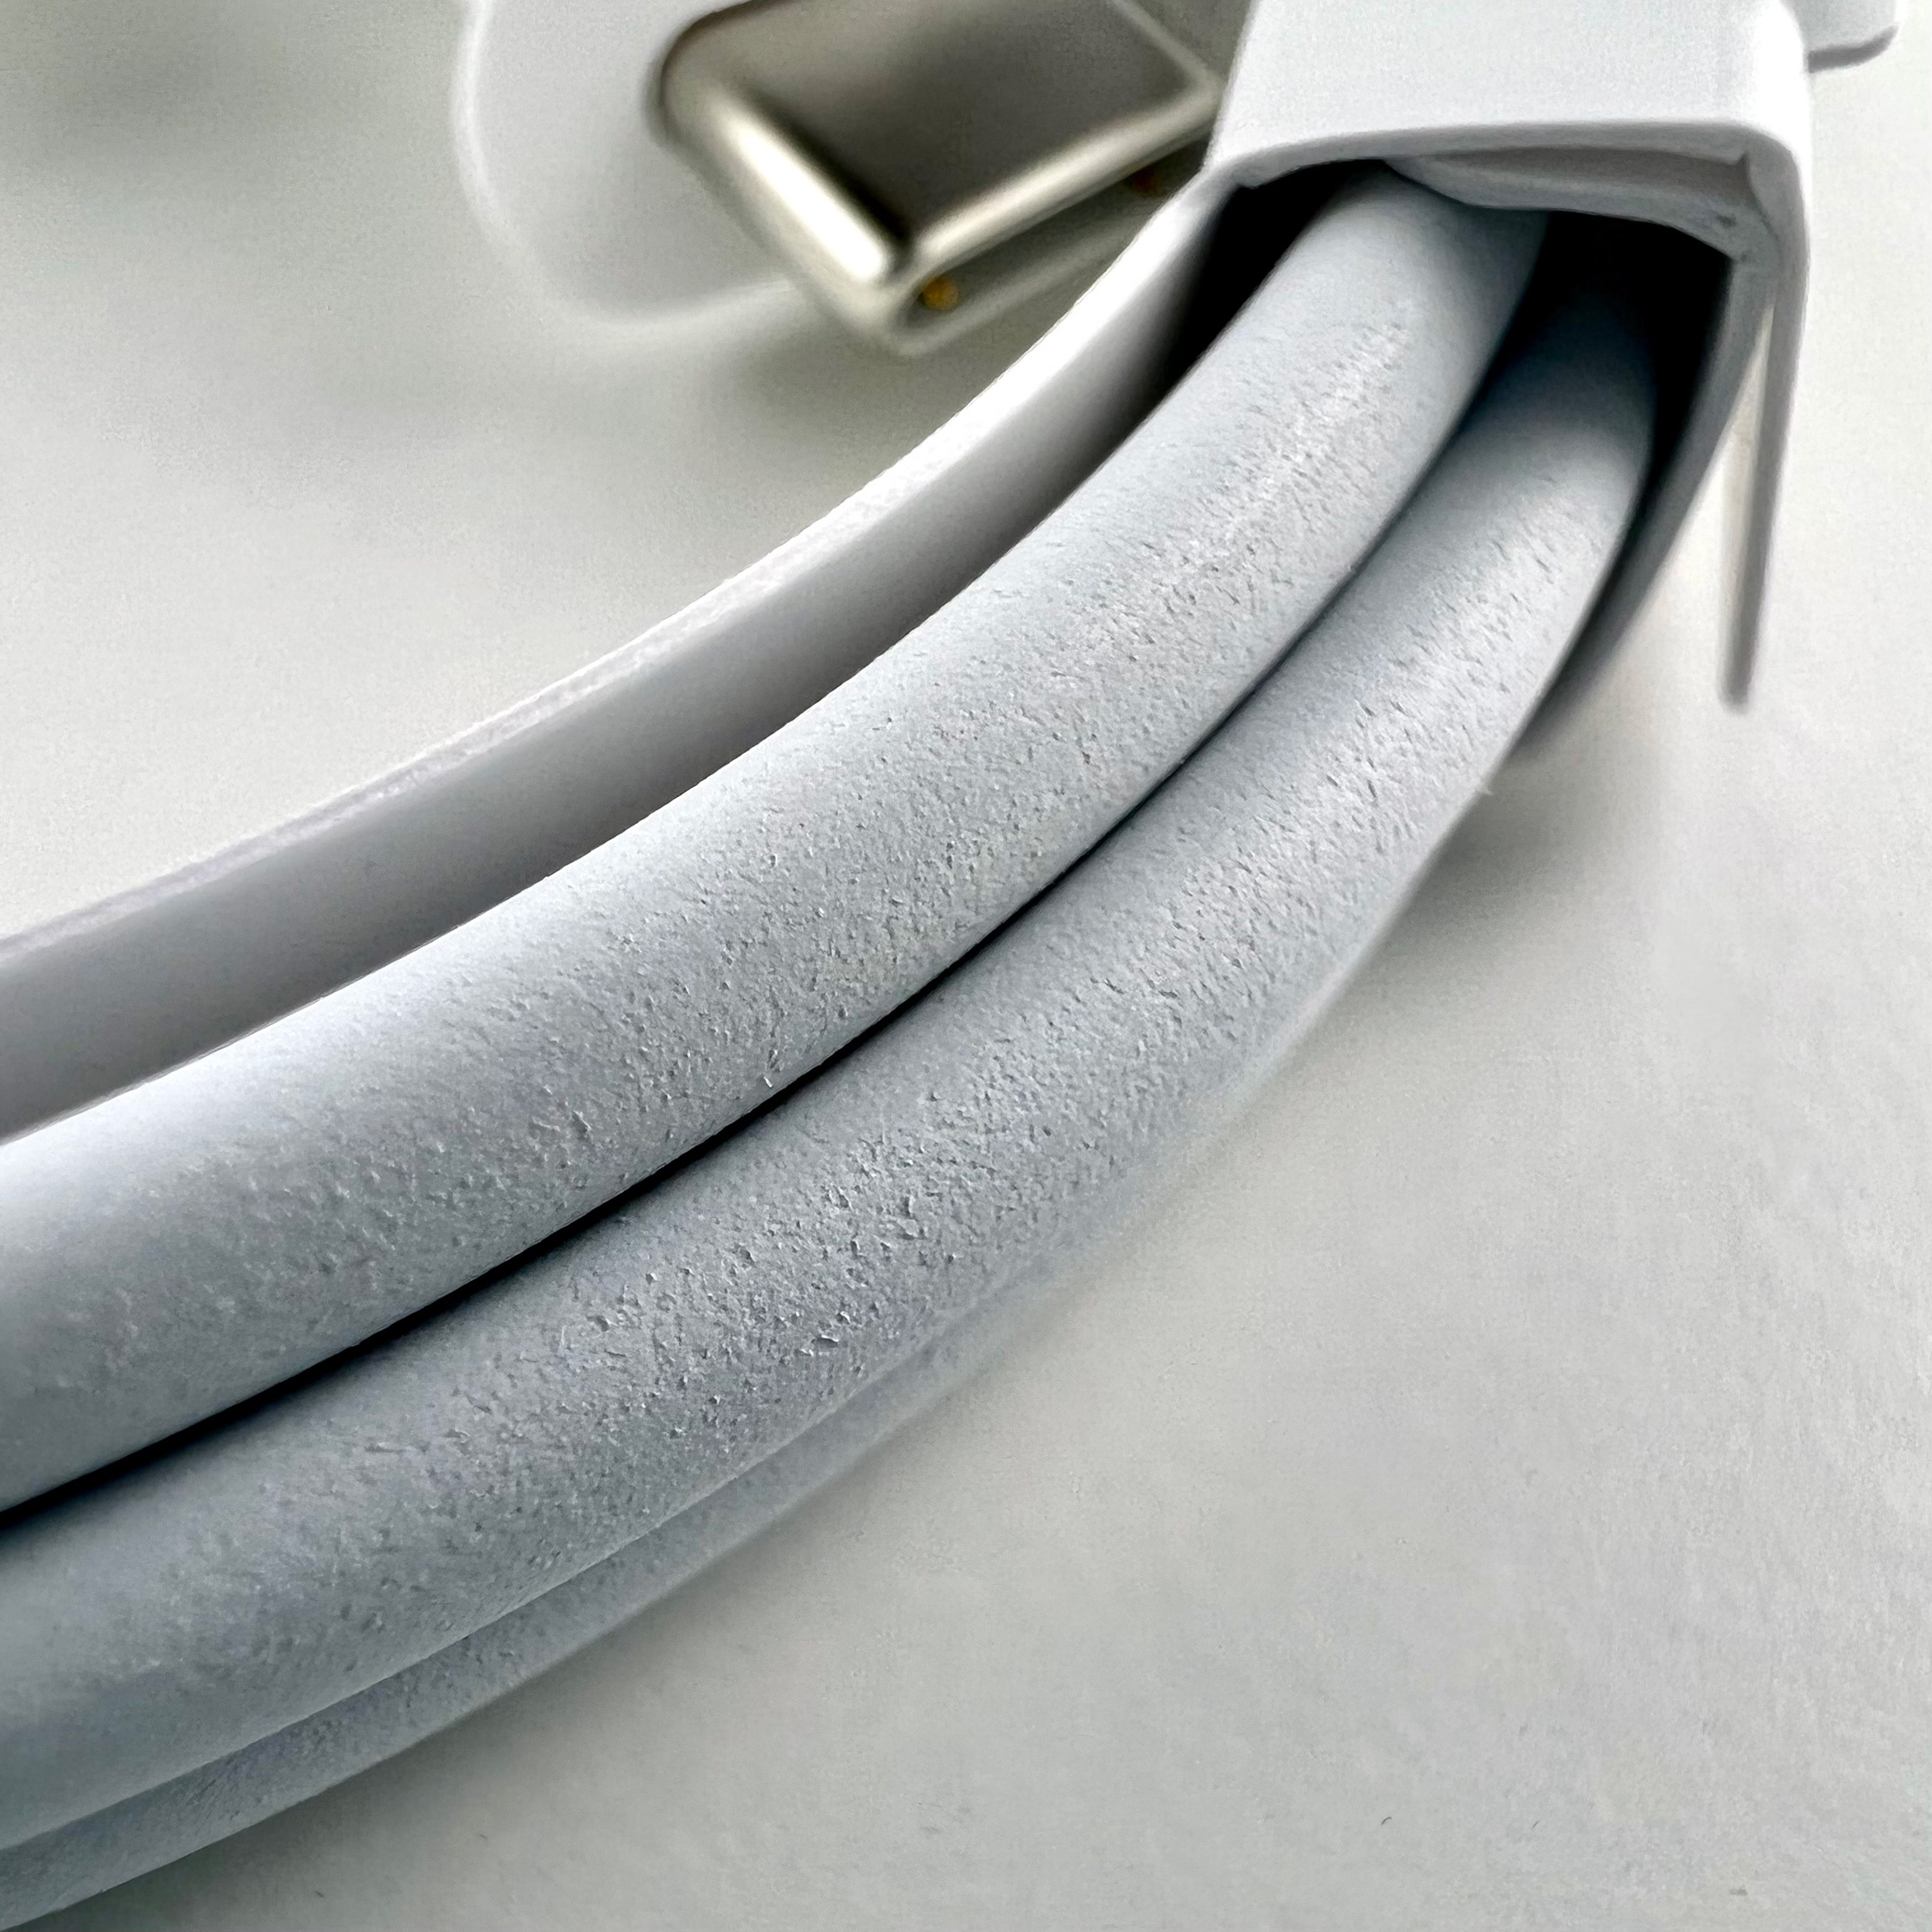
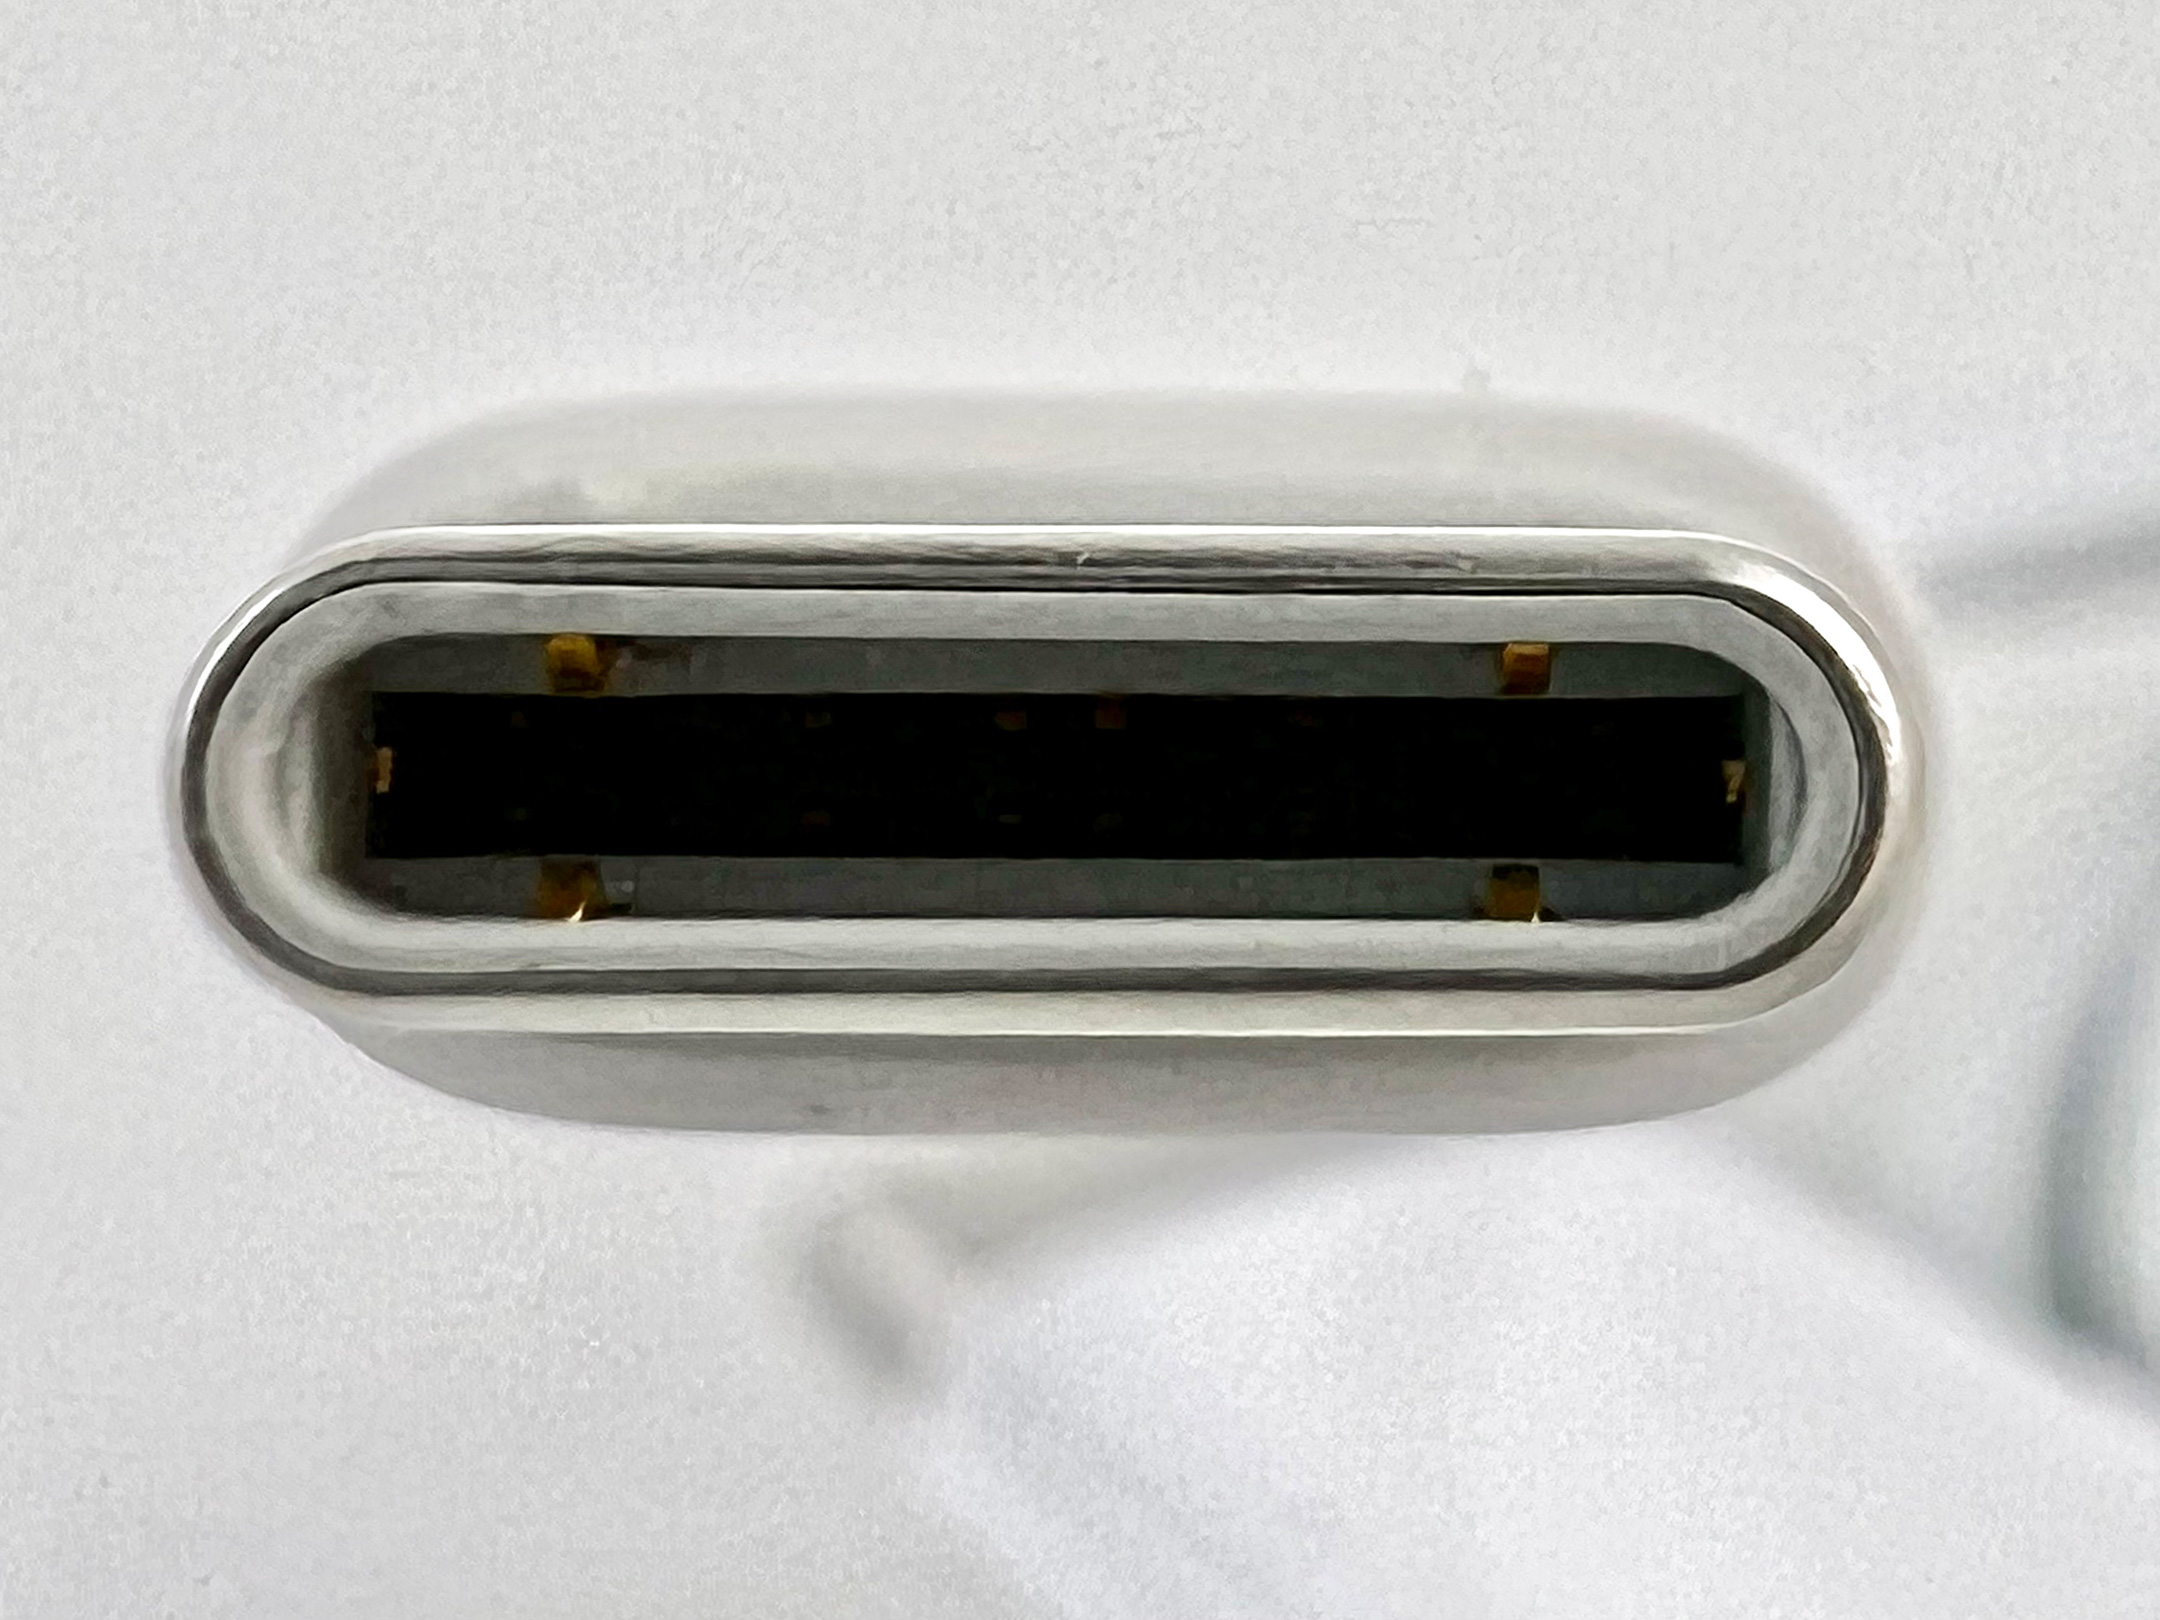
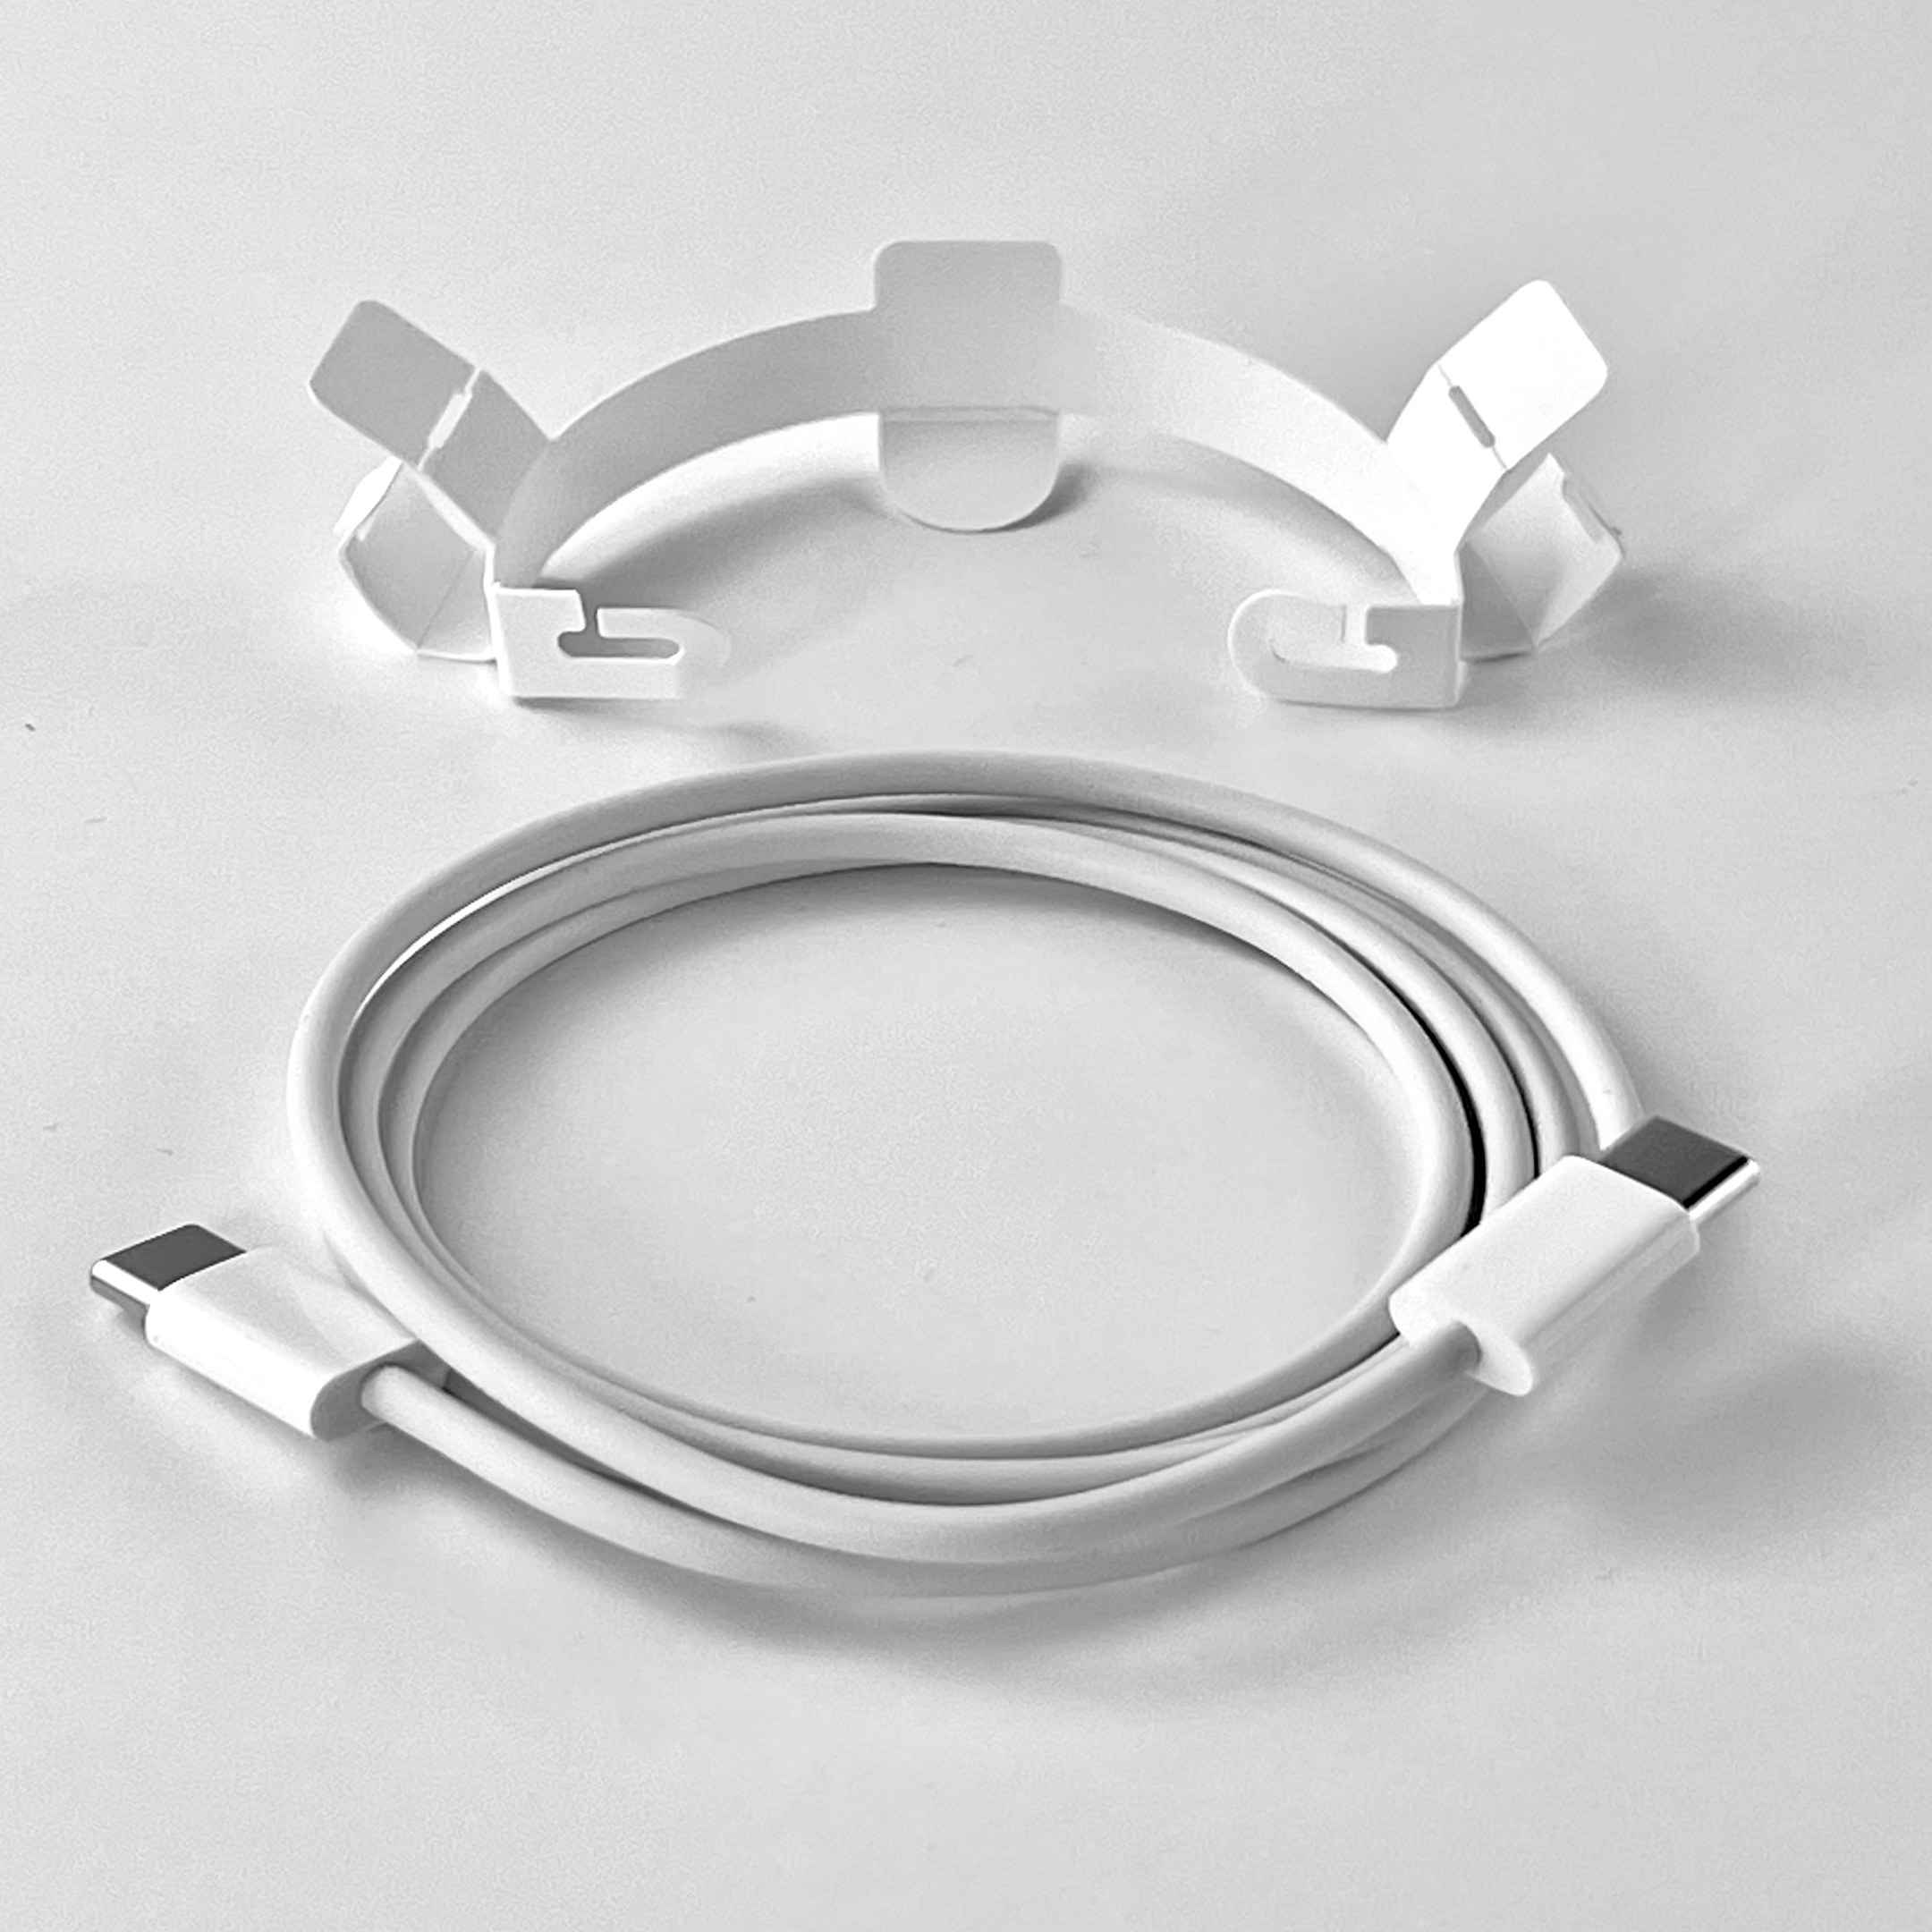
The headphones measure 7.125 inches high, by 7 inches long, by 3.1 inches wide, and weigh 9.17 ounces. They include a custom-fitted carrying case, USB-C-to-USB-C cable (charging and audio), and a 3.5 mm analog audio cable. Bluetooth (version 5.3) delivers up to 40 hours of listening time and offers a “Fast Fuel” charge that delivers up to 4 hours of playback from a 10-minute charge.
Apple announced the iPhone 16 lineup on September 9, 2024, and the phones were released on Friday, September 20, 2024. In a press release, Apple described the iPhone 16 Pro models:
“Powered by the A18 Pro chip and built for Apple Intelligence, the Pro lineup introduces larger display sizes, Camera Control, innovative pro camera features, and a huge leap in battery life.”
The iPhone 16 Pro, iPhone 16 Pro Max, and also the iPhone 16 and iPhone 16 Max were marketed specifically as “featuring Apple Intelligence.” However, no Apple Intelligence features were available at launch, and no release was was shared. Apple Intelligence, Apple’s name for Artificial Intelligence, was described as different than other versions of AI because it “harnesses the power of Apple silicon and Apple-built generative models to understand and create language and images, take action across apps, and draw from personal context to simplify and accelerate everyday tasks.” Further, Apple Intelligence “maintains the privacy and security of user data with Private Cloud Compute.”
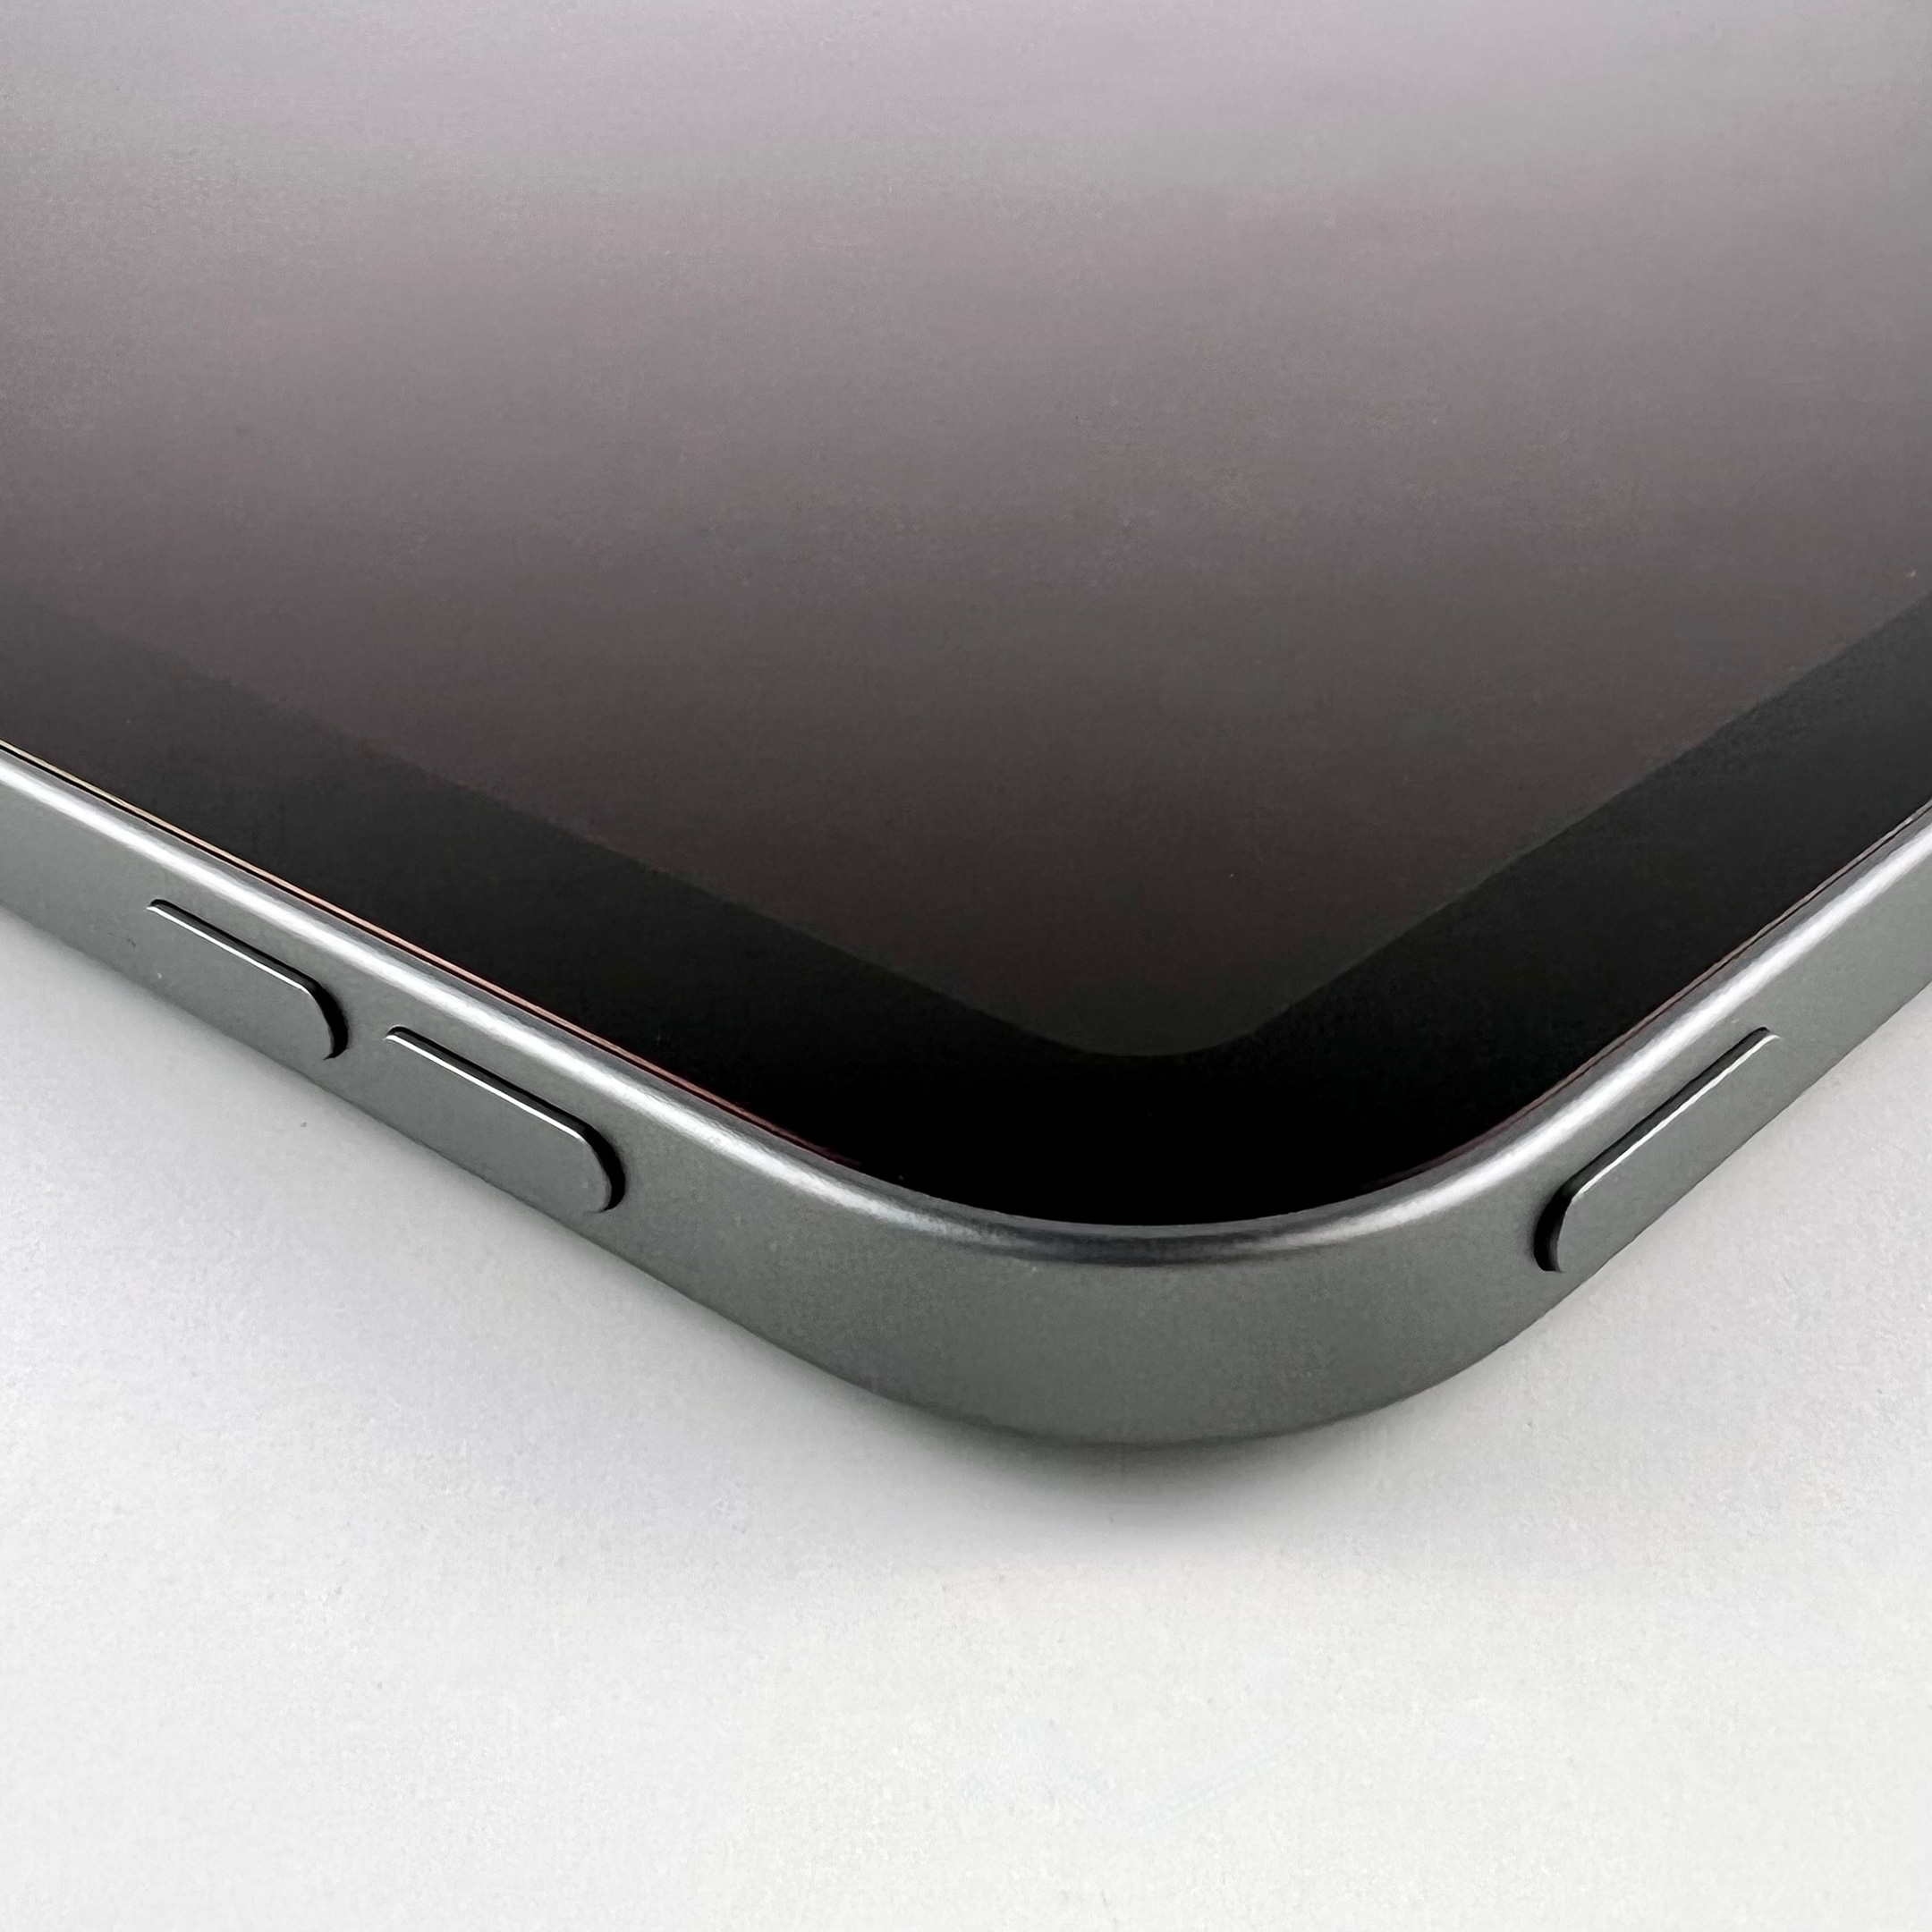
The iPhone 16 Pro (and Pro Max) models were made from titanium with four available finishes: black titanium, natural titanium, white titanium, and desert titanium. The Pro iPhone options offered no colors, just “finishes.” This example is black titanium.
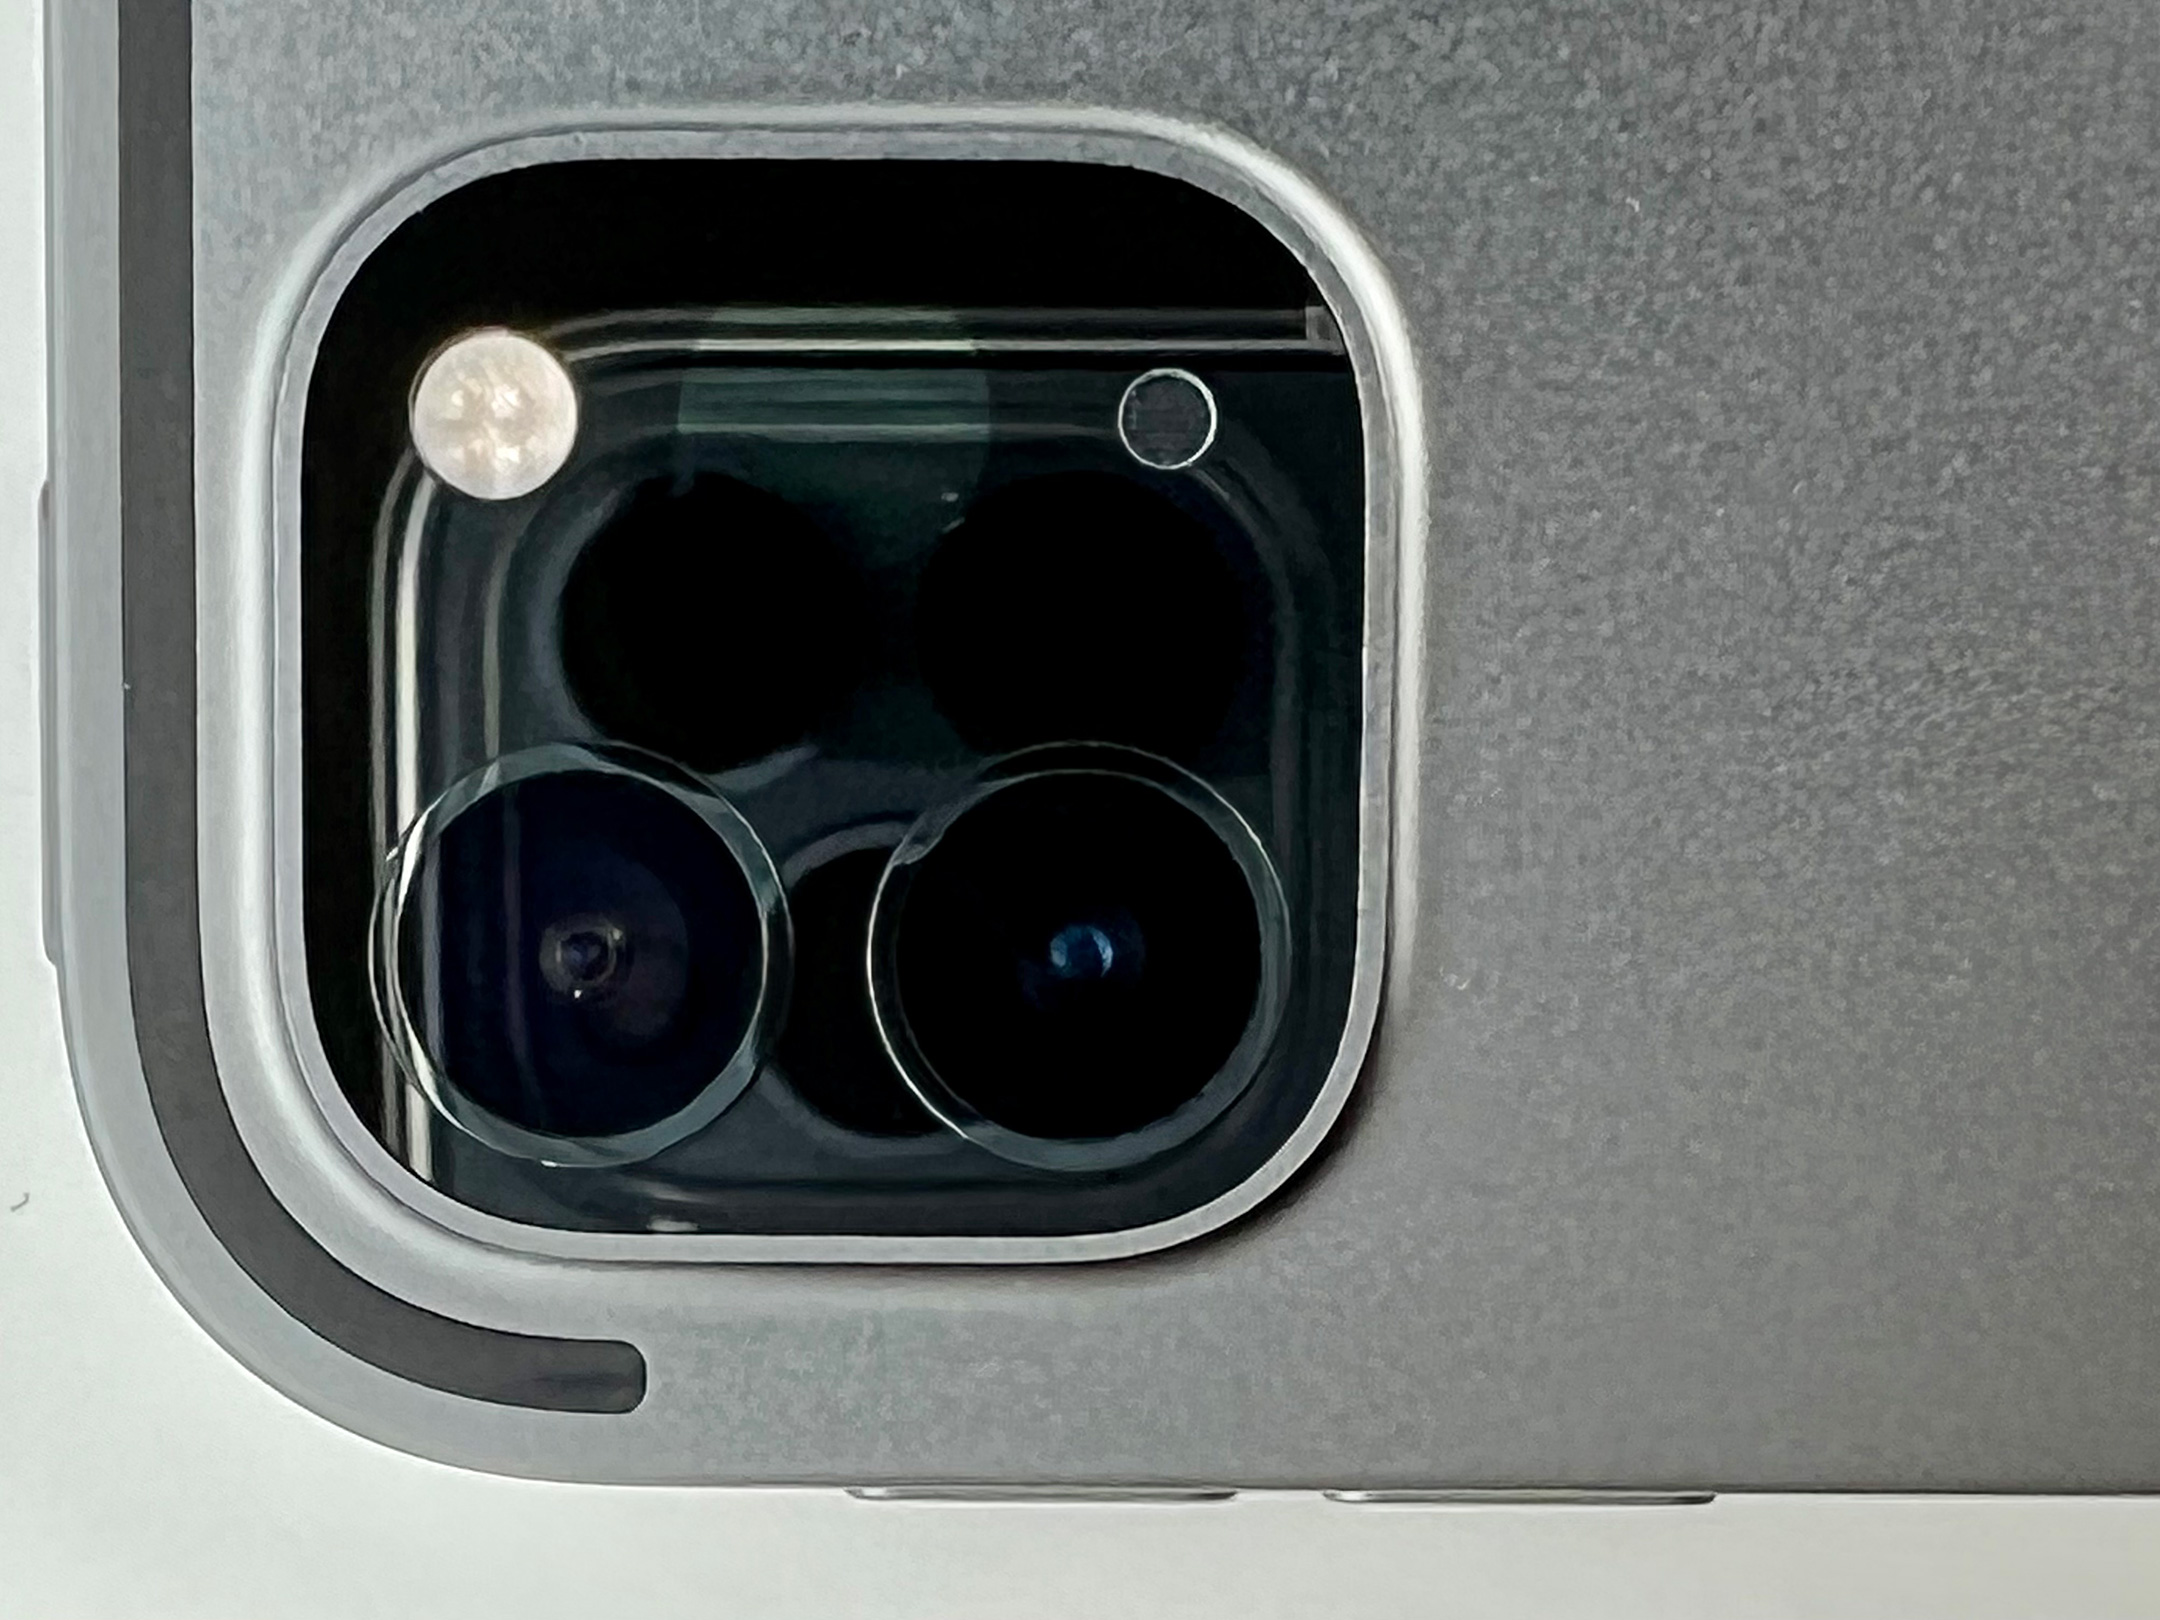
The iPhone 16 Pro featured a 48MP Fusion camera that could record 4K video at 120 fps. The camera was further enhanced with “a new 48MP Ultra Wide camera for higher-resolution photography, including macro; a 5x Telephoto camera on both Pro models; and studio-quality mics to record more true-to-life audio.”
Apple also touted the bezel of the iPhone 16 Pro by saying it had, “the thinnest borders of any Apple product” with sizes including a 6.3 inch display on iPhone 16 Pro and a 6.9 inch display on iPhone 16 Pro Max (“the largest iPhone display ever”). The display on the iPhone 16 Pro was described as the Super Retina XDR display and had 2622 x 1206 pixel resolution at 460 ppi. It used Apple’s “latest-generation Ceramic Shield material that’s two times tougher than any smartphone glass.”
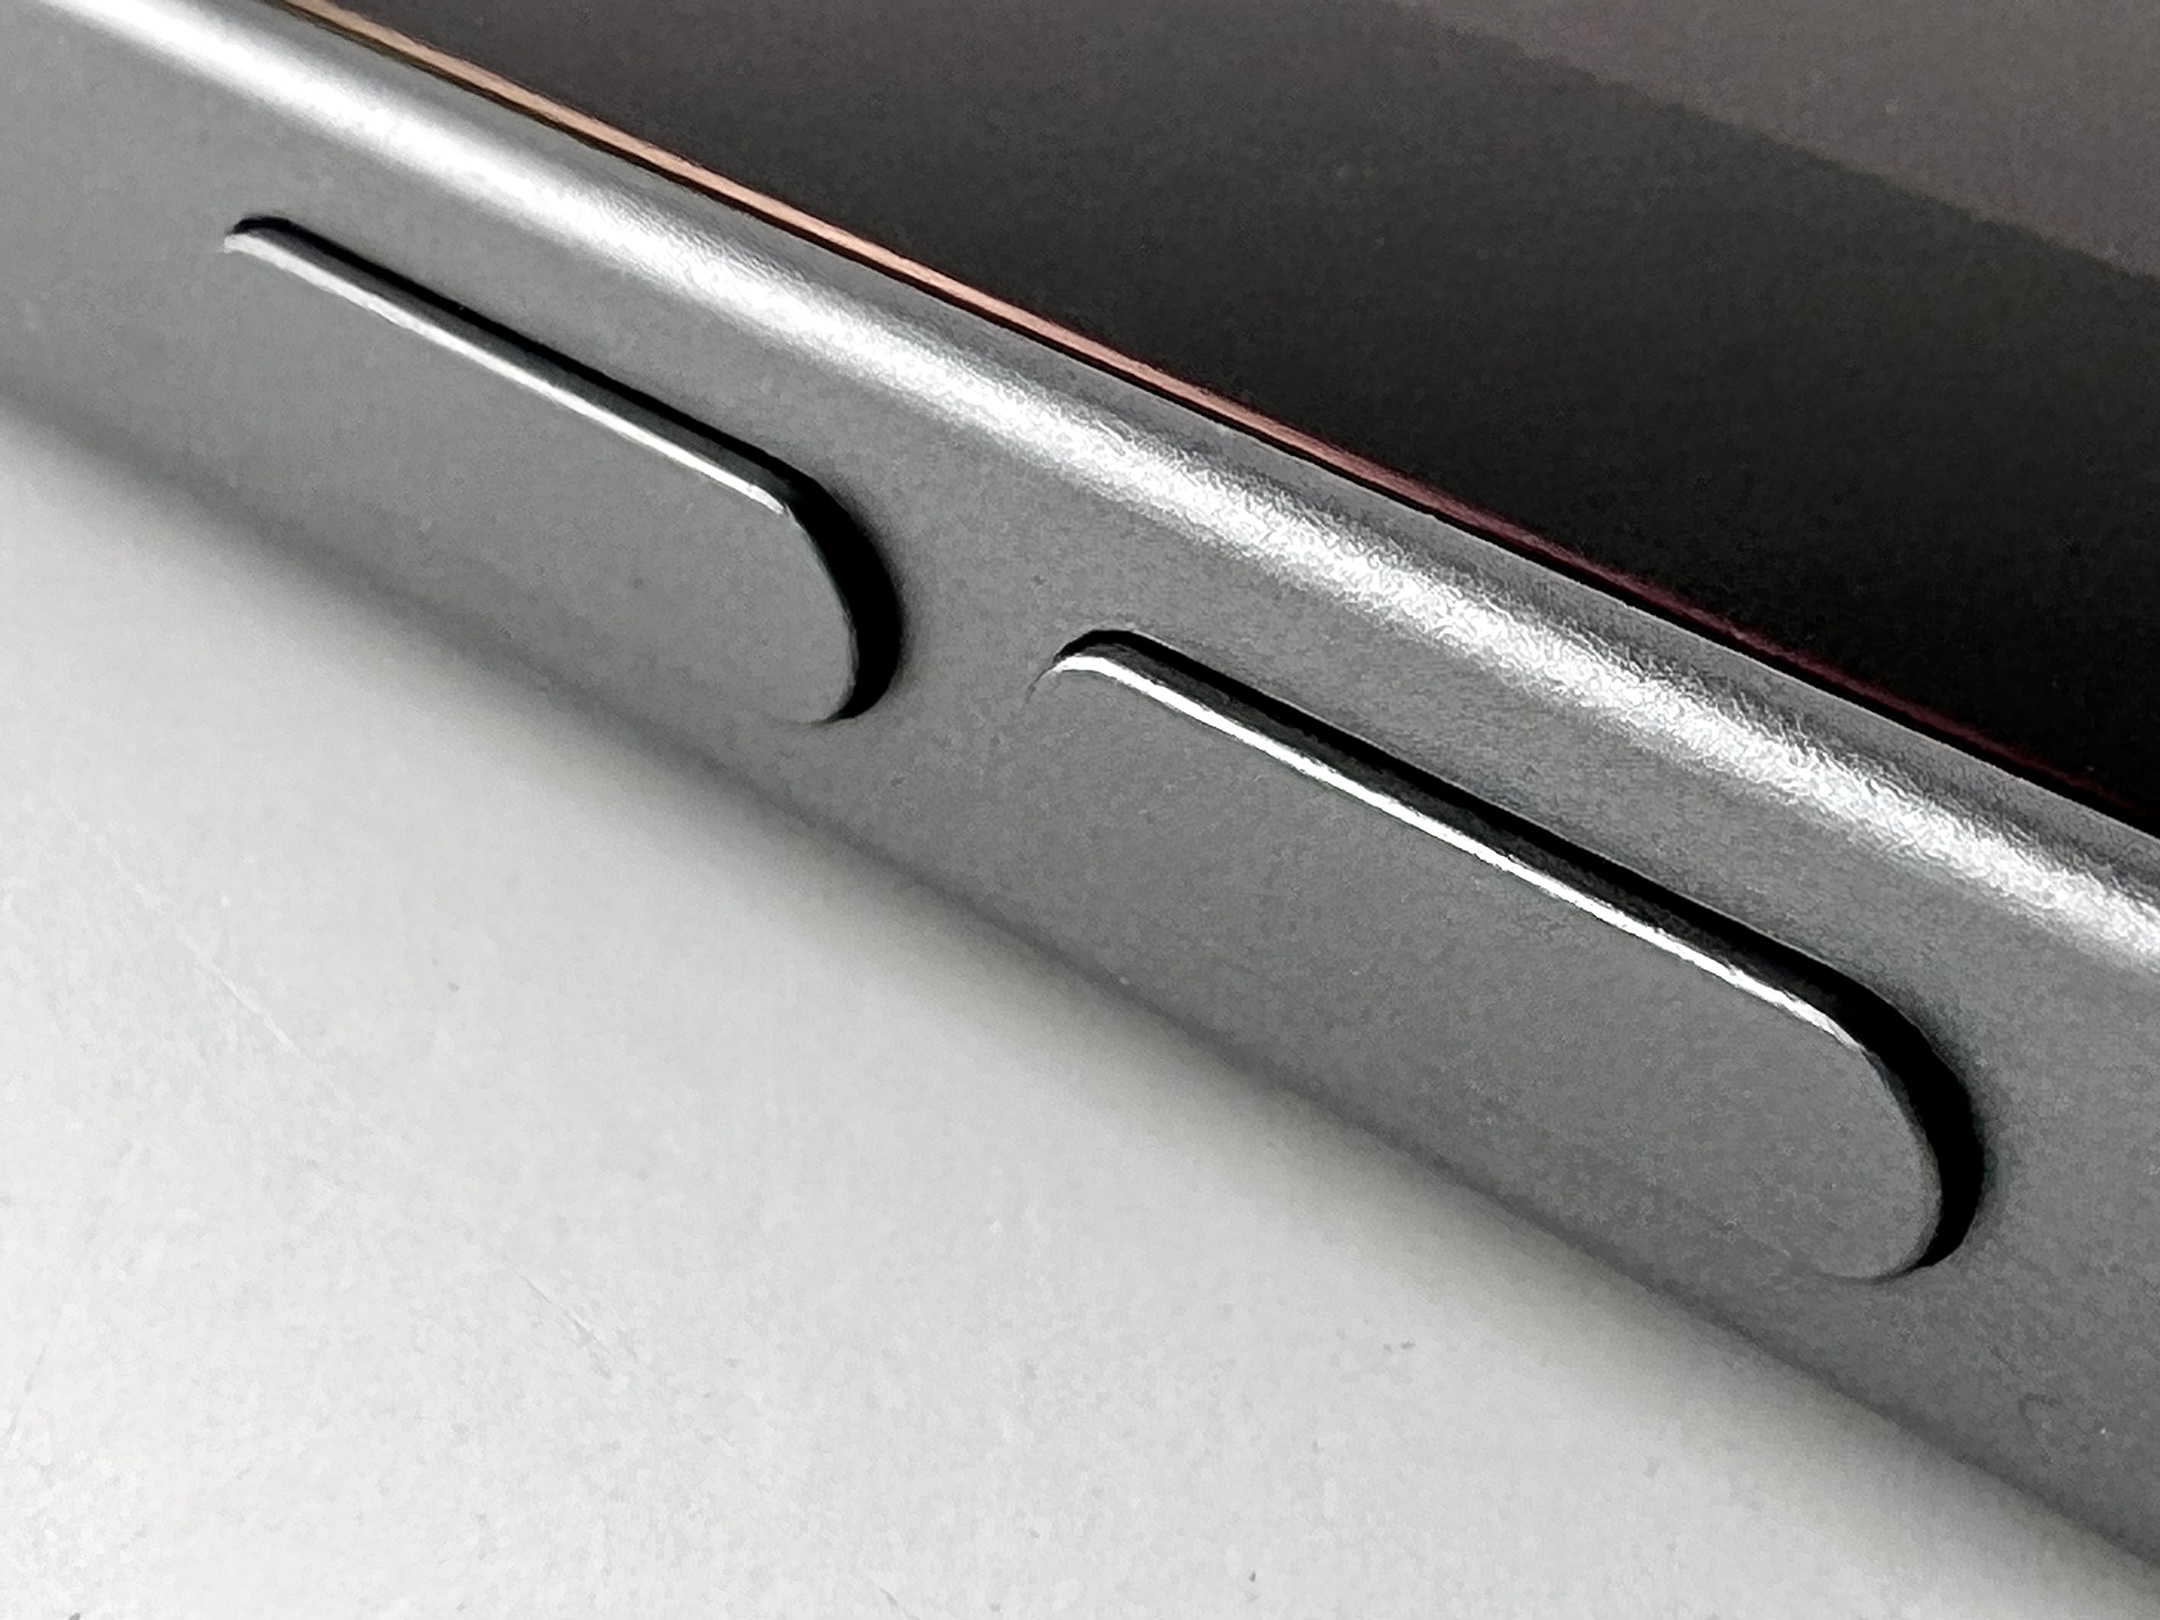
The iPhone 16 line introduced a new Camera Control button on the lower-right side. When turned sideways, the button was positioned in the traditional location of a camera capture button. Pressing the Camera Control button gave immediate access to the camera, and sliding your finger across the surface of the button allowed access to “functions like exposure or depth of field, and toggle through each lens or use digital zoom to frame your shot.” At release, the “two-stage shutter that lets you automatically lock focus and exposure with a light press” was not yet available, but was announced as coming “later this year.”
In addition to advanced camera and video capture, a new Audio Mix technology was also included with three settings that allowed for adjusting the way voices were recorded. According to Apple’s description:
In-frame—Only captures the voices of the people on camera, even if people off-camera are talking during the recording.
Studio—Makes voices sound like you’re recording in a professional studio equipped with sound-dampening walls.
Cinematic—Captures all of the voices around you and consolidates them toward the front of the screen — just like sound is formatted for the movies.
The iPhone 16 Pro measured 5.89 inches high, 2.81 inches wide, and 0.32 inch thick. It weighed 7.03 ounces. All iPhone 16 models used a form of the A18 chip—a major bump from the A16 chip used in the iPhone 15, and an increase from the A17 Pro chip used in the iPhone 15 Pro. Notably, Apple never released an A17 chip (only anA17 Pro)—they apparently skipped it in favor of using A18 generation chips in the iPhone 16 models to power their yet-to-be-delivered-at-launch Apple Intelligence features.
Although Beats products are not Apple-branded, the Beats by Dr. Dre website states, “Beats by Dr. Dre (Beats) is a leading audio brand founded in 2006 by Dr. Dre and Jimmy Iovine… Beats was acquired by Apple Inc. in July 2014.” As an Apple collector, I have a small number of Beats products in my collection.
Beats describes the Studio Buds + on their website:
“Beats Studio Buds + custom acoustic platform packs powerful, balanced sound in a sophisticated, pocketable design. Reengineered acoustic venting improves audio precision and gently relieves pressure for a more comfortable all-day fit. Each bud is equipped with a two-layer transducer that flexes to deliver cleaner bass and ultra-low distortion. So whether you’re listening to music or taking calls, Studio Buds + deliver rich, immersive sound wherever you go.”
As a “sister” company to Apple, the Beats Studio Buds + offer the following “Enhanced Apple Compatibility:”
One-touch pairing—easy, one-touch setup instantly pairs with every device in your iCloud account
“Hey Siri”—simply say “Hey Siri” to activate your voice assistant
Find My—locate your lost earbuds on a map based on the last known connected location
Over-the-air updates—receive software updates and new features automatically
Beats also offer “Enhanced Android Compatibility:”
Google Fast Pair
Audio Switch
Find My Device
These earbuds offer many features, including:
Active Noise Cancelling (ANC)
Transparency mode
Up to 36 hours of total battery life (9-hour earbuds + 27-hour charging case)
One-touch pairing
Crisp, clear call performance from upgraded, voice-targeting mics
Sweat and water resistant earbuds (IPX4-rated)
Four soft eartip sizes
Spatial audio for Dolby Atmos
Pocket-sized charging case with USB-C connector
The case measures 2.55cm tall, 7.2cm long, and 5.1cm wide. Each bud measures 1.5cm tall, 2.05cm long, and 1.85cm wide. Each bud weighs 5g, and the entire product—2 buds and the case—weighs 59g.
My primary interest in this product was the design including the “transparent” color option. This was the first Apple-backed product released in a semi-transparent design in about 20 years (with the possible exception of updates of the originally Apple-designed Harman Kardon SoundSticks). Other notable transparent Apple products over the years have included the following:
iMac (CRT models, 1998–2003)
eMate 300 (1997–1998)
iBook (“clamshell” models, 1999–2001)
Power Macintosh G3 All-in-One (1998)
Power Macintosh G3 (Blue & White tower, 1999)
Studio Display (various LCD and CRT designs, 1998, 1999, 2000)
As a side-note, some may have forgotten that Apple’s LaserWriter 8500 (1997–1999) used light-green-tinted transparent plastics in its lower drawer and top paper feeder.
As mentioned above, Harman Kardon SoundSticks were reported to have been designed in partnership with Apple and have been available since 2000. Although the product has not changed significantly, it has been updated regularly (2004, 2009, 2012, and 2020).
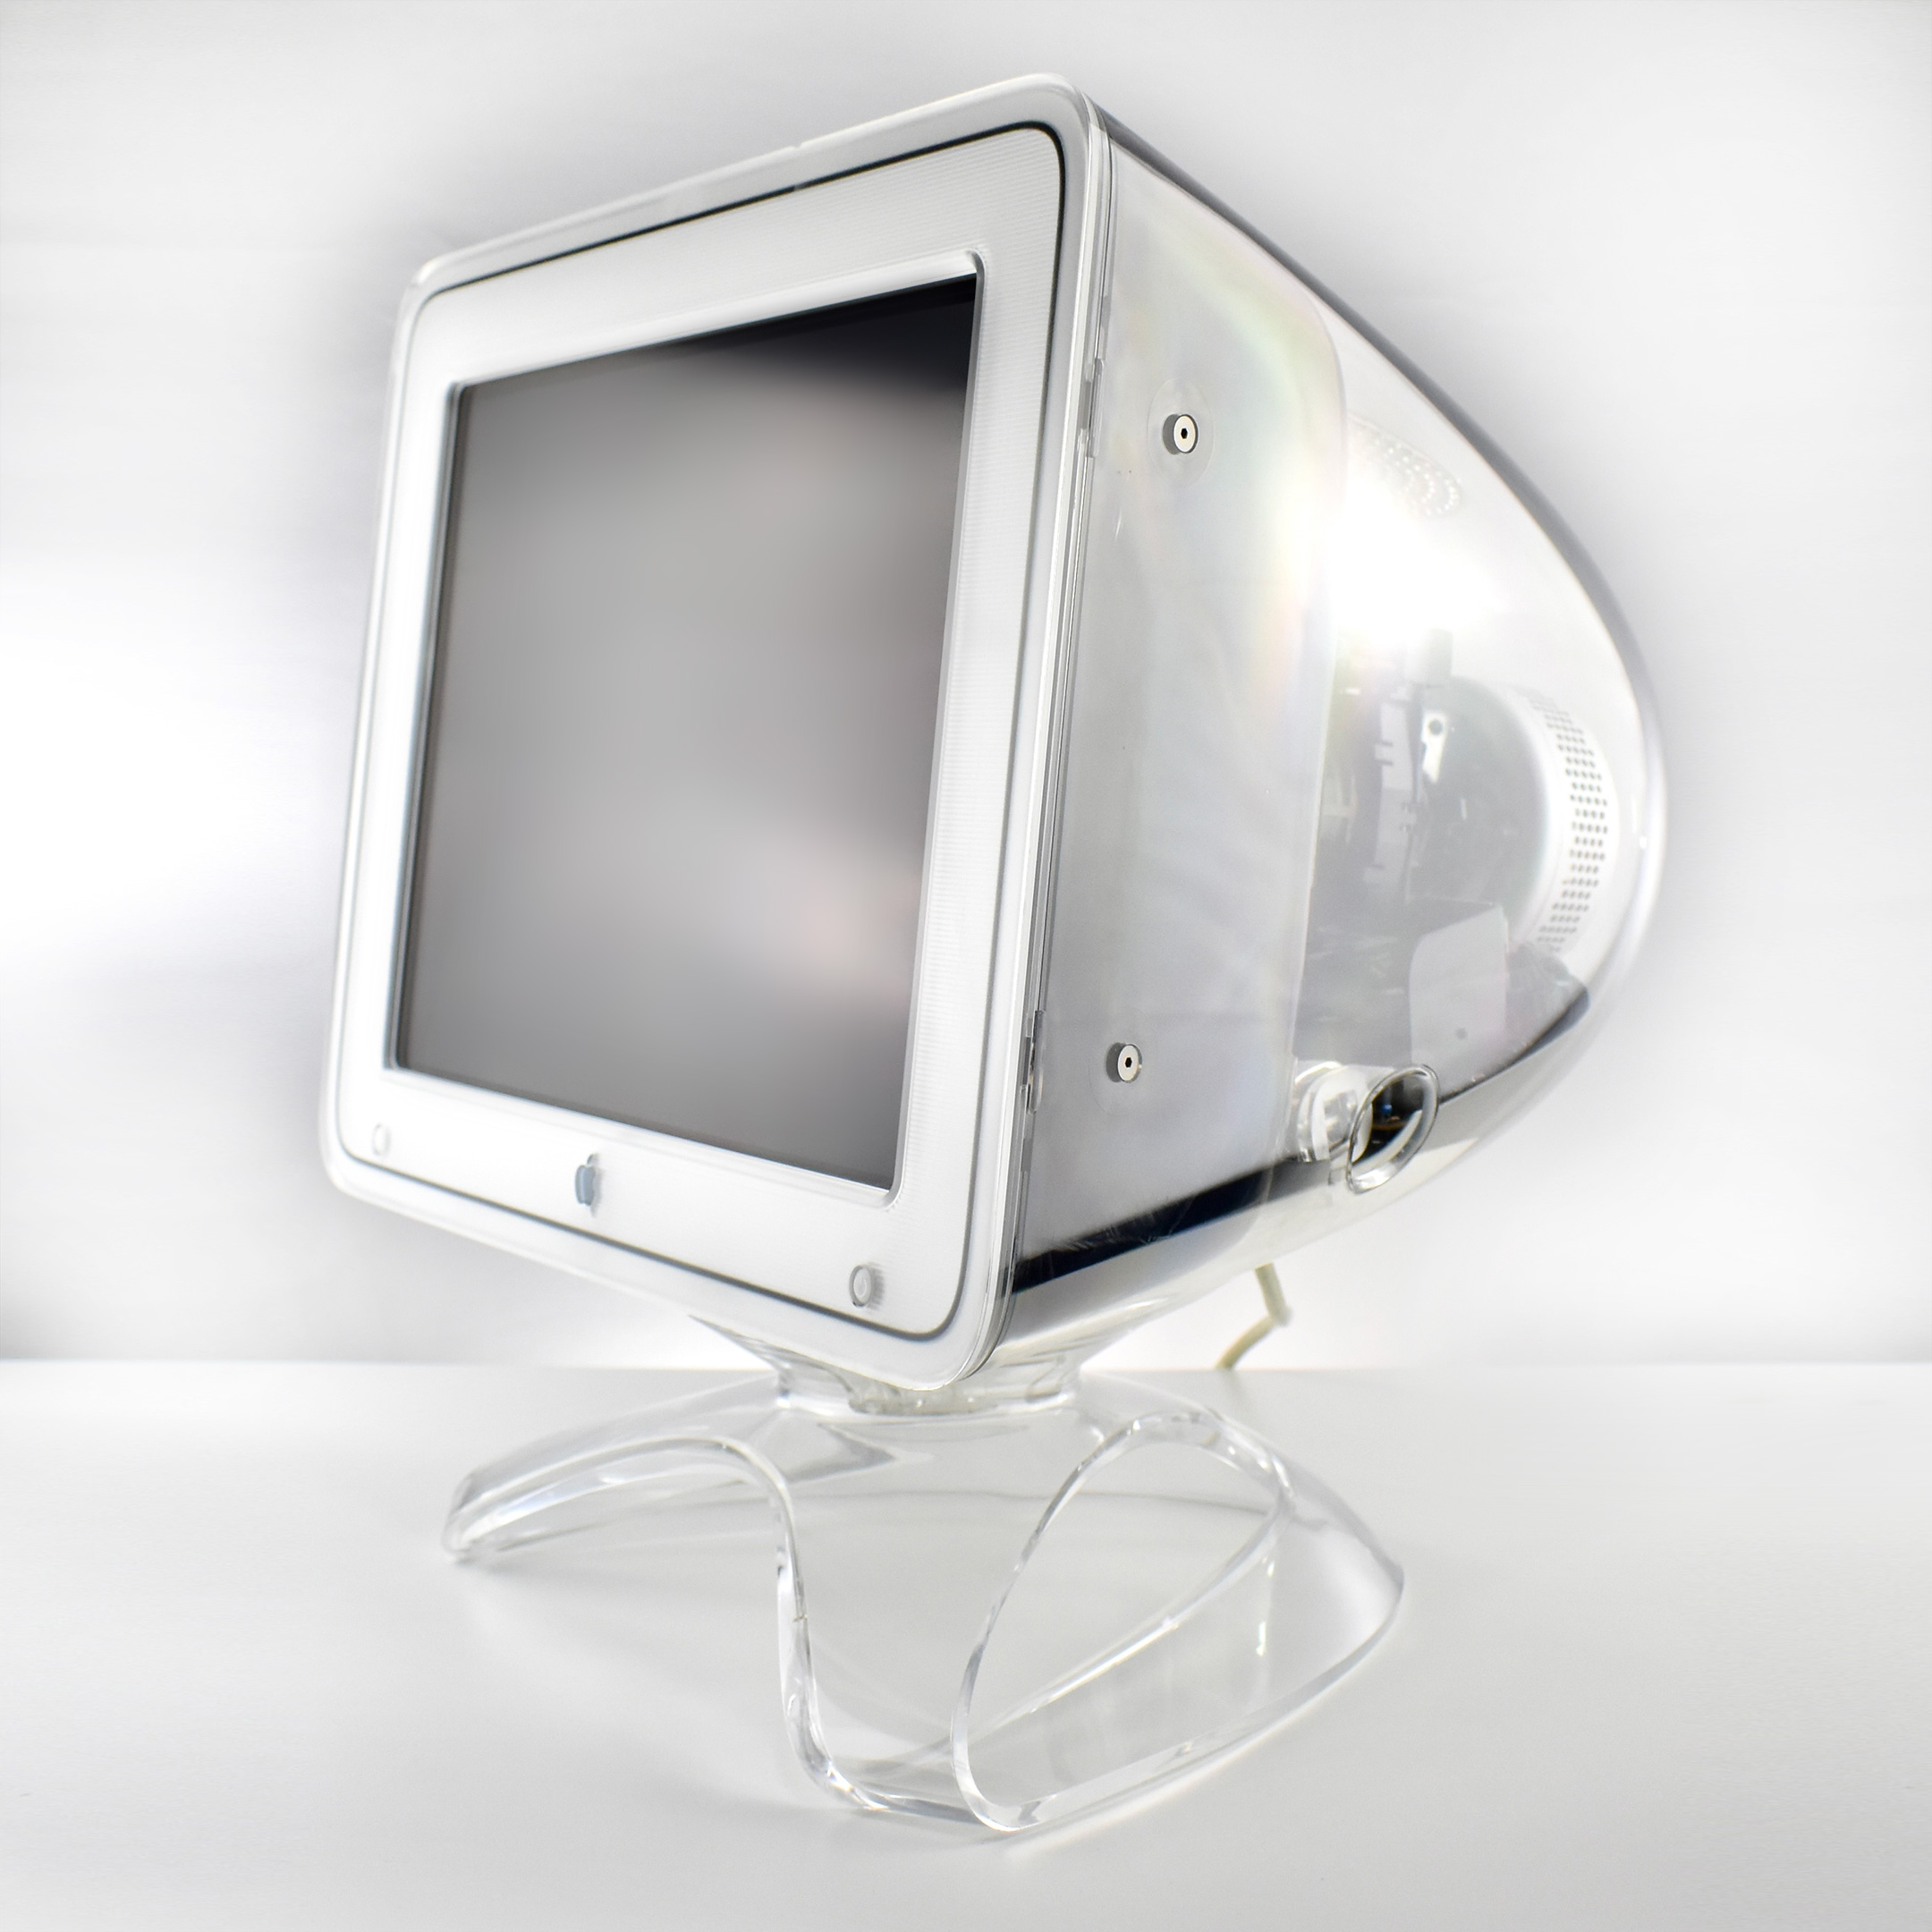
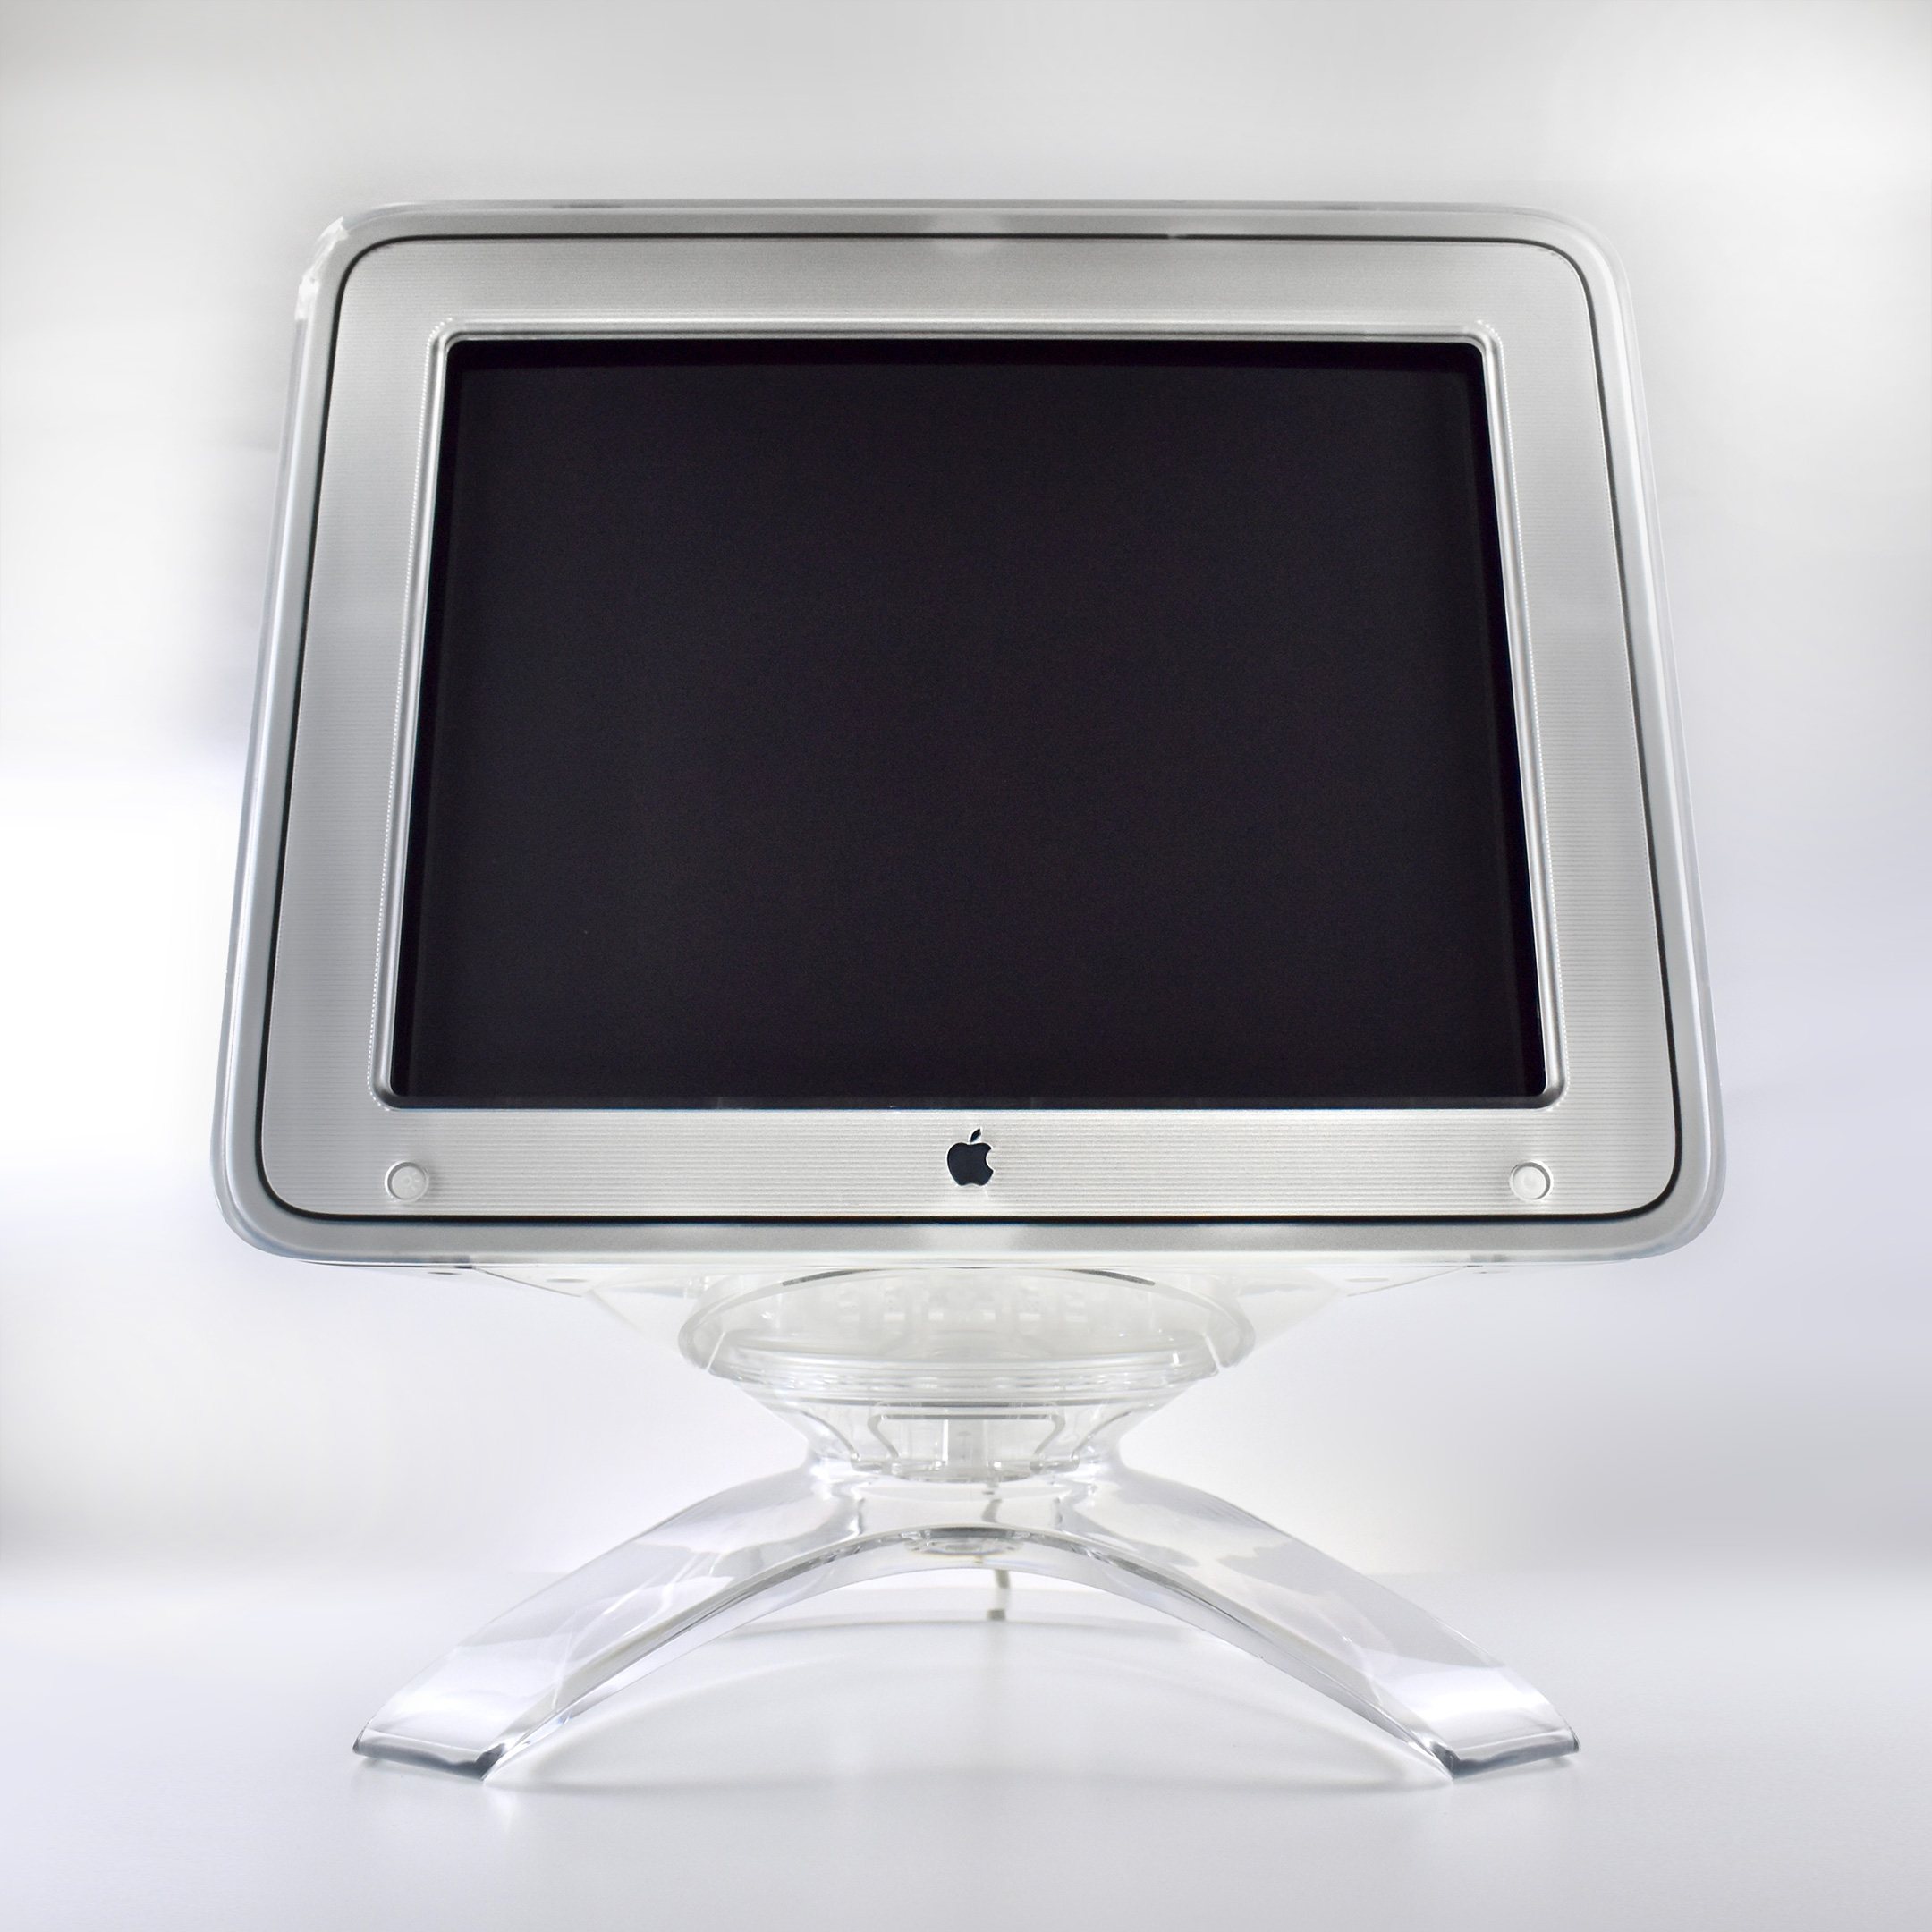
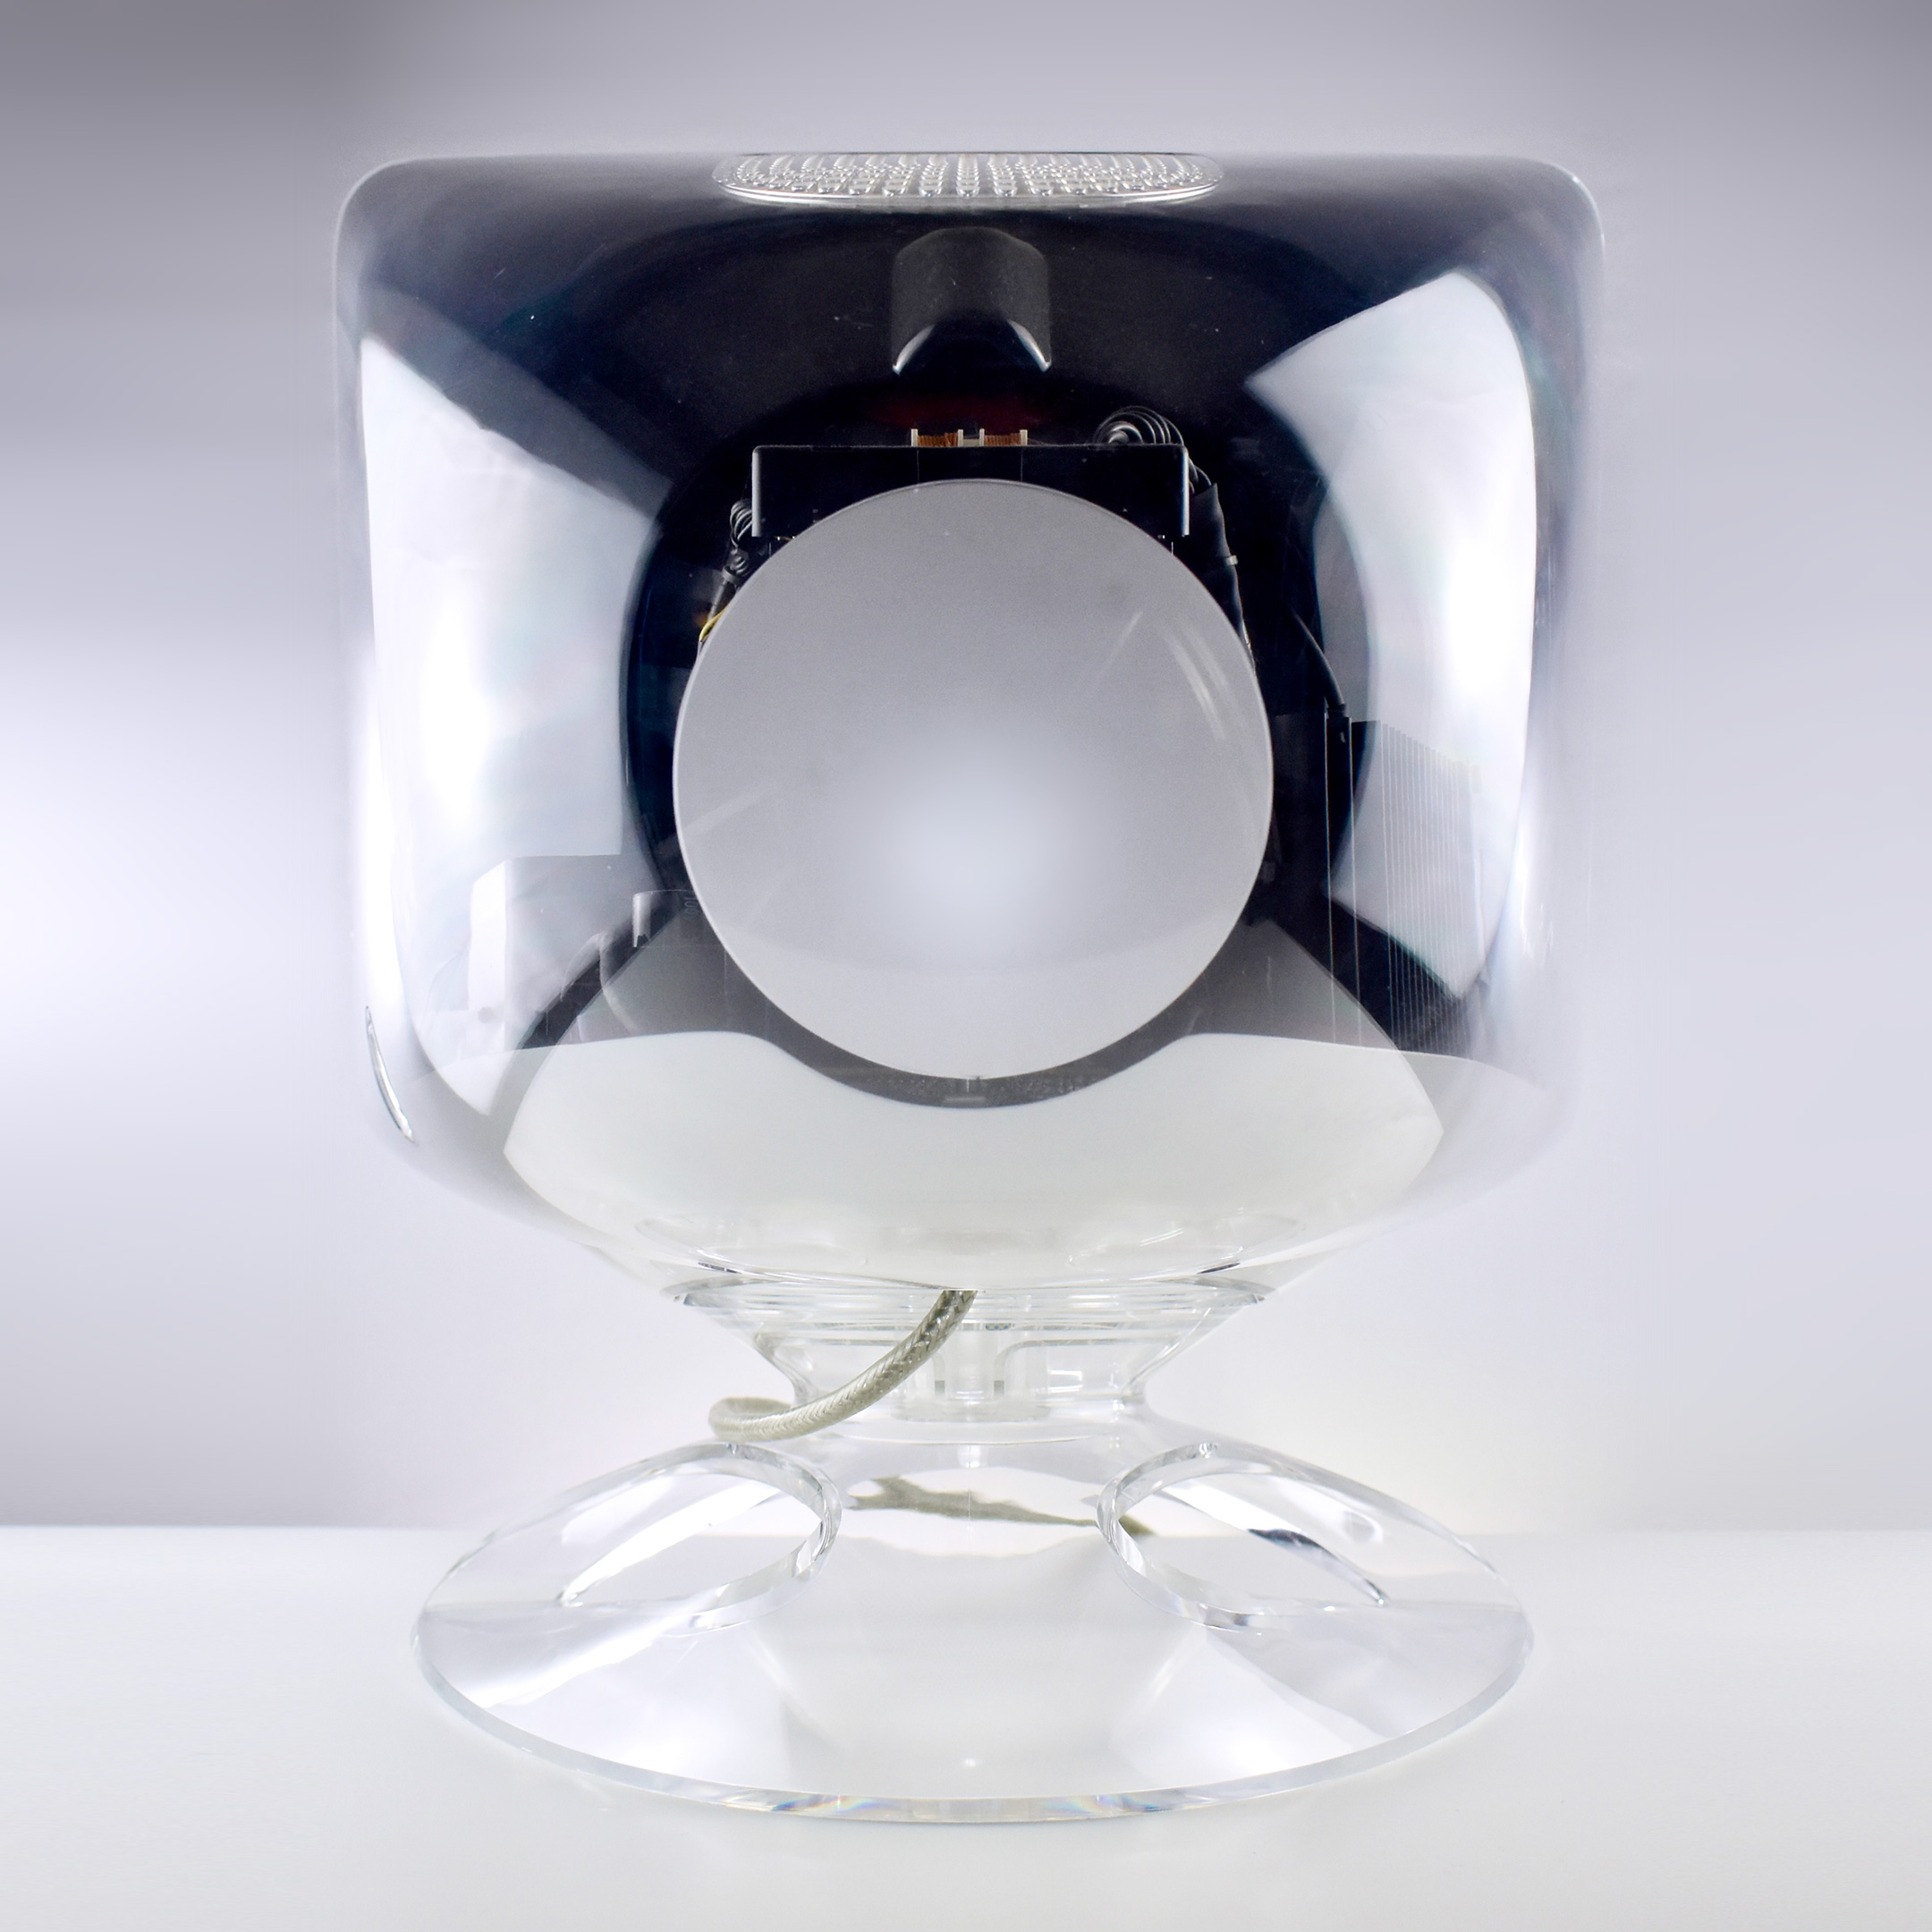
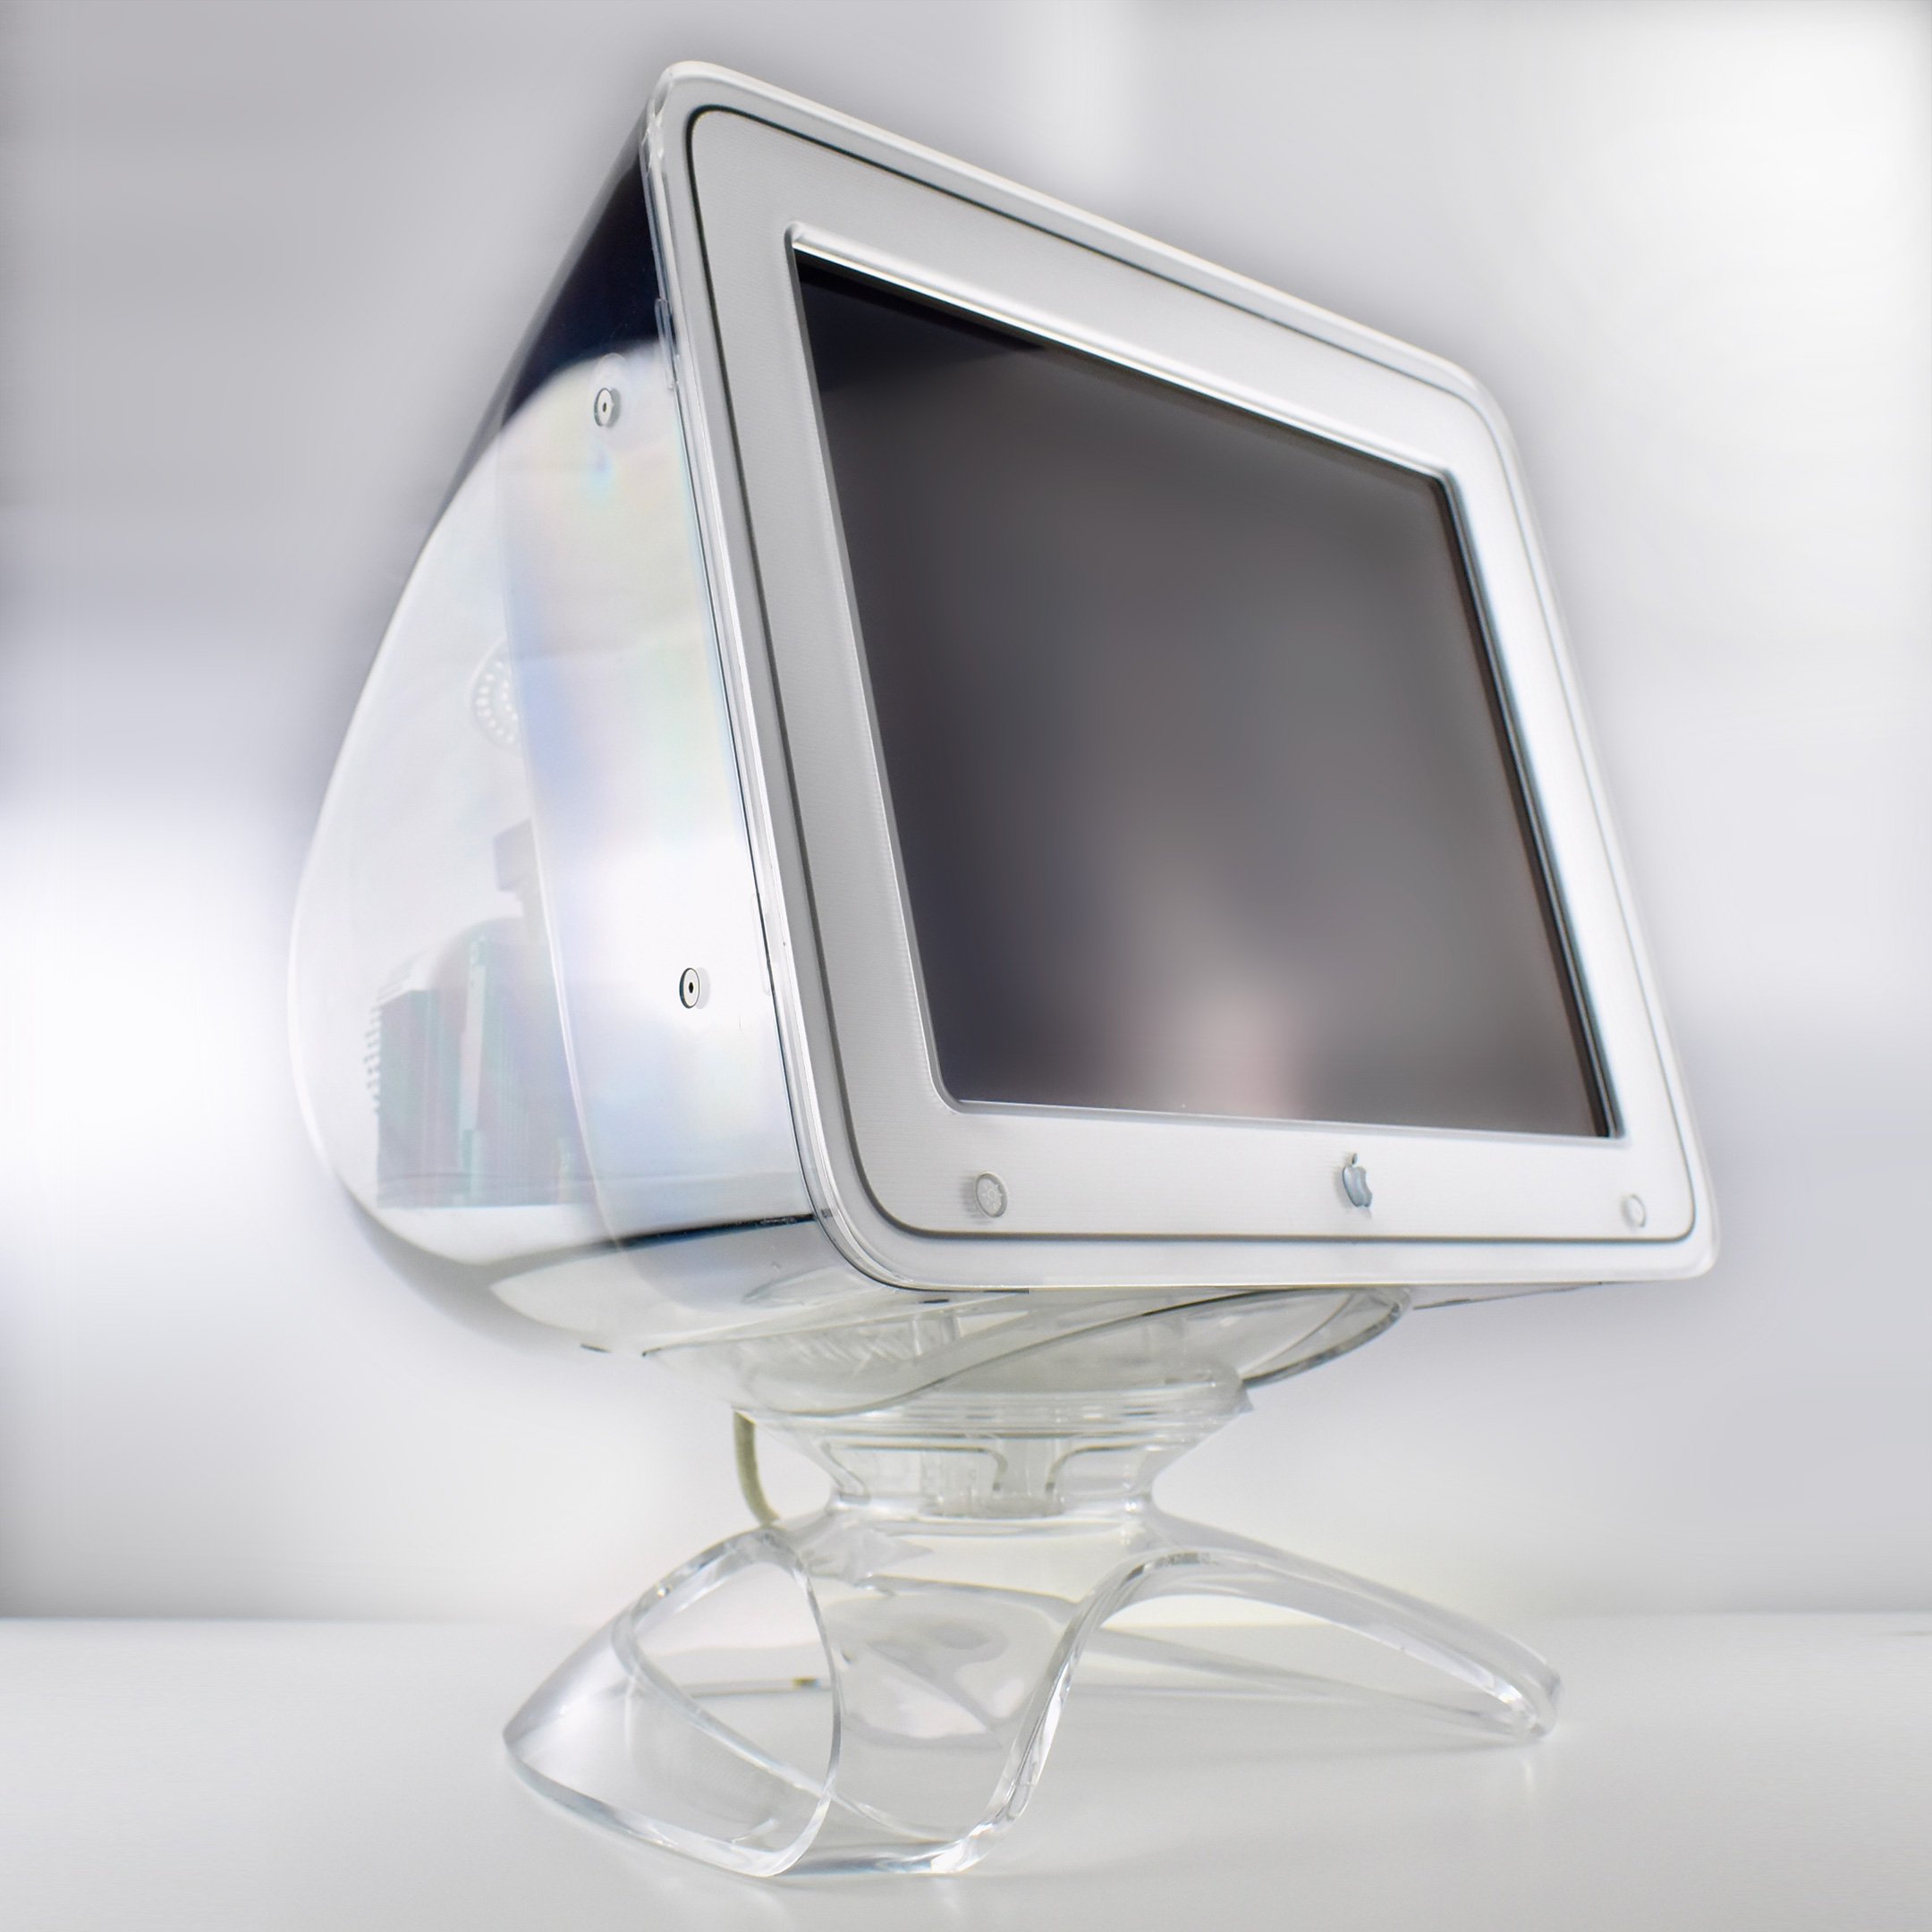
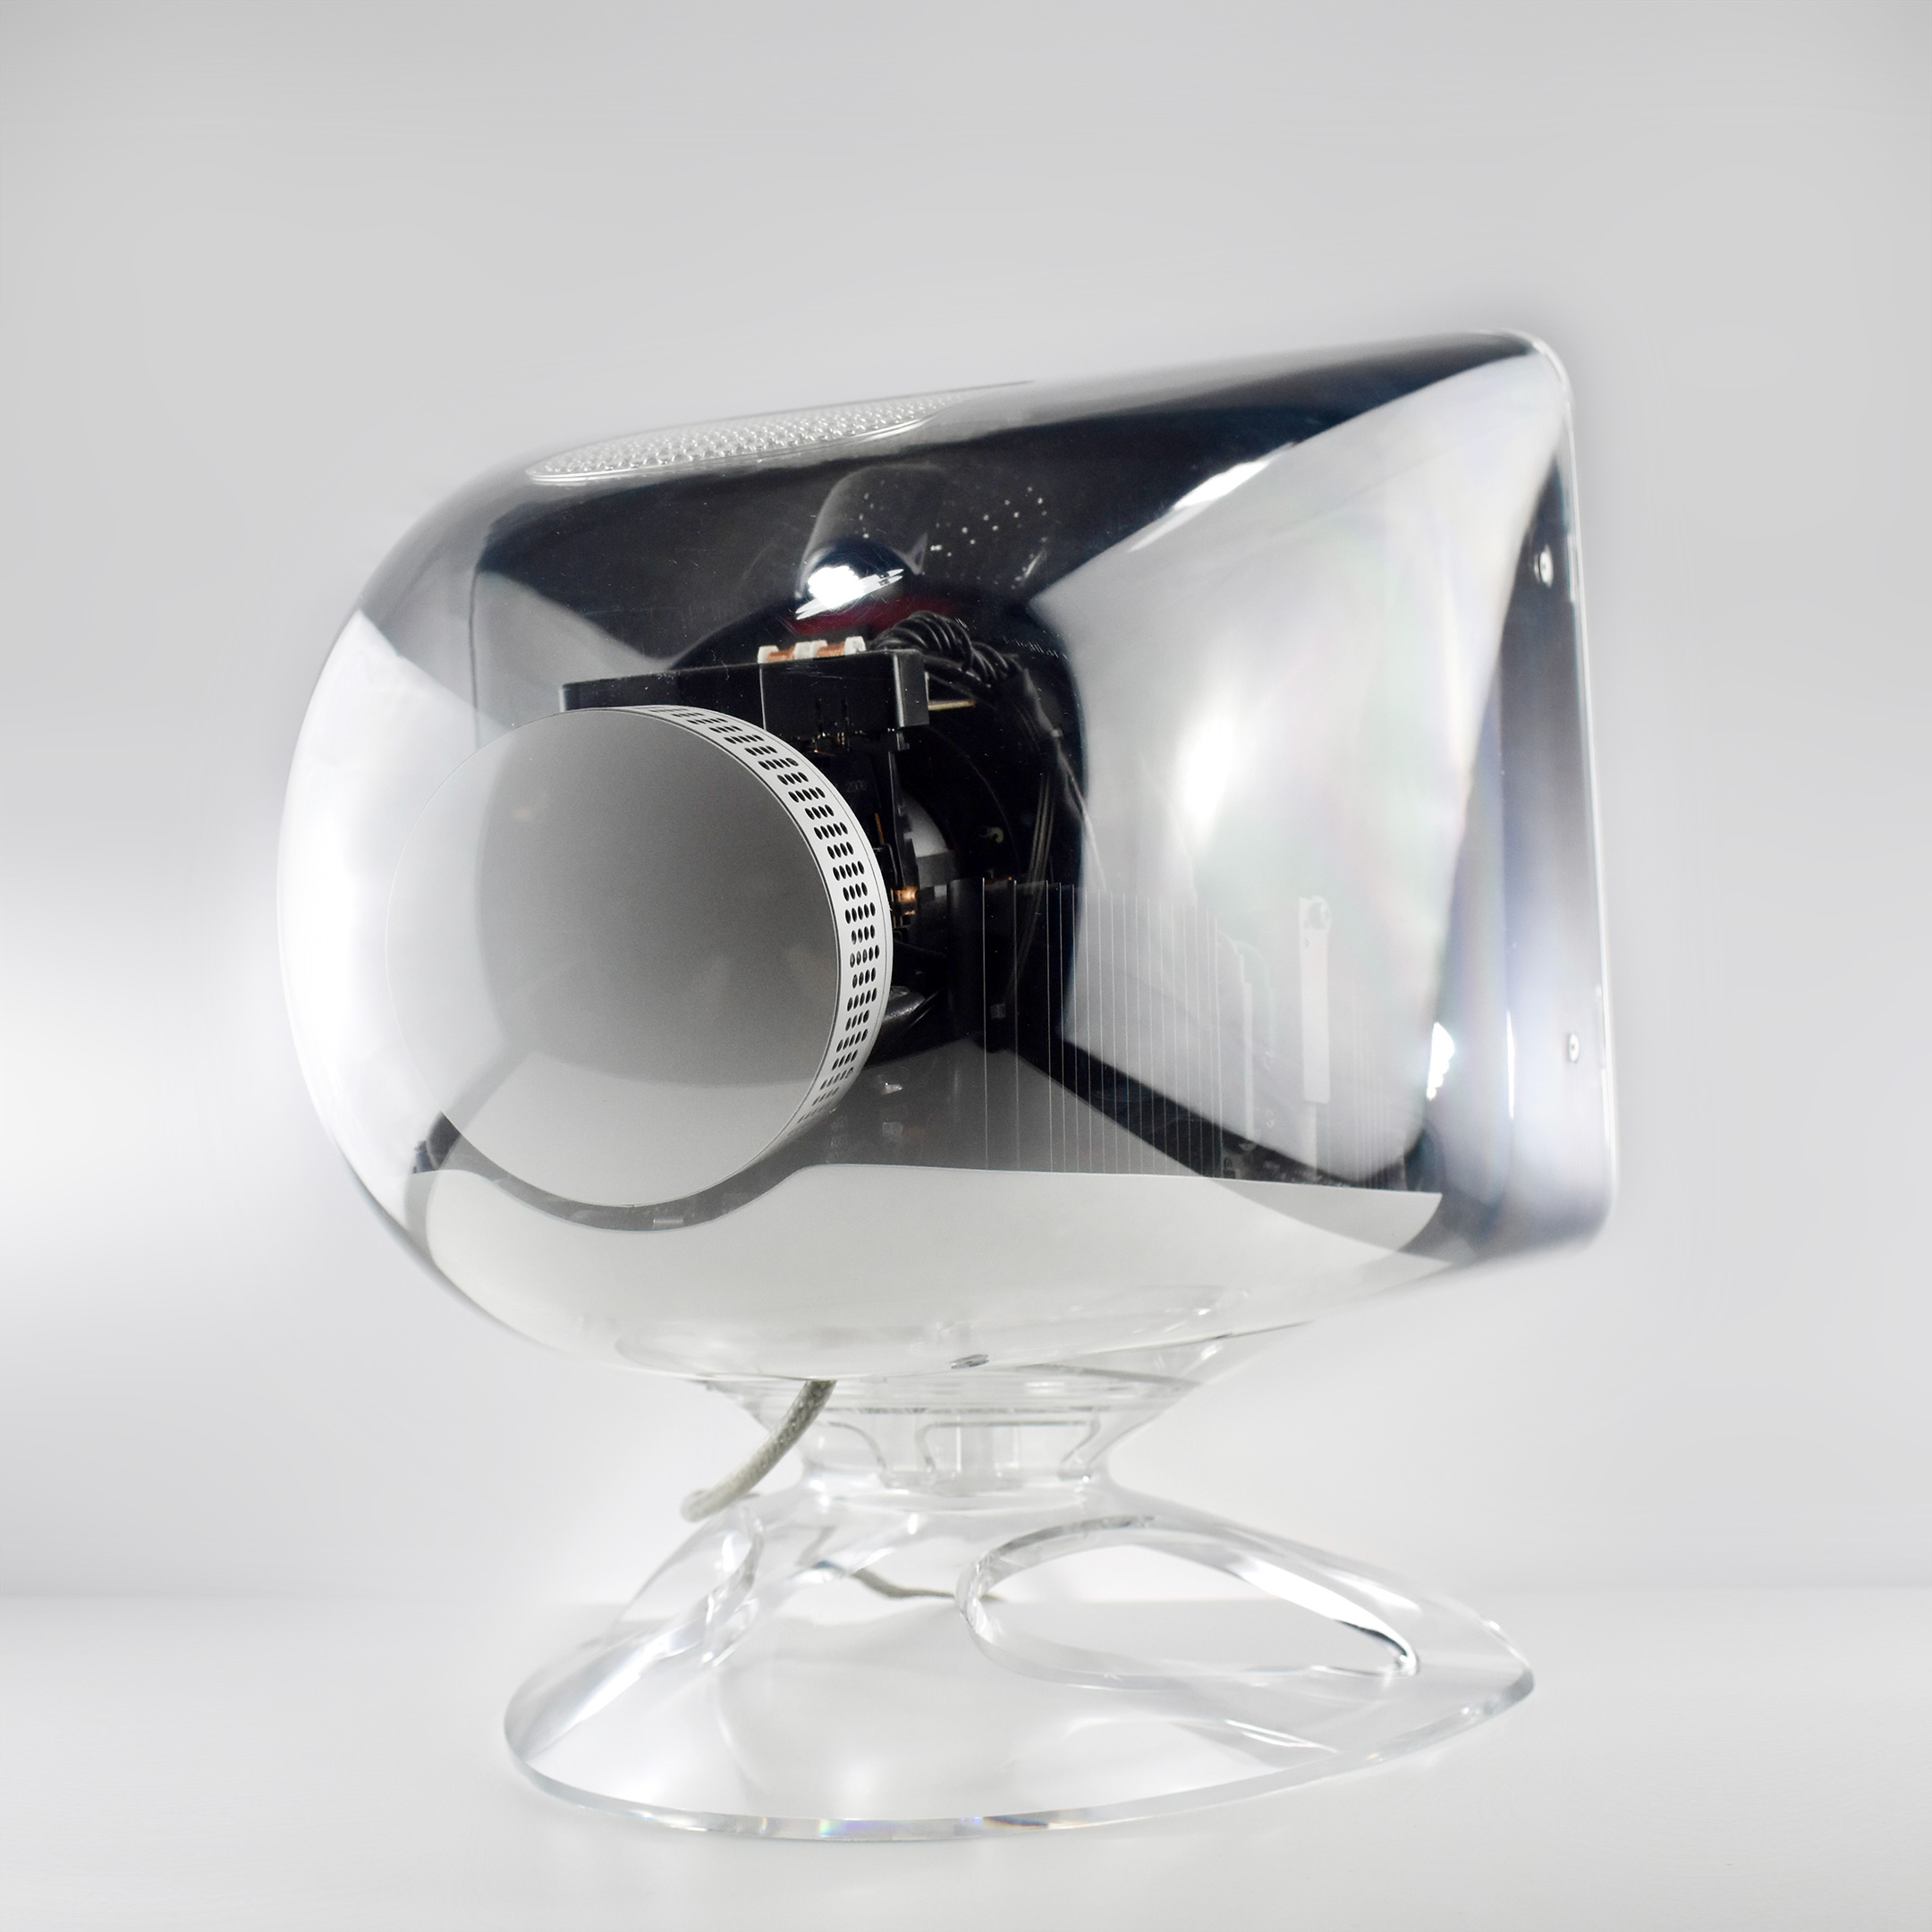
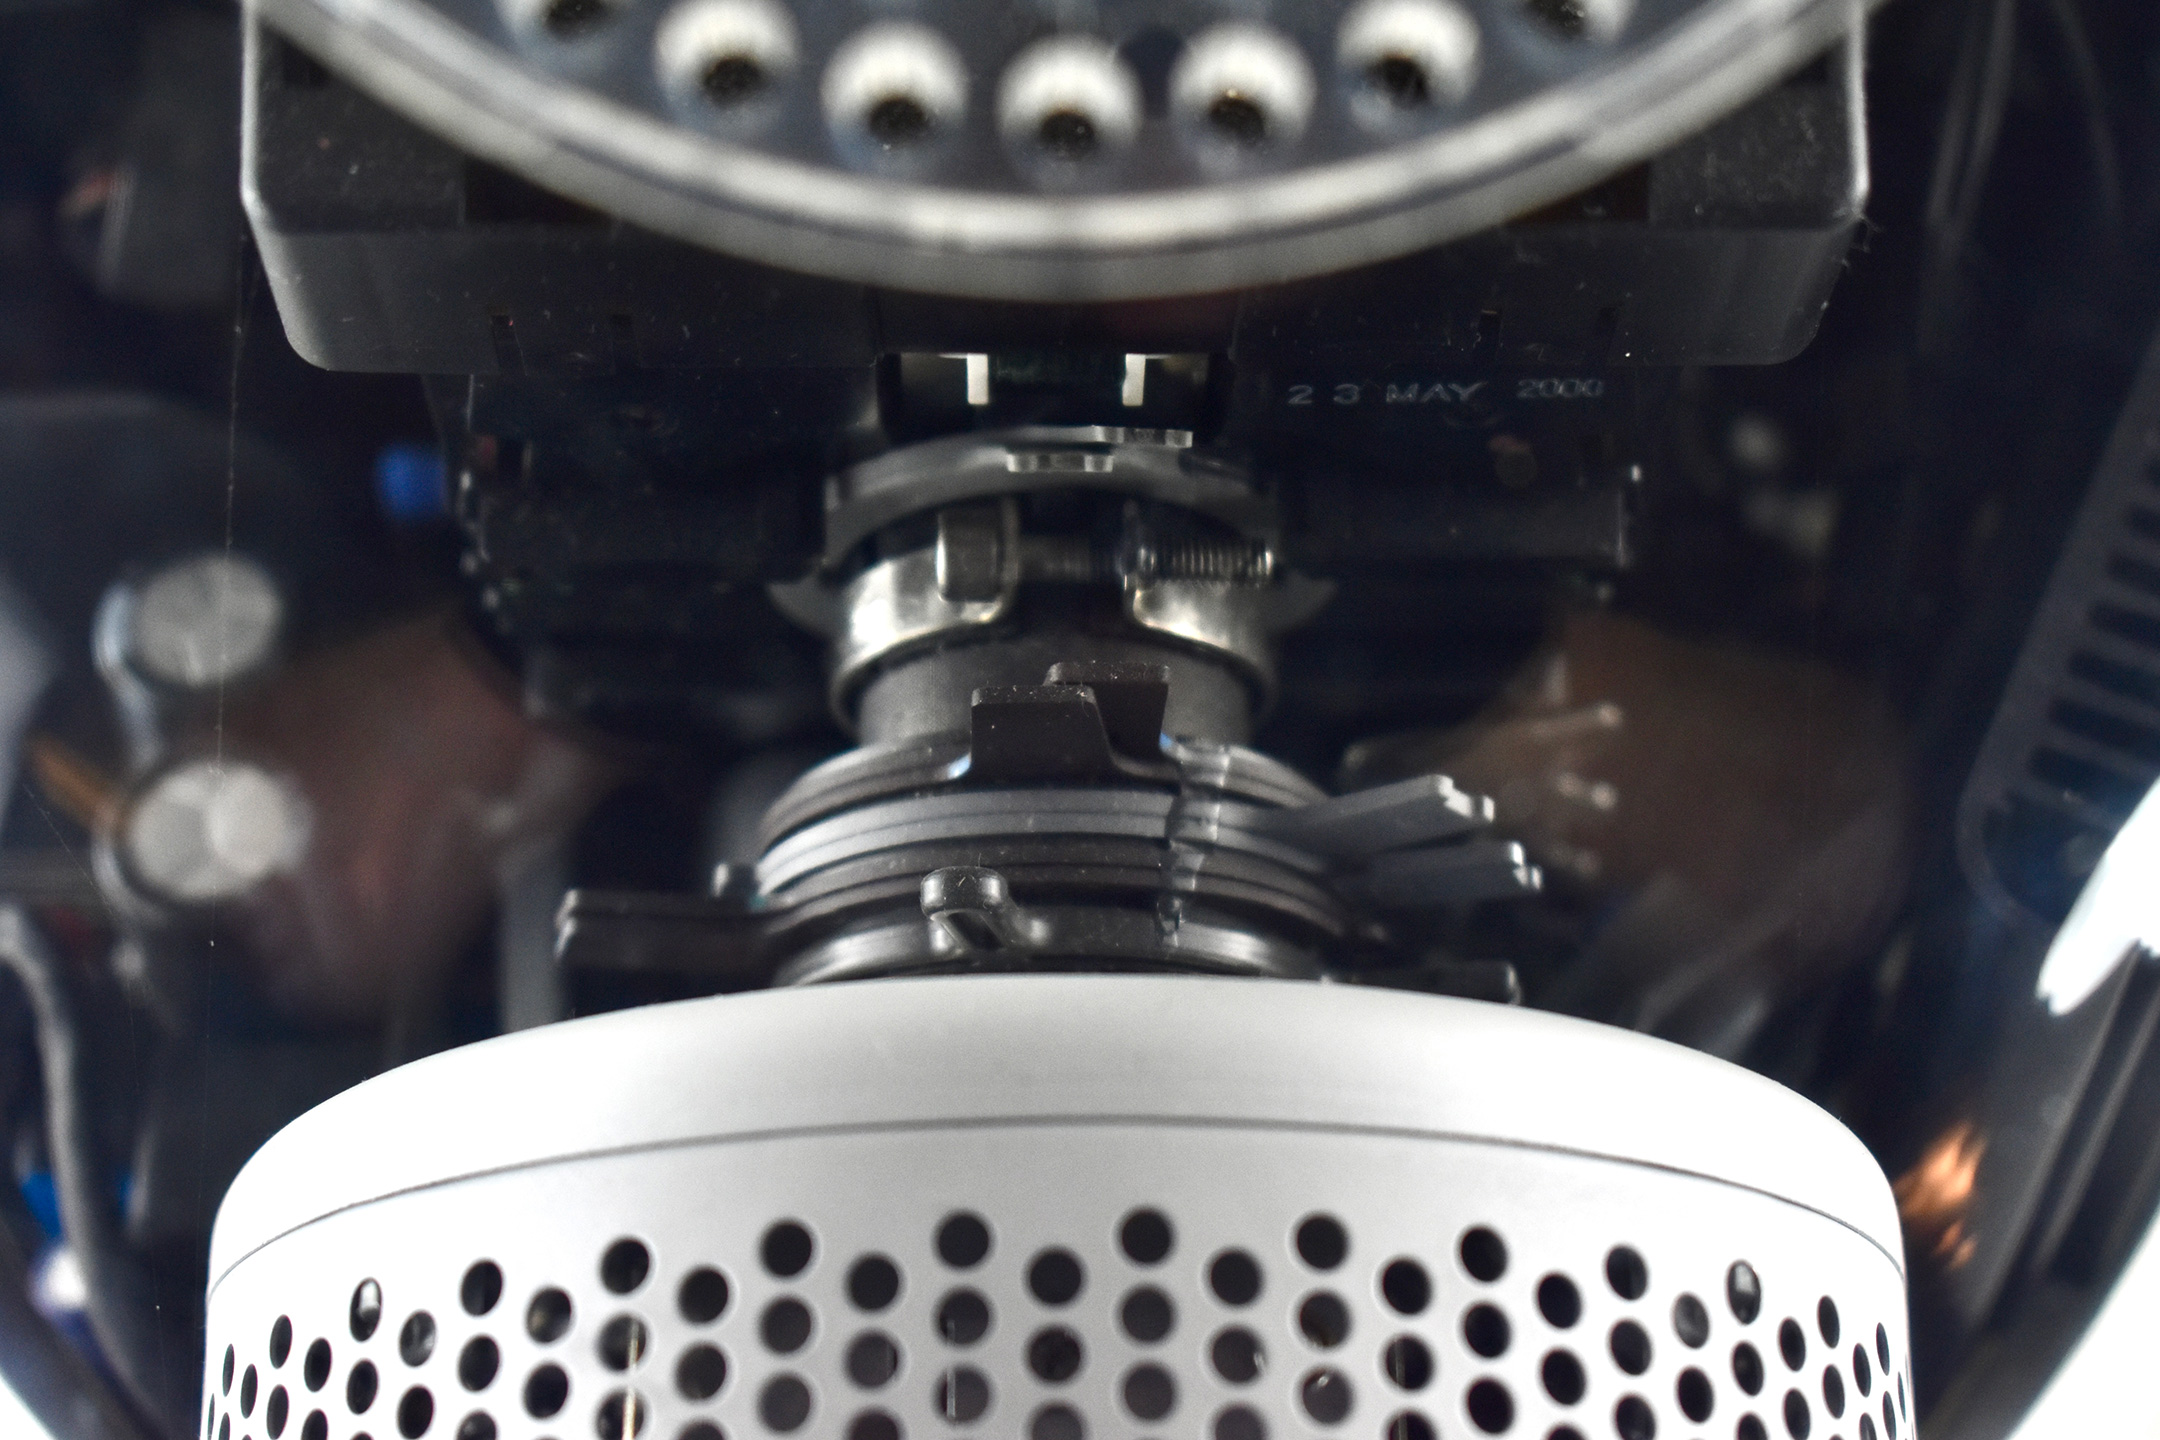
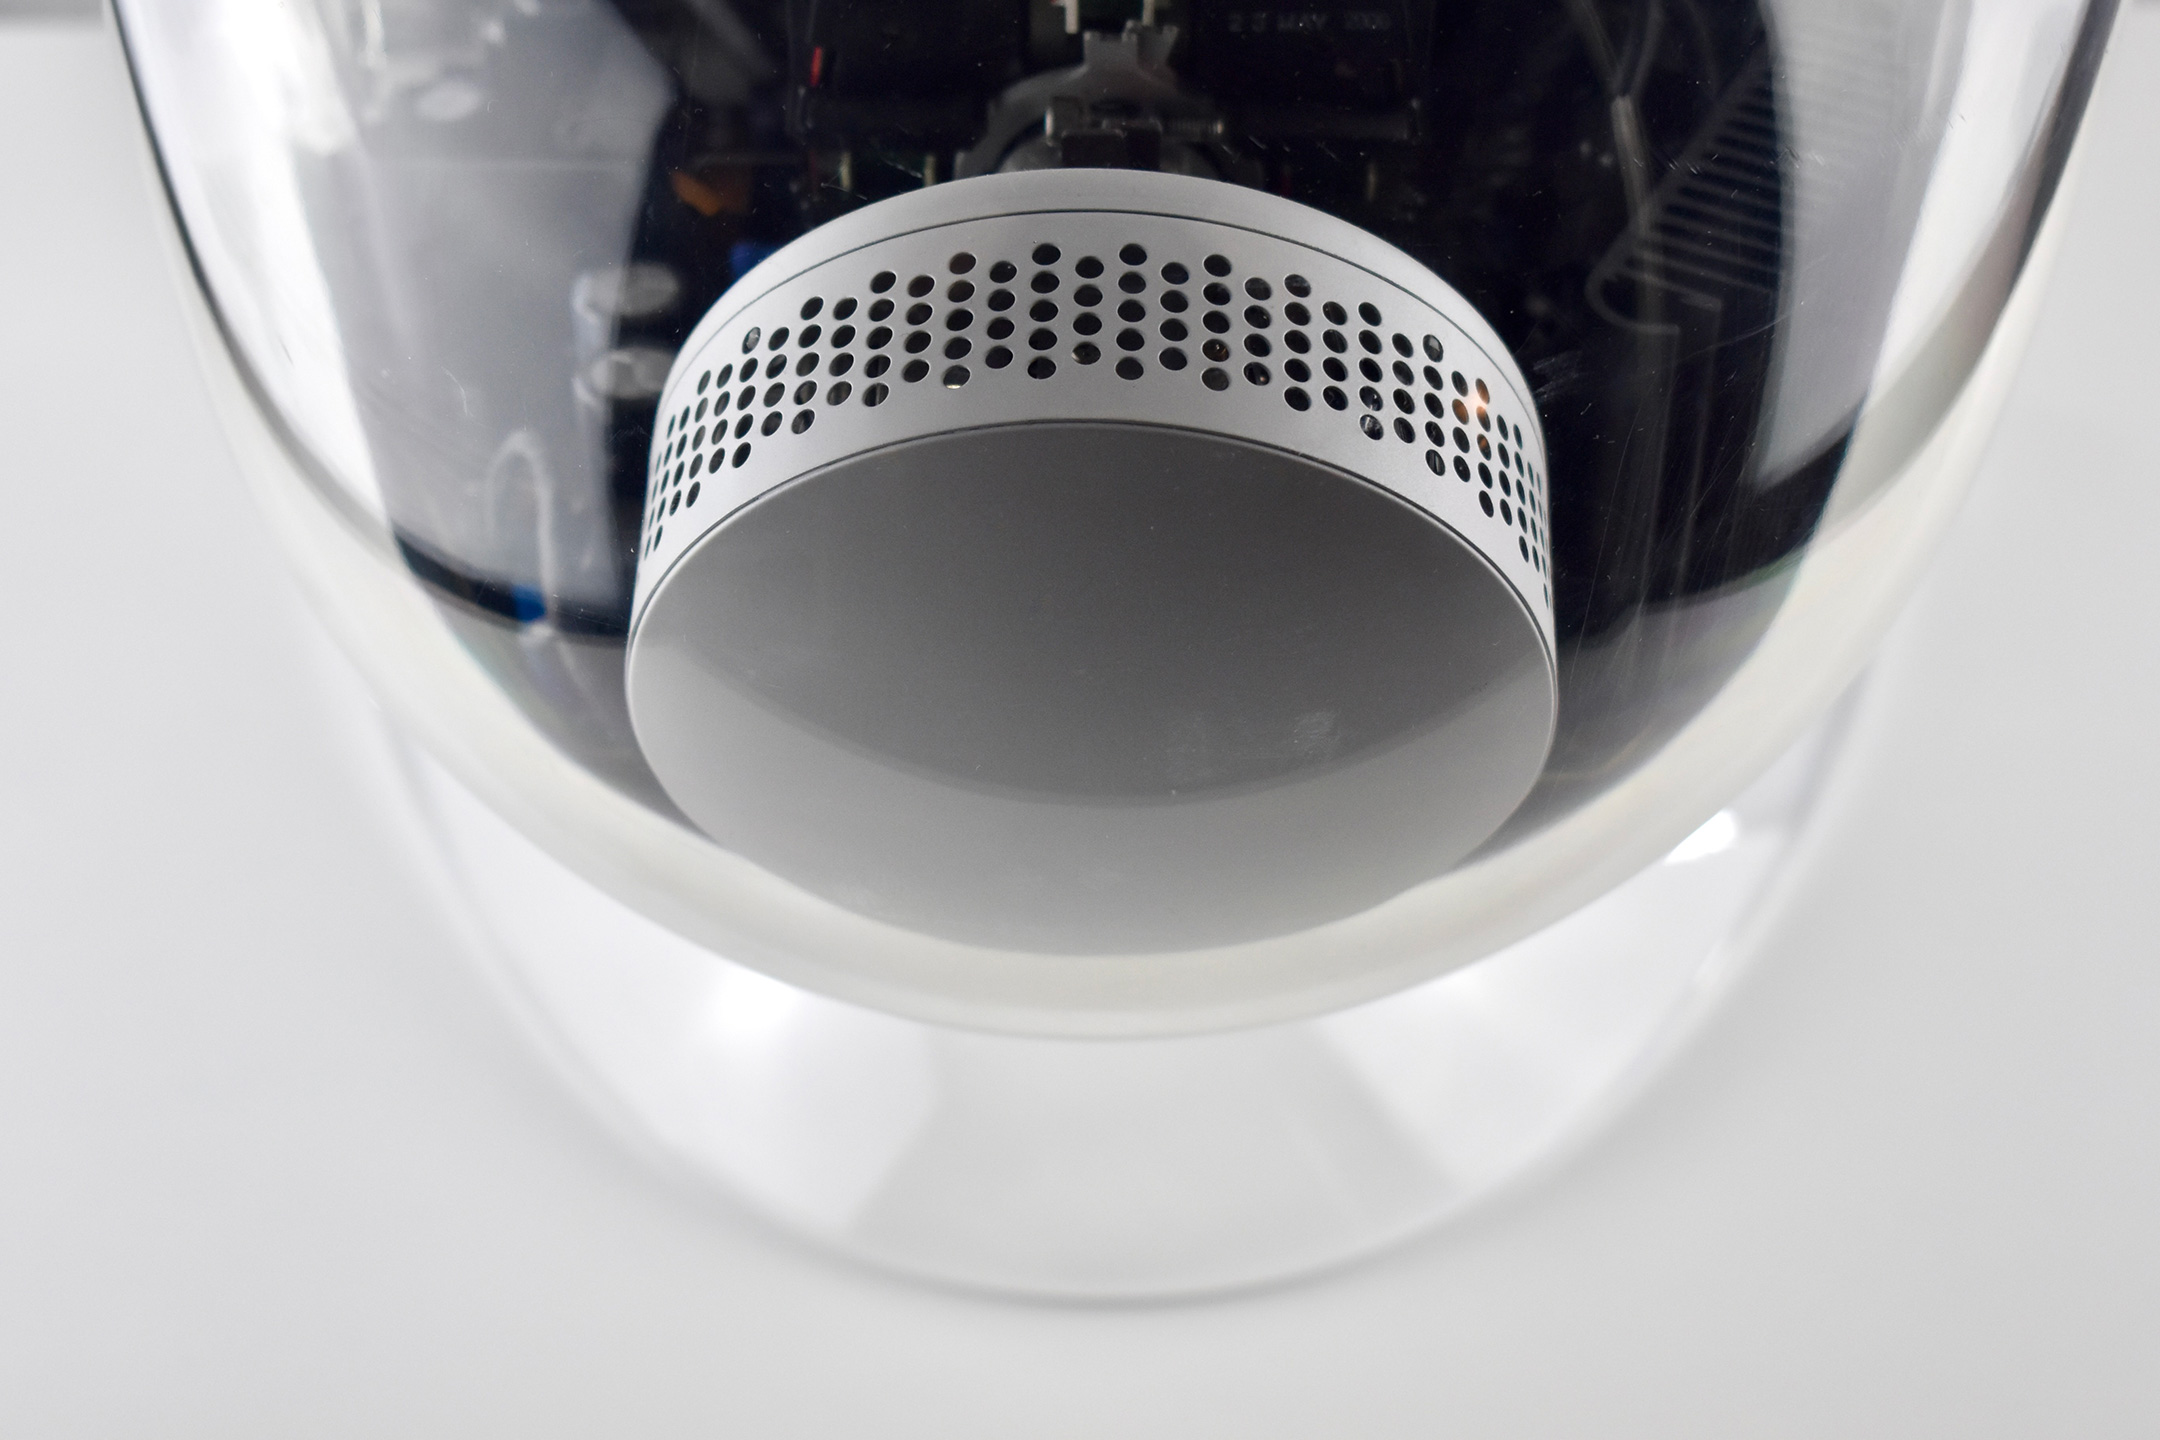
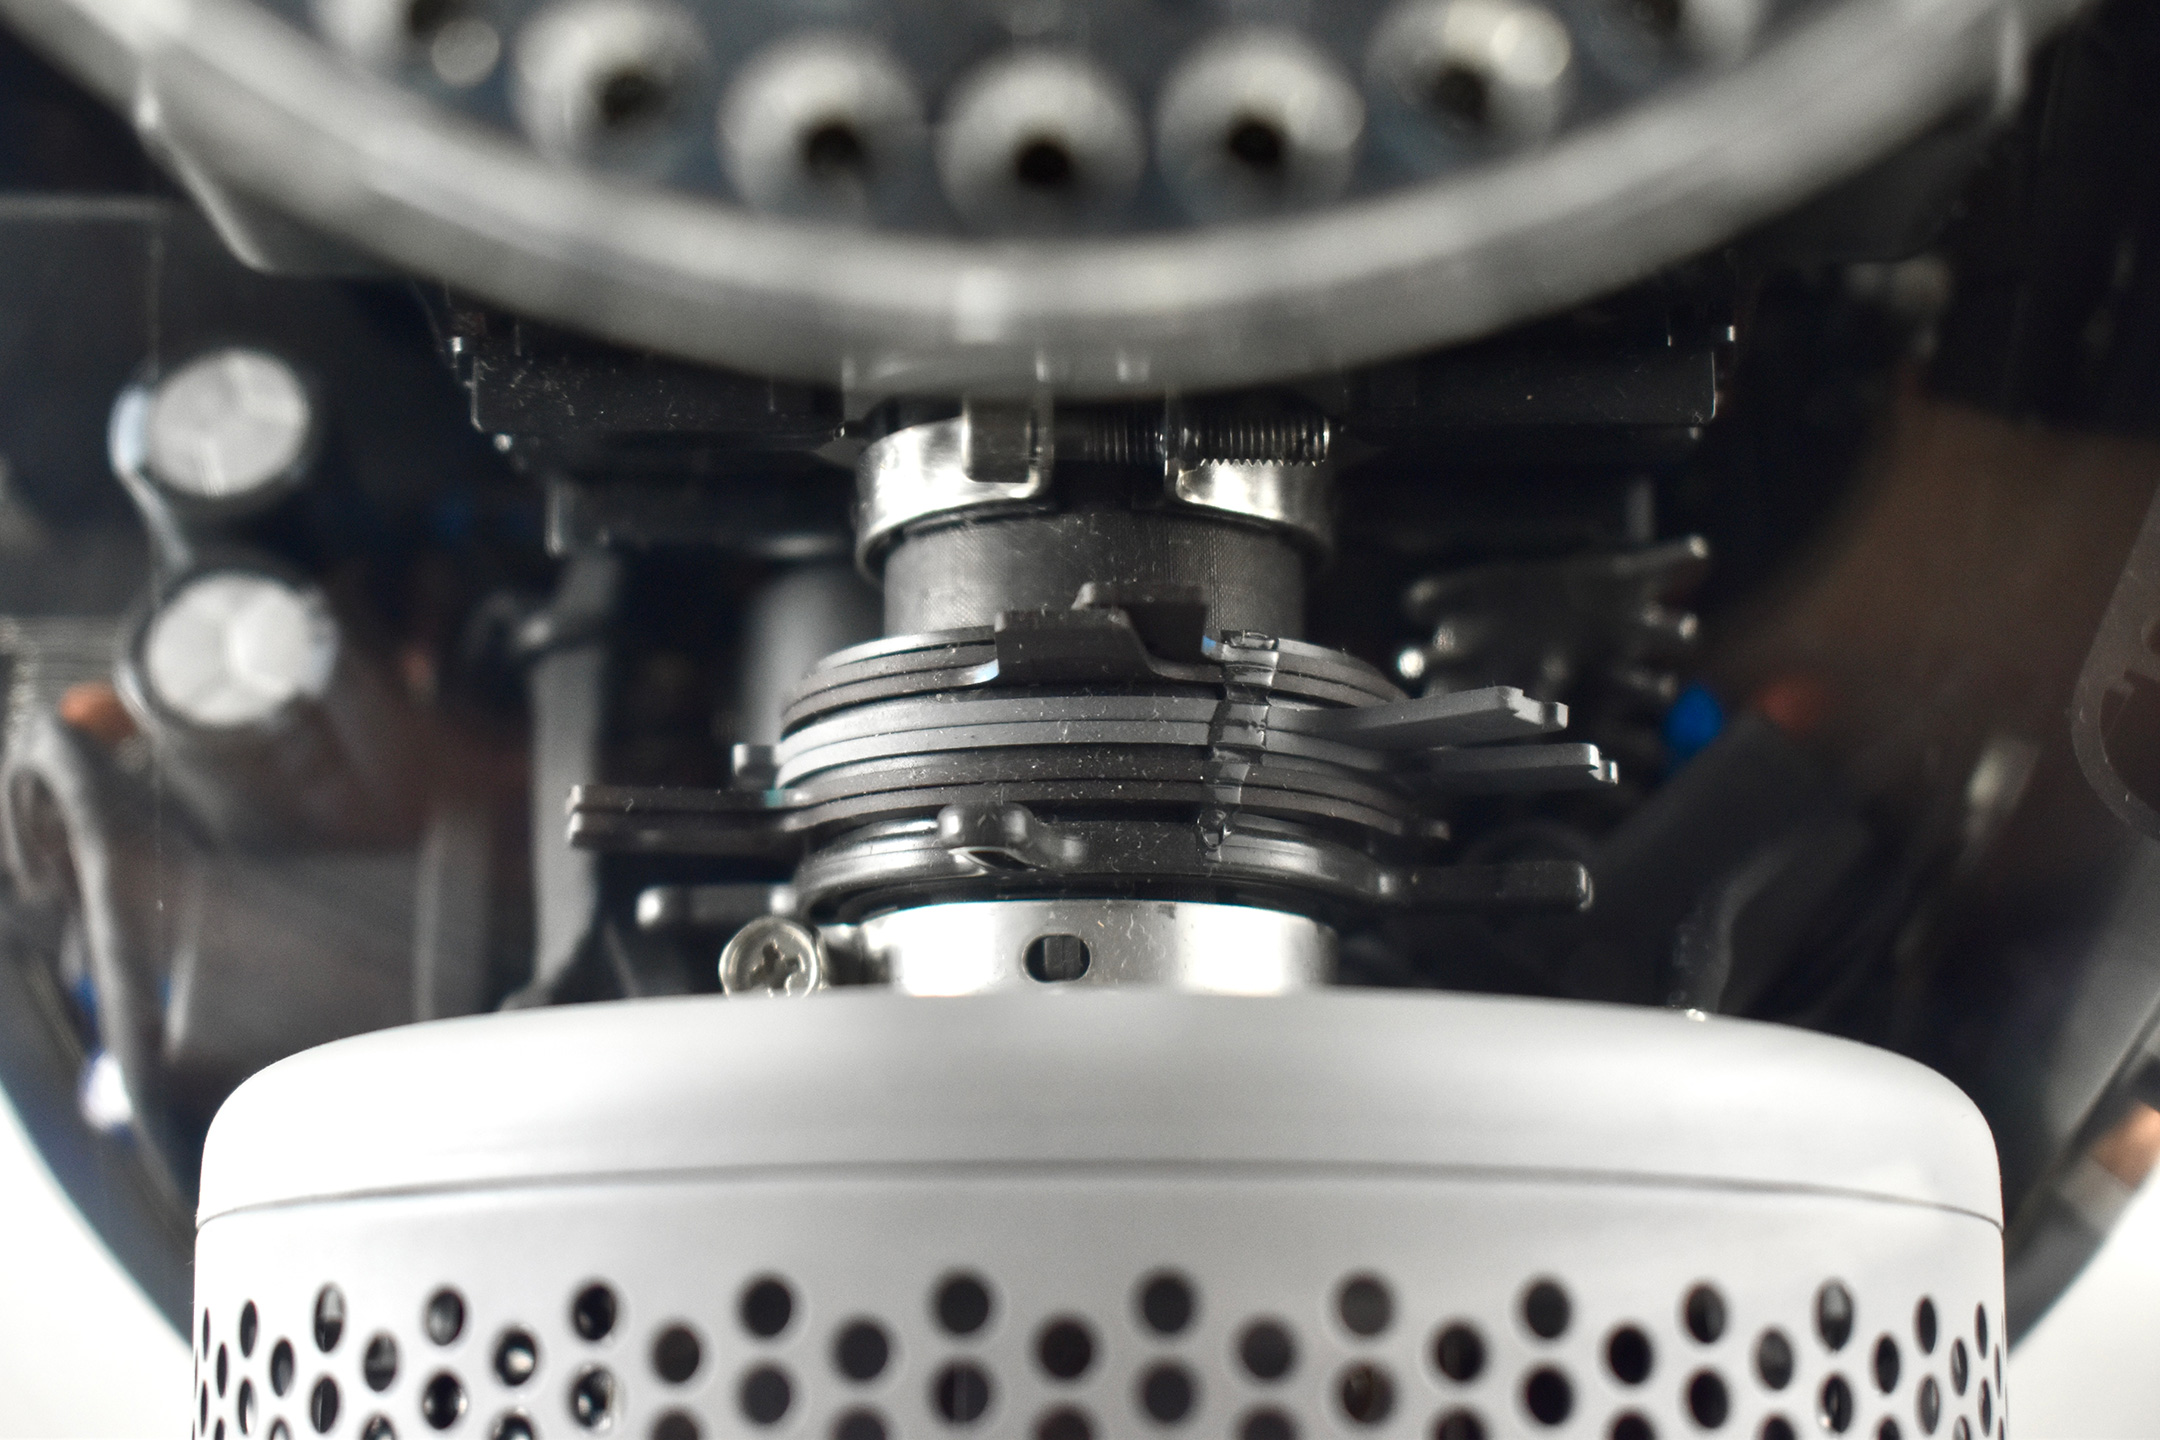
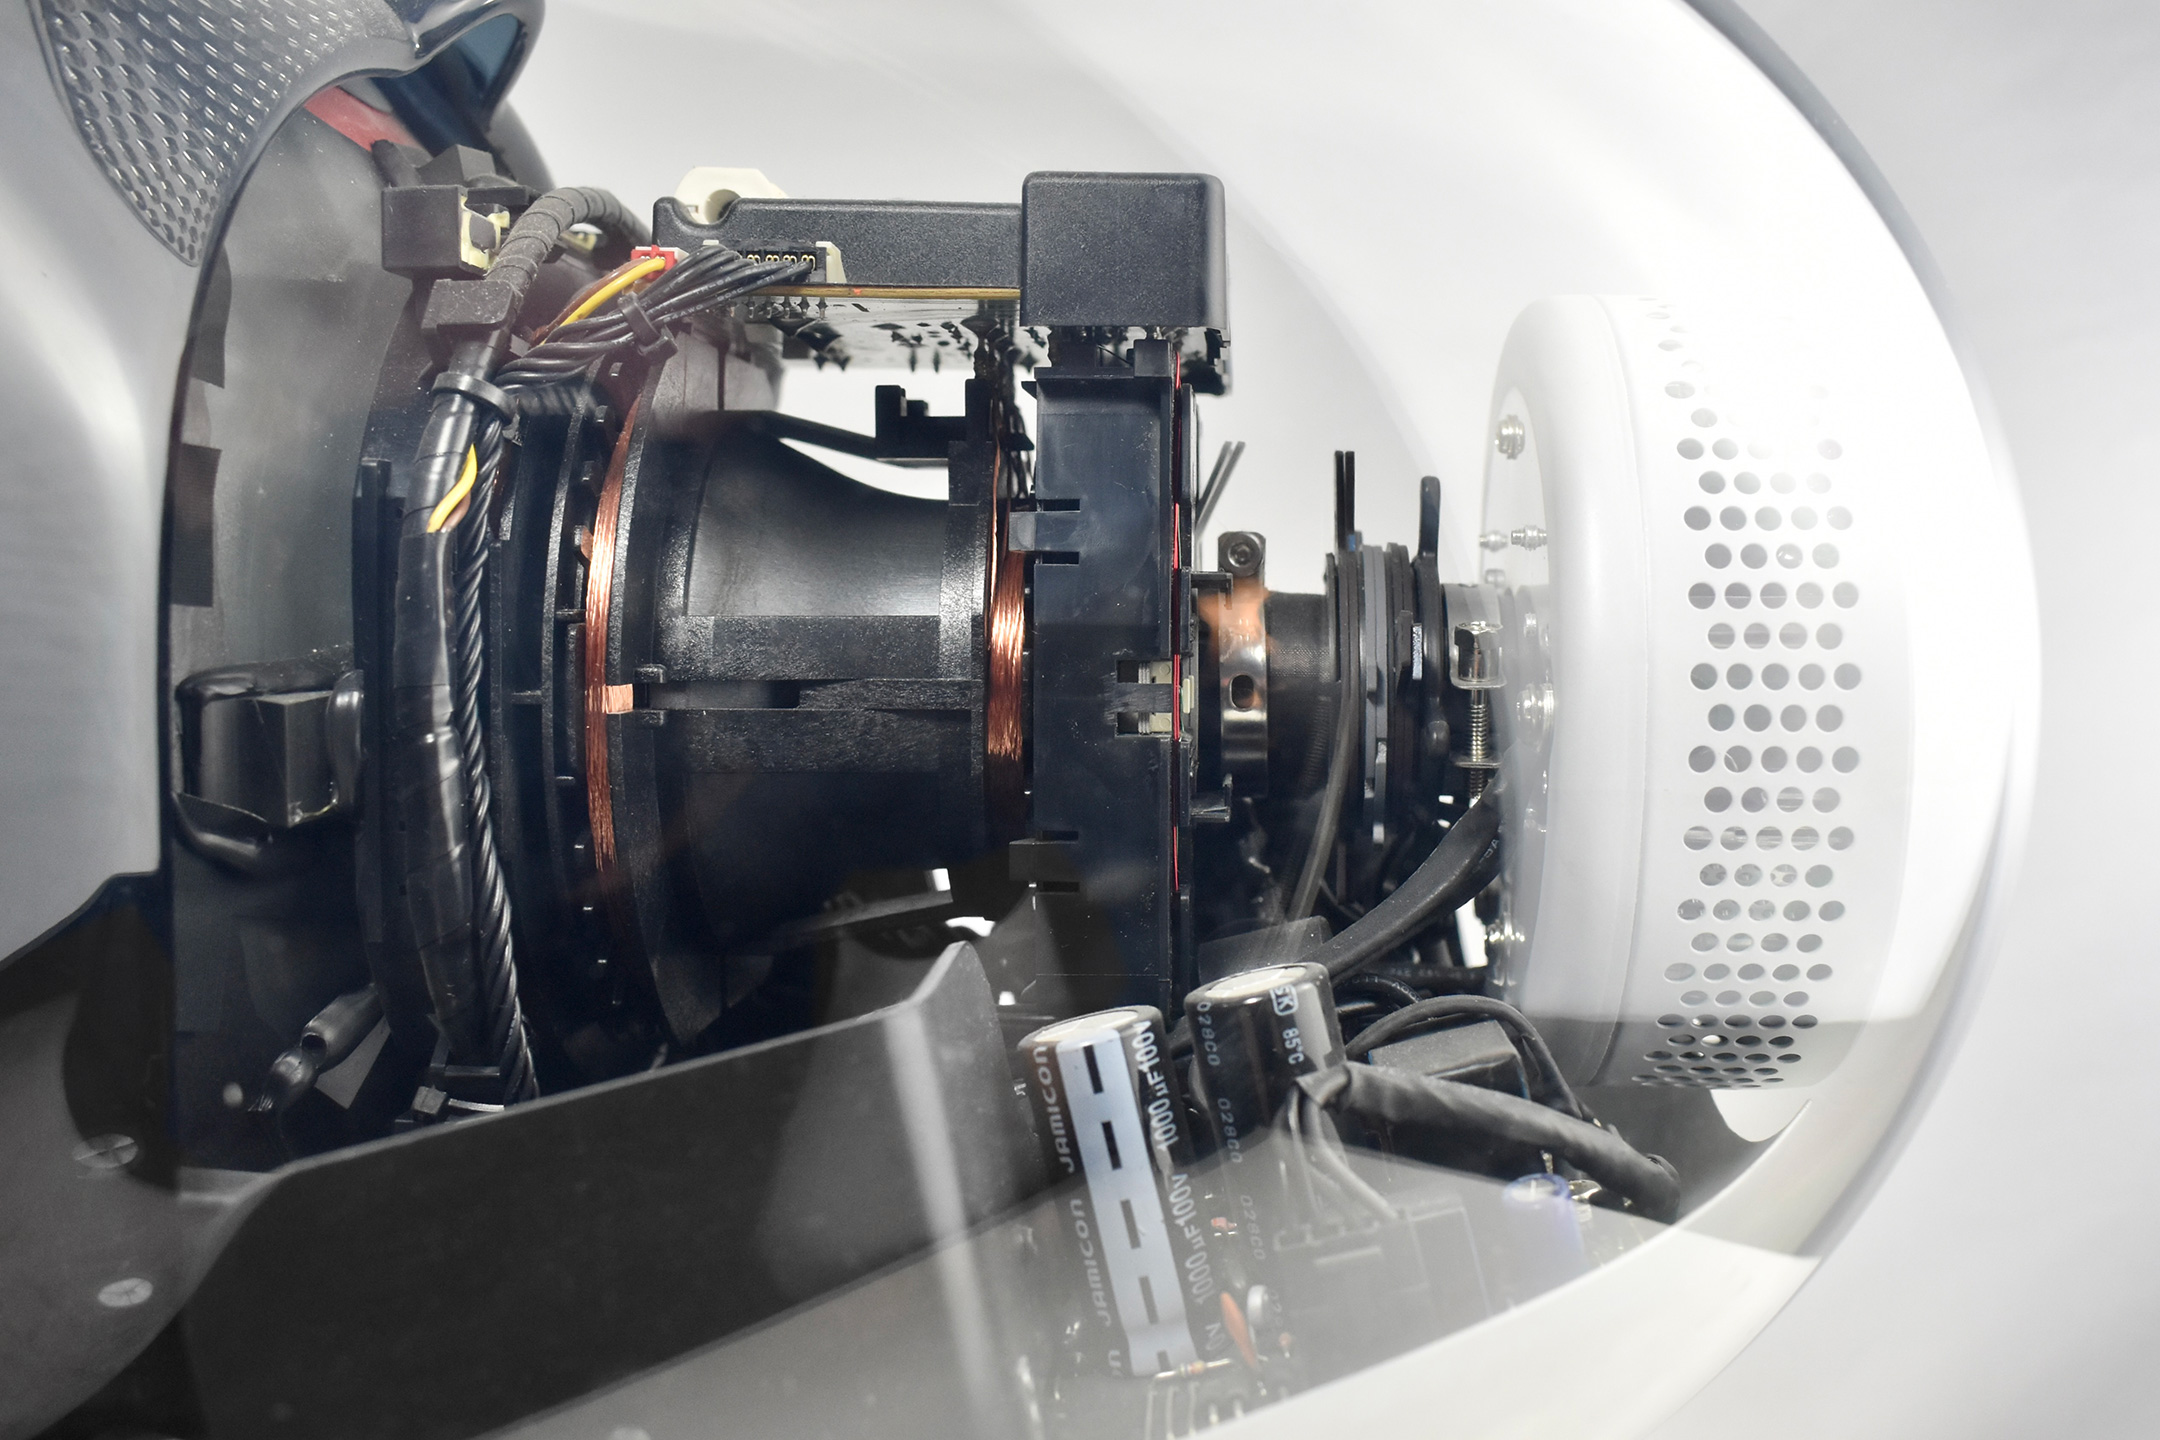
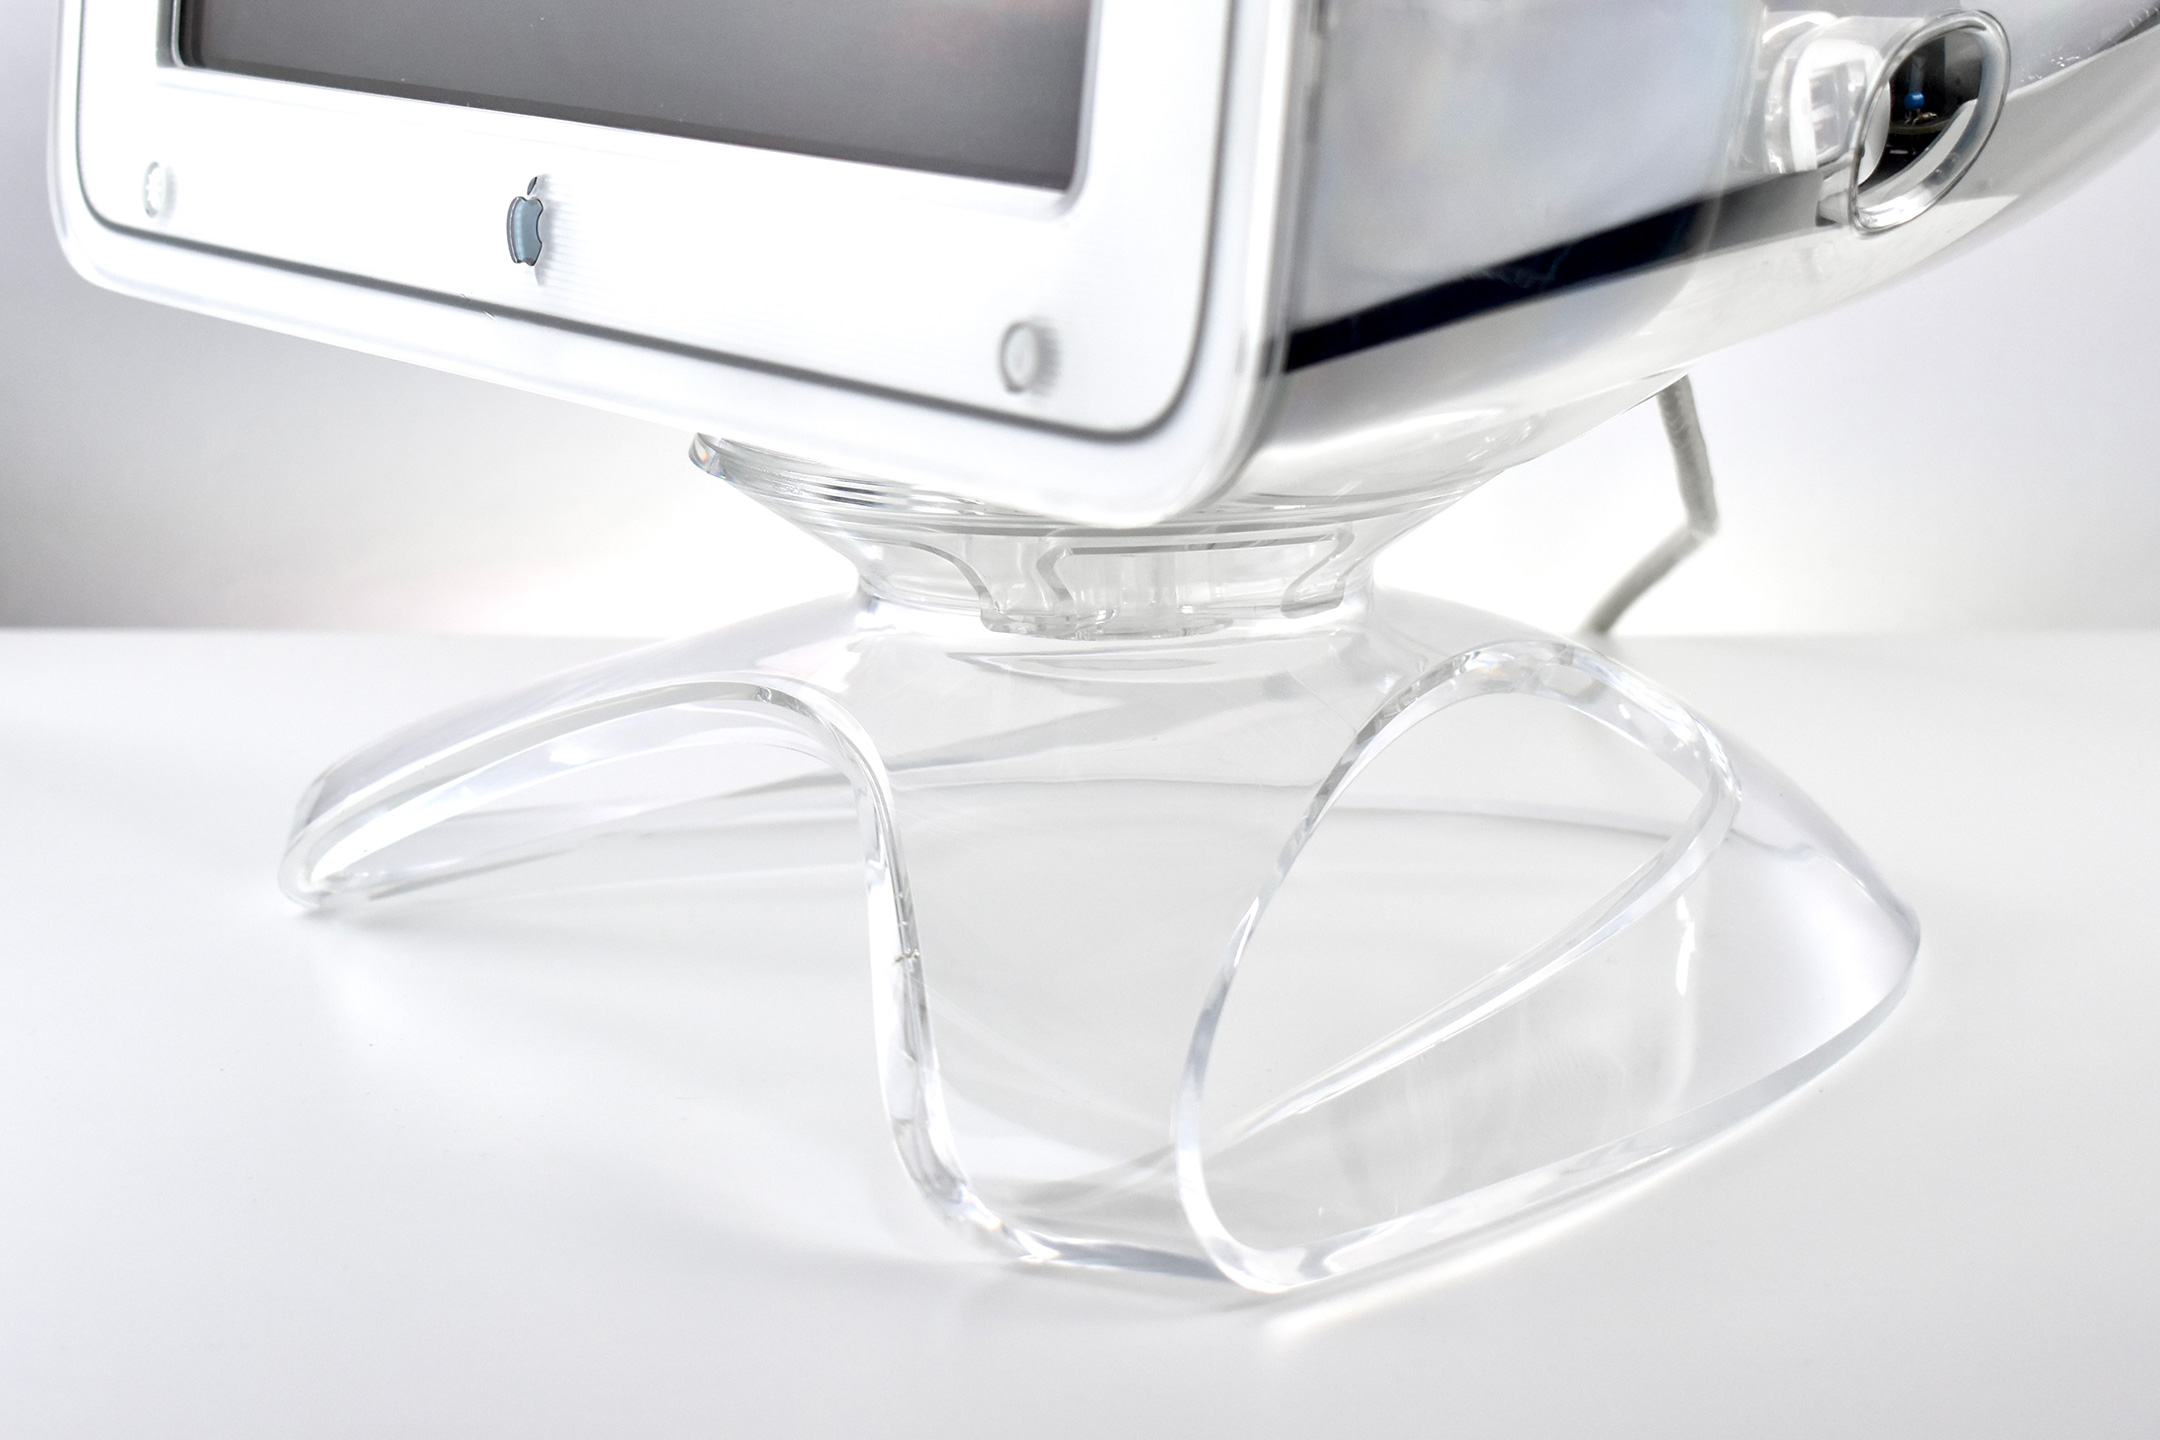
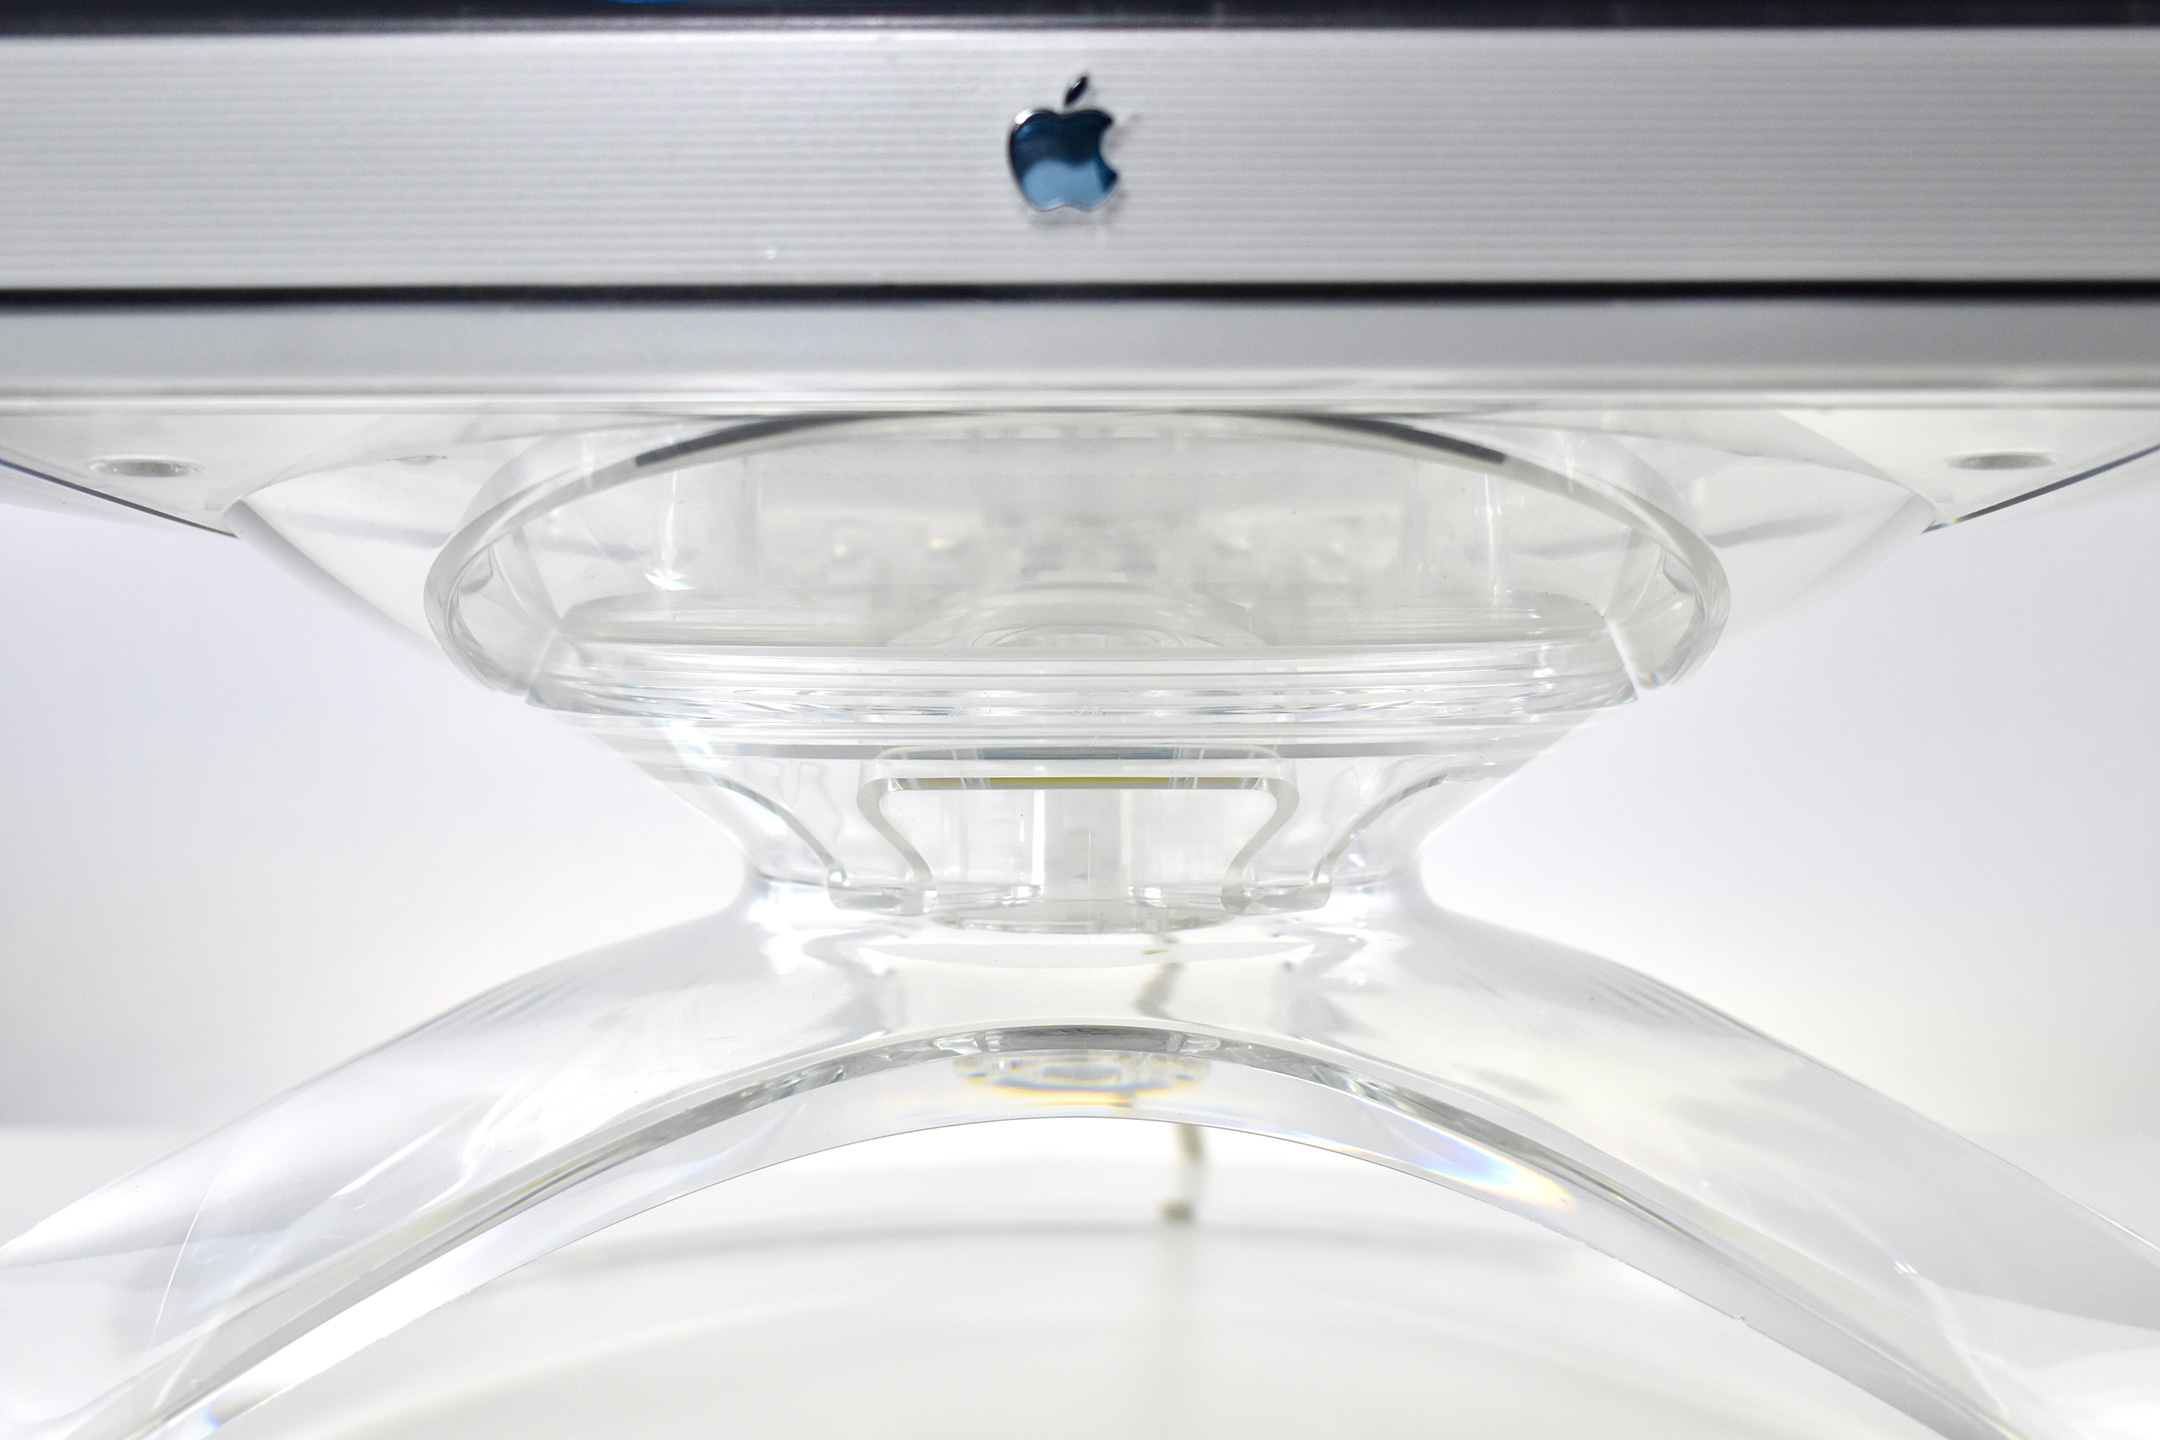
At the Macworld Expo in New York CIty on July 19, 2000, Apple announced three new Studio Display designs “in stunning crystal-clear enclosures”—two flat panel displays and this CRT (Cathode Ray Tube) Apple Studio Display.
The displays, designed to complement Apple’s Power Mac G4 Cube and Power Mac G4 professional desktops, shared three distinct features:
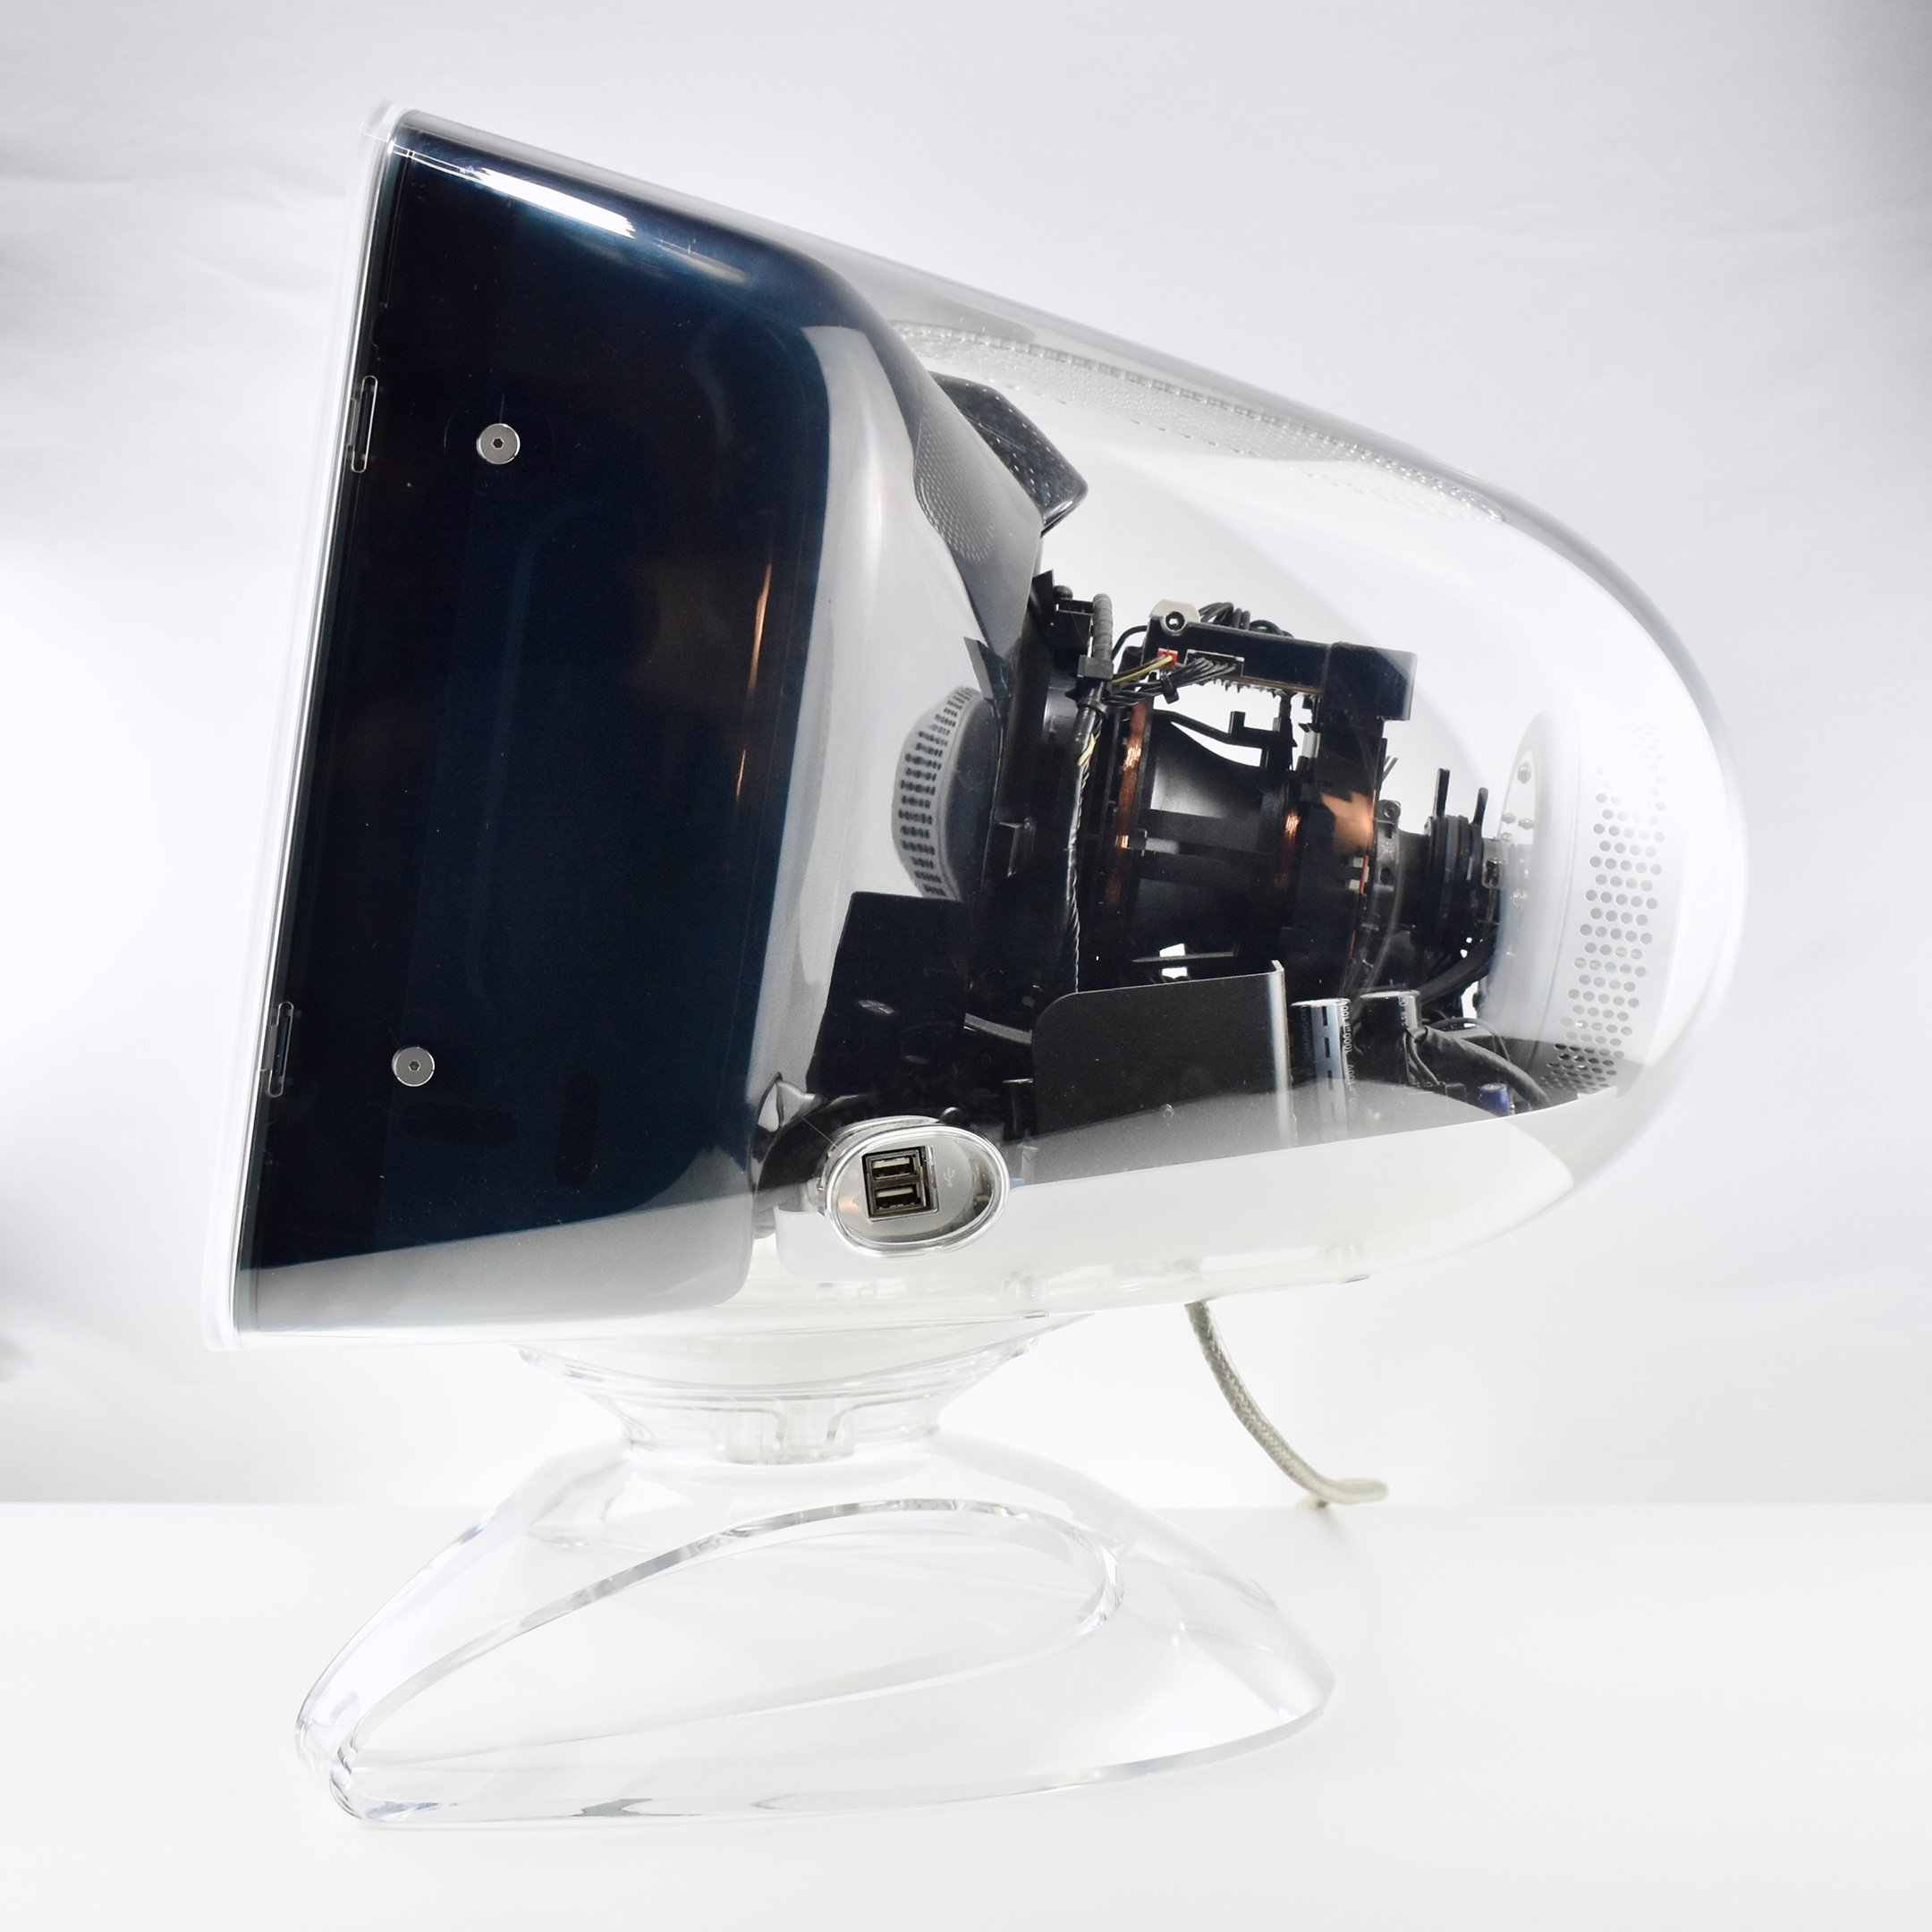
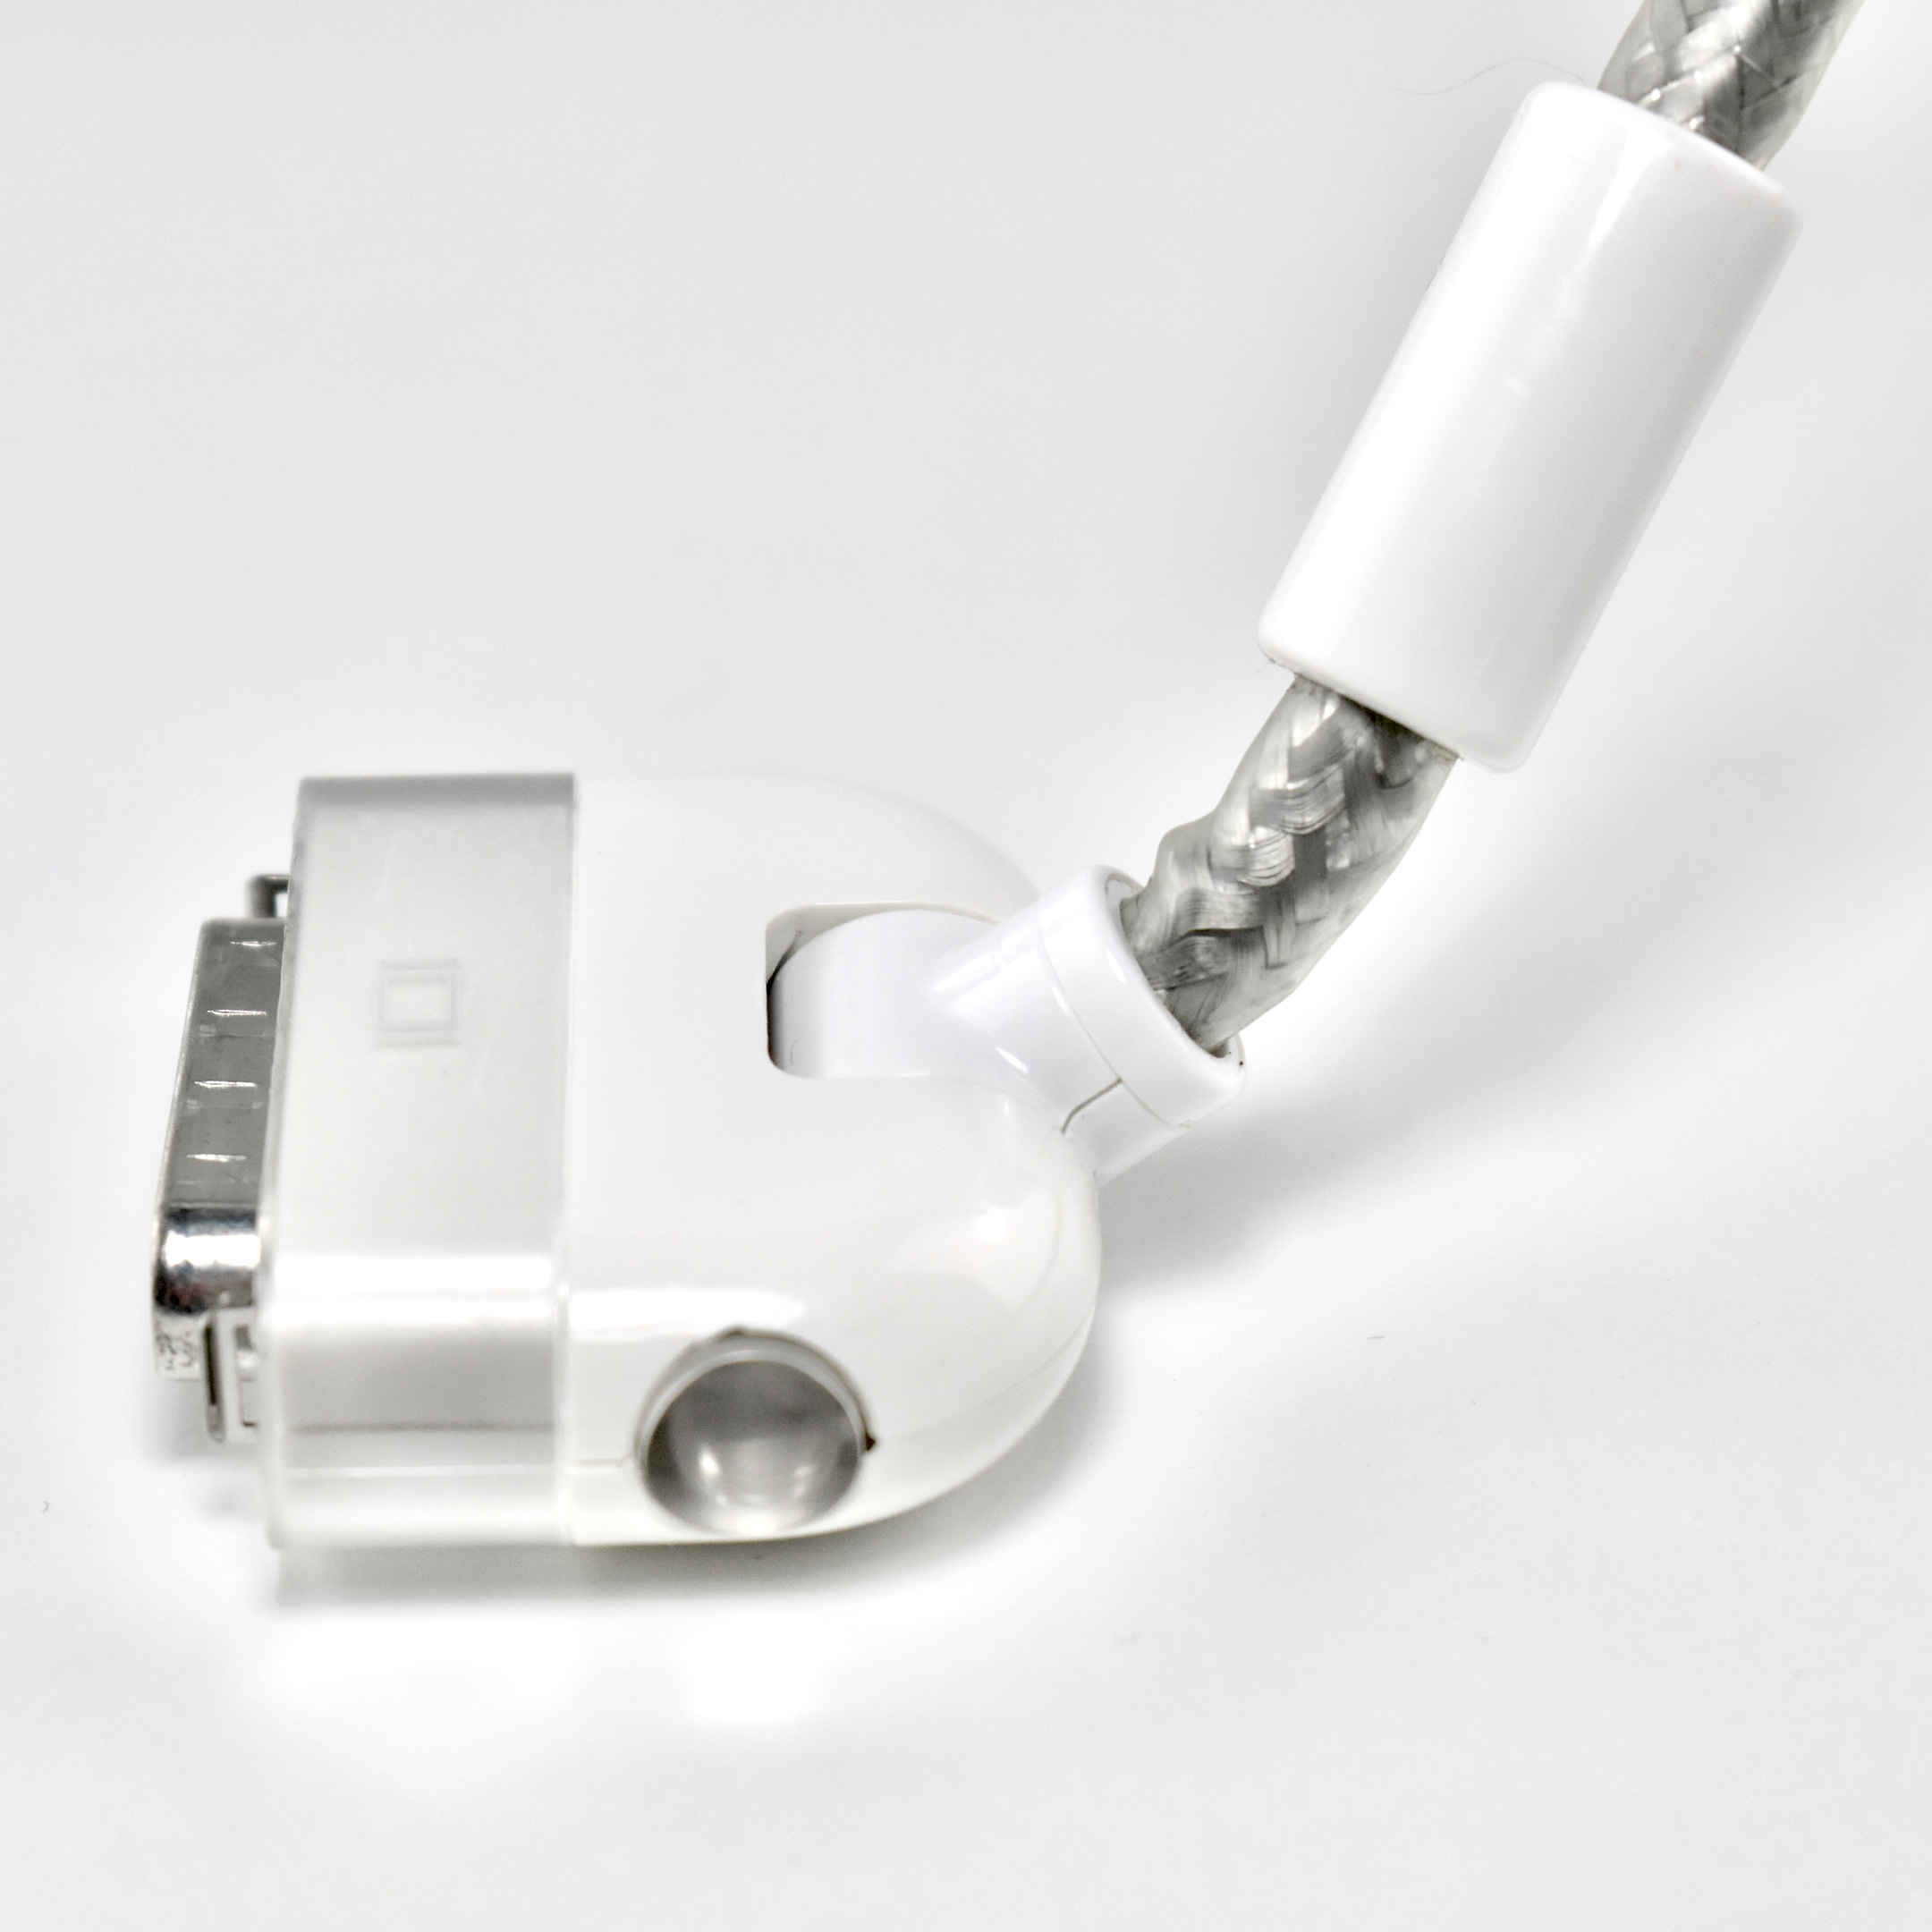
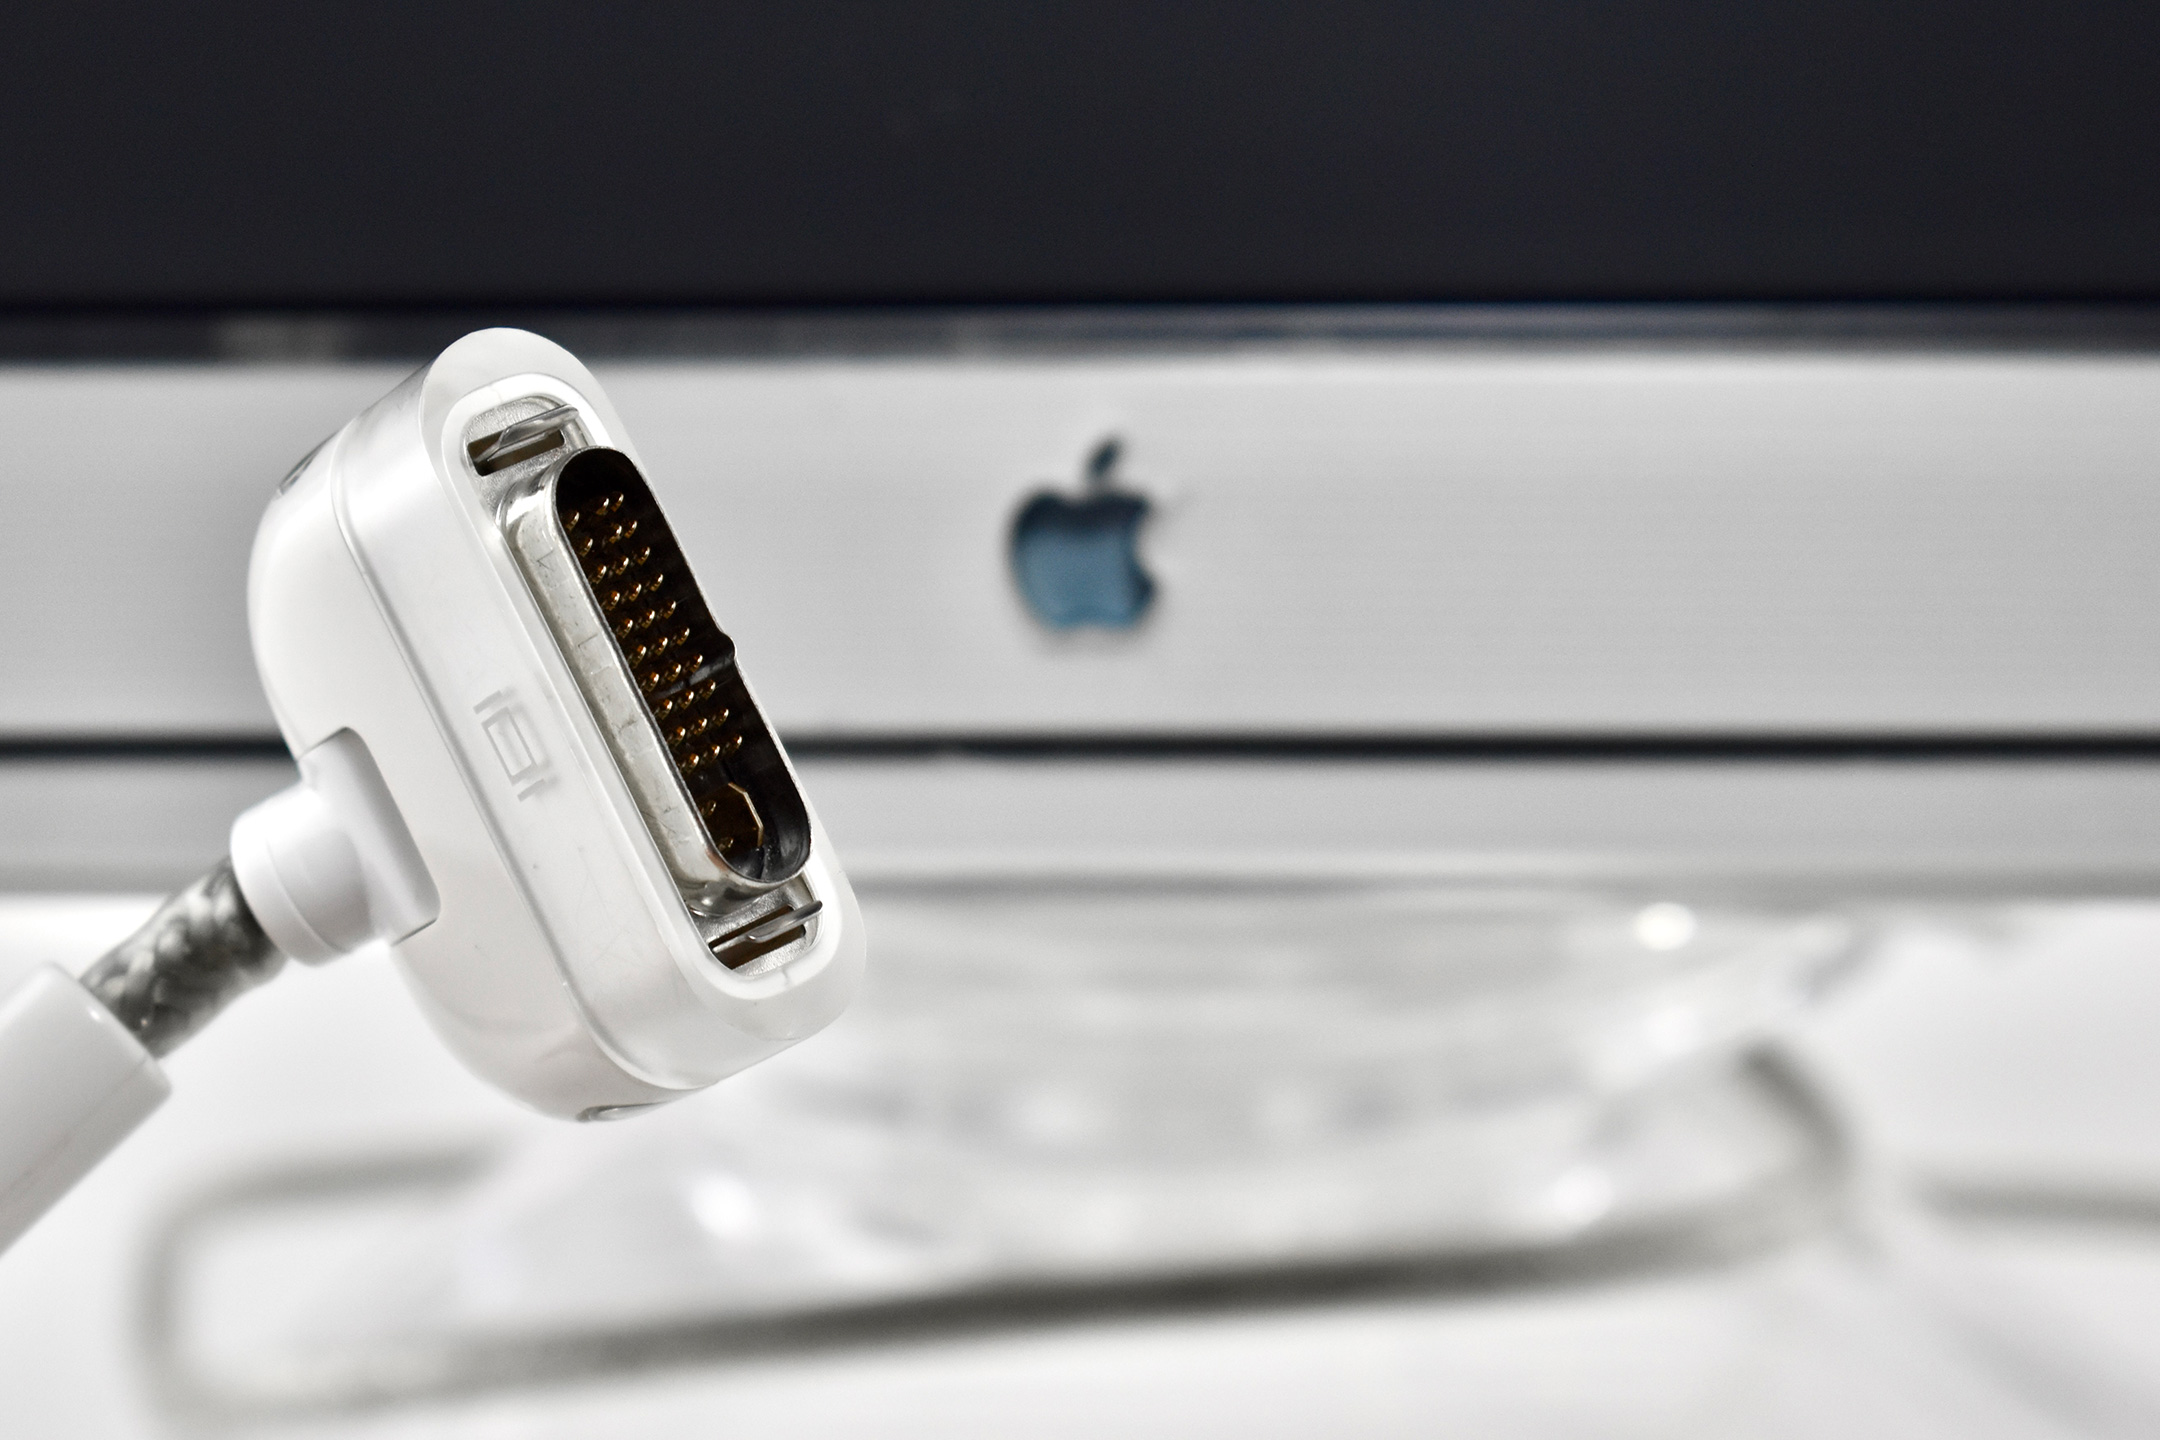
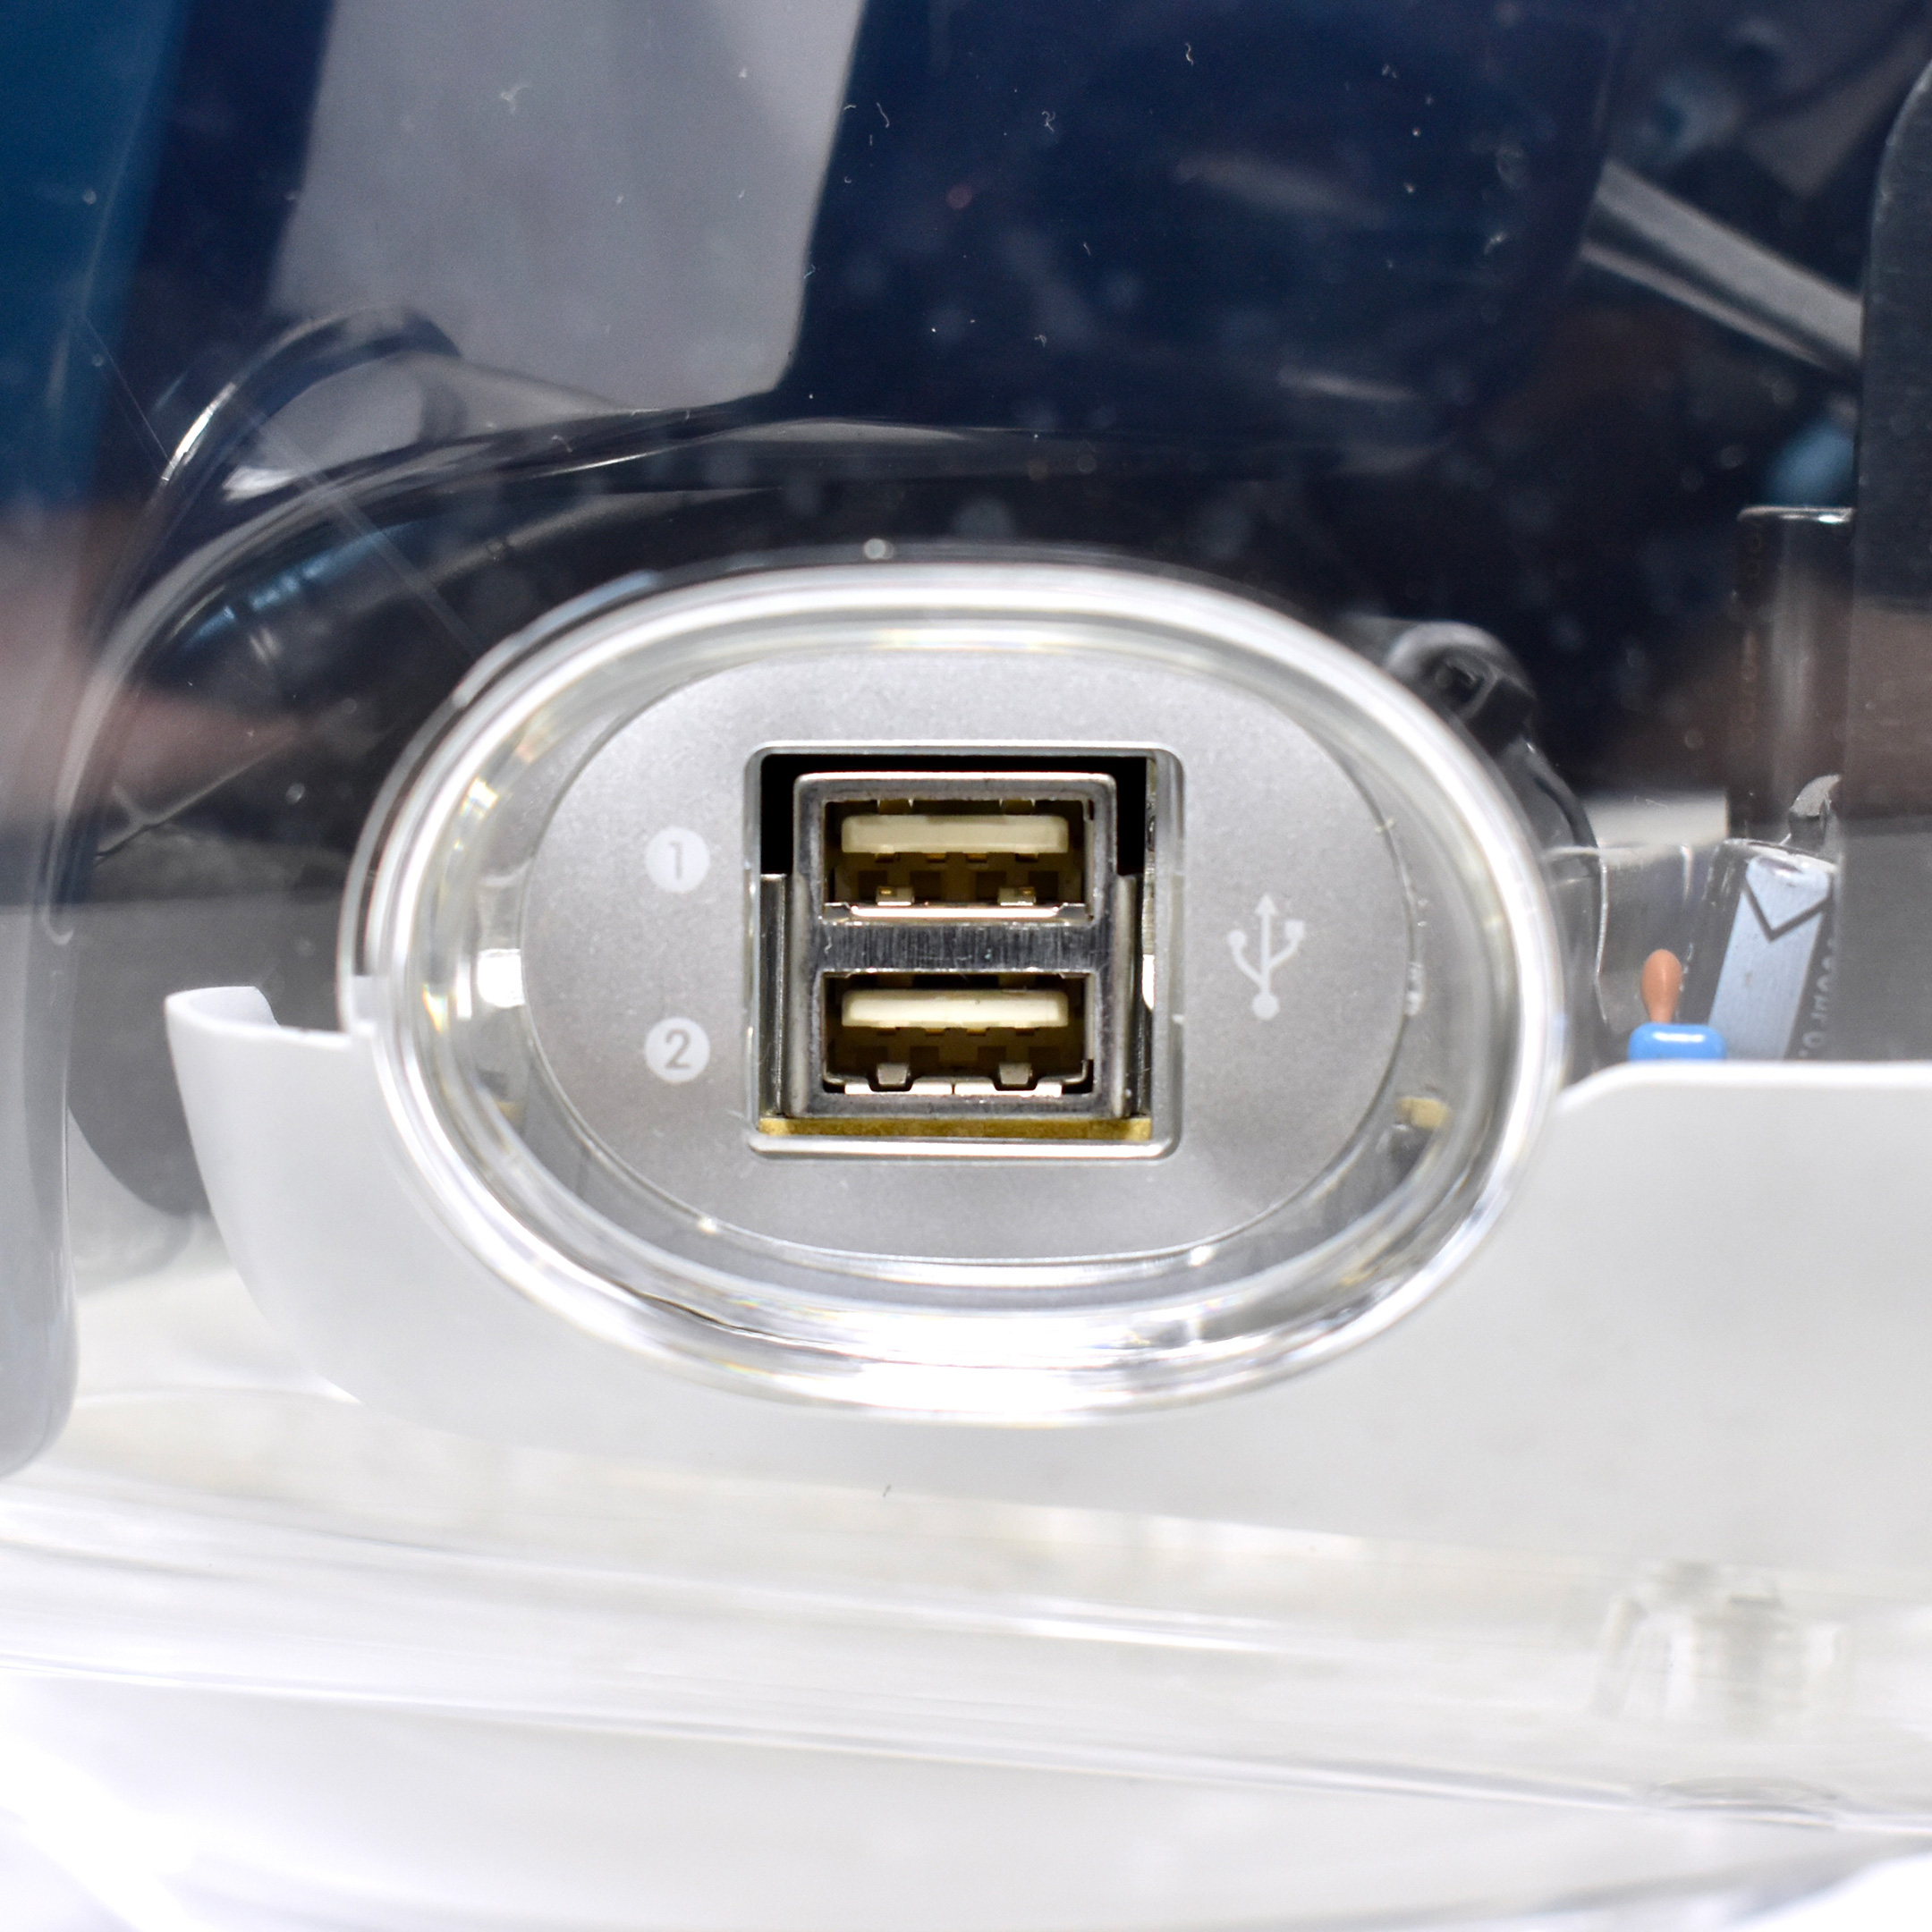
“each is powered from the computer, eliminating the need for a separate power cord; each has a two port powered USB hub for convenient connection to desktop USB devices, such as keyboards, USB speakers and digital cameras; and each utilizes the Apple Display Connector, a revolutionary new cable that carries analog and digital video signals, USB data and power over a single cable and features a quick latch connector.”
Steve Jobs noted that “These new beautiful displays perfectly complement our new extraordinary computers. Their innovative design helps clean up desktop cable clutter, and makes set-up a breeze.”
According to Apple’s press release, “The 17 inch (16 inch viewable) Apple Studio Display features a Natural Flat Diamondtron CRT, extraordinarily sharp text and ColorSync internal calibration to keep colors accurate over time. [The] Display…features both futuristic styling and a unique electrical design that supports multiple resolutions at over 100Hz vertical refresh rate.”
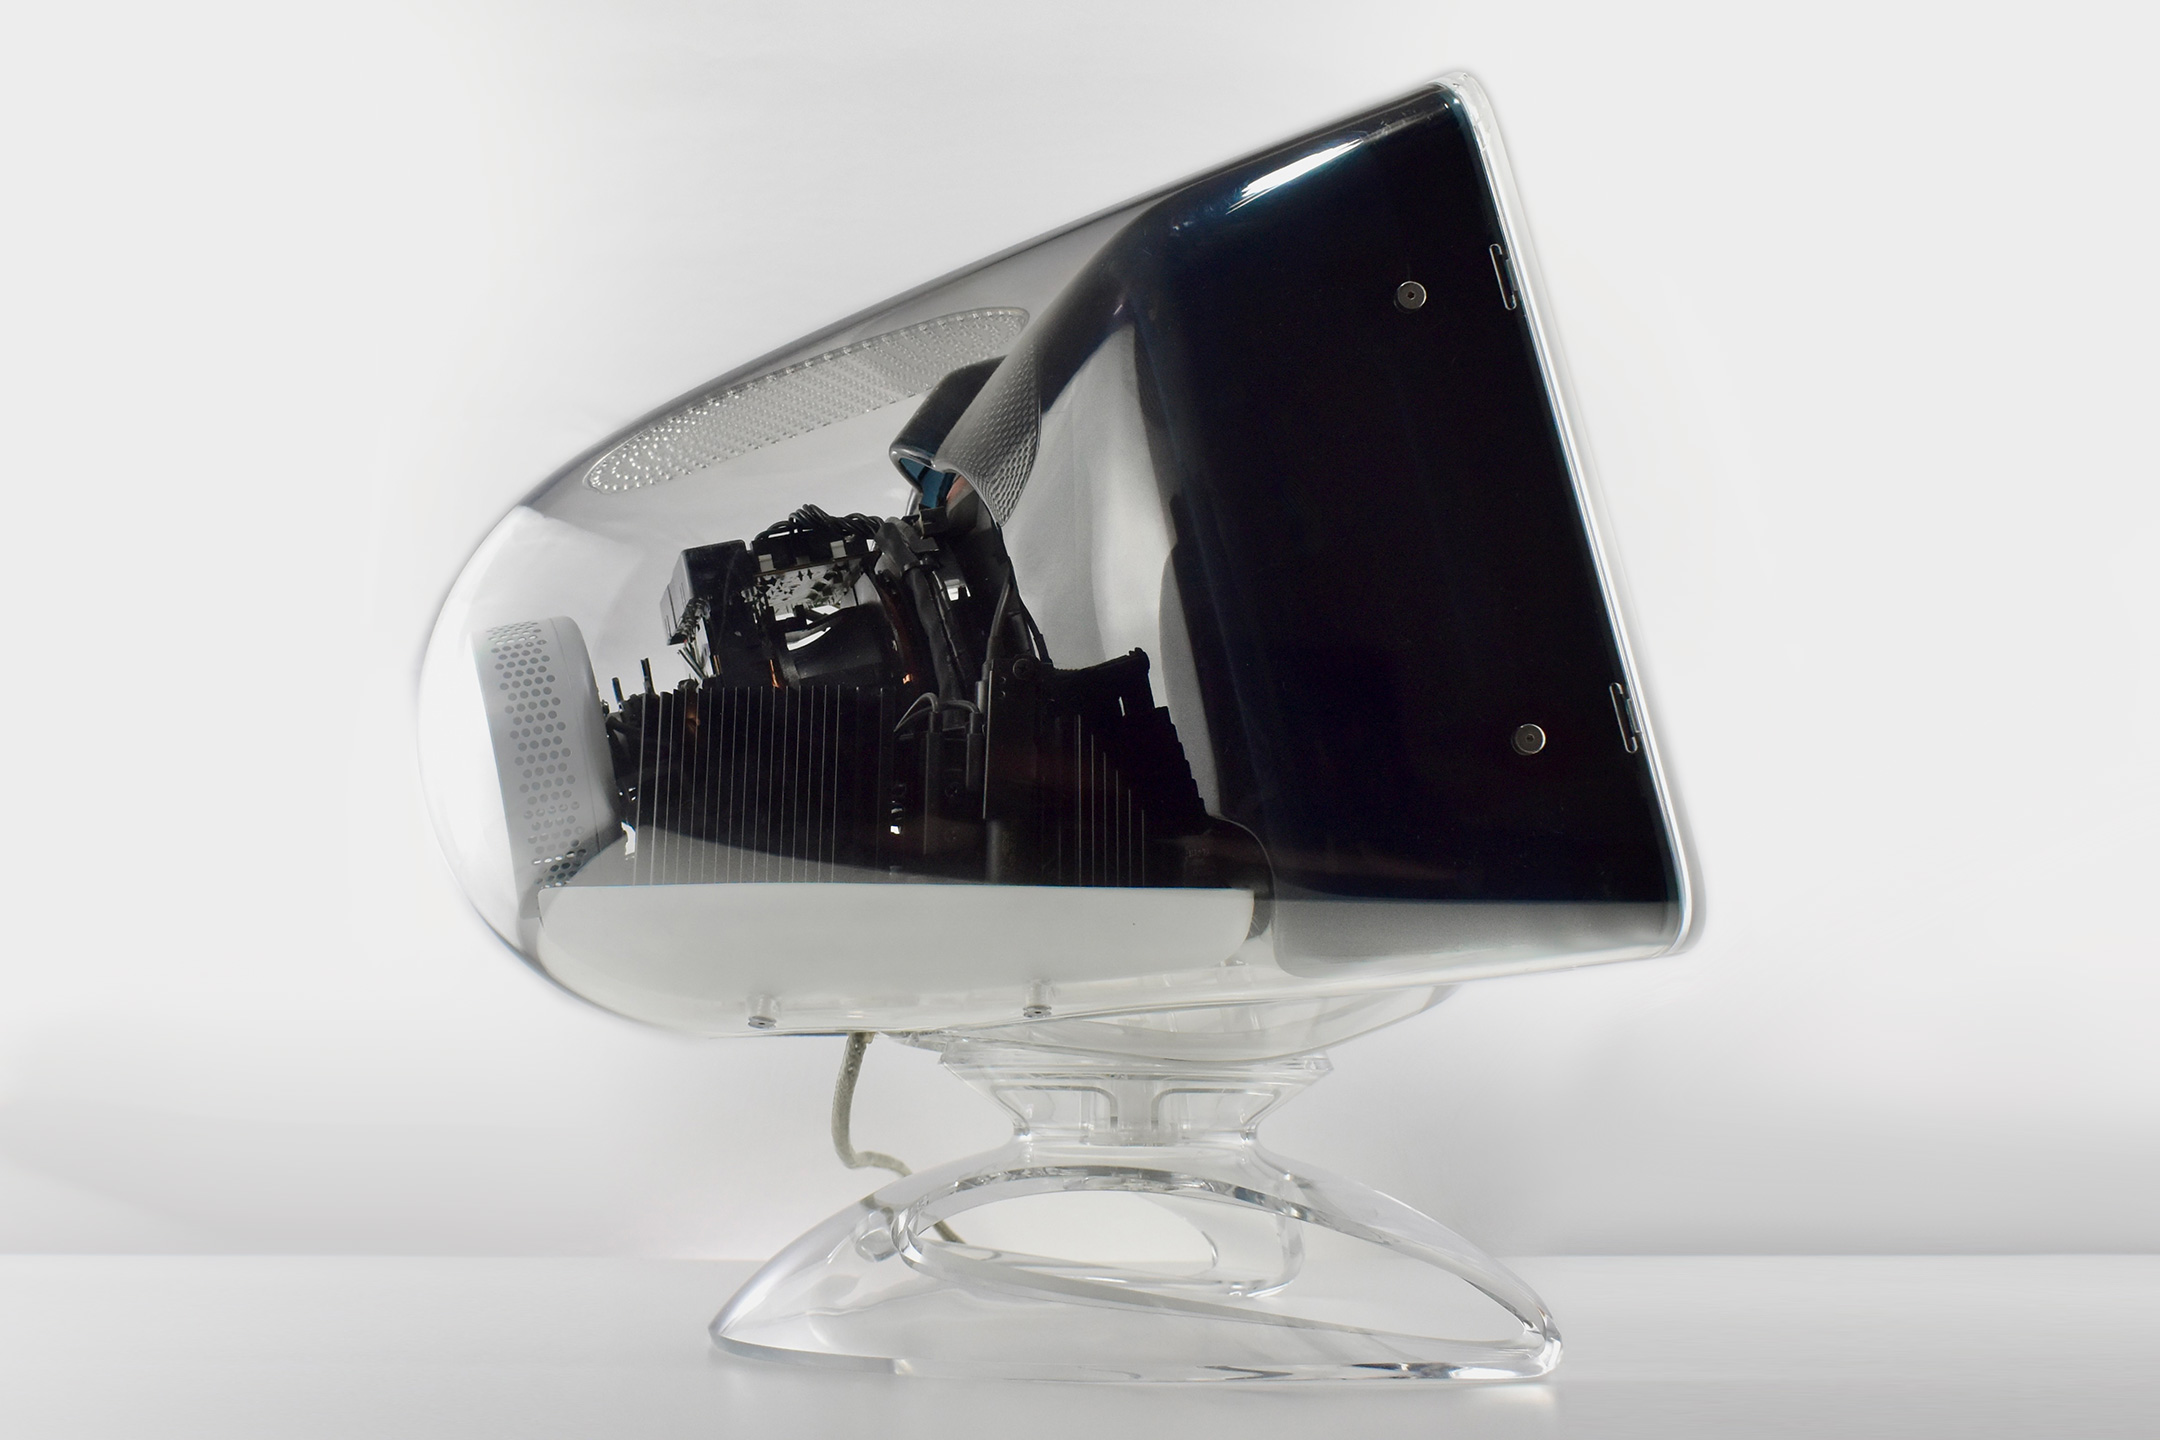
The site 512 Pixels provided several additional comments, writing that the “Studio Display (17-inch ADC) was the last standalone Apple display to feature a CRT. At 17.4 inches it was deeper than it was wide. At 45.8 pounds, it was heavier than a iMac G3.” They also comment on the industrial design of the display:
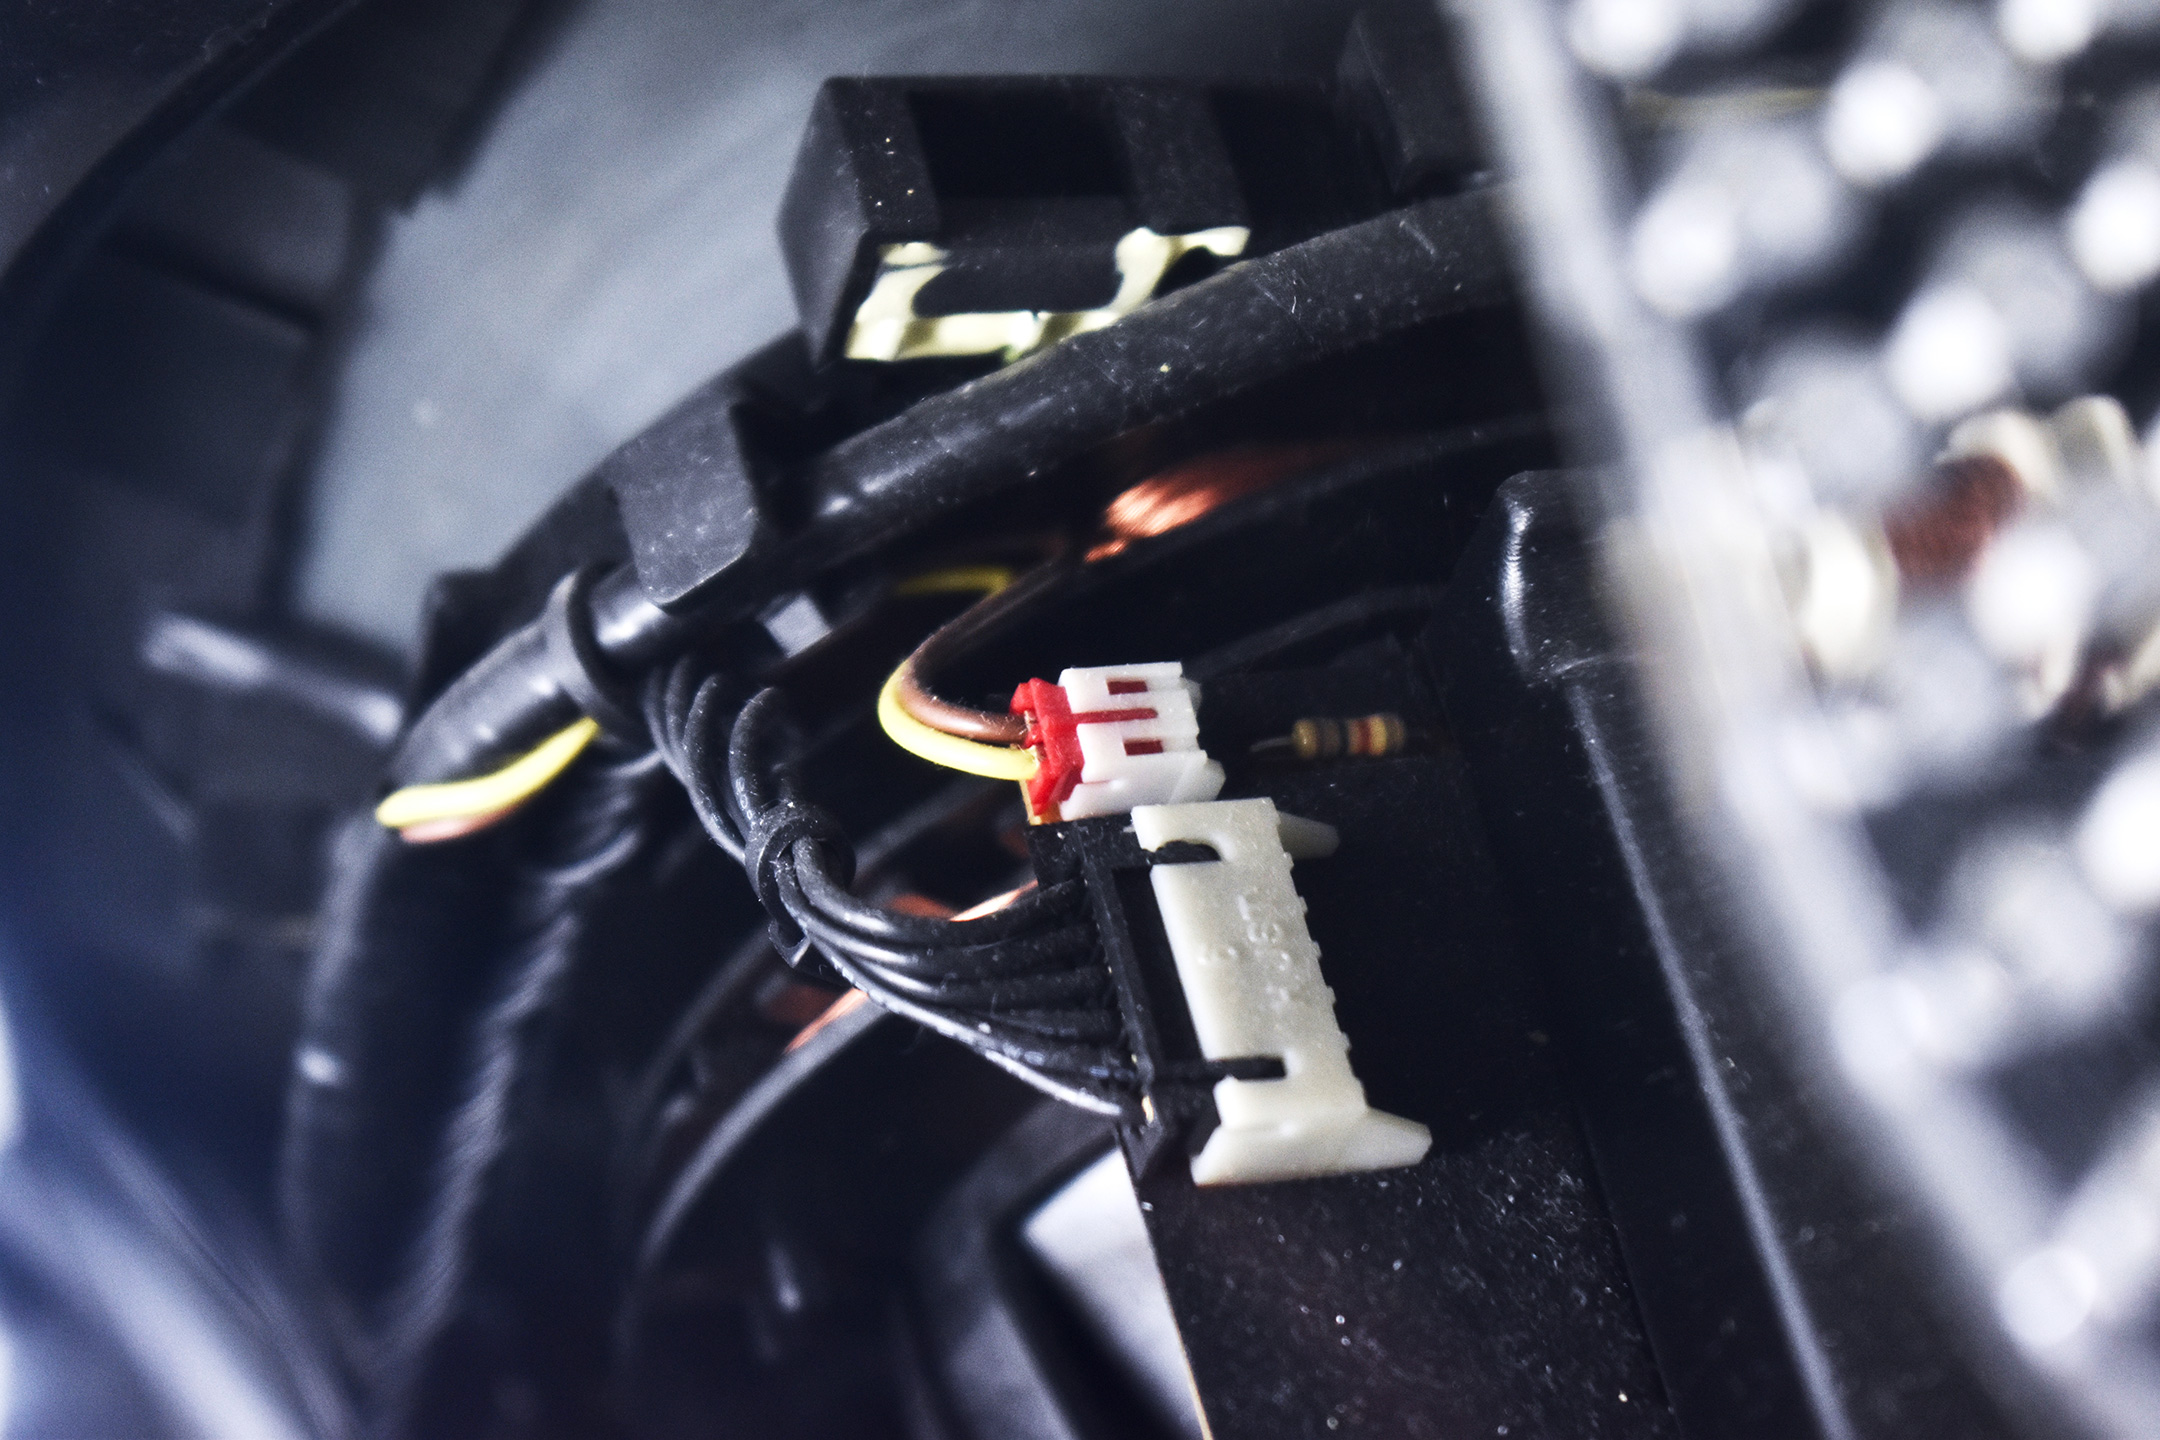
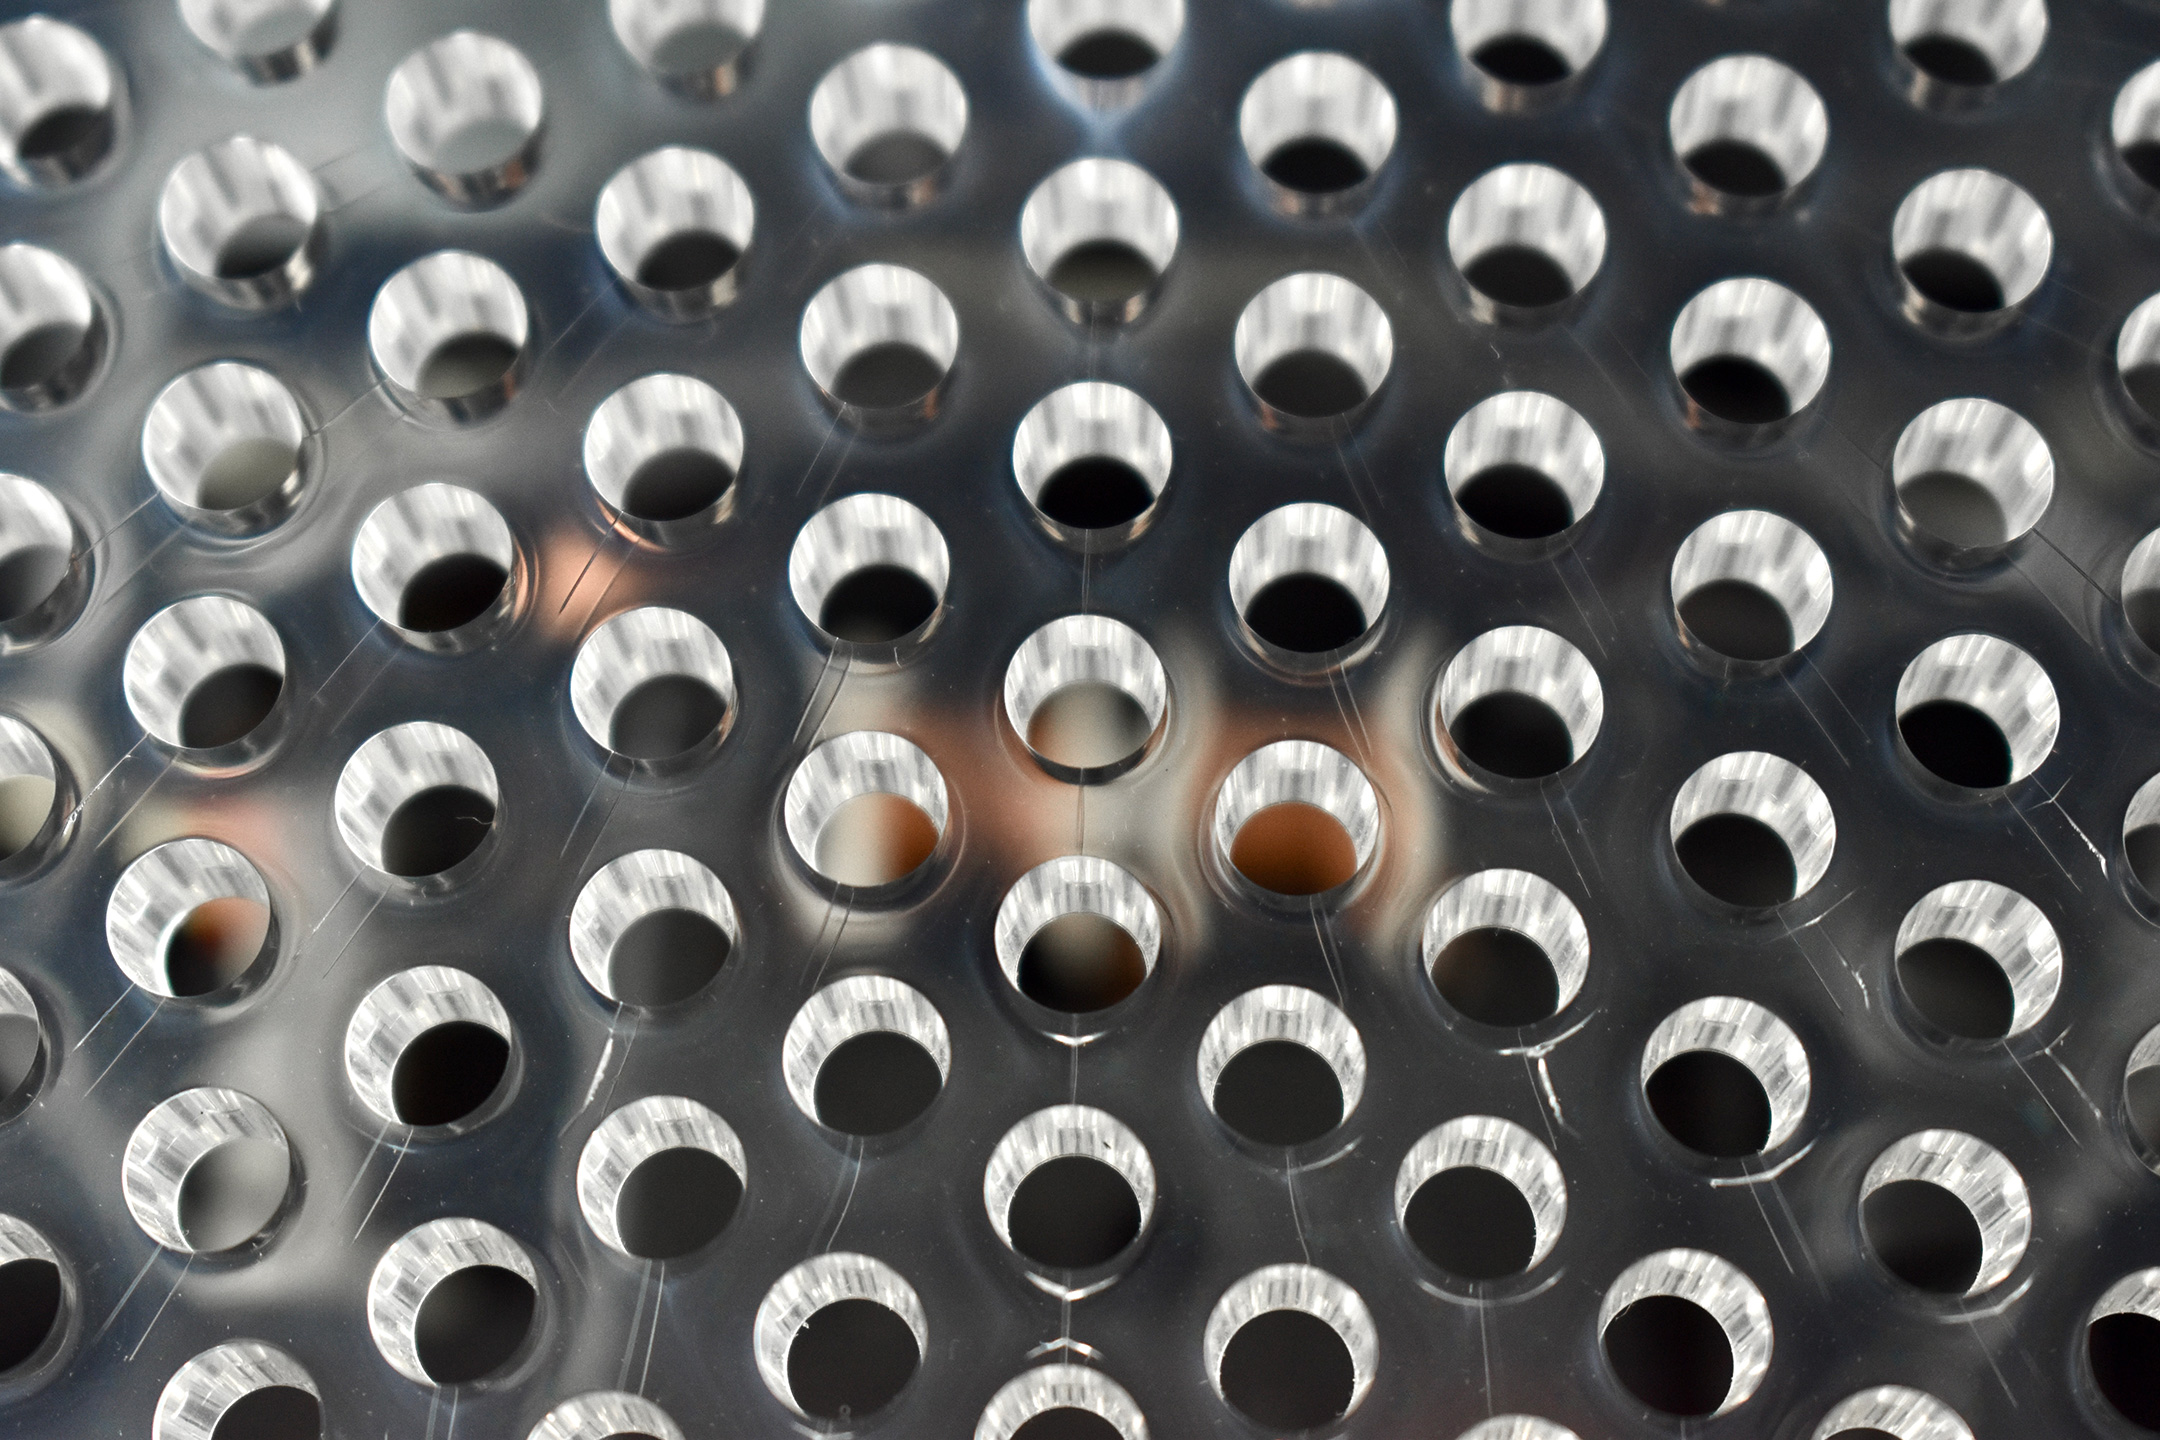
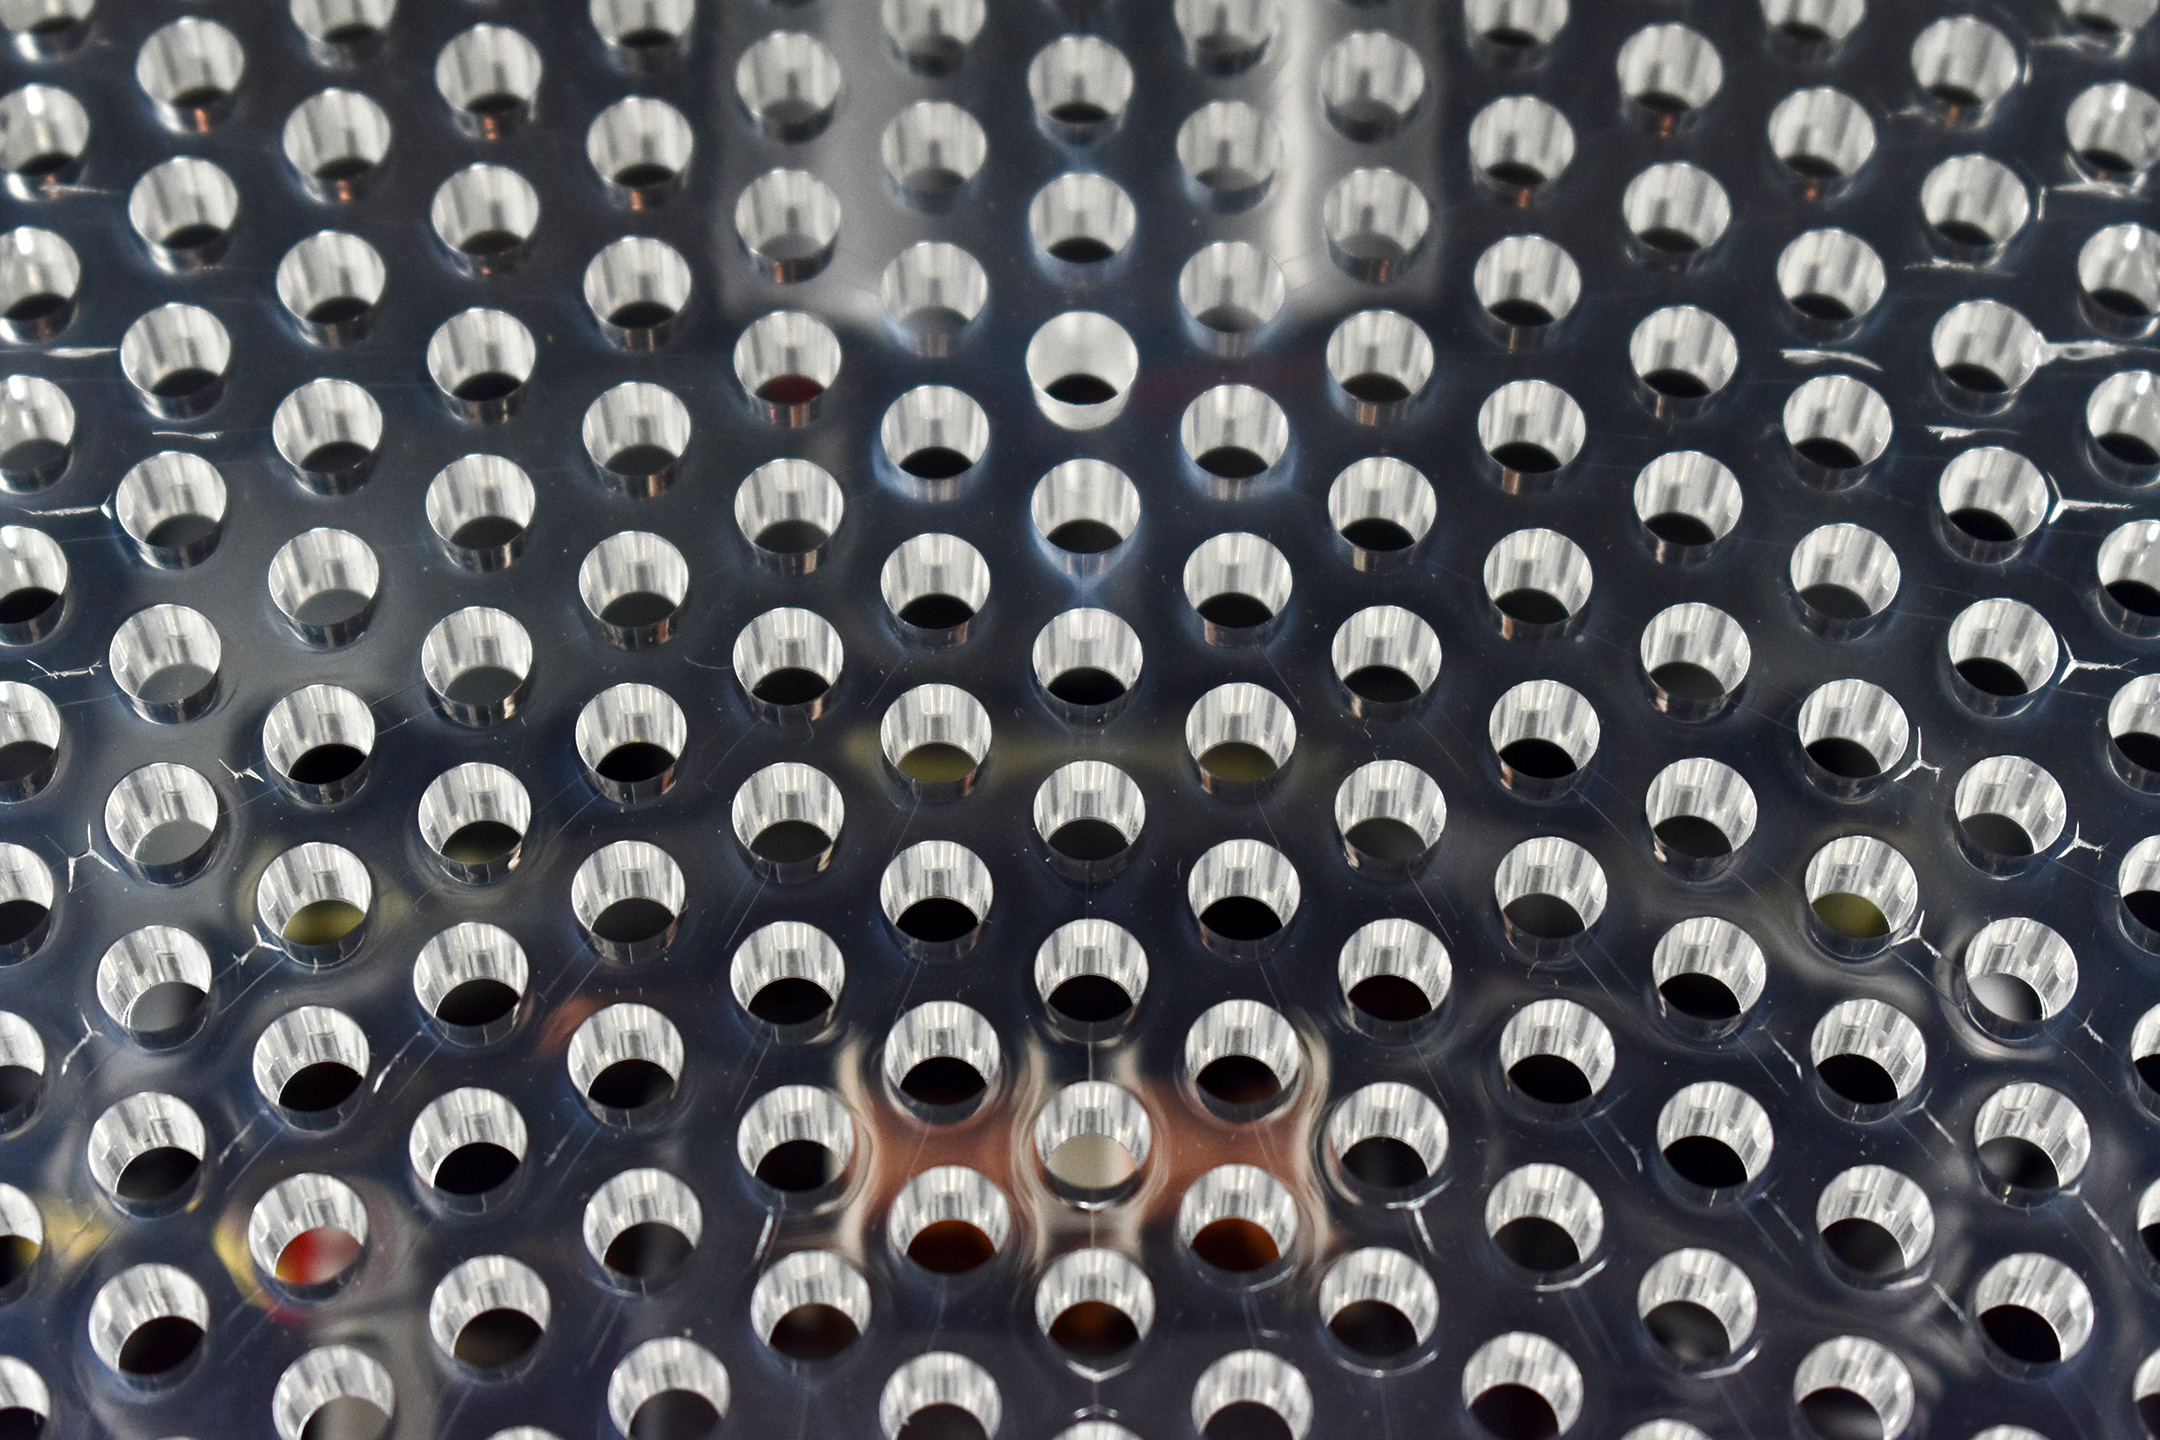
“Instead of hiding the display’s guts inside opaque plastics and metal shield, the 17-inch ADC has a crystal clear case that allows anyone to see the internal workings of the Naturally Flat Diamondtron CRT suspended inside. By revealing all, the Studio Display (17-inch ADC) has nothing to hide. Its transparency and minimalism is pure Apple.”
According LowEndMac, the Apple Display Connector (ADC) used in this display is a proprietary display and data connector developed by Apple. It is a modification of the DVI (Digital Visual Interface) connector that combines analog and digital video signals, USB, and power all in one cable. This connector was used by Apple between 2000–2004.
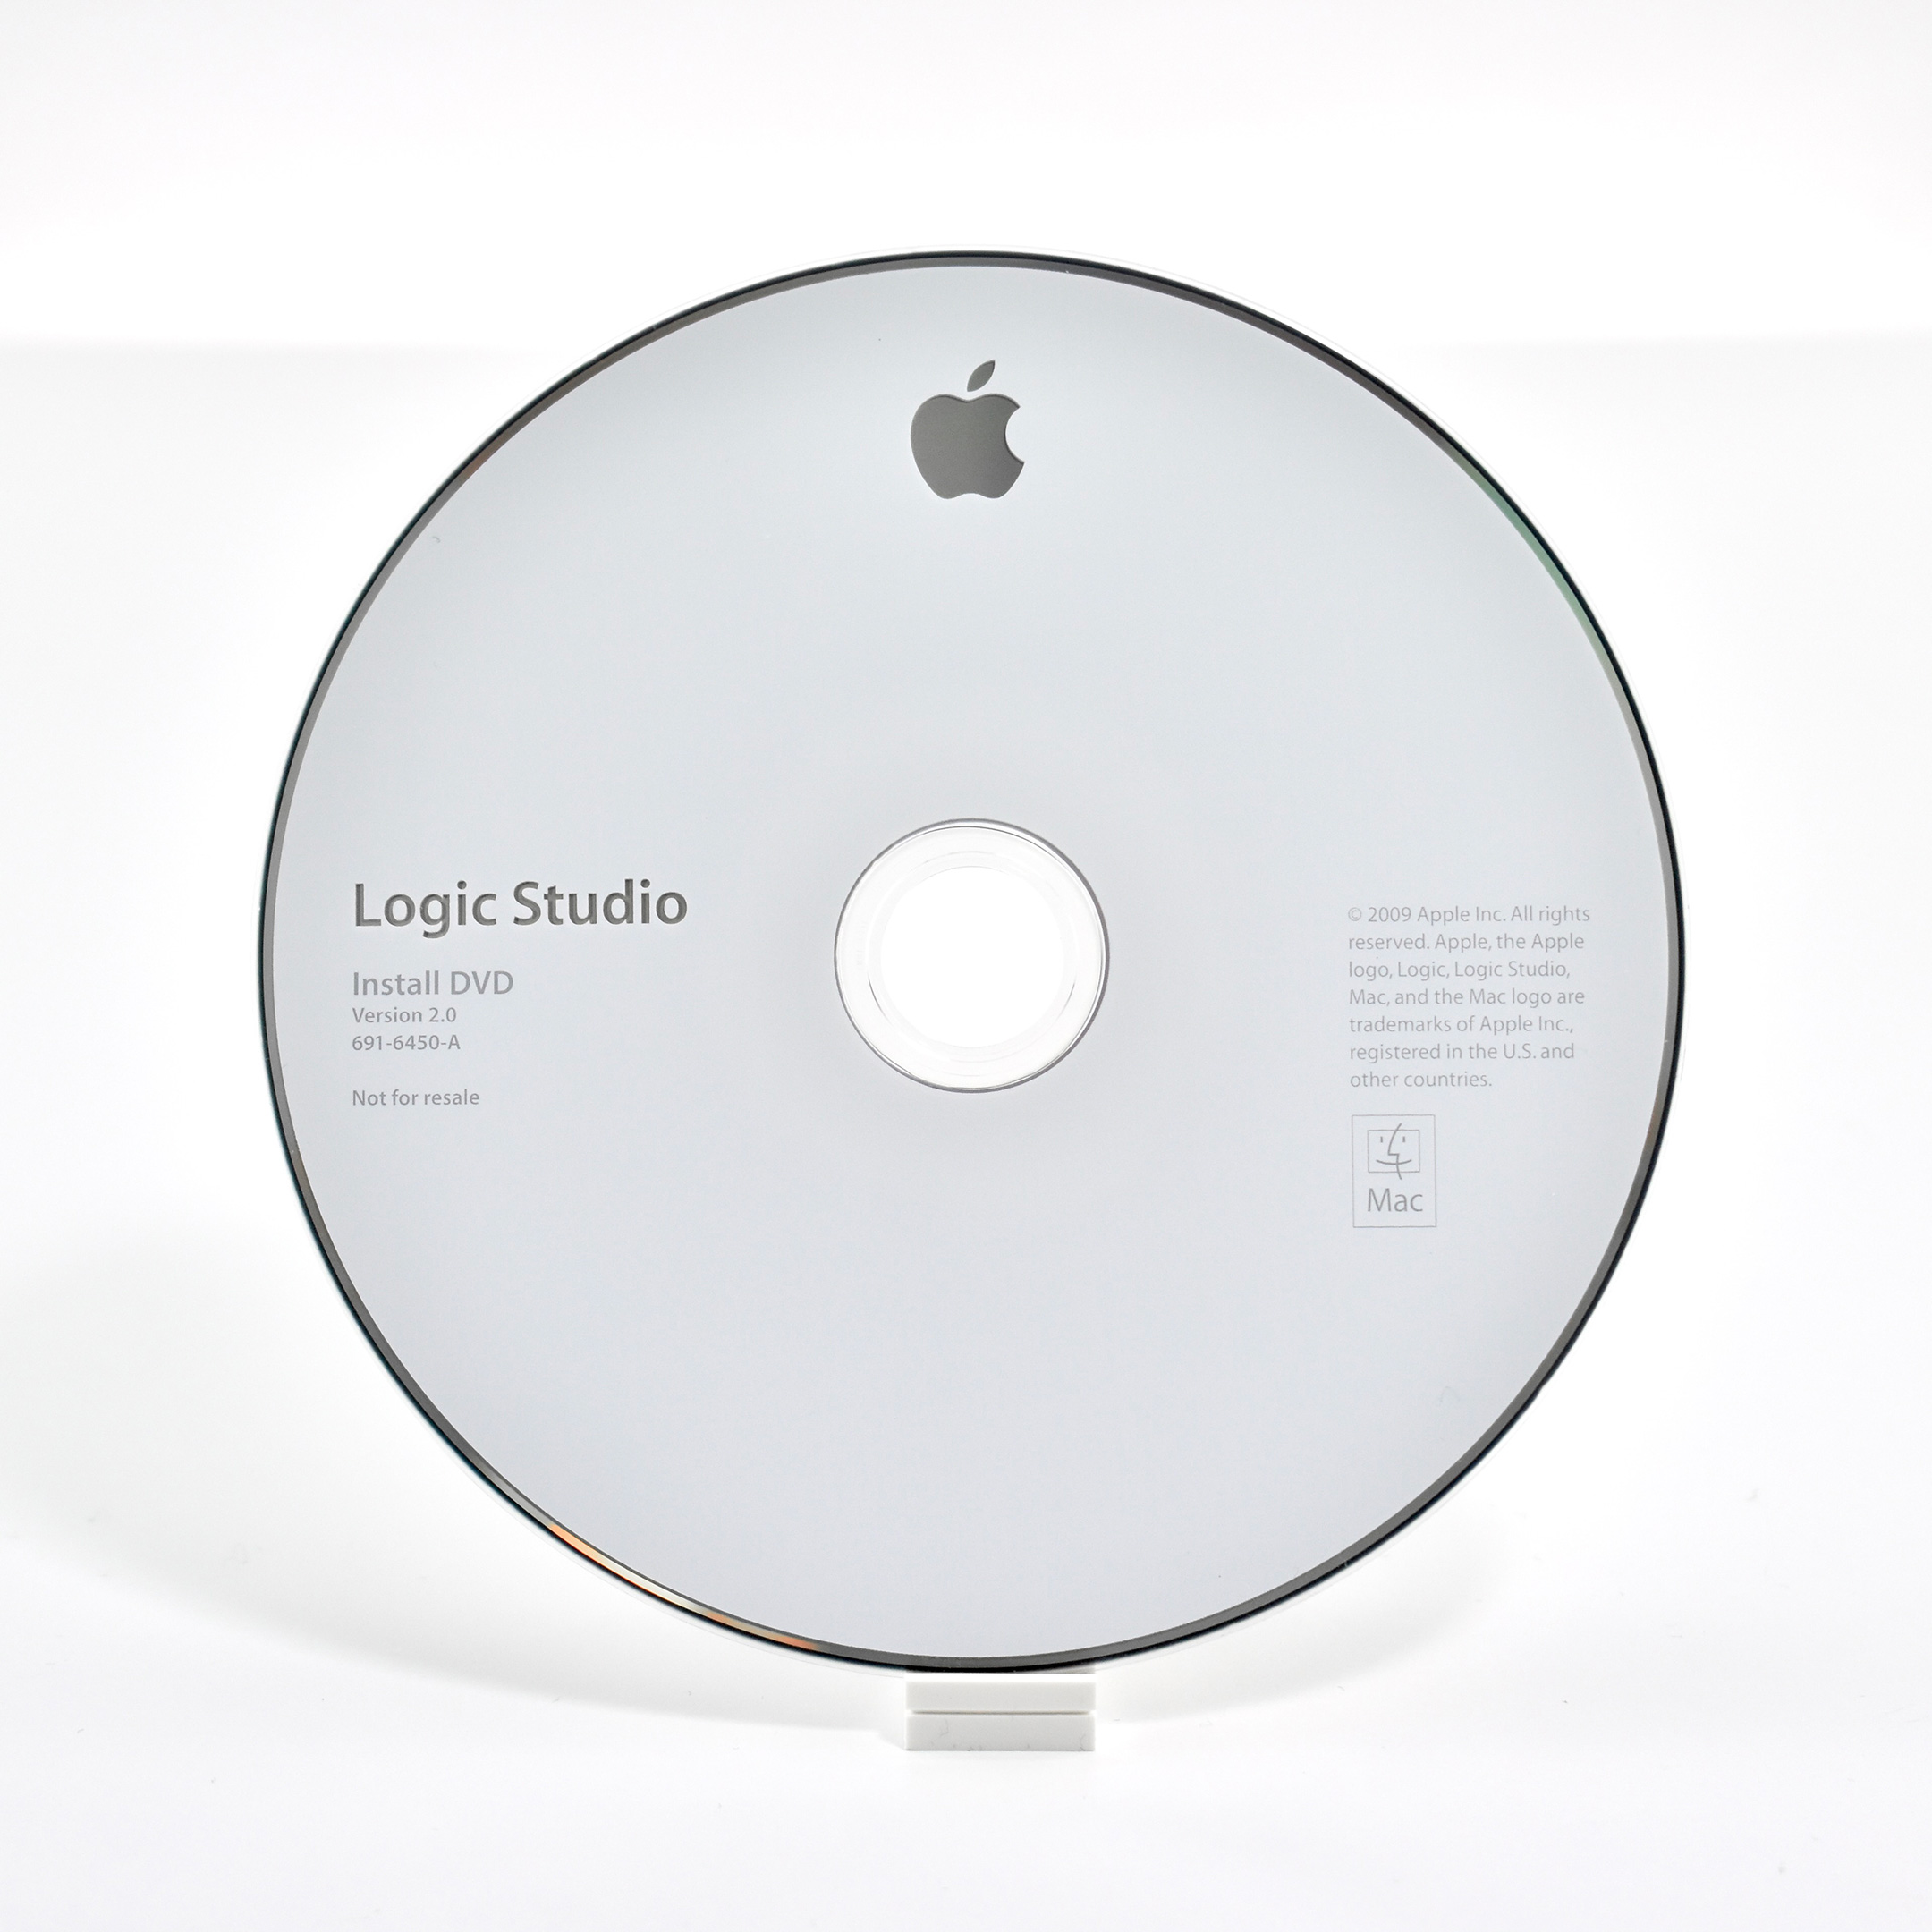
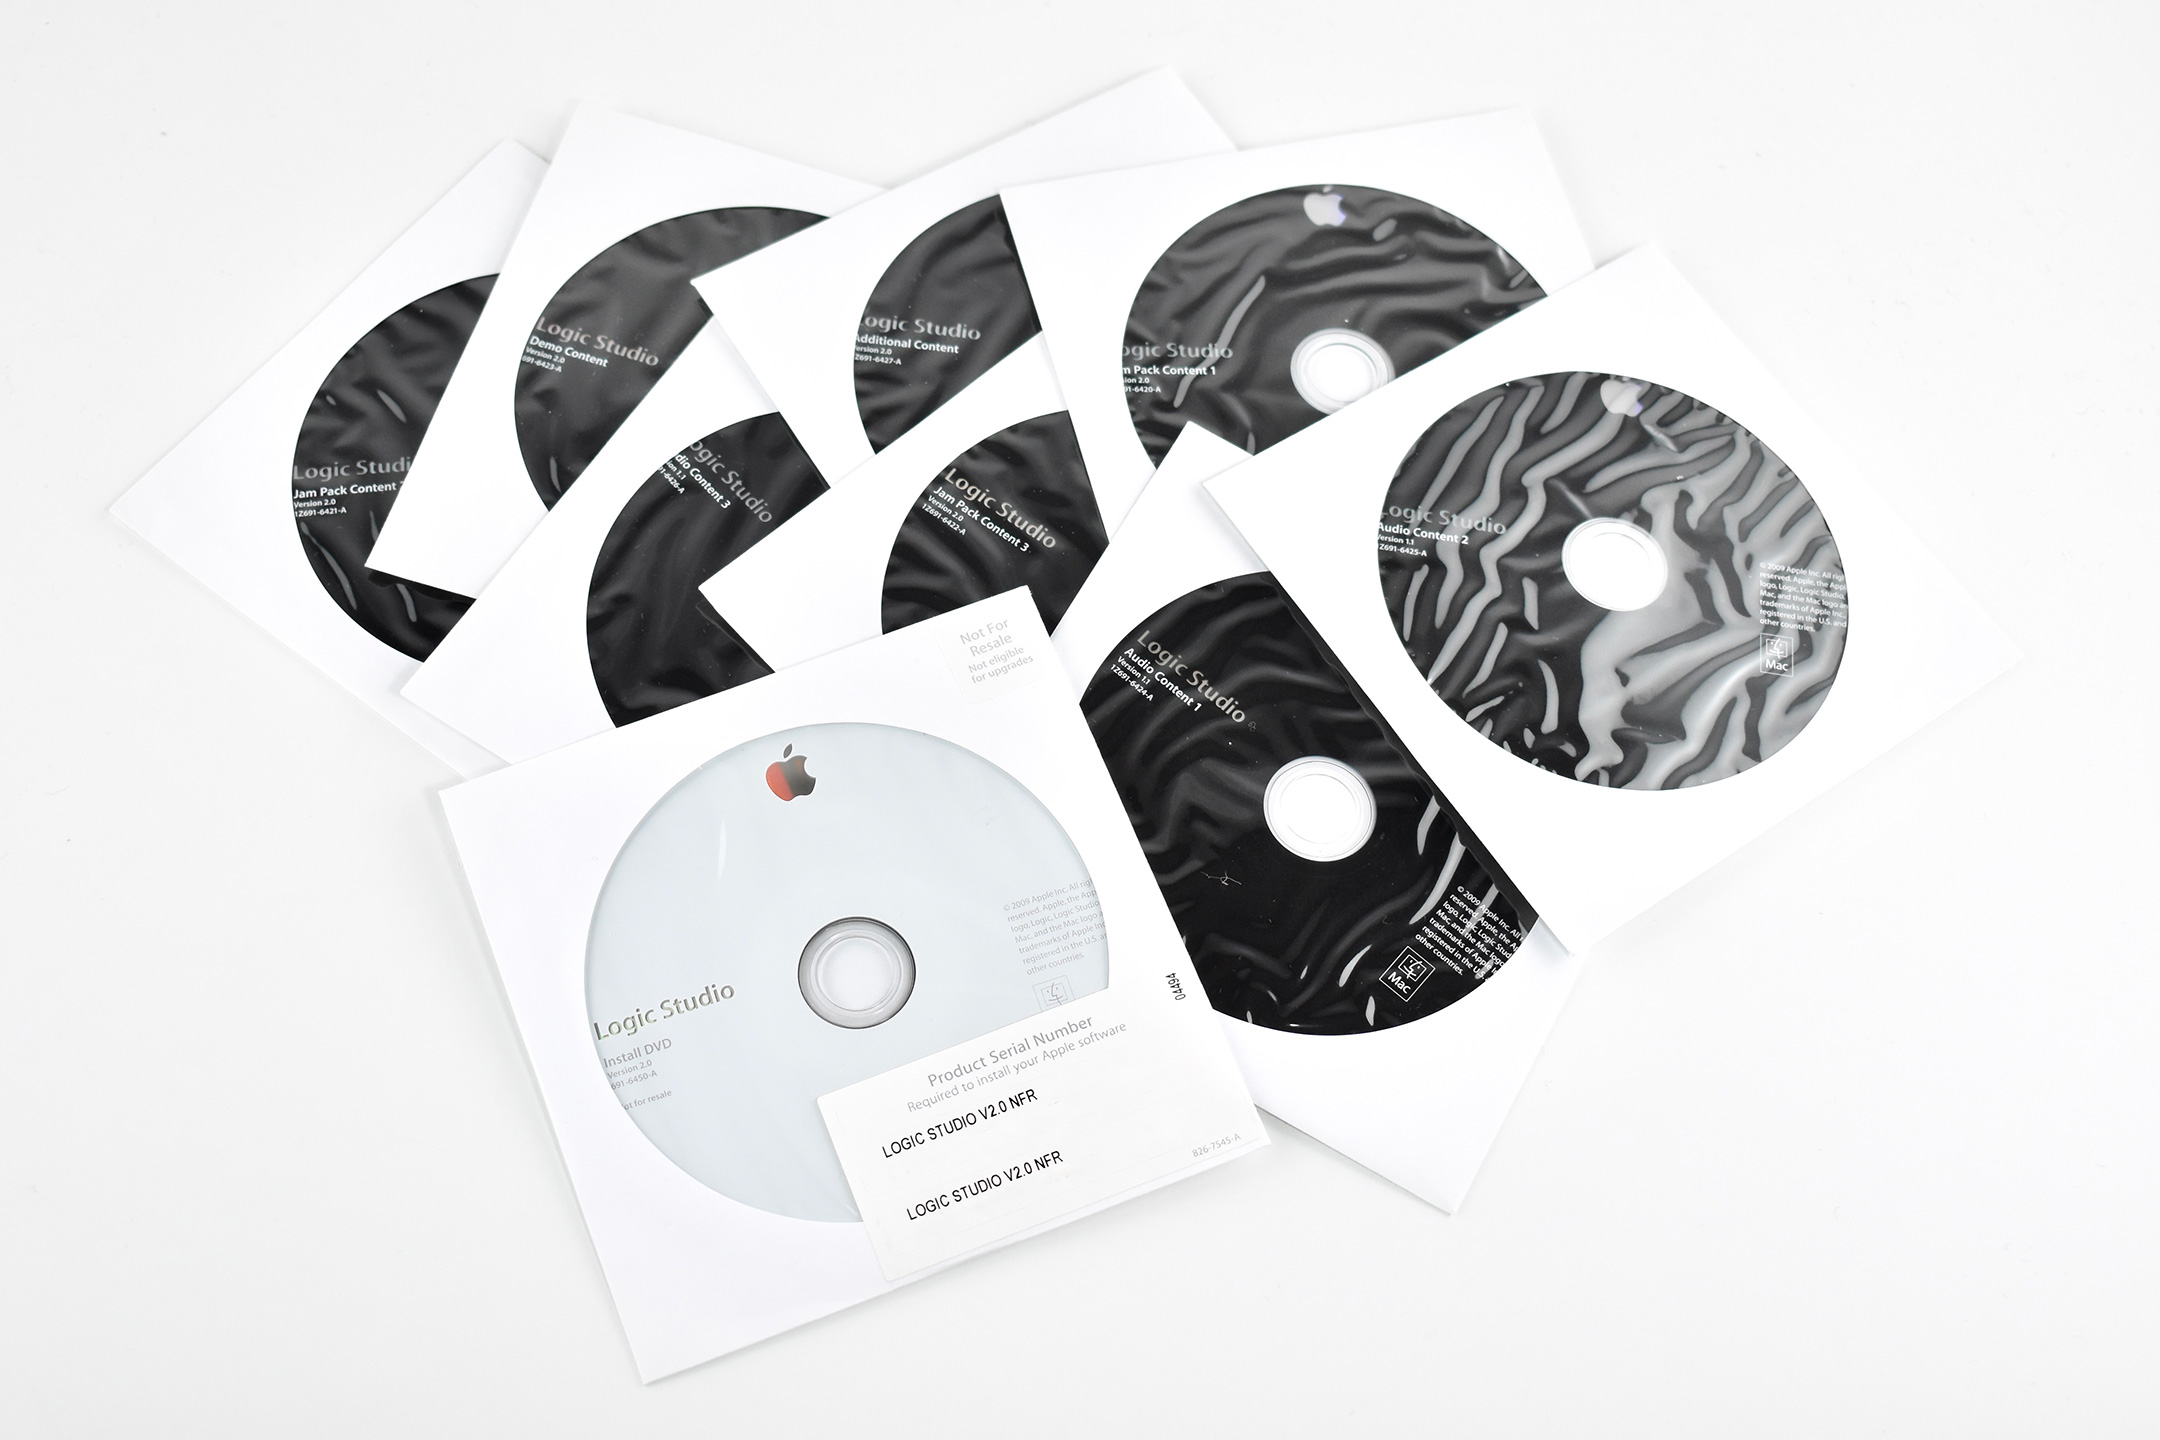
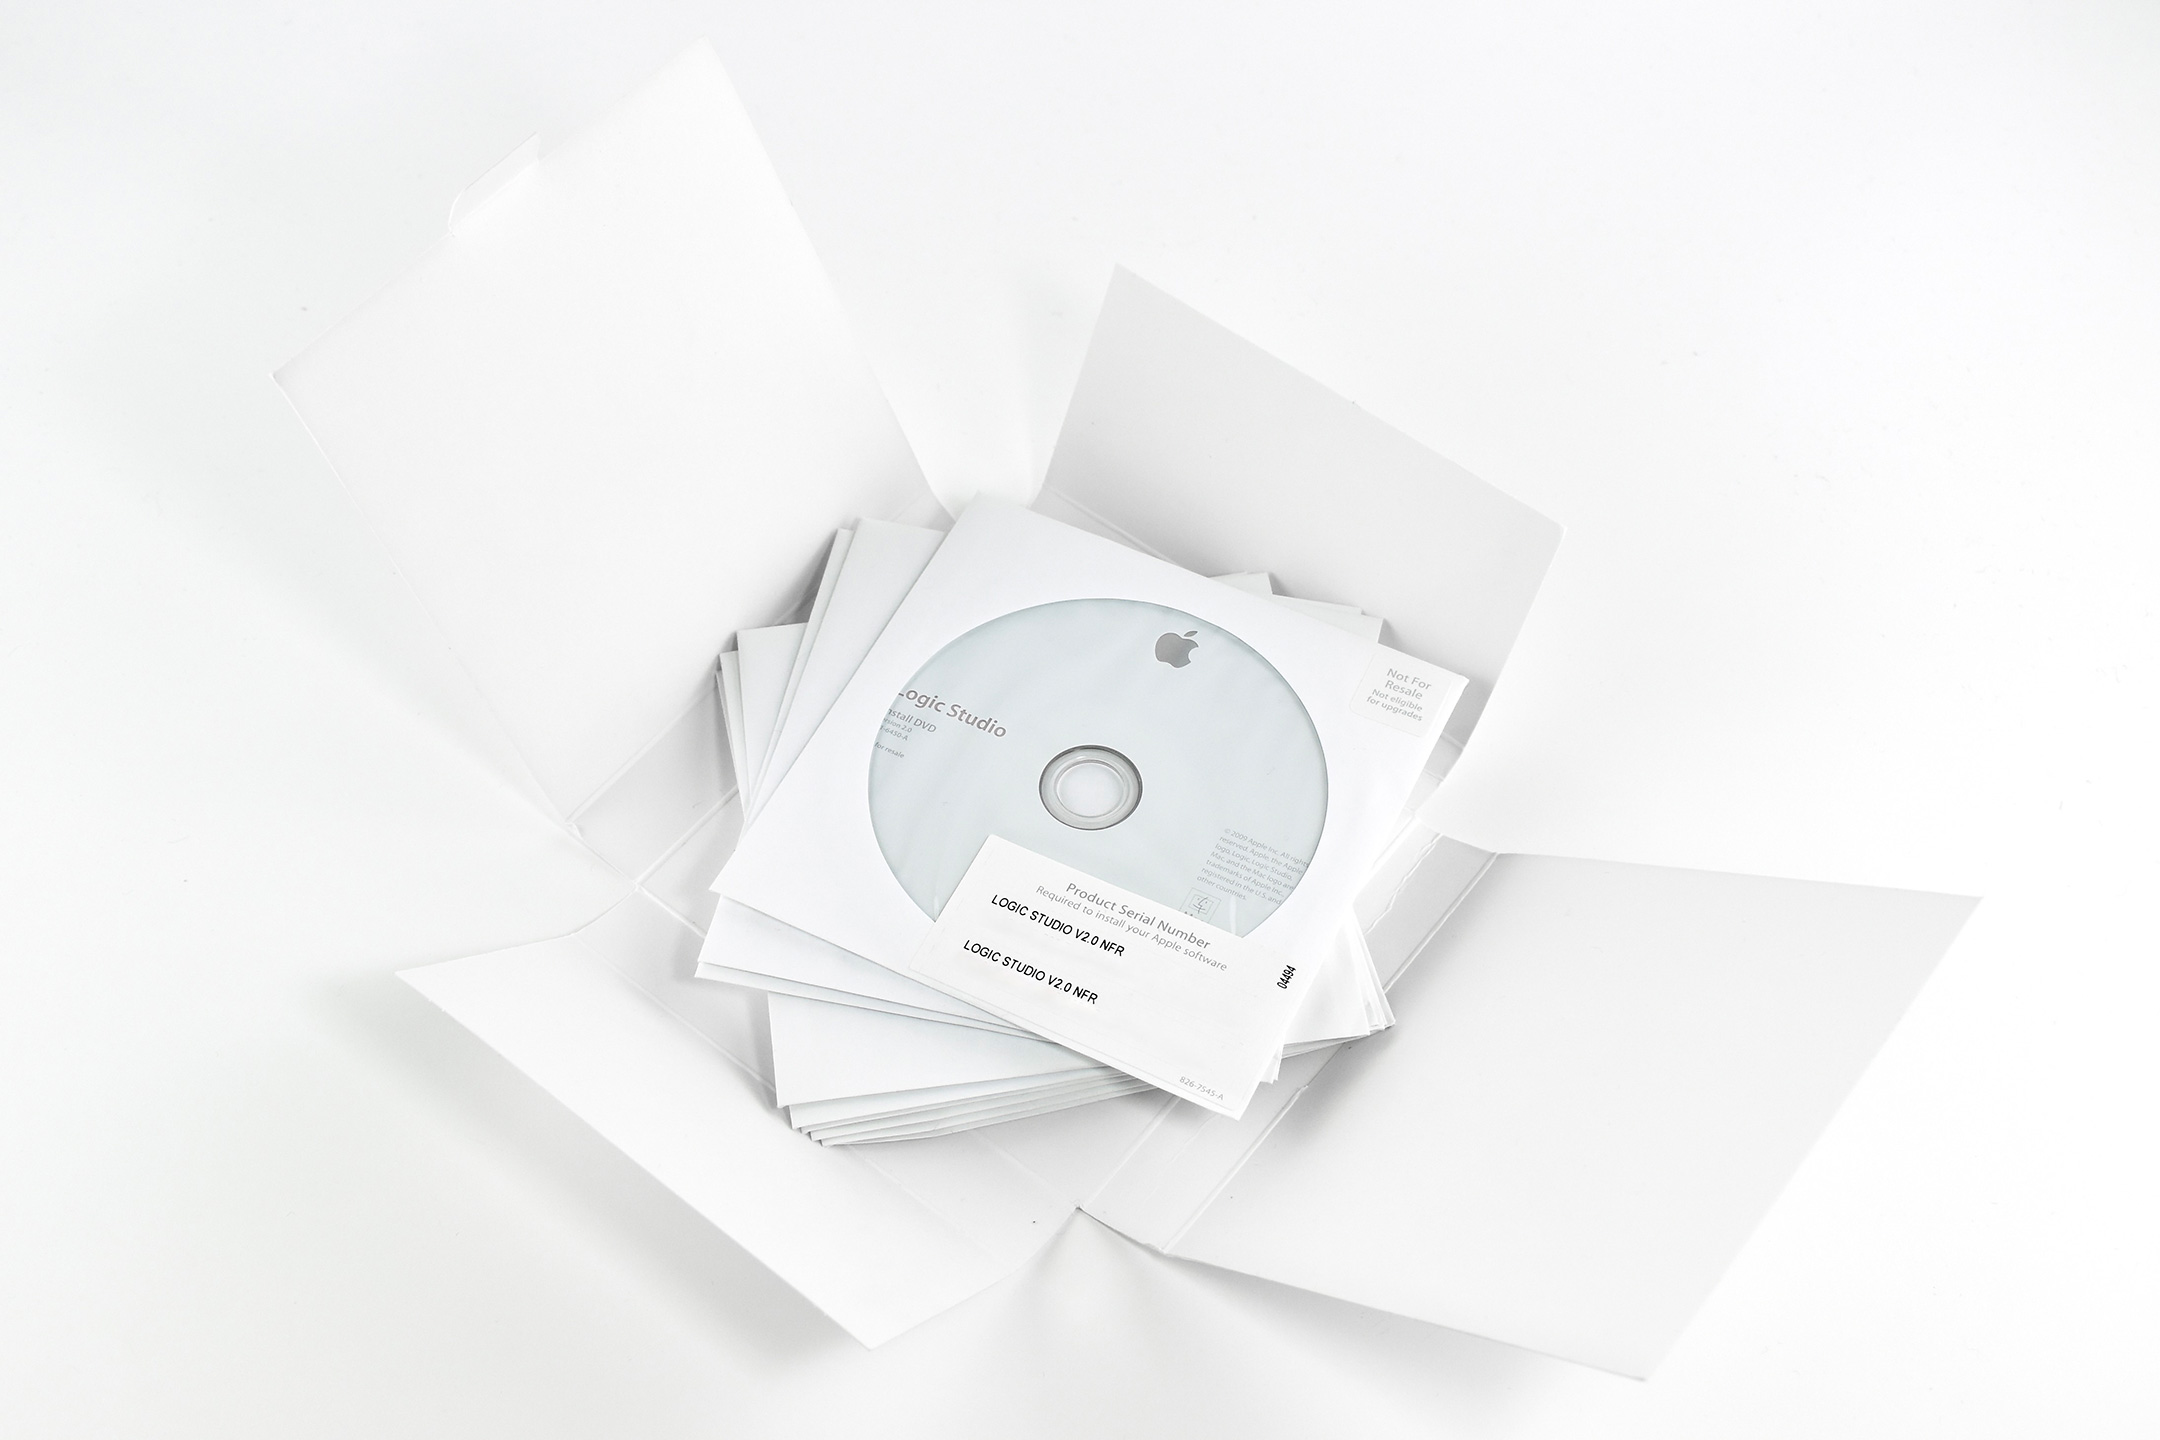
Logic Studio was a music production suite of software by Apple sold between 2007-2011. The suite included Logic Pro, Mainstage, Soundtrack Pro, WaveBurner, Studio Instruments, Studio Effects, Apple Loops, Impulse Response Utility, Compressor, QuickTime Pro, and content DVDs with Jam Pack collections, sound effects, and more.
Apple’s press release quoted Phil Schiller, Apple’s-then senior vice president of Worldwide Product Marketing:
“The new Logic Studio is ideal for professional musicians, live performers and GarageBand enthusiasts who want to take their music to the next level. Guitar players are going to love Amp Designer and Pedalboard and the new Flex Time tools allow you to quickly improve your recordings and create tighter performances.”
This version of Logic added a Loopback plug-in to allow “musicians to record, layer and jam along with their own performance so a single musician can lay down a rhythm and then play a lead over it” using a Mac onstage during their live performance.
This set includes 9 DVDs. This version is NFR, Not for Resale.
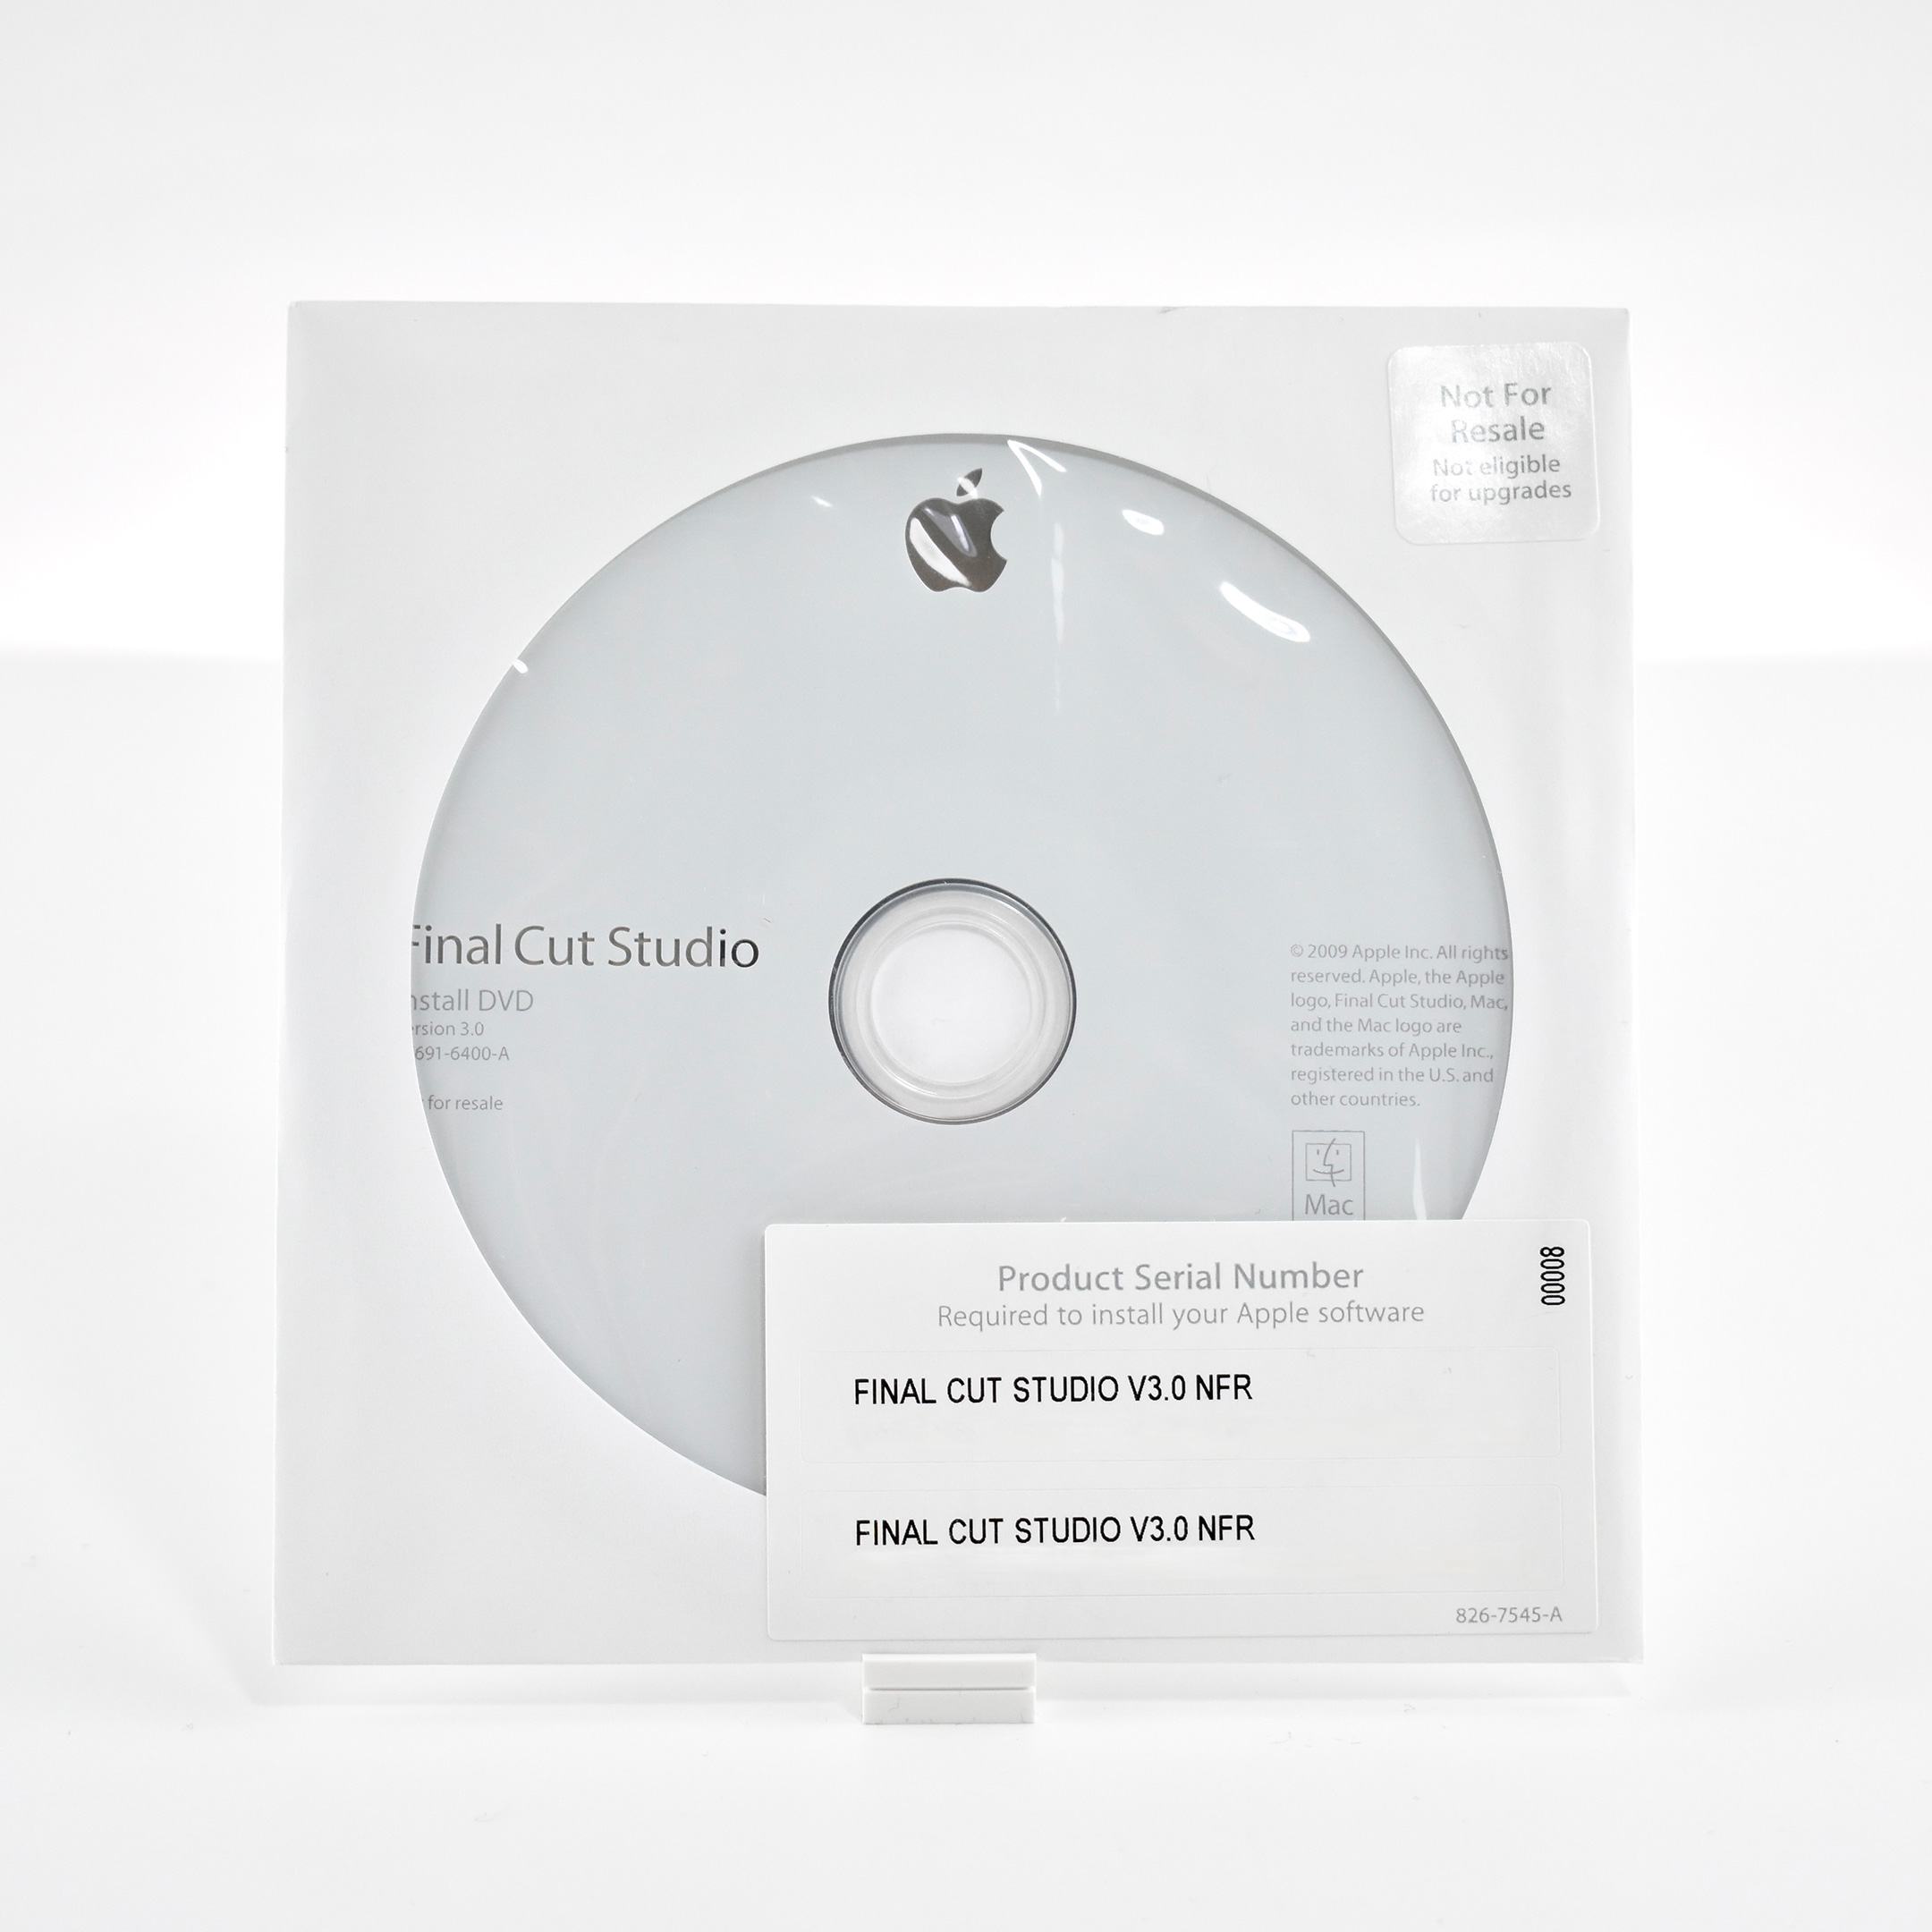
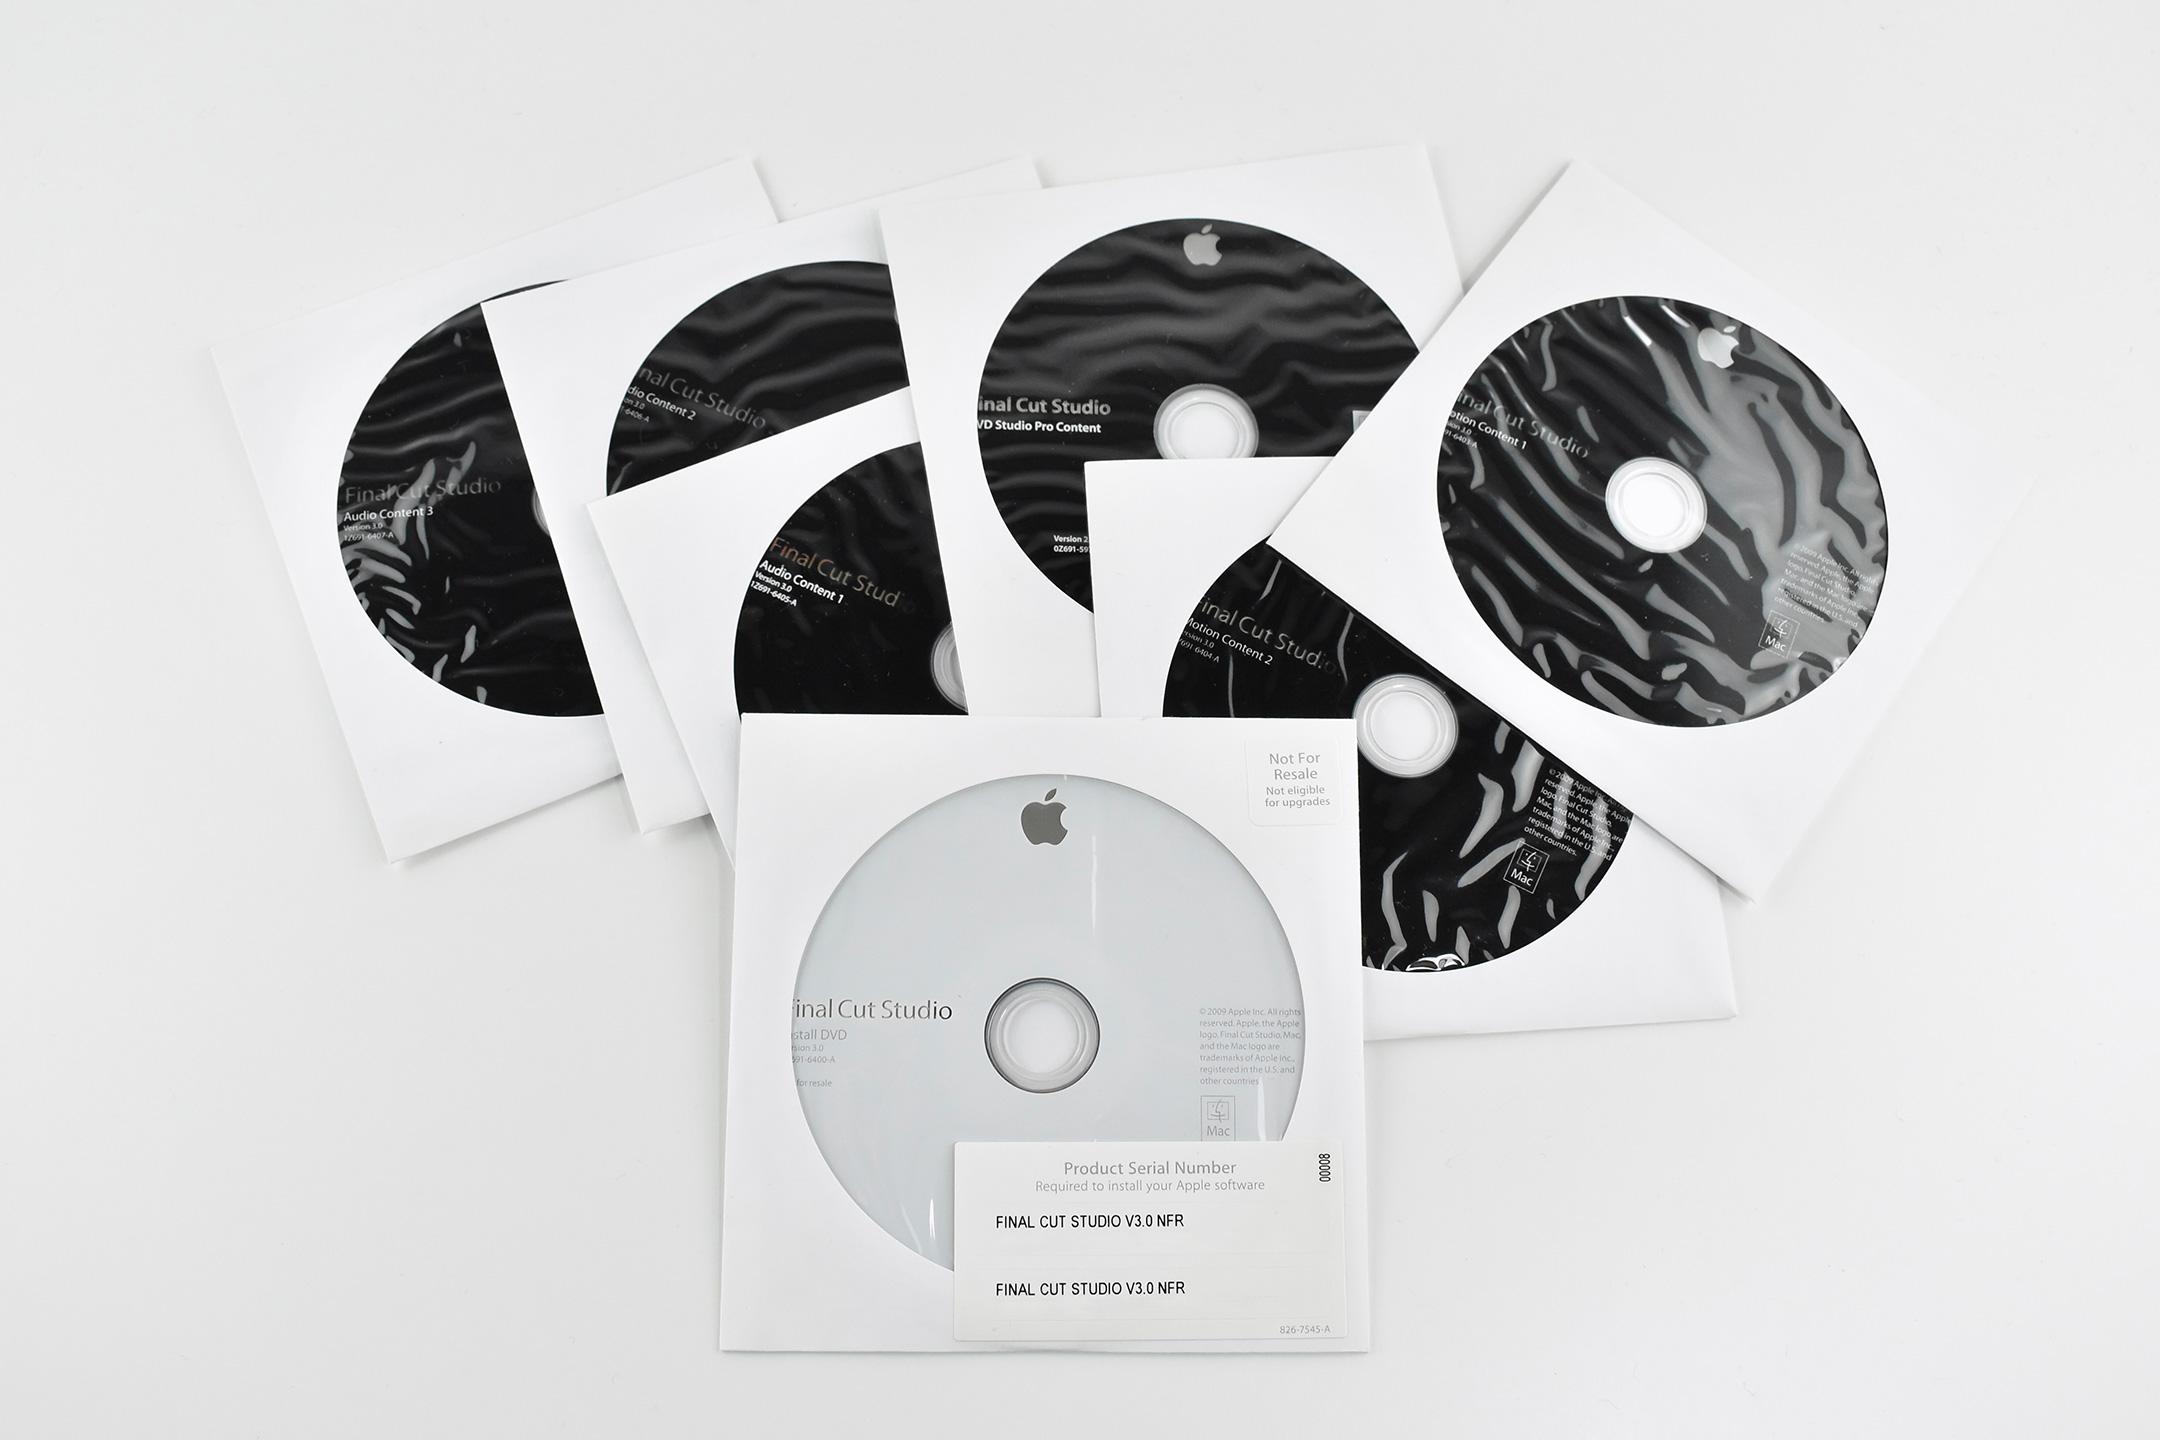
Final Cut Studio was a suite of video editing, production, and post-production software created by Apple and sold between 2005–2011. Version 3.0 was the final release of Final Cut Studio and contained the following applications:
Final Cut Pro 7—real-time video editor for DV, SD, and HD formats
Soundtrack Pro 3—advanced audio editing and sound design application
DVD Studio Pro 4—application for encoding, authoring, and burning DVDs
Color 1.5—color grading application
Compressor 3.5—video encoding tool for exporting projects in different formats
Cinema Tools 4.5—application providing tools specific to film processing
Qmaster 3—distributed processing tool
Apple’s press release for this version of Final Cut Studio began with:
“Apple today announced a significant update to Final Cut Studio with more than 100 new features and new versions of Final Cut Pro, Motion, Soundtrack Pro, Color and Compressor. Final Cut Studio features Final Cut Pro 7 which expands Apple’s ProRes codec family to support virtually any workflow and includes Easy Export for one step output to a variety of formats and iChat Theater support for real-time collaboration.”
This set includes 7 DVDs. This version is NFR, Not for Resale.
Shortly after I received my iPhone 13 Pro that included several new impressive camera upgrades, I wondered if the iPhone camera system had yet improved to the point that it could meet or exceed my Nikon D3500 for my Apple collection photography. While I am by no means a professional-level photographer, I have captured tens of thousands photos of my Apple hardware and collectibles over the past few years, and then edited and posted the results here on my Apple Collection website and blog.
Nearly all the photos on this website were captured with a Nikon D3500 with a basic lens. In fact, it took me about a year to learn how to use this camera—my first Digital SLR. I consulted several websites, a book, and YouTube videos to learn the many methods I now use regularly. I shoot the photos in my relatively low-cost home photography studio. While I originally set out to spend less than $100 on the lighting, backdrop, and table, I upgraded my lighting after two years to bring the total investment to about $150.
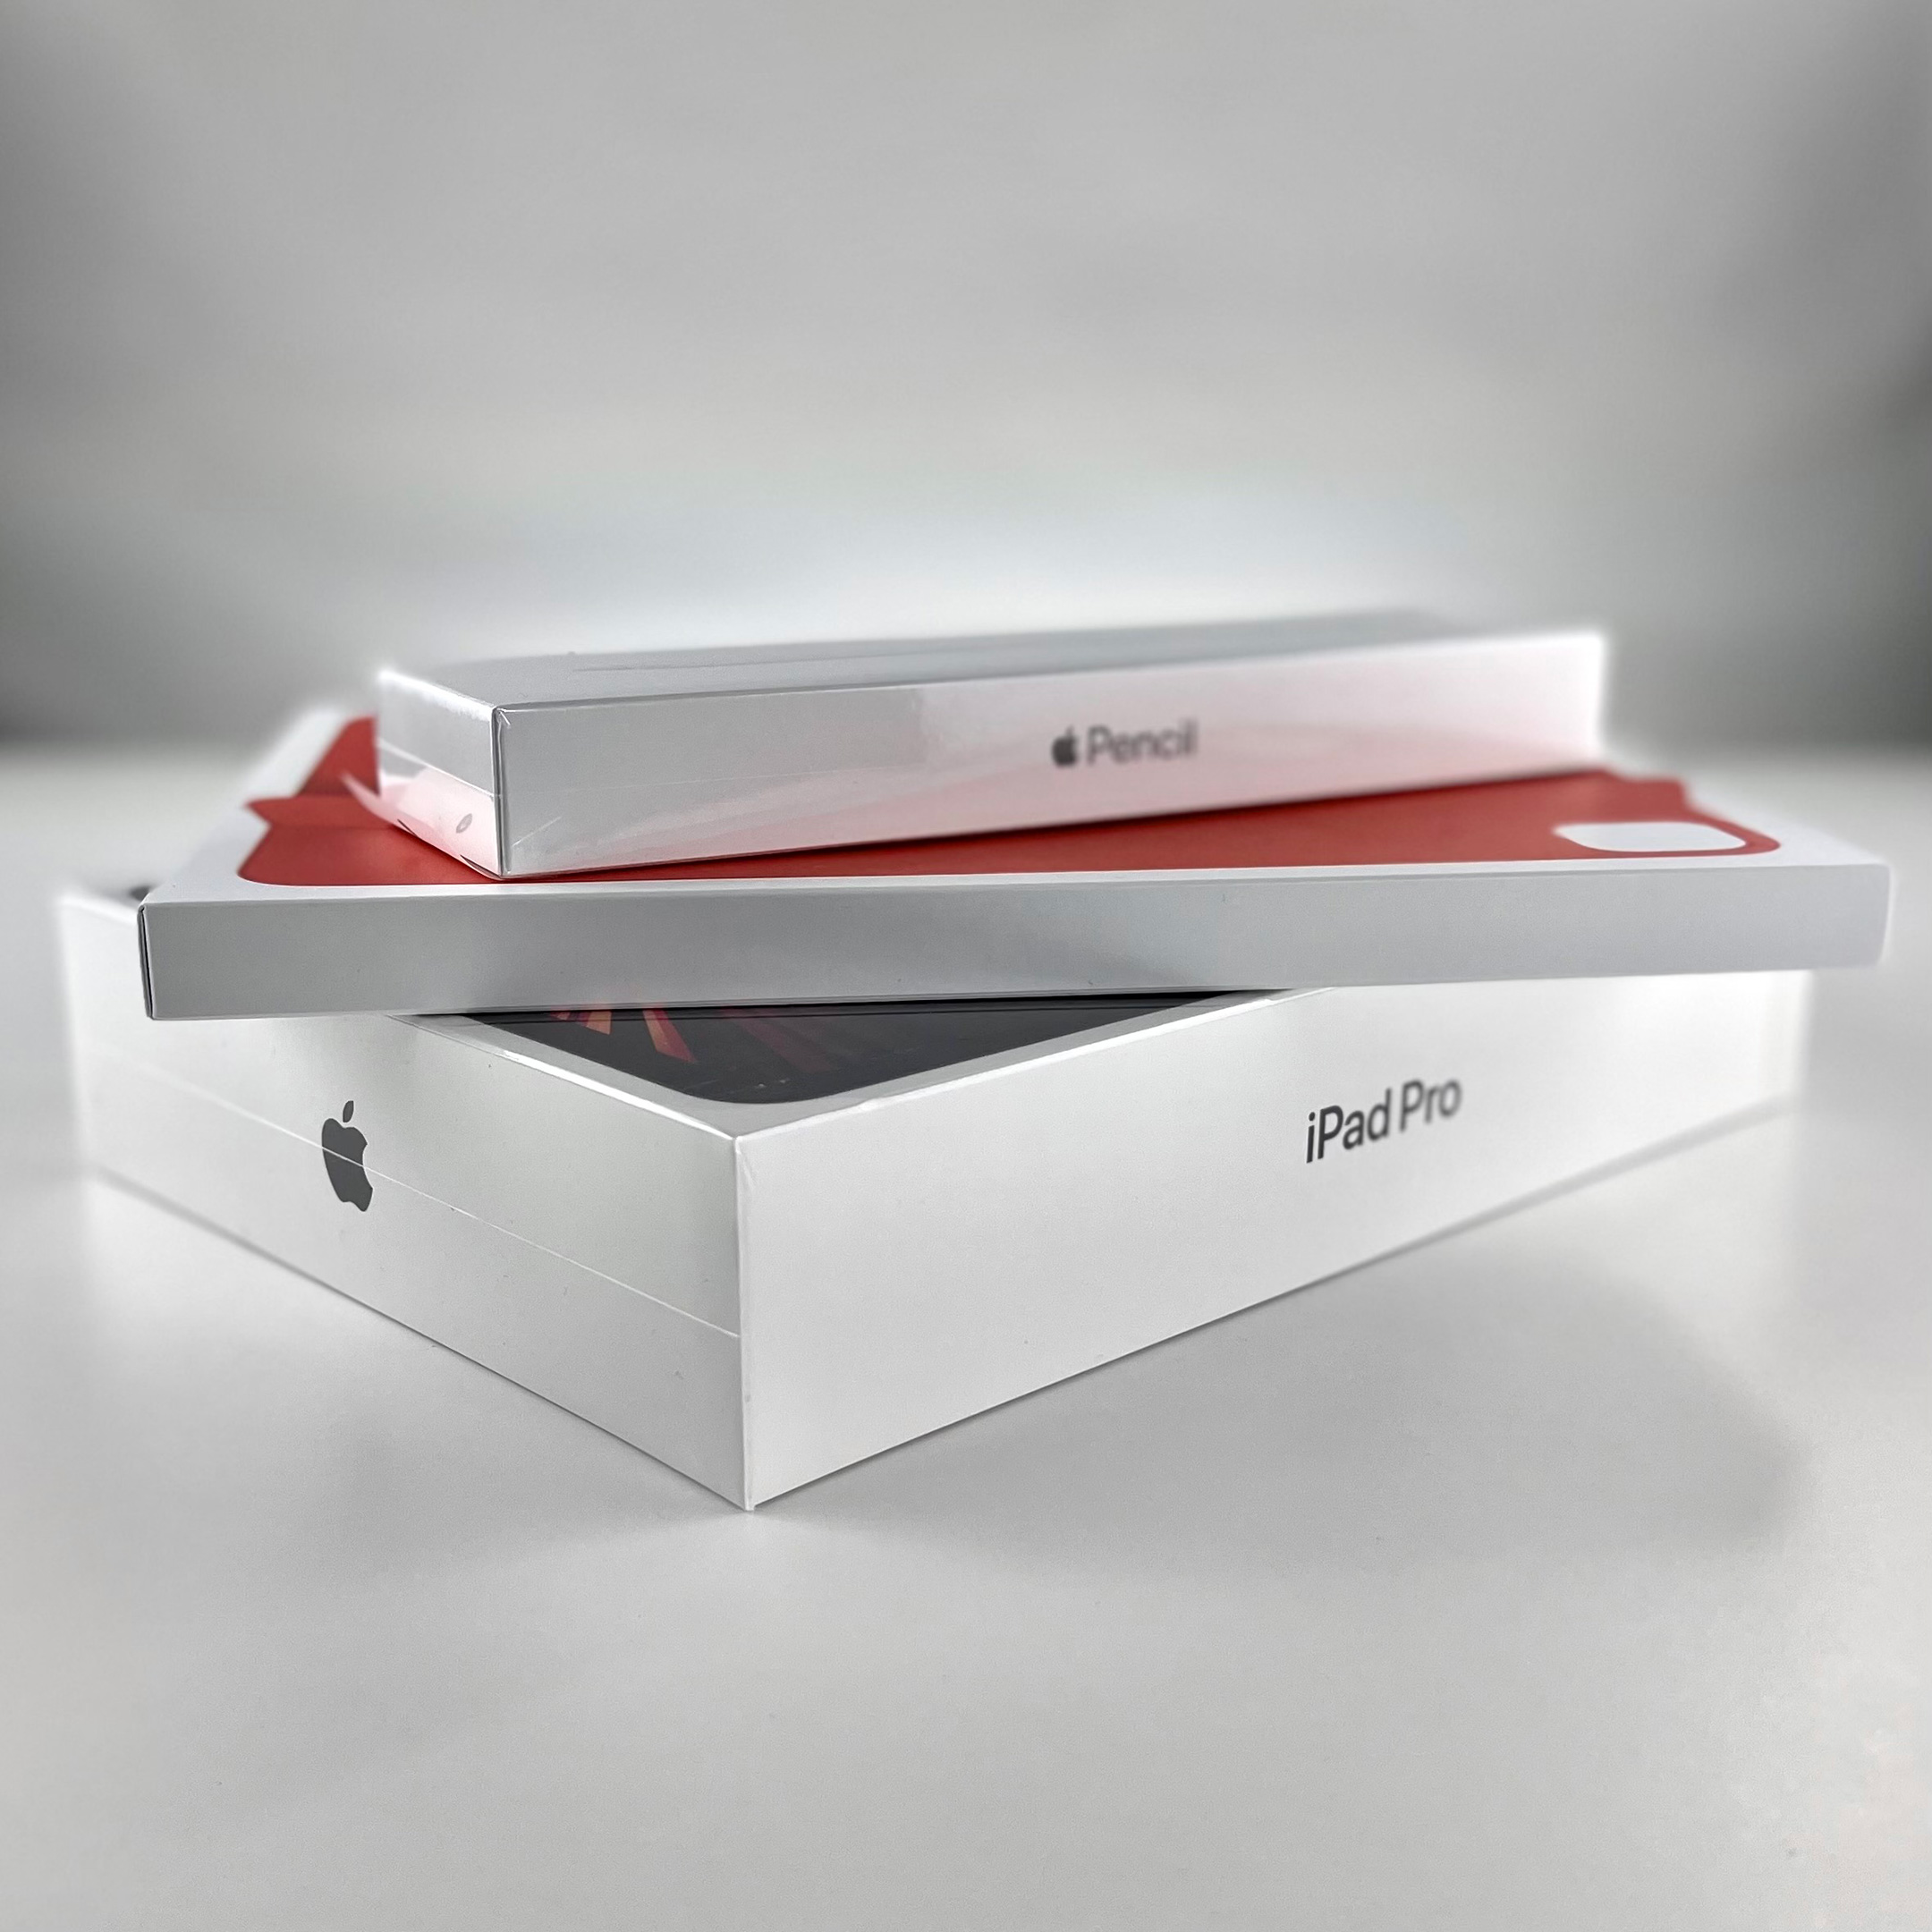
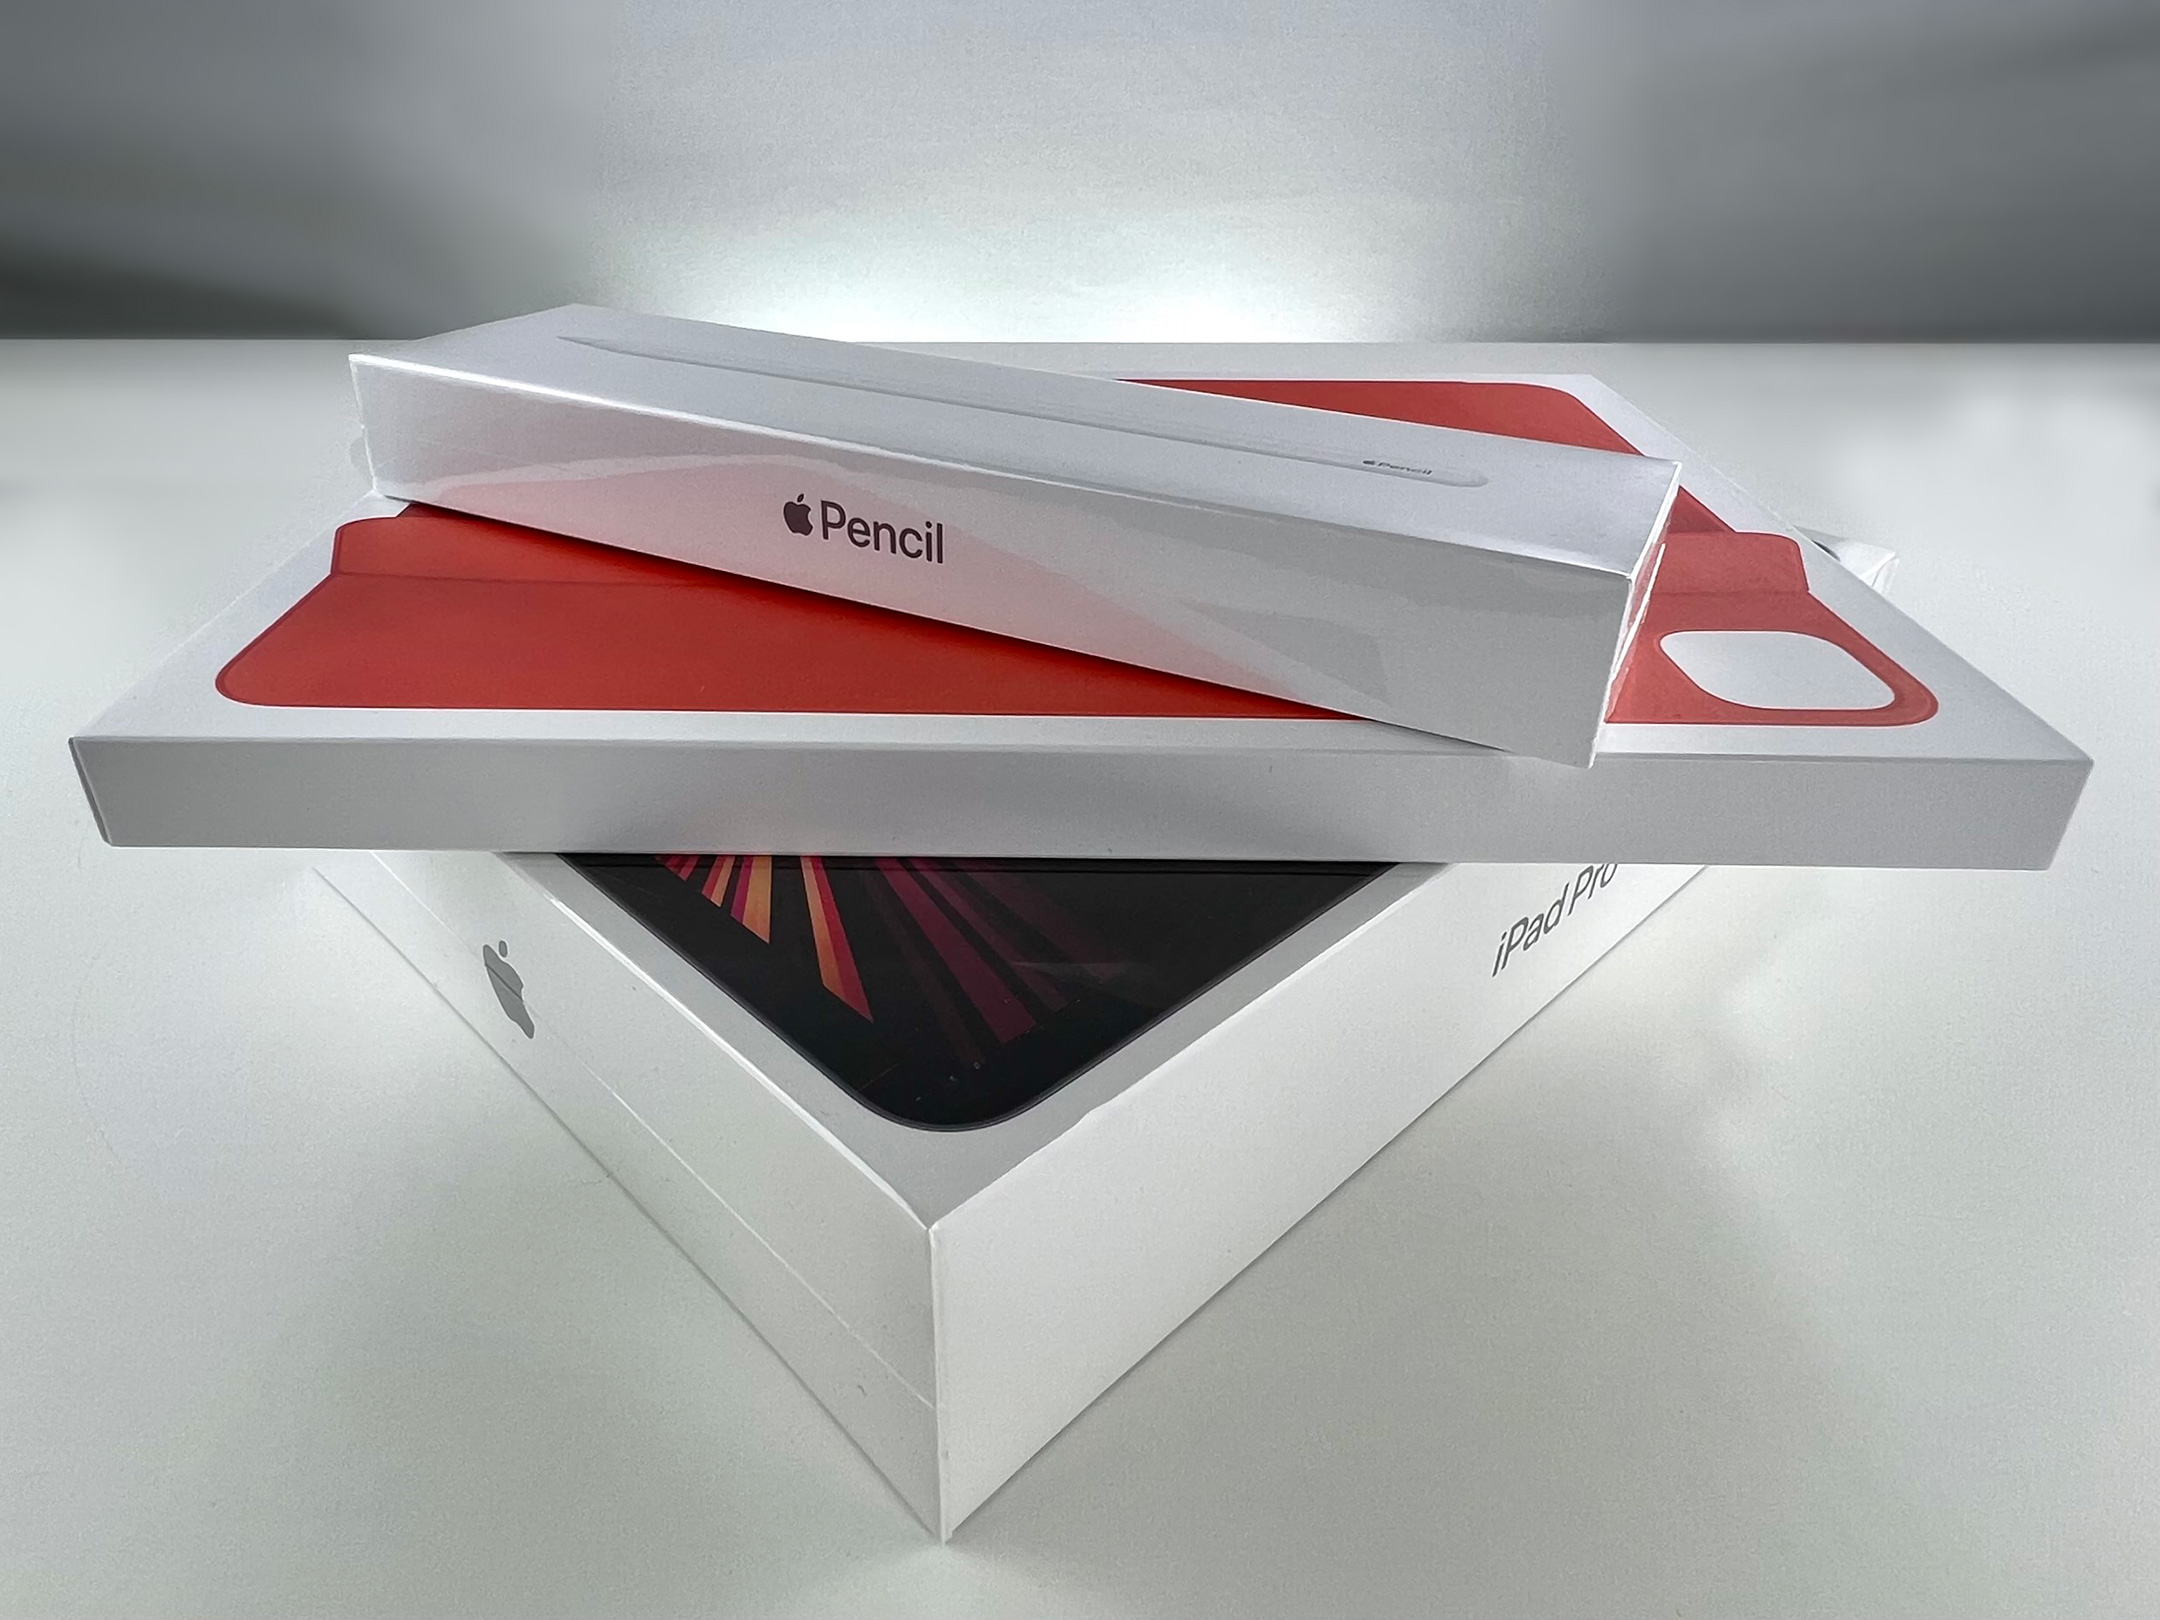
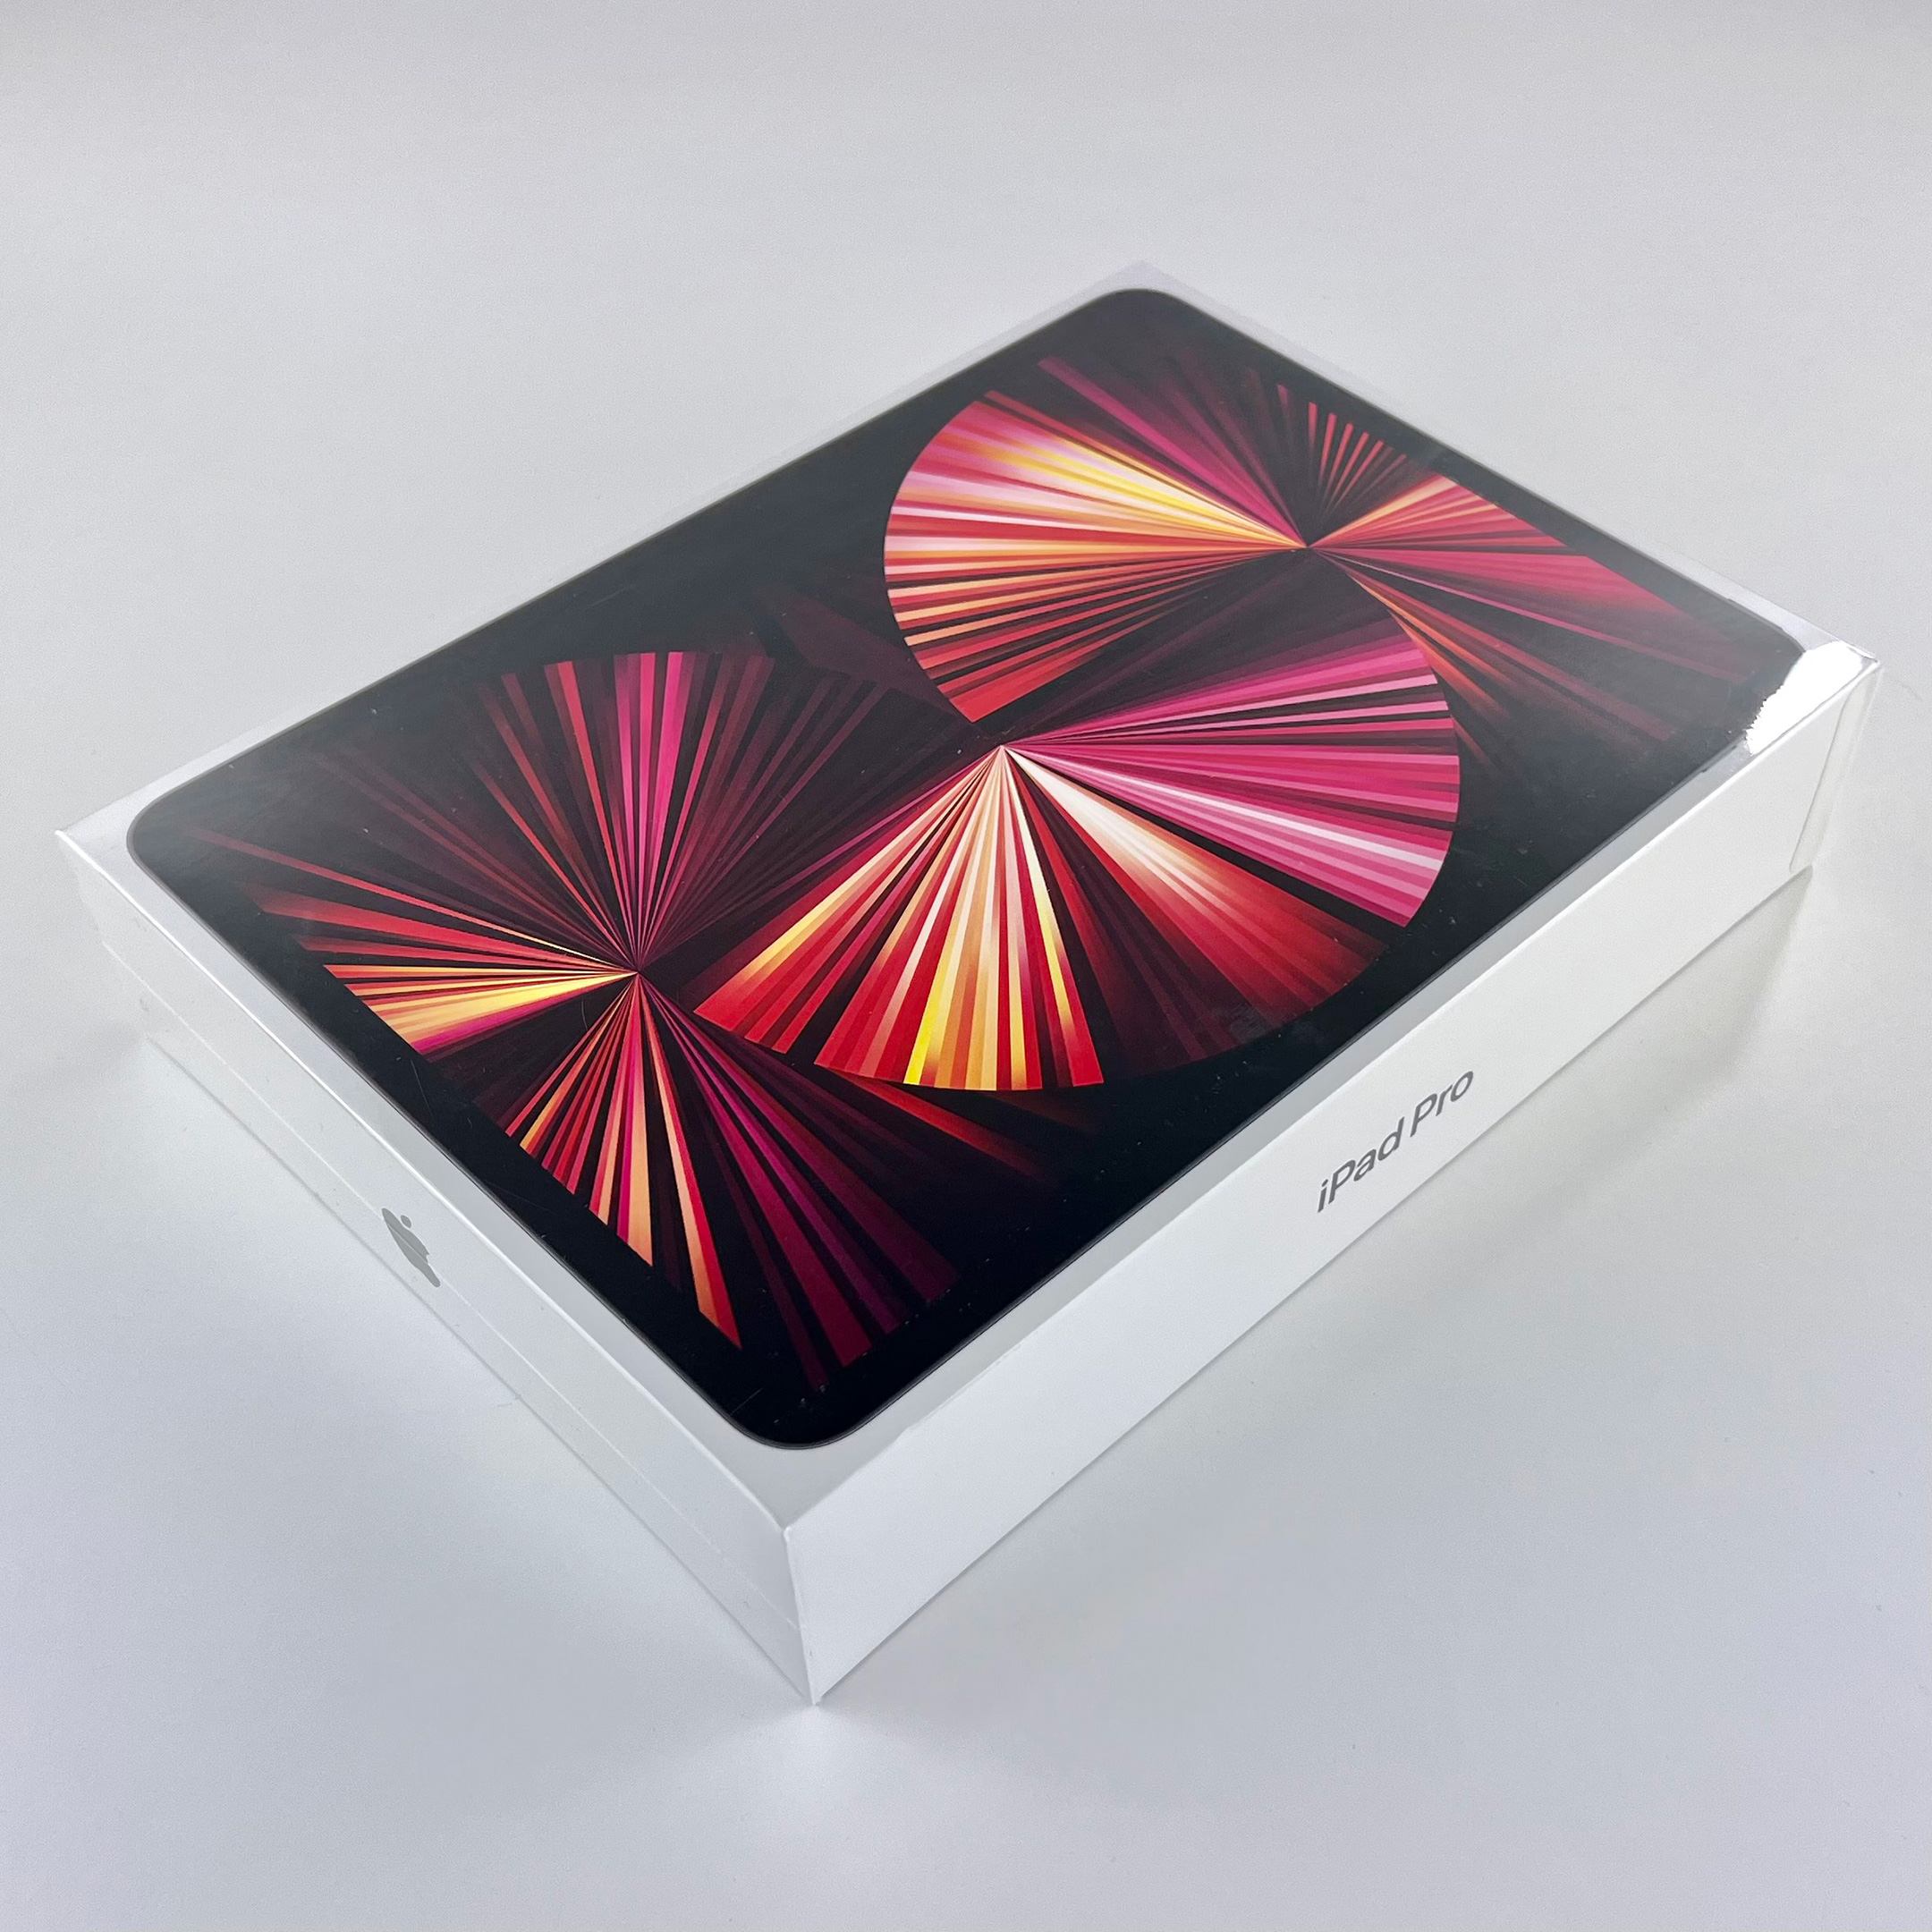
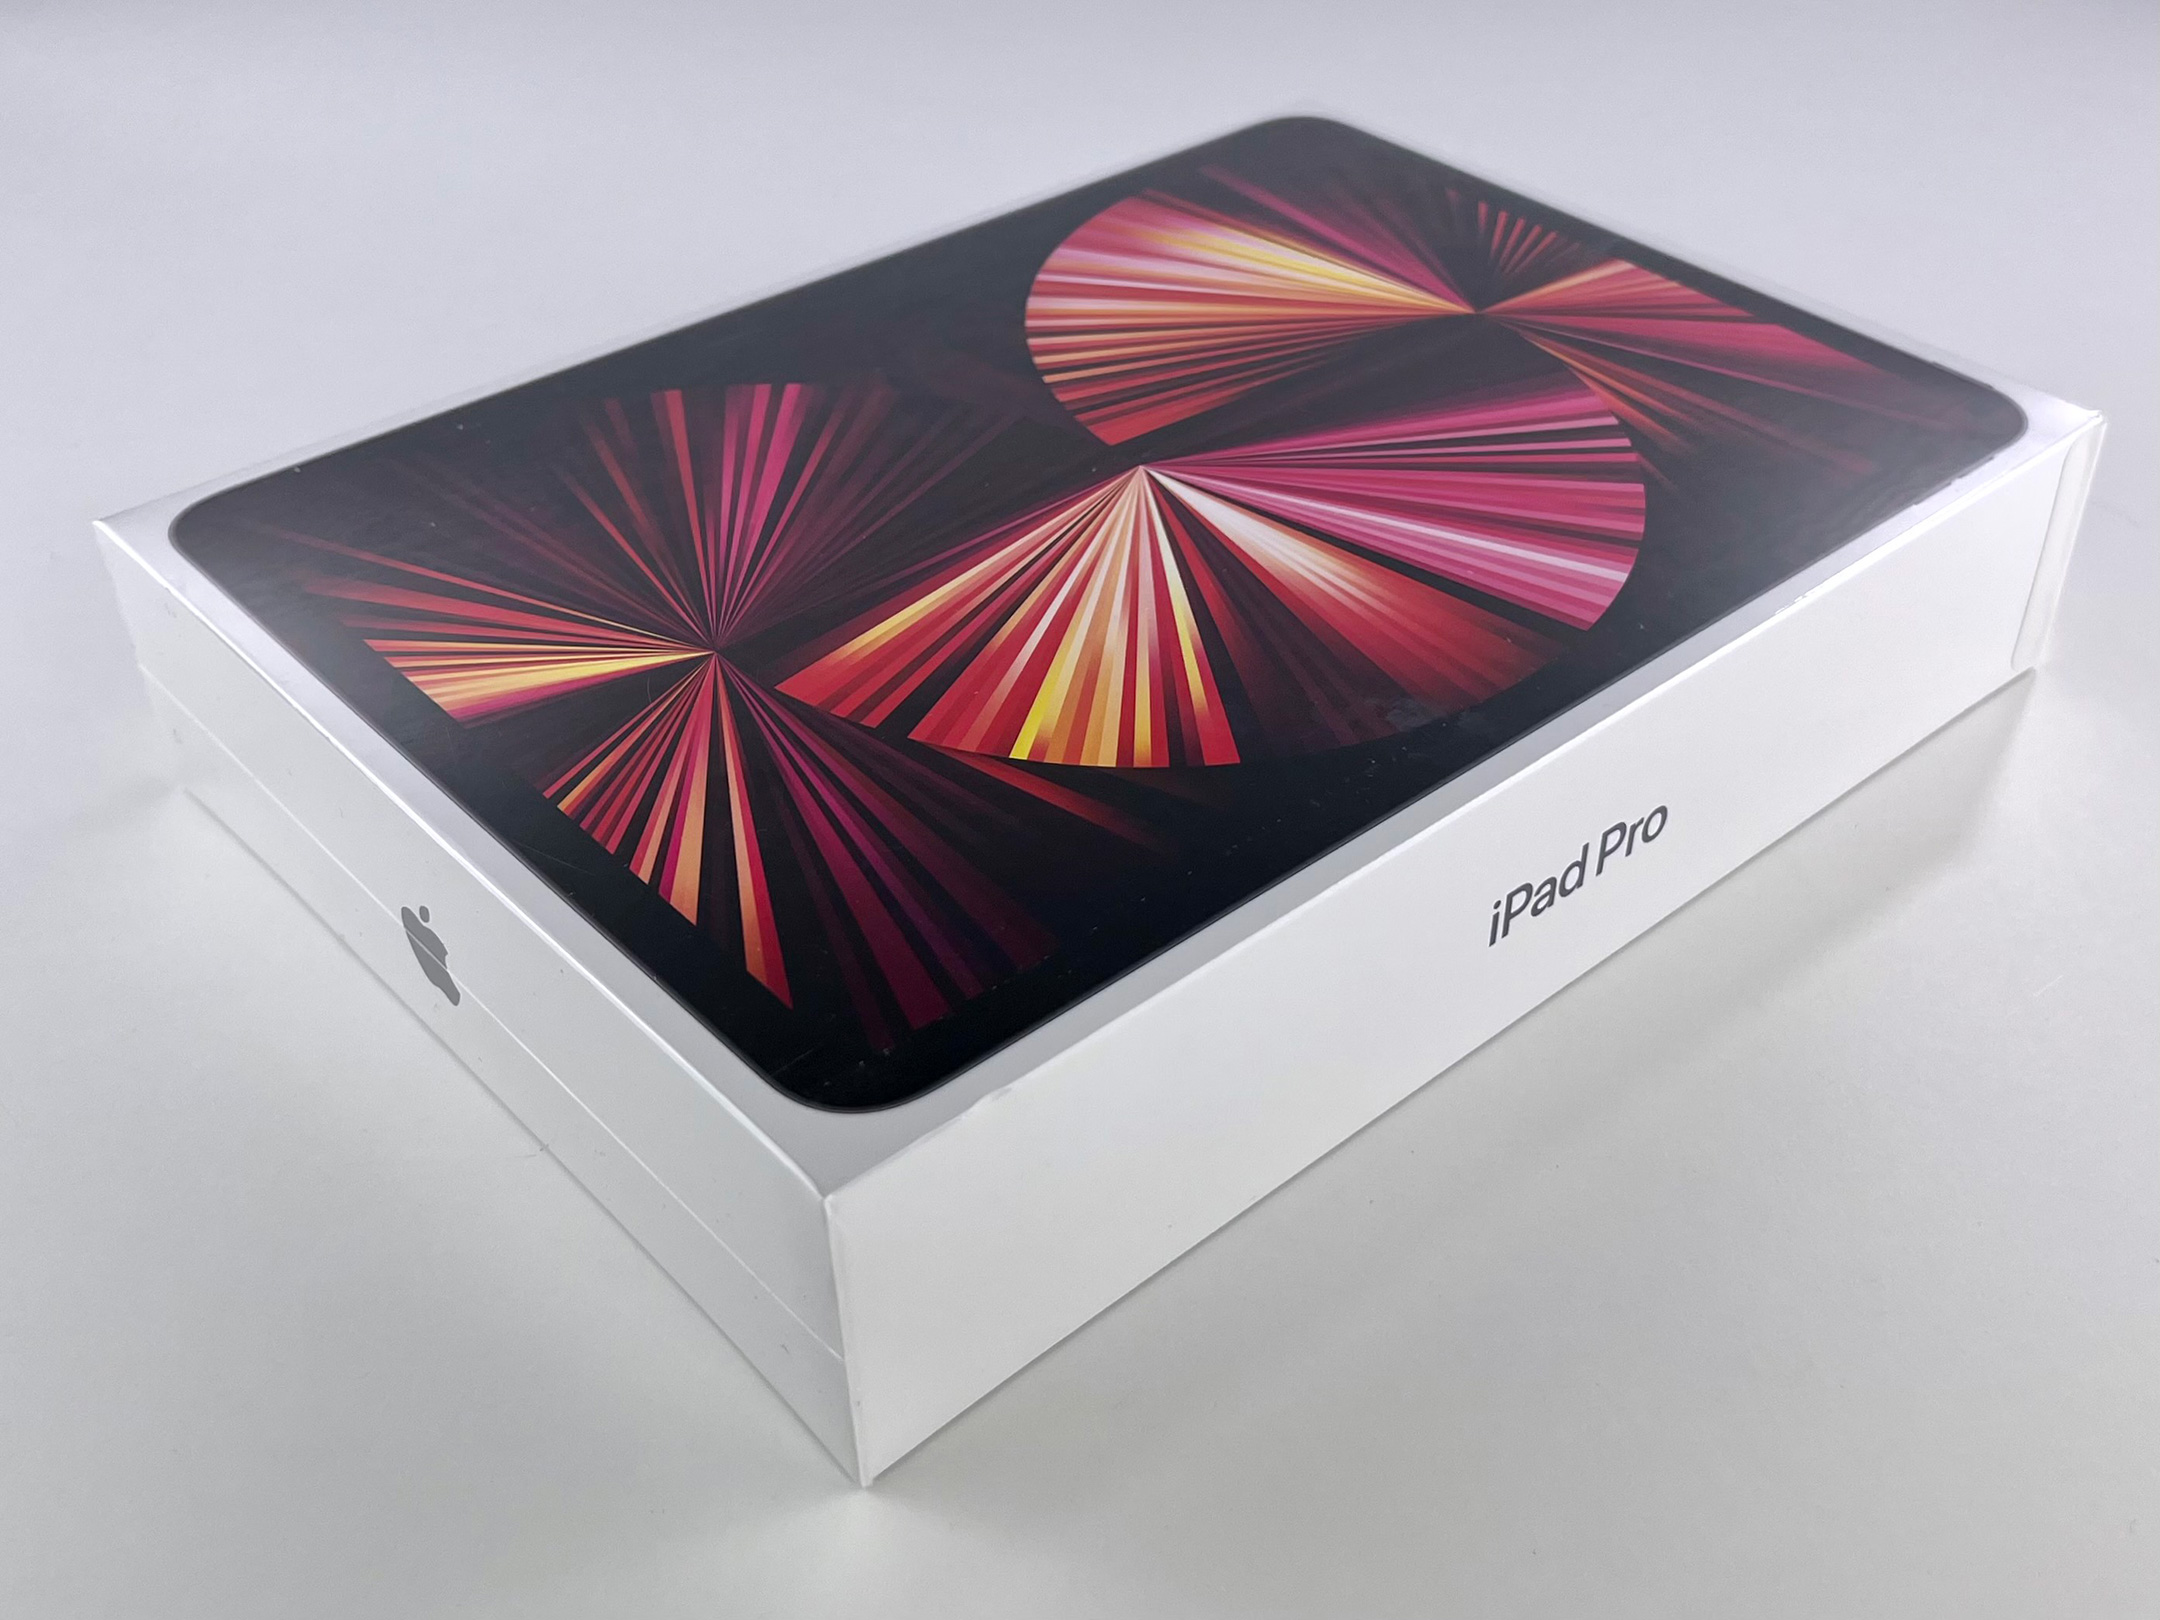
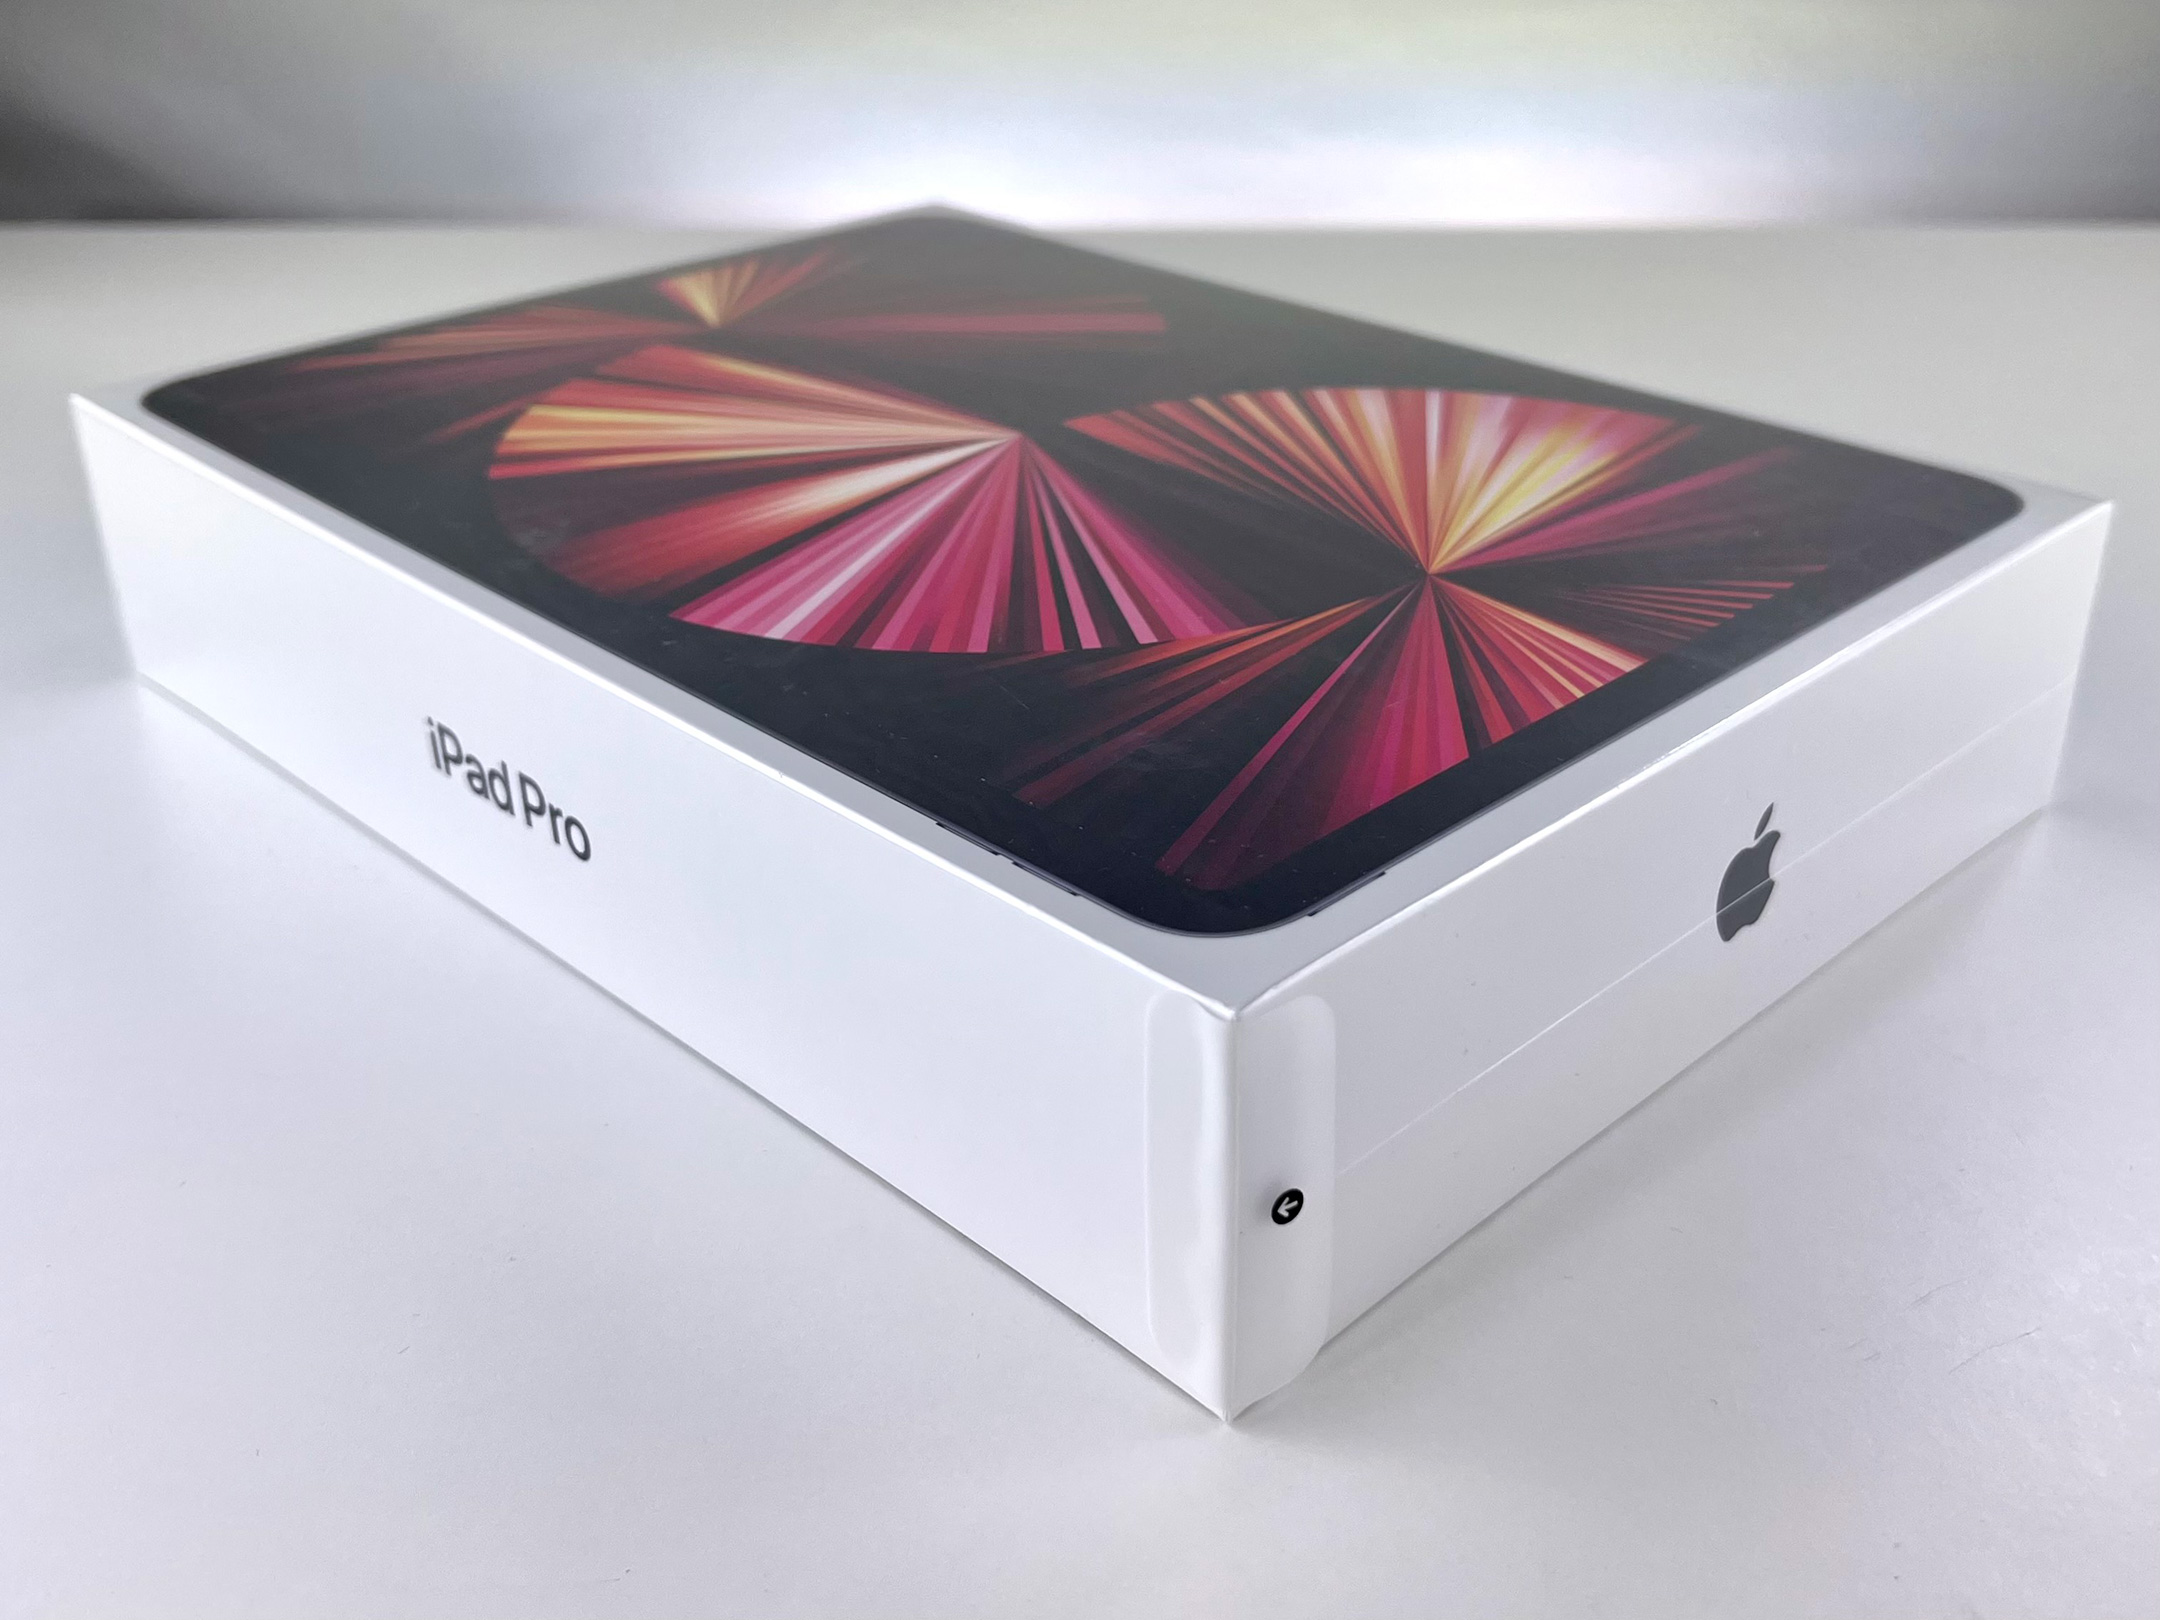
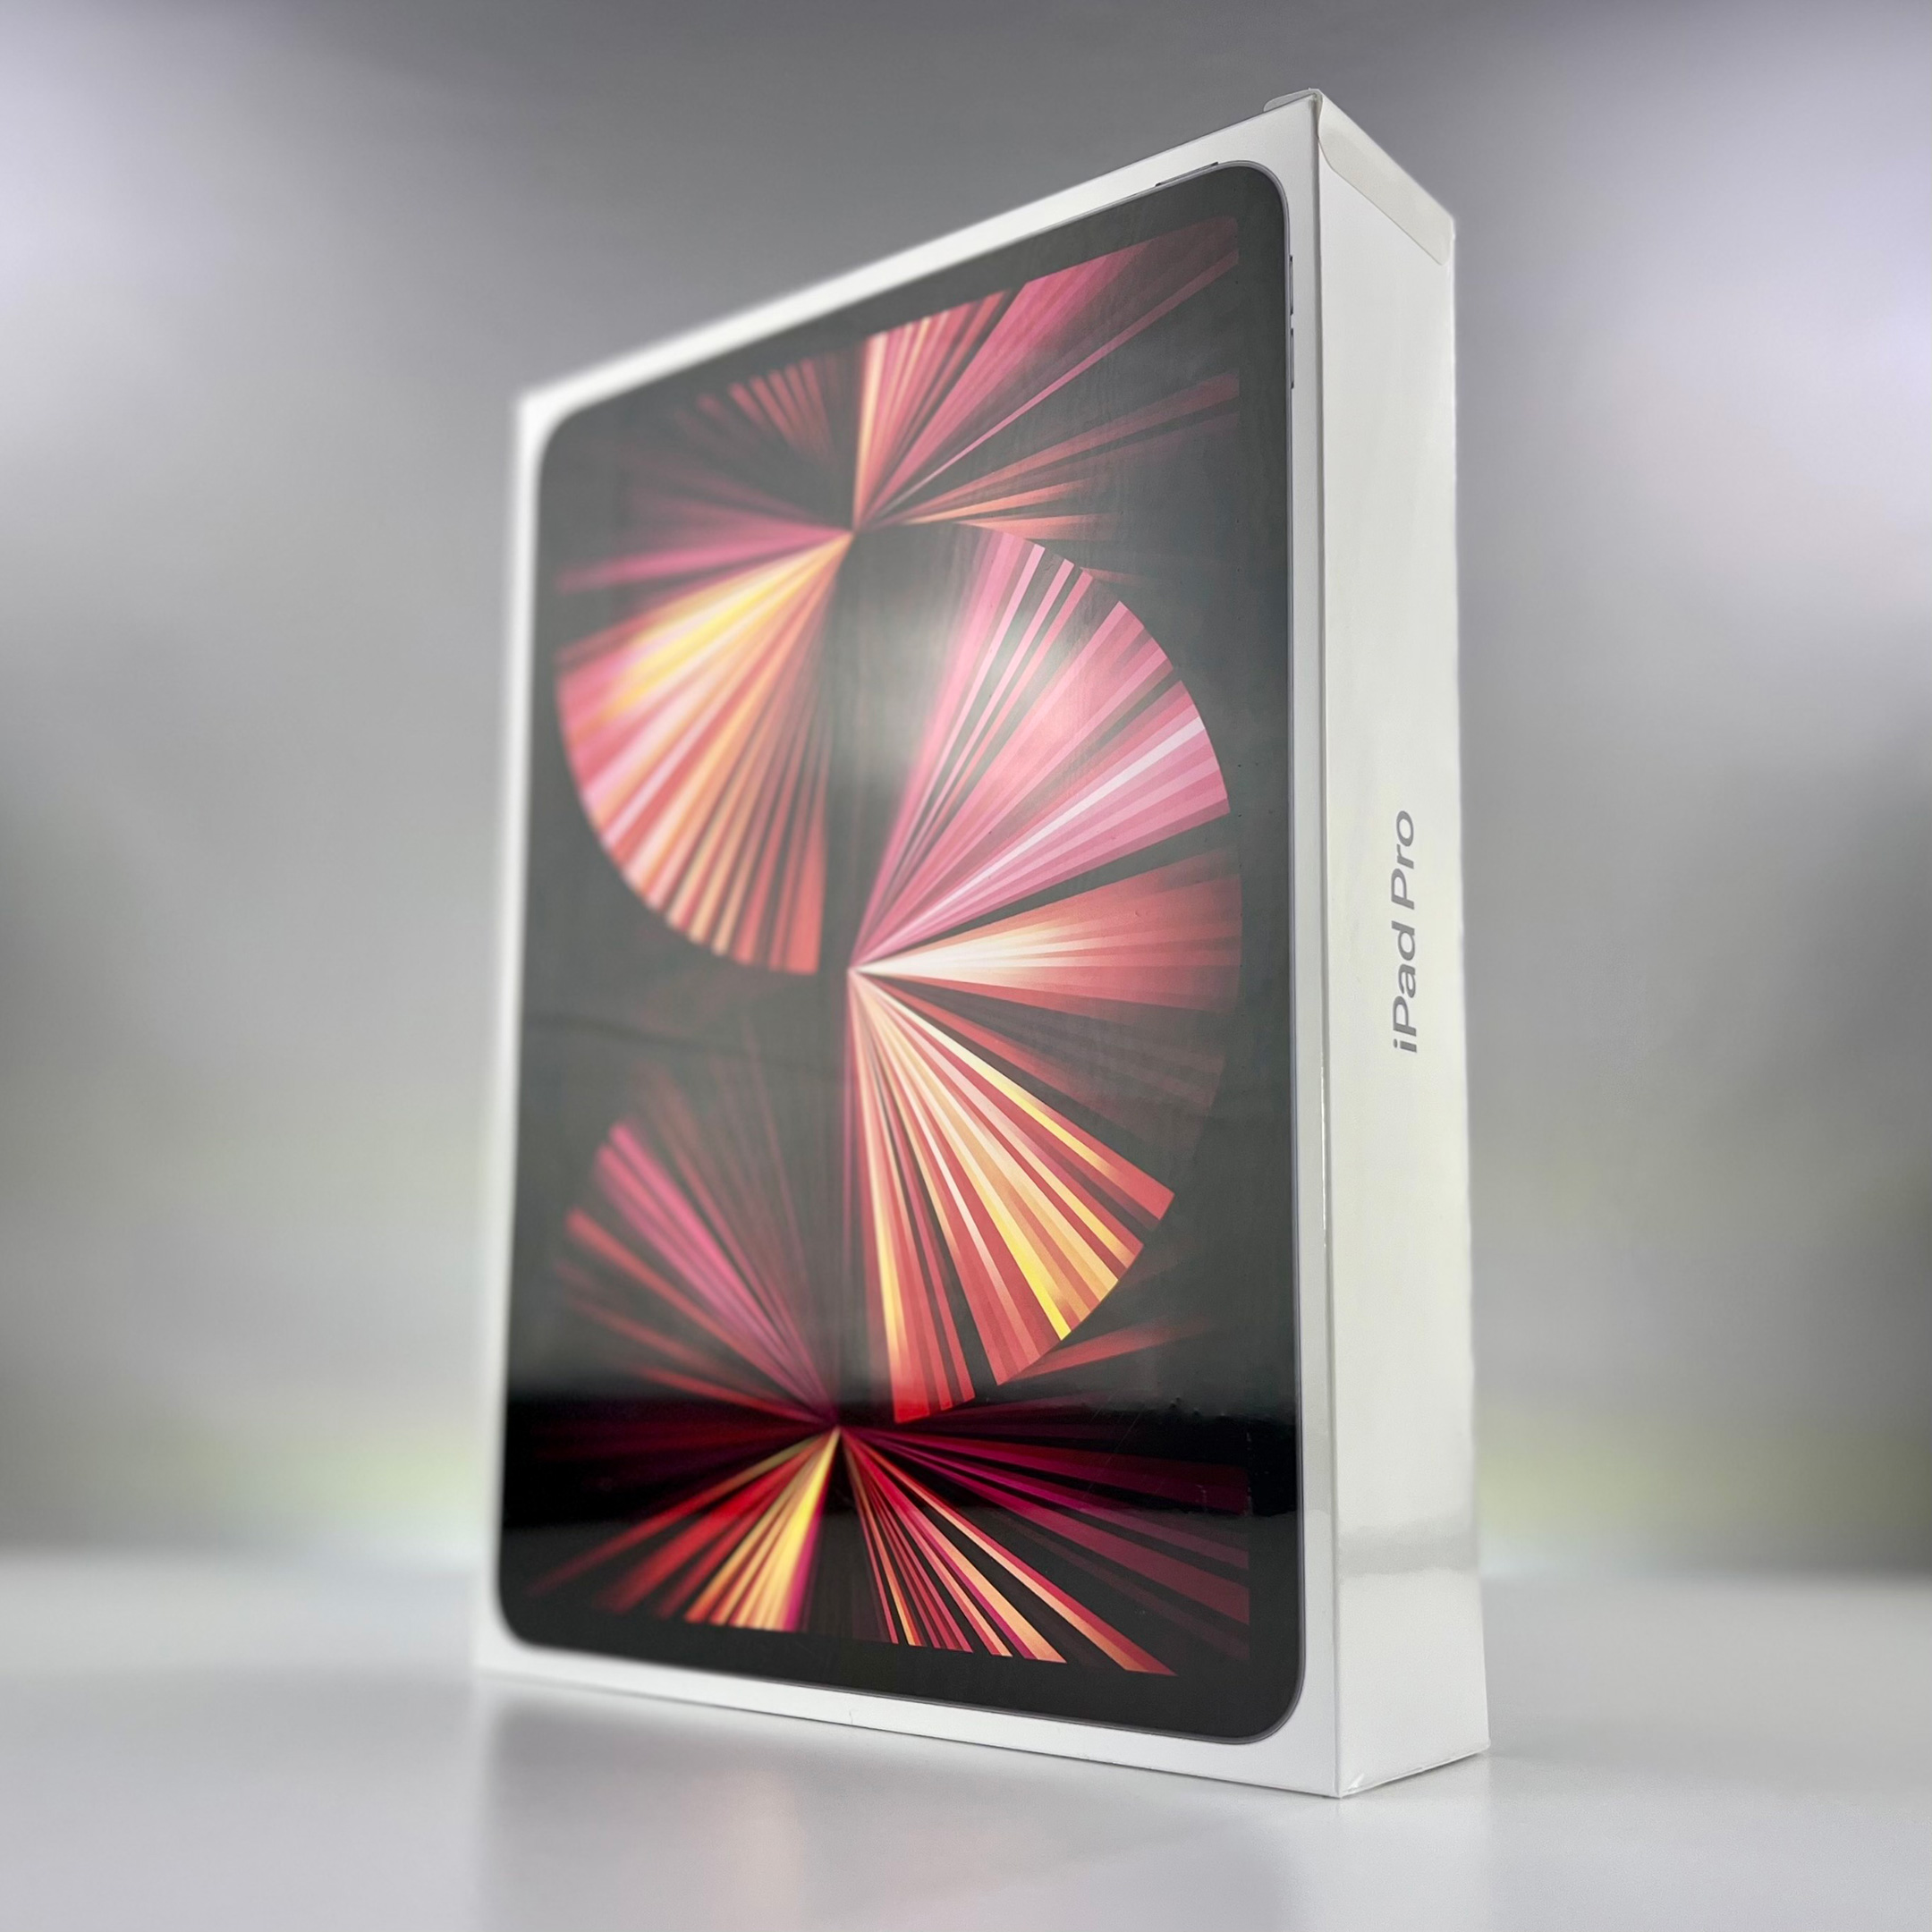
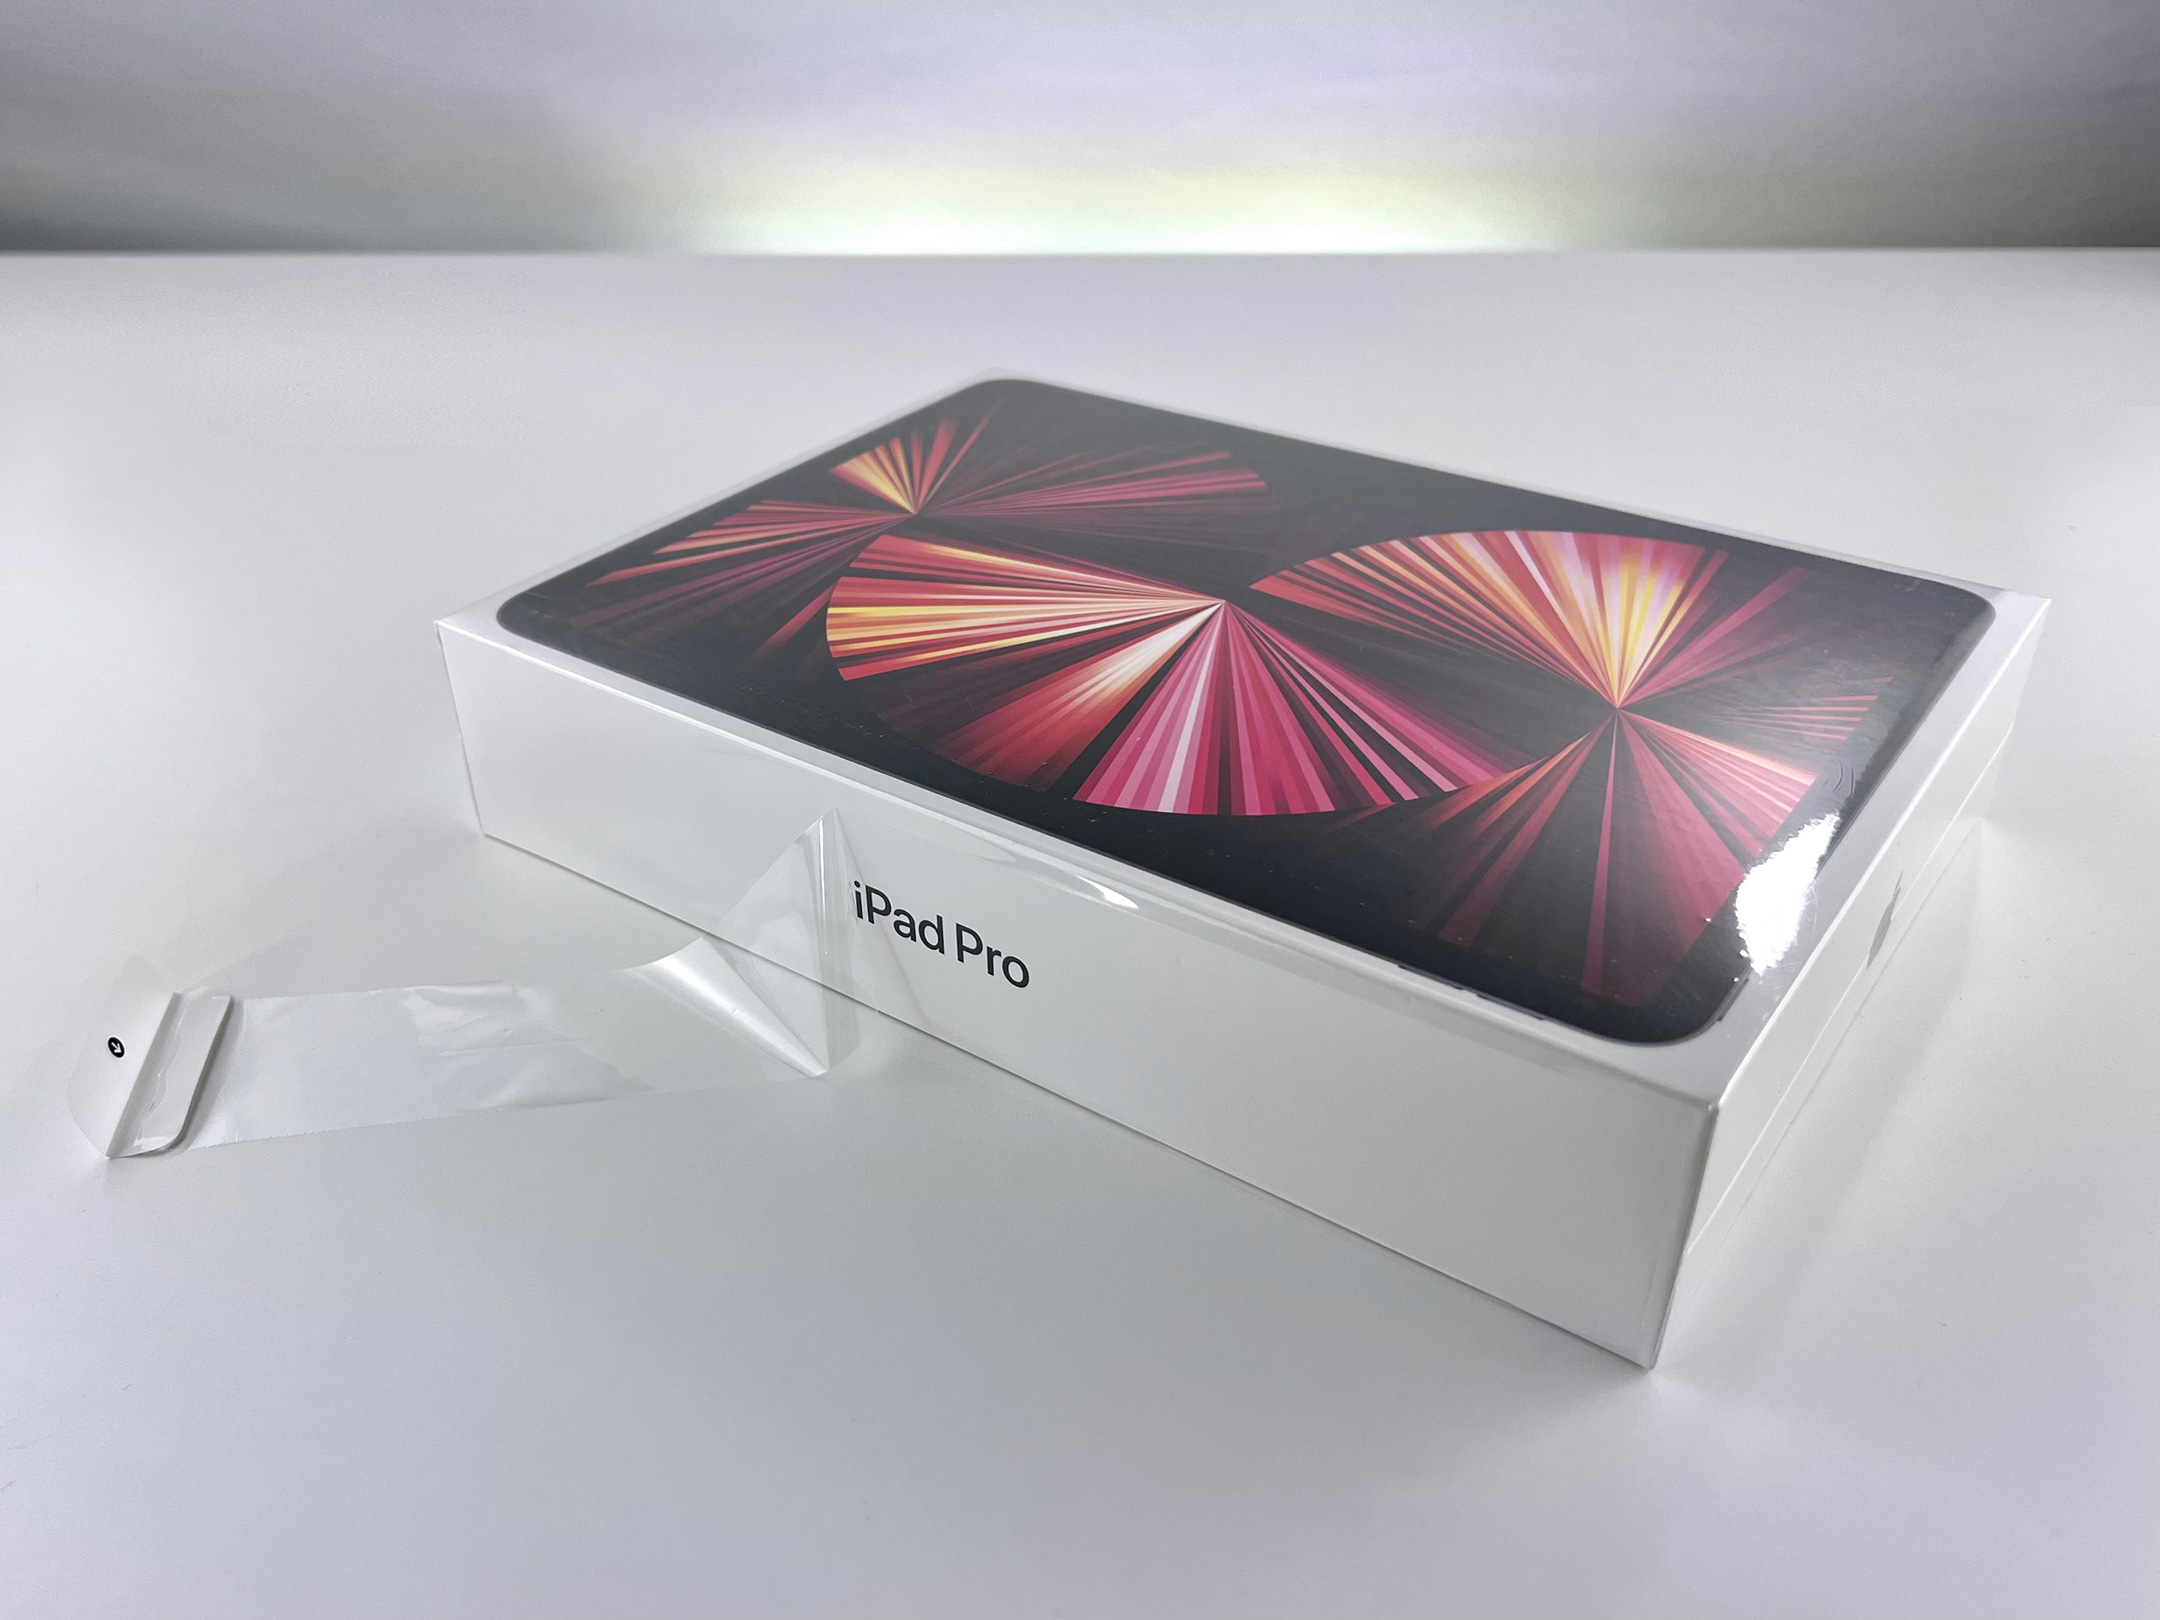
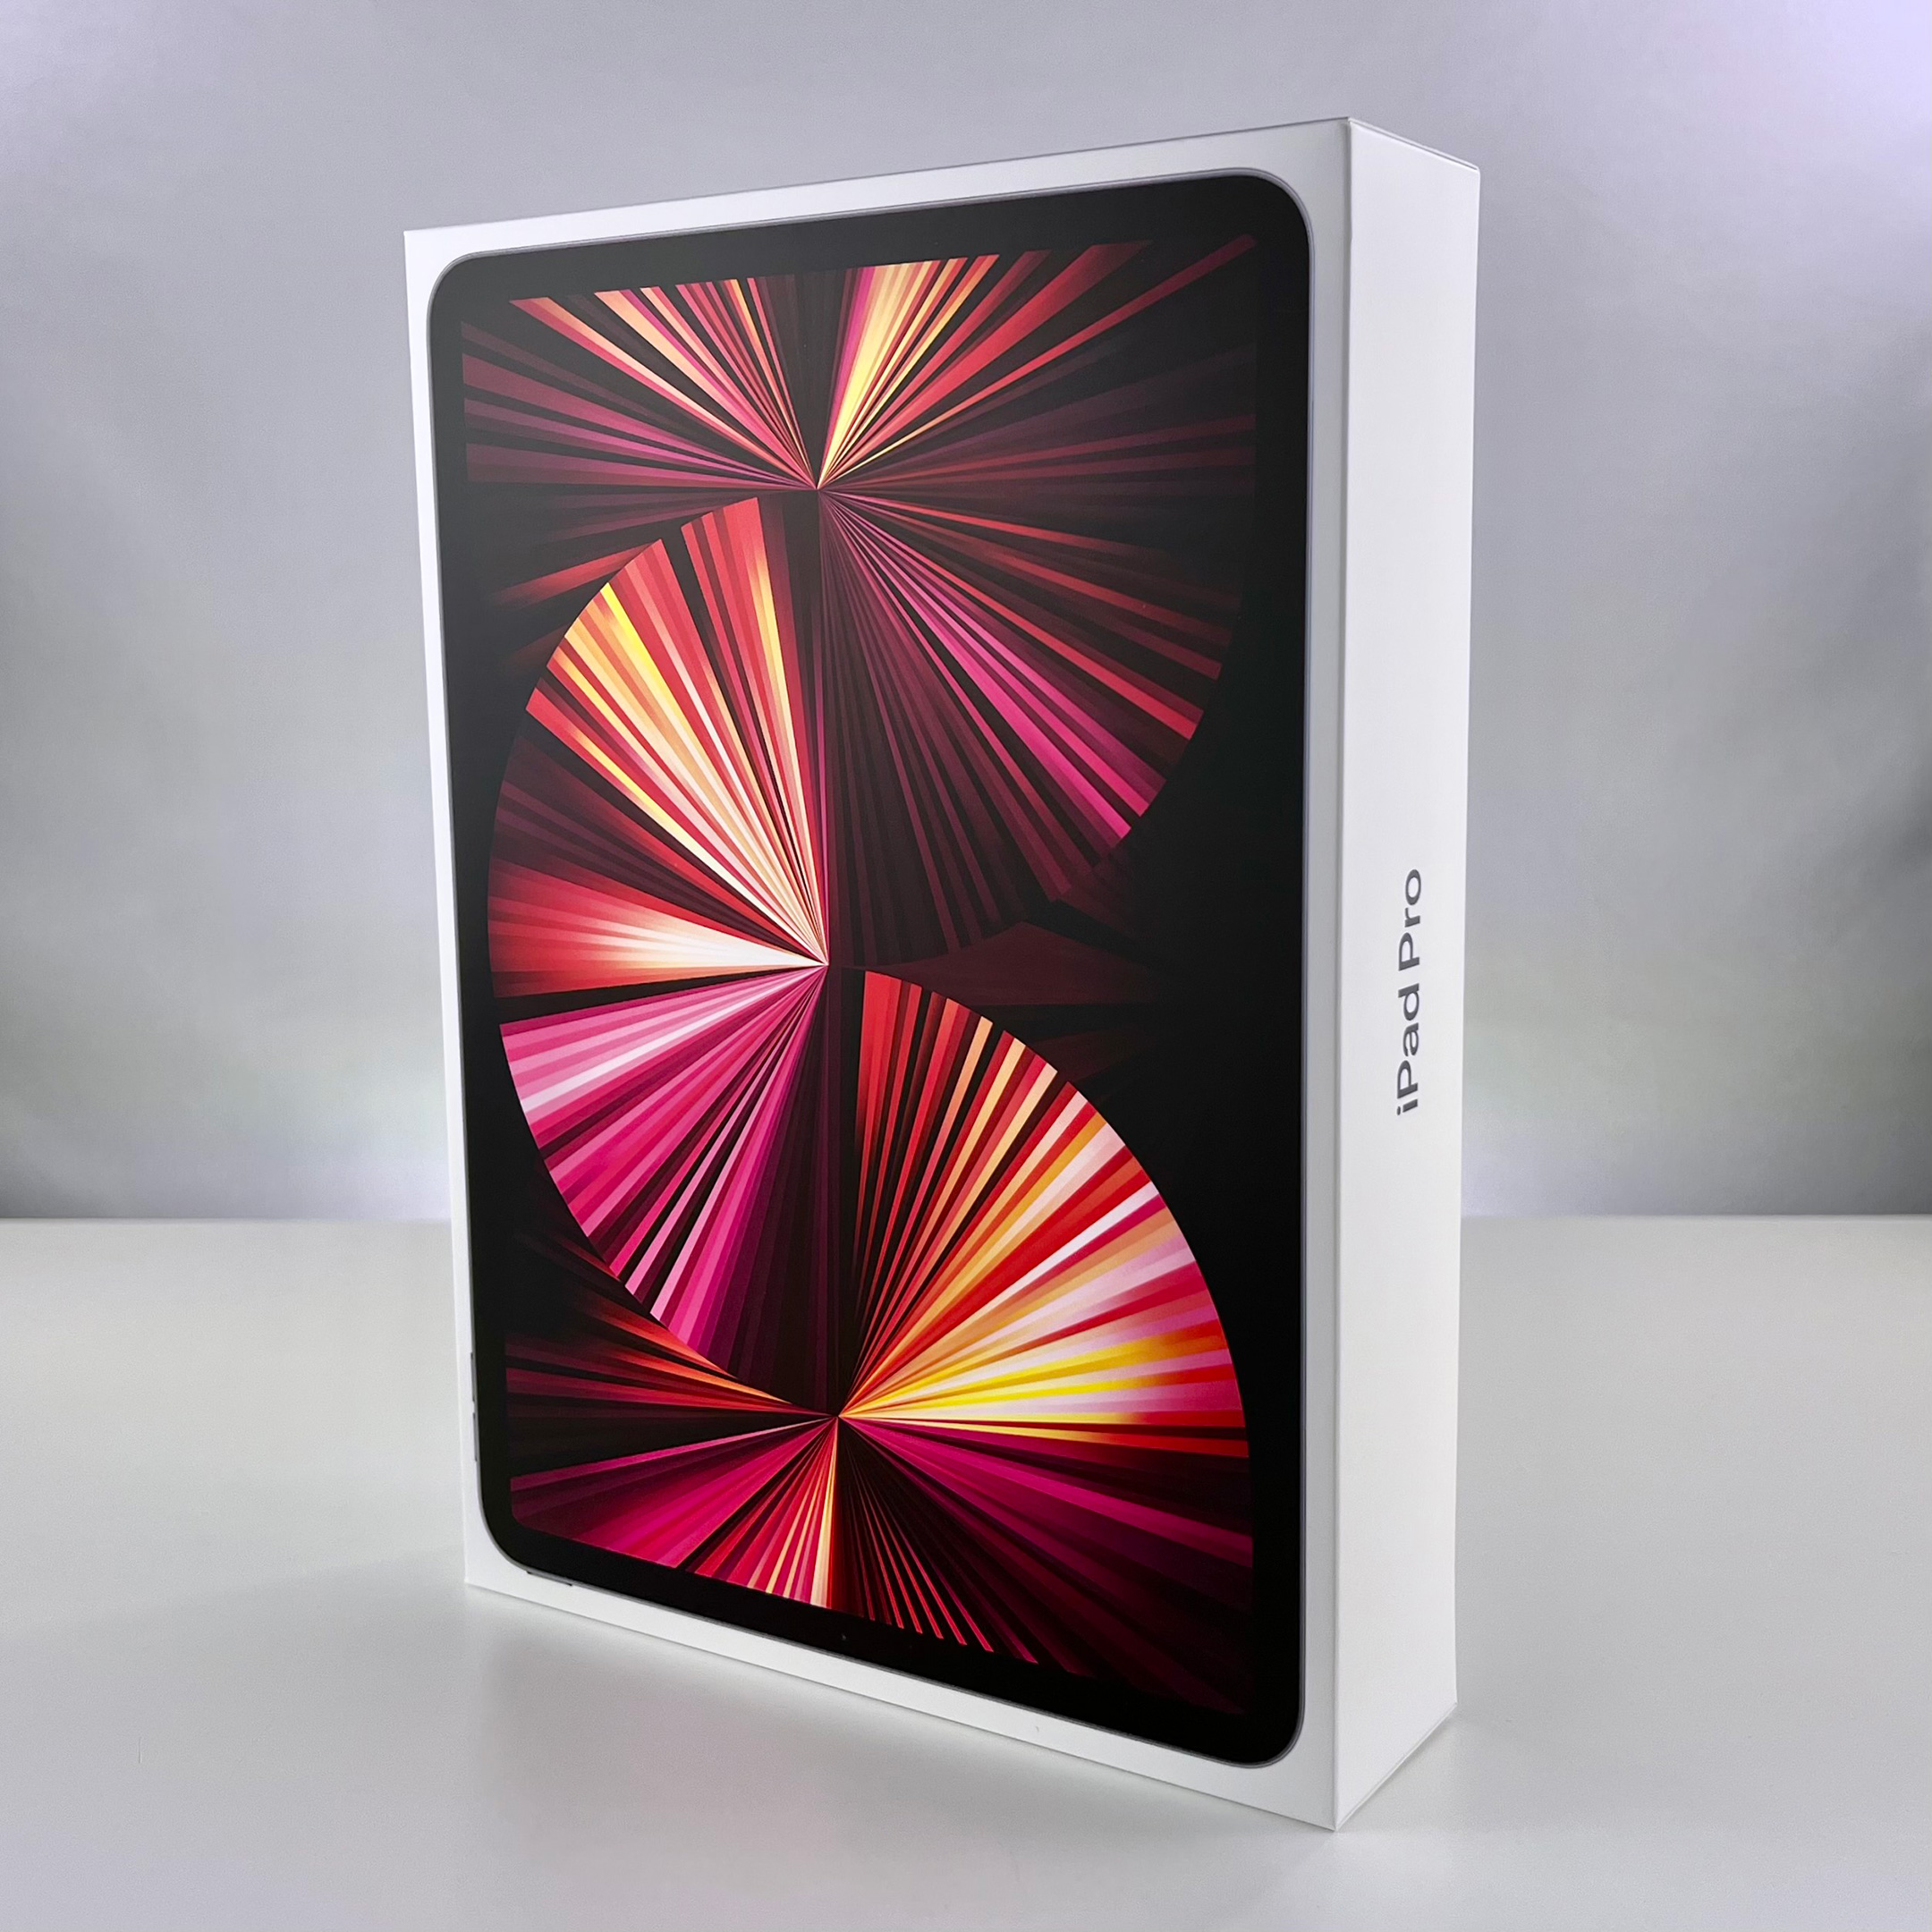
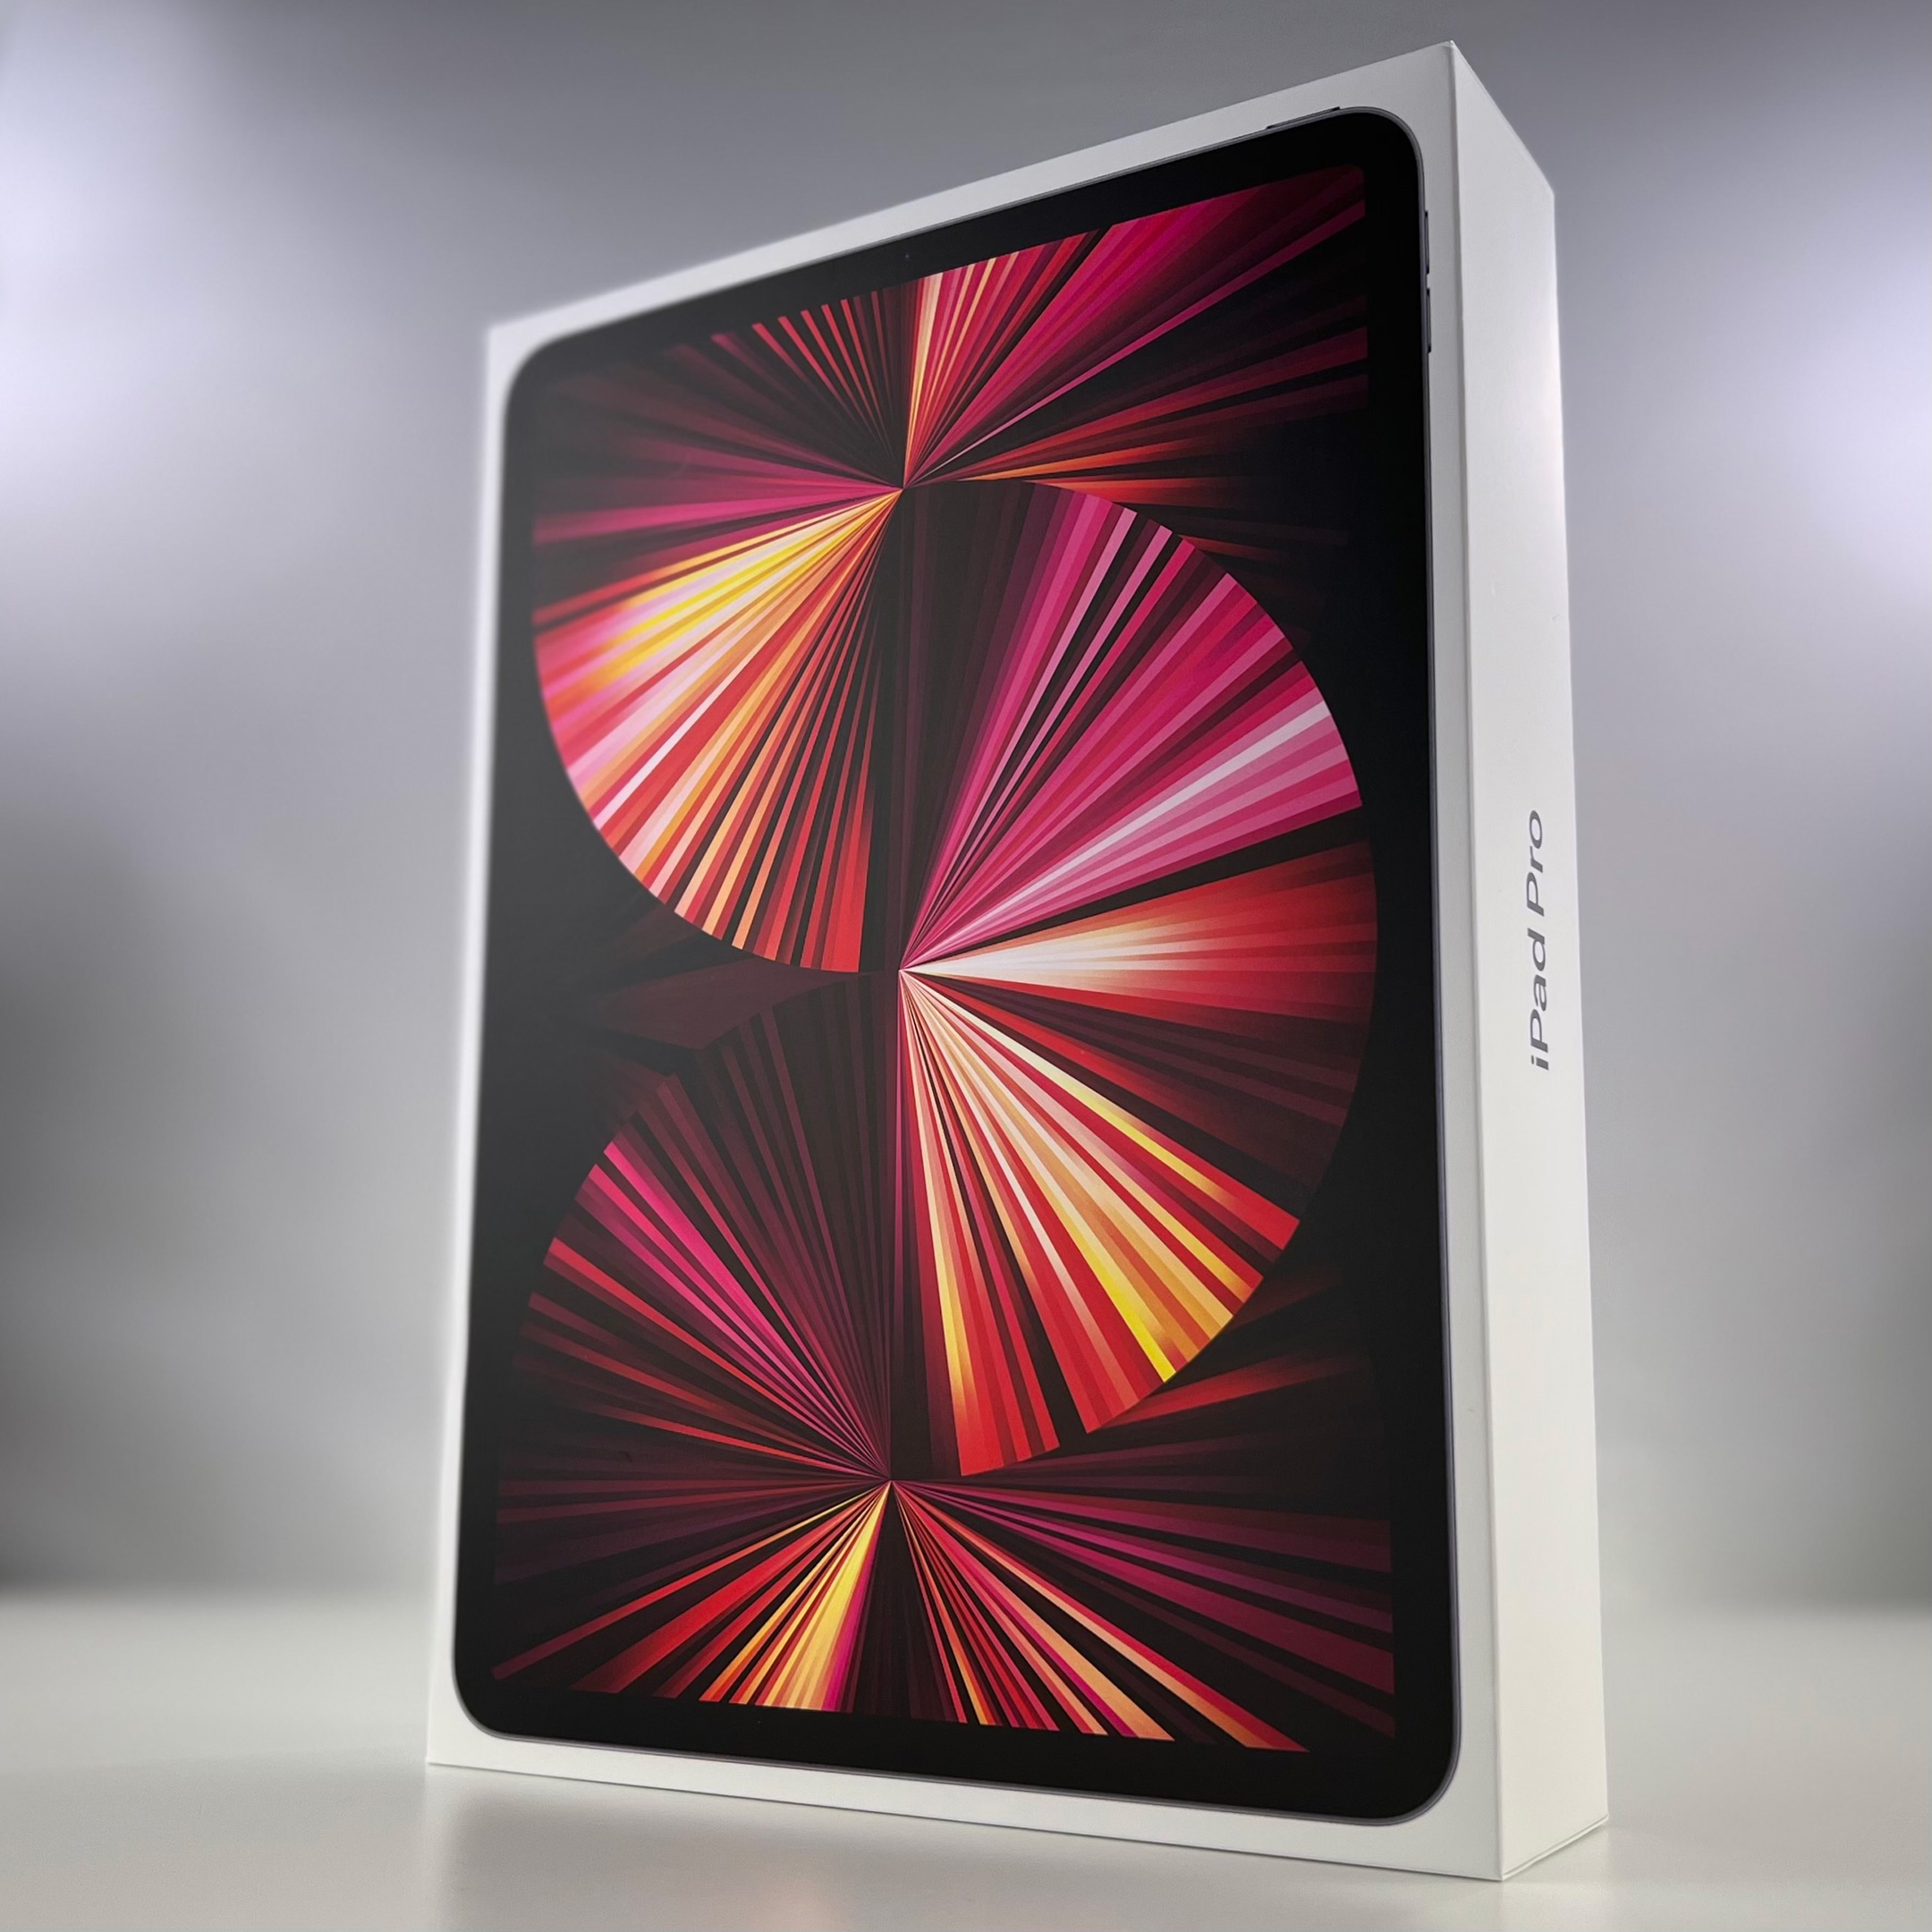
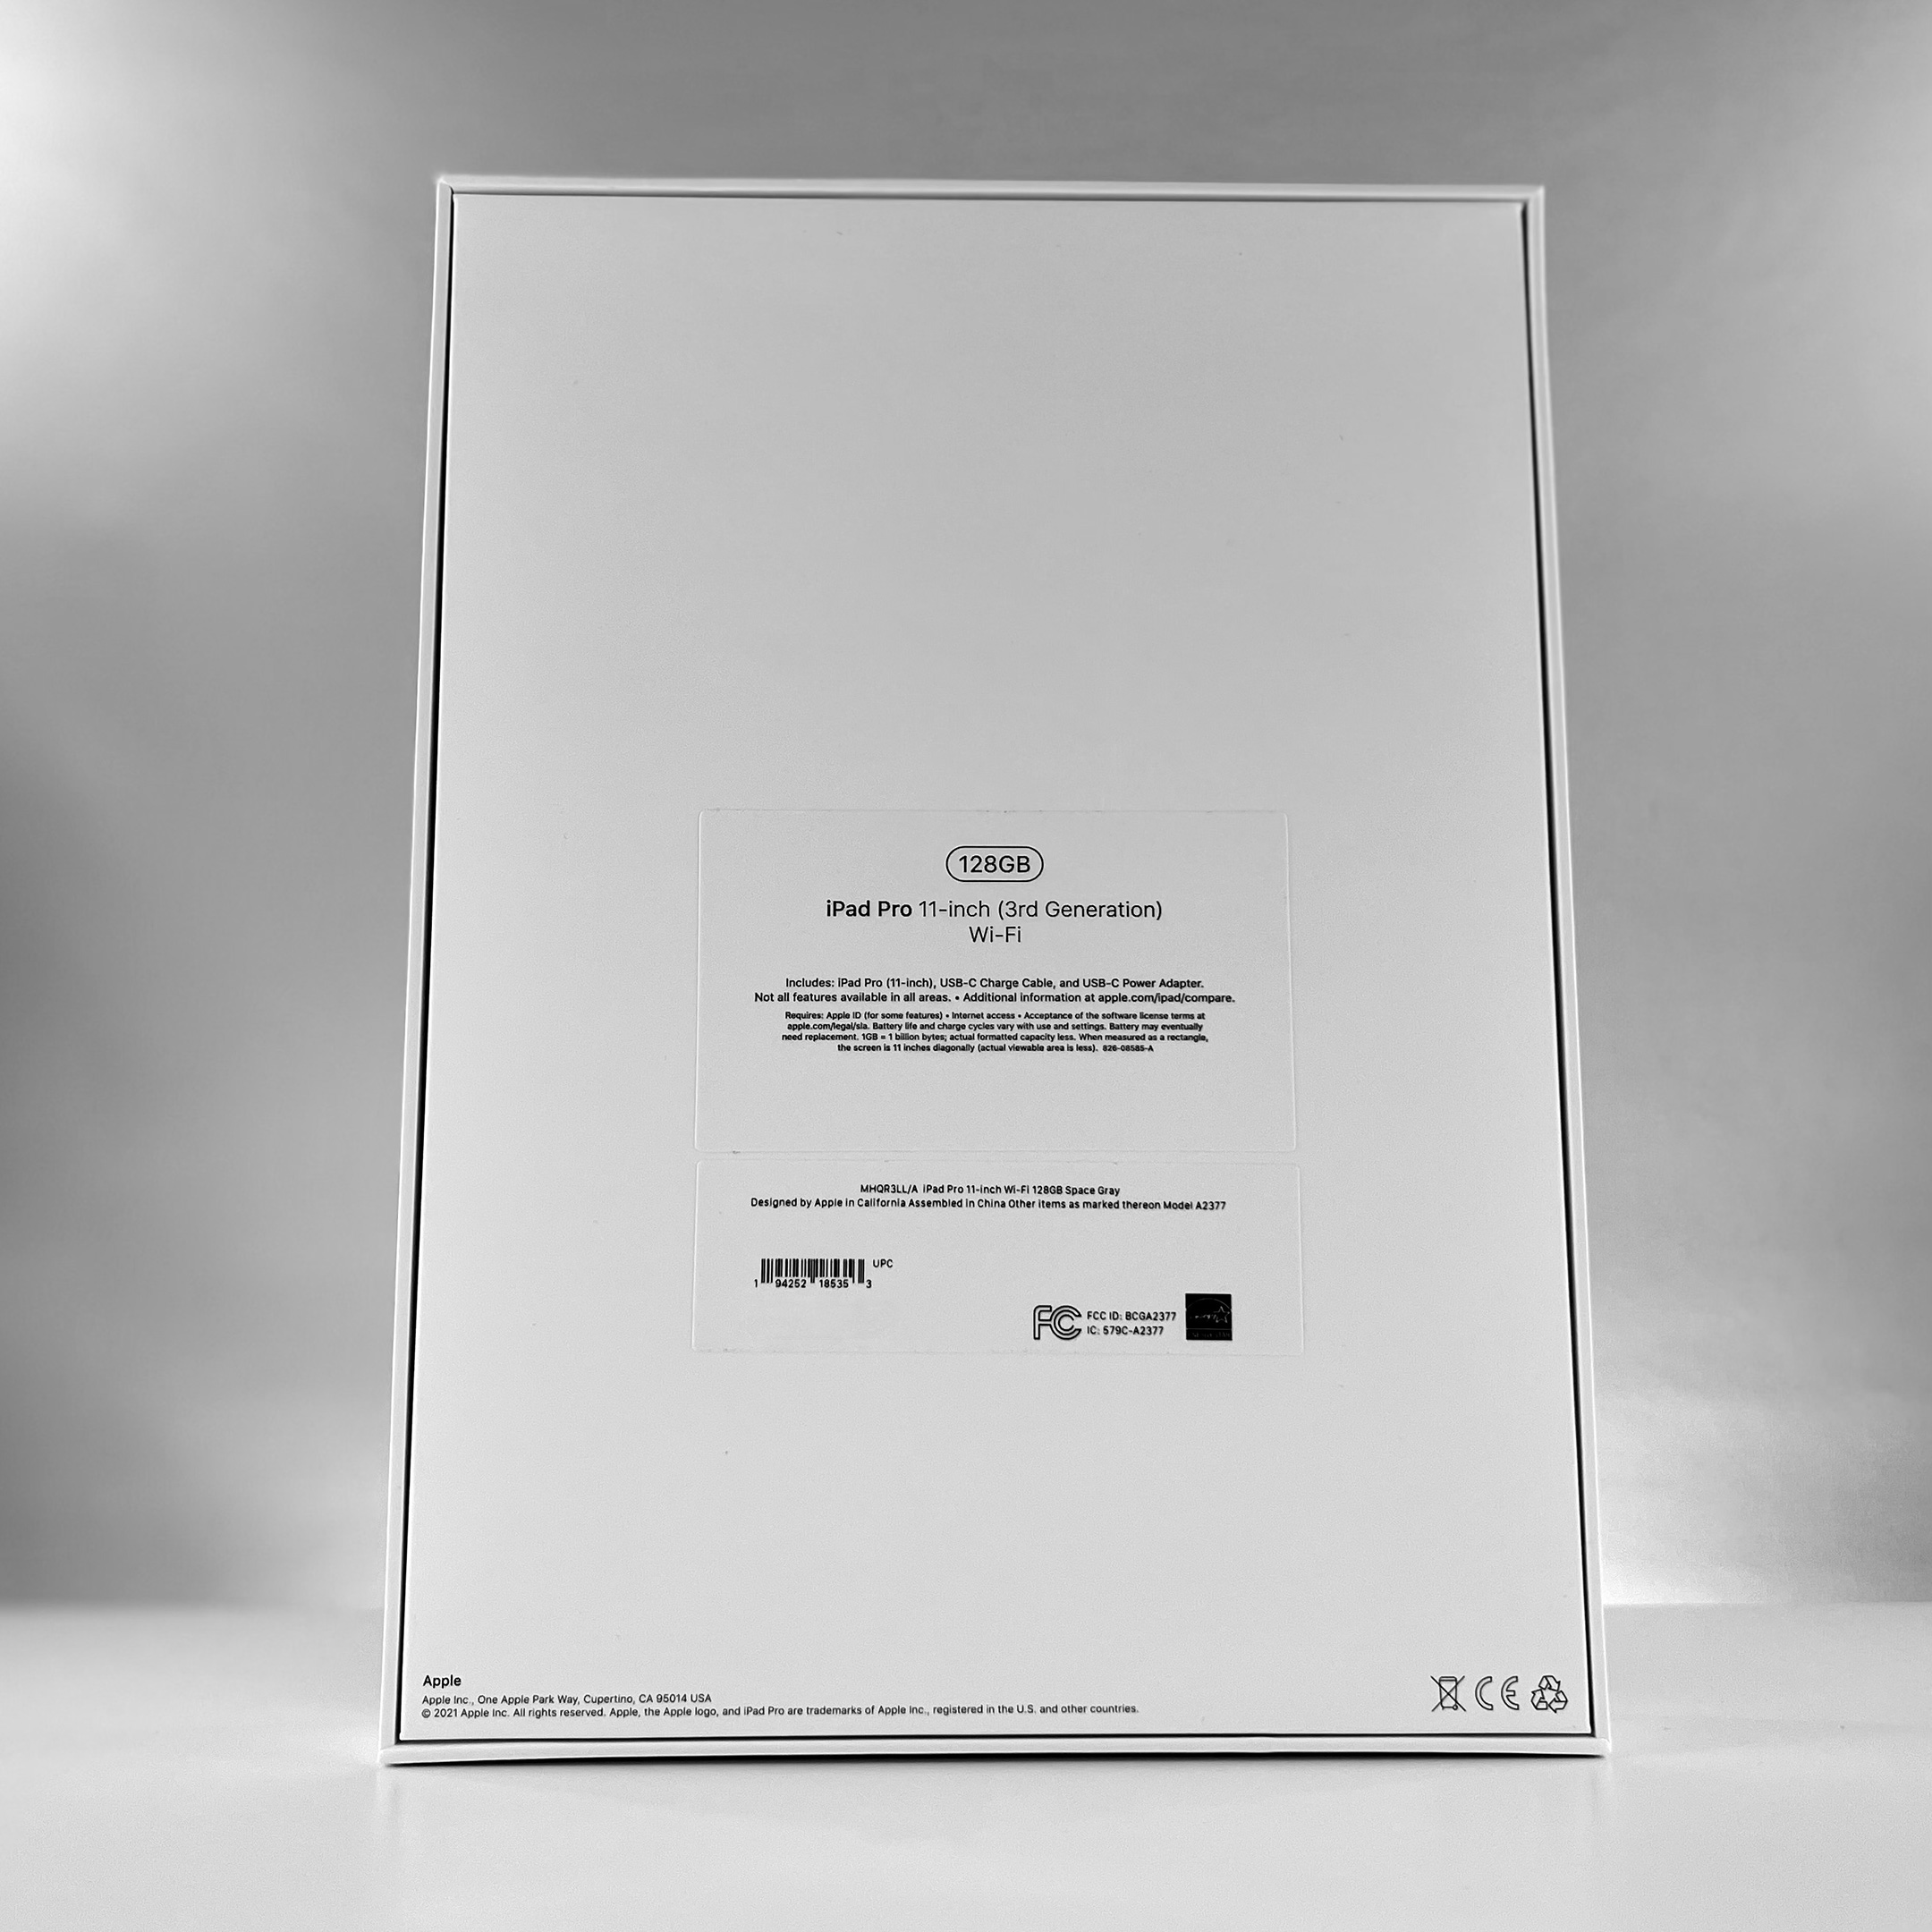
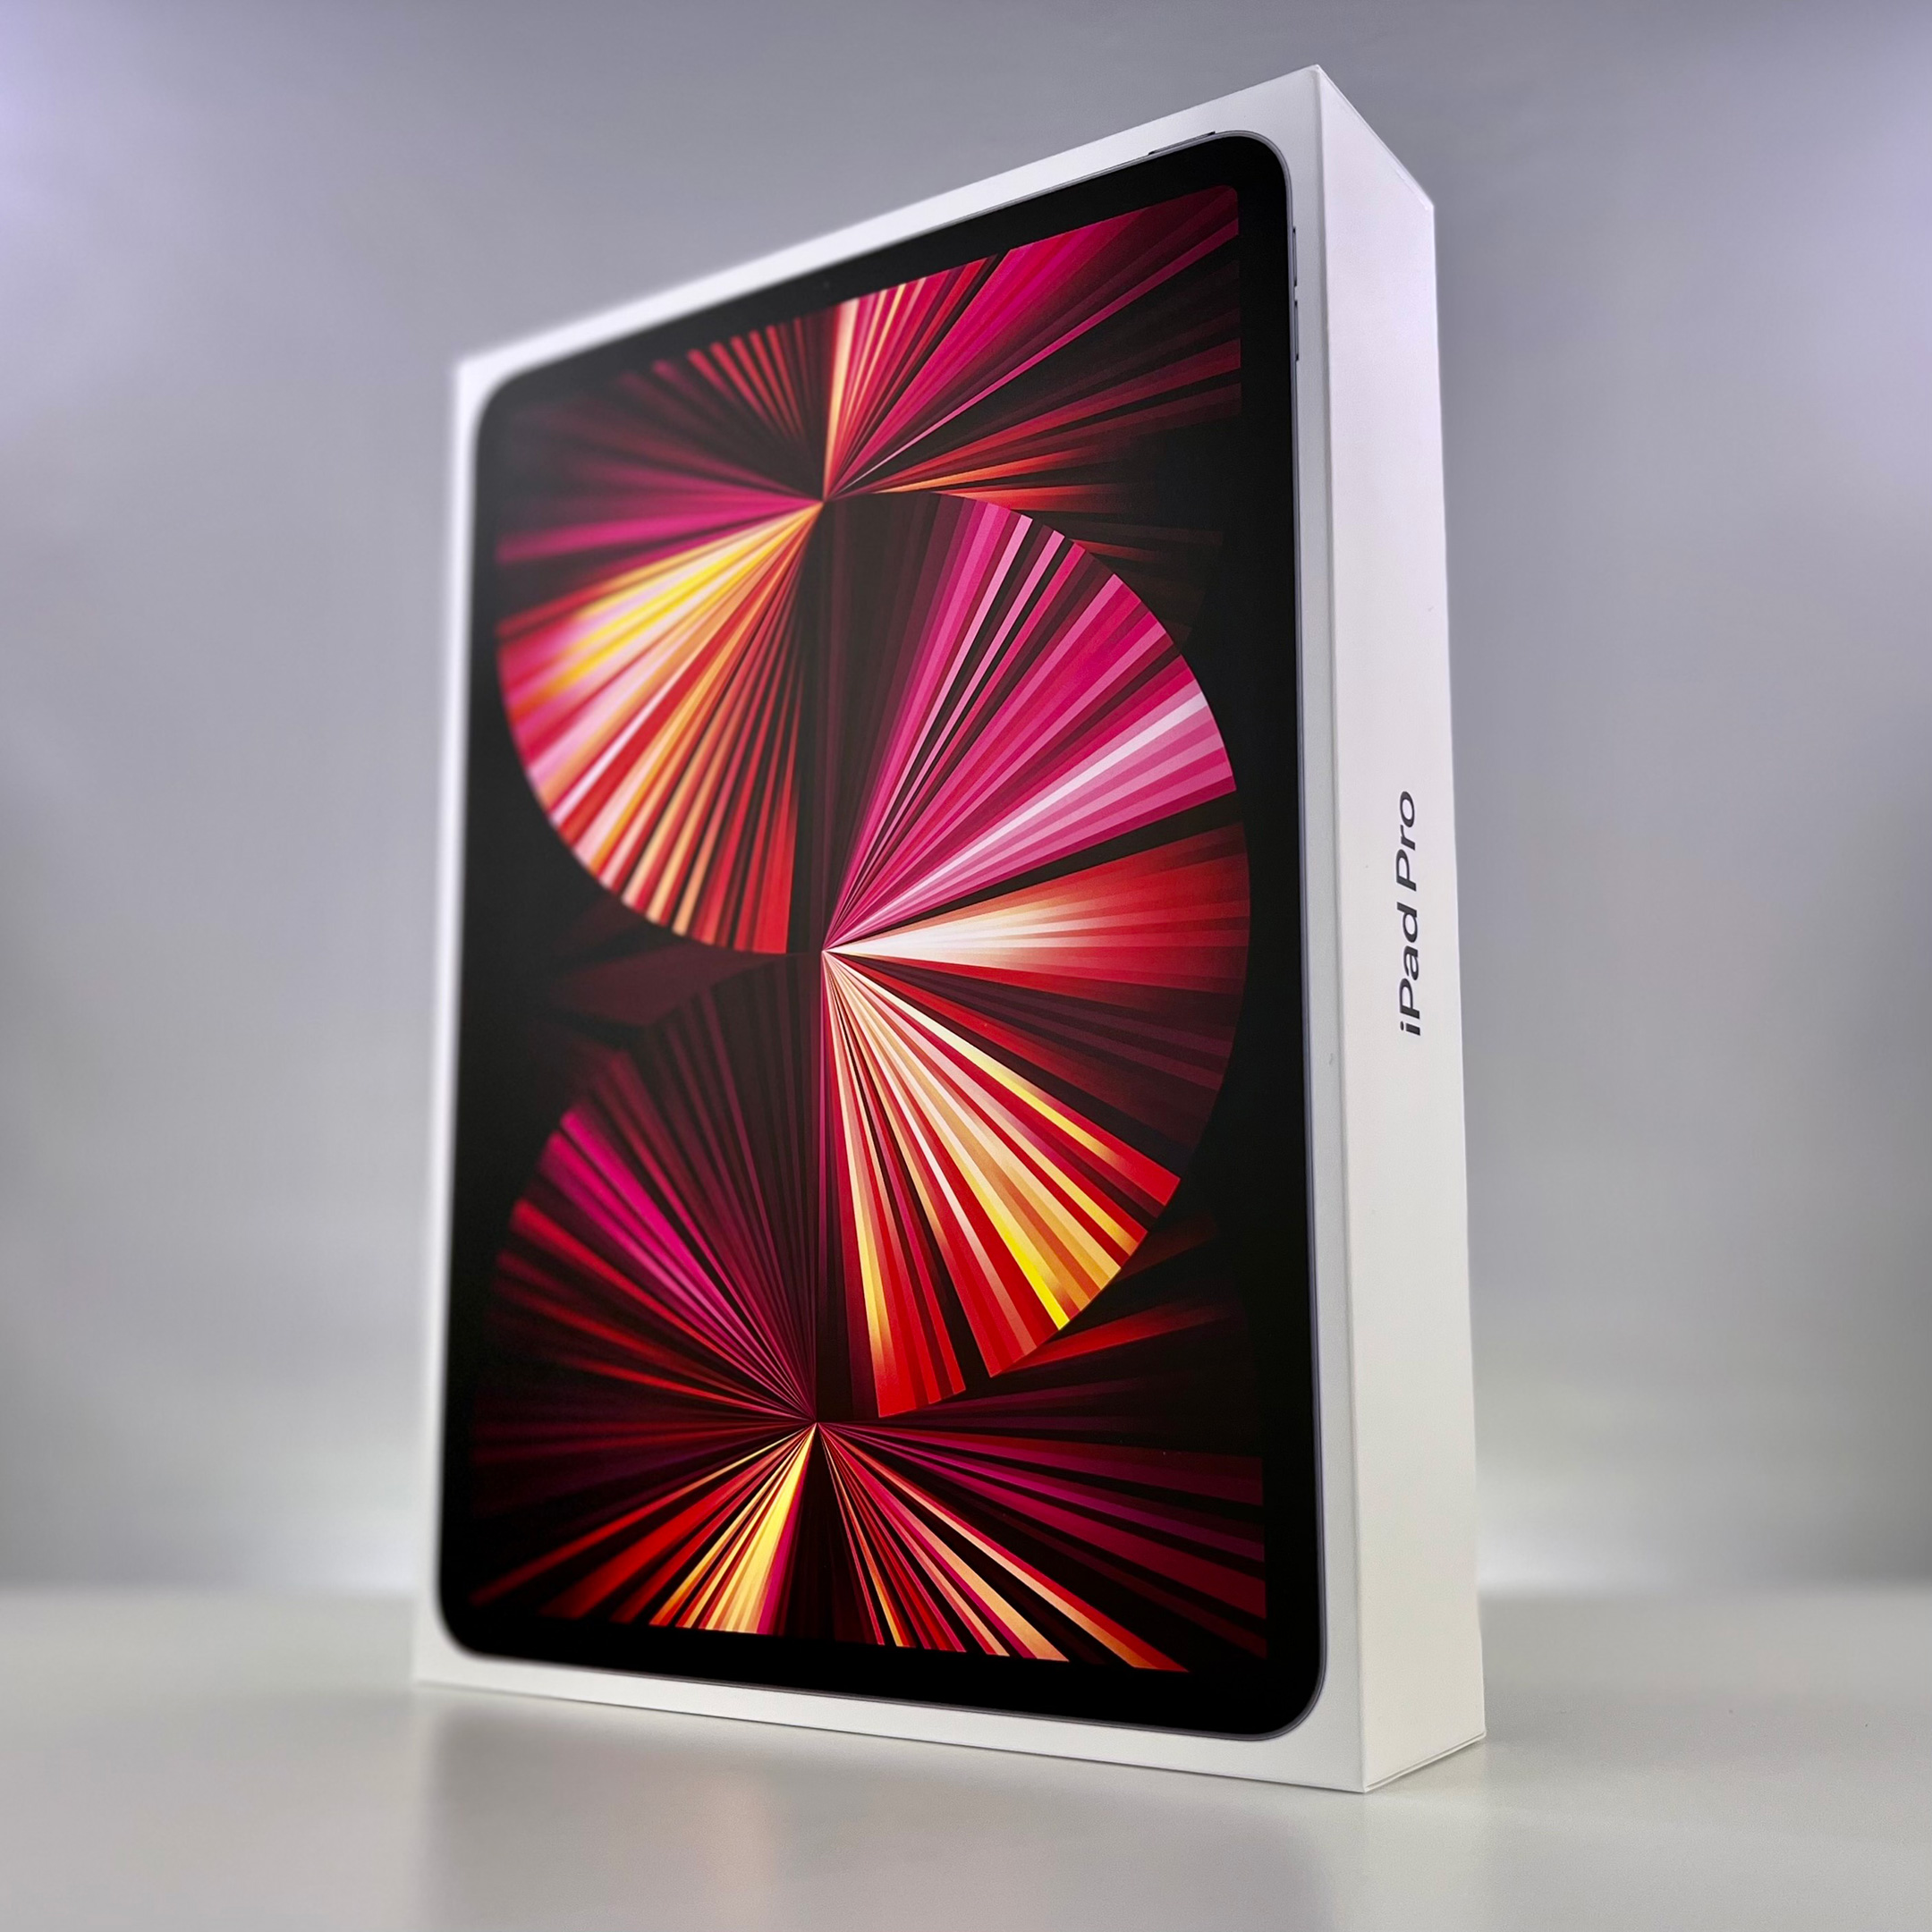
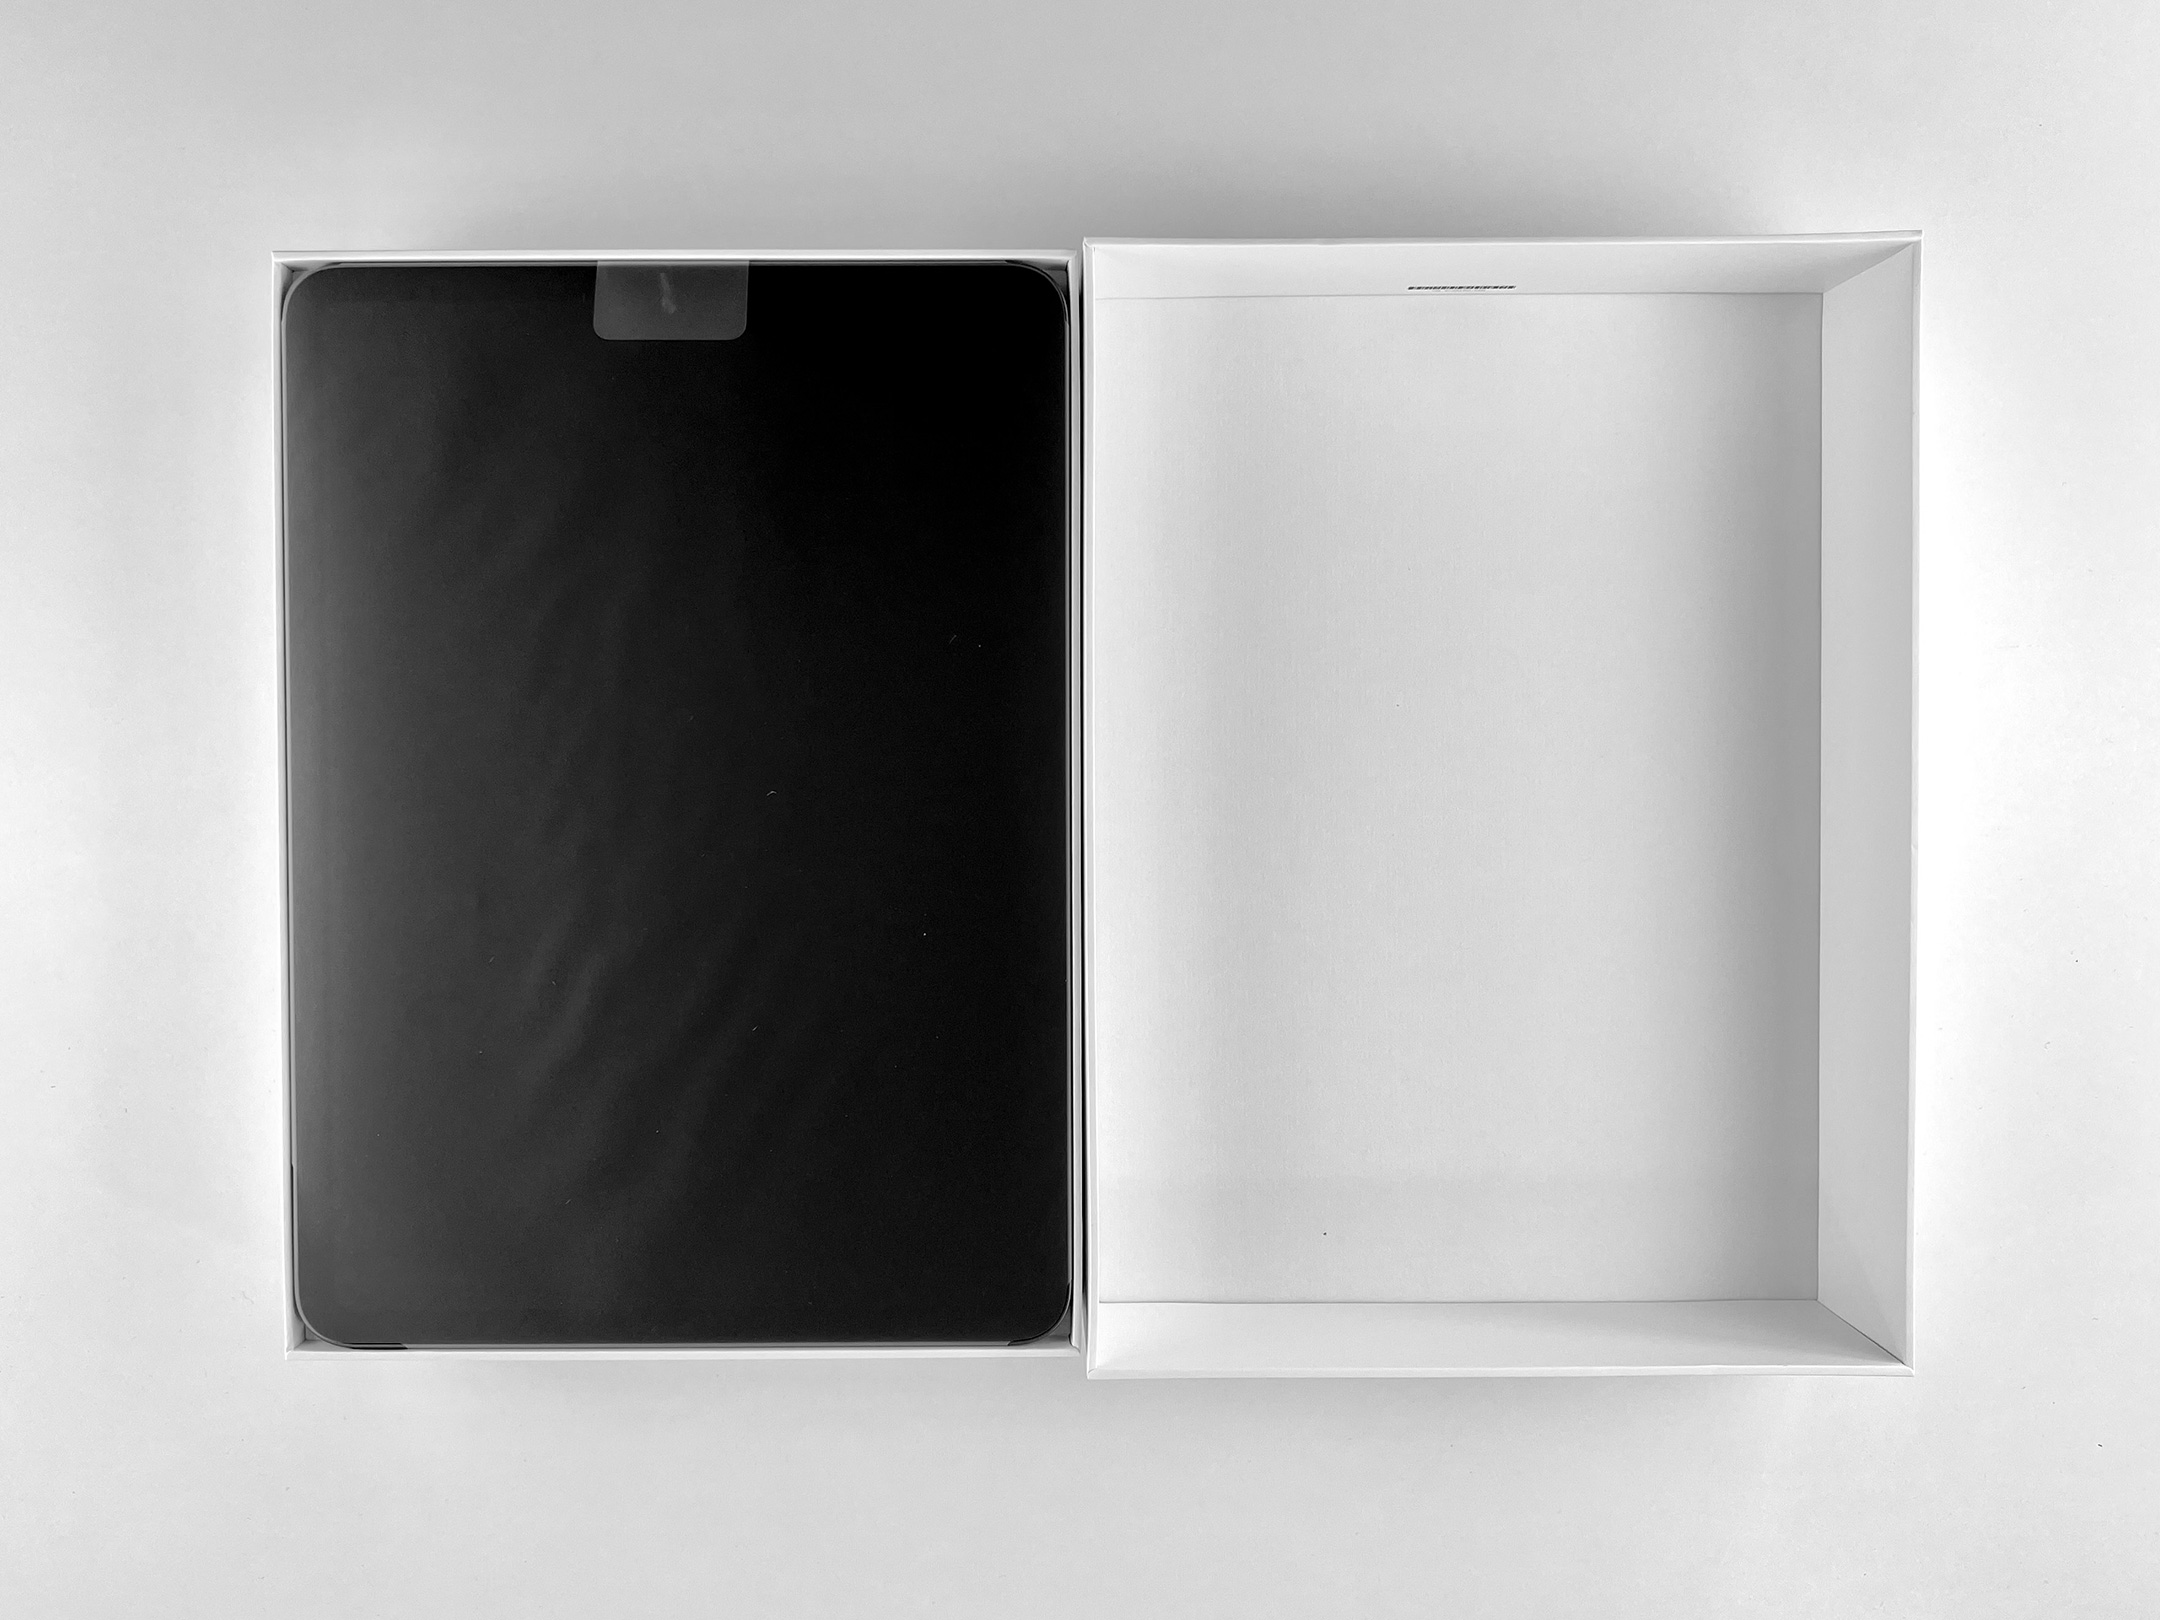
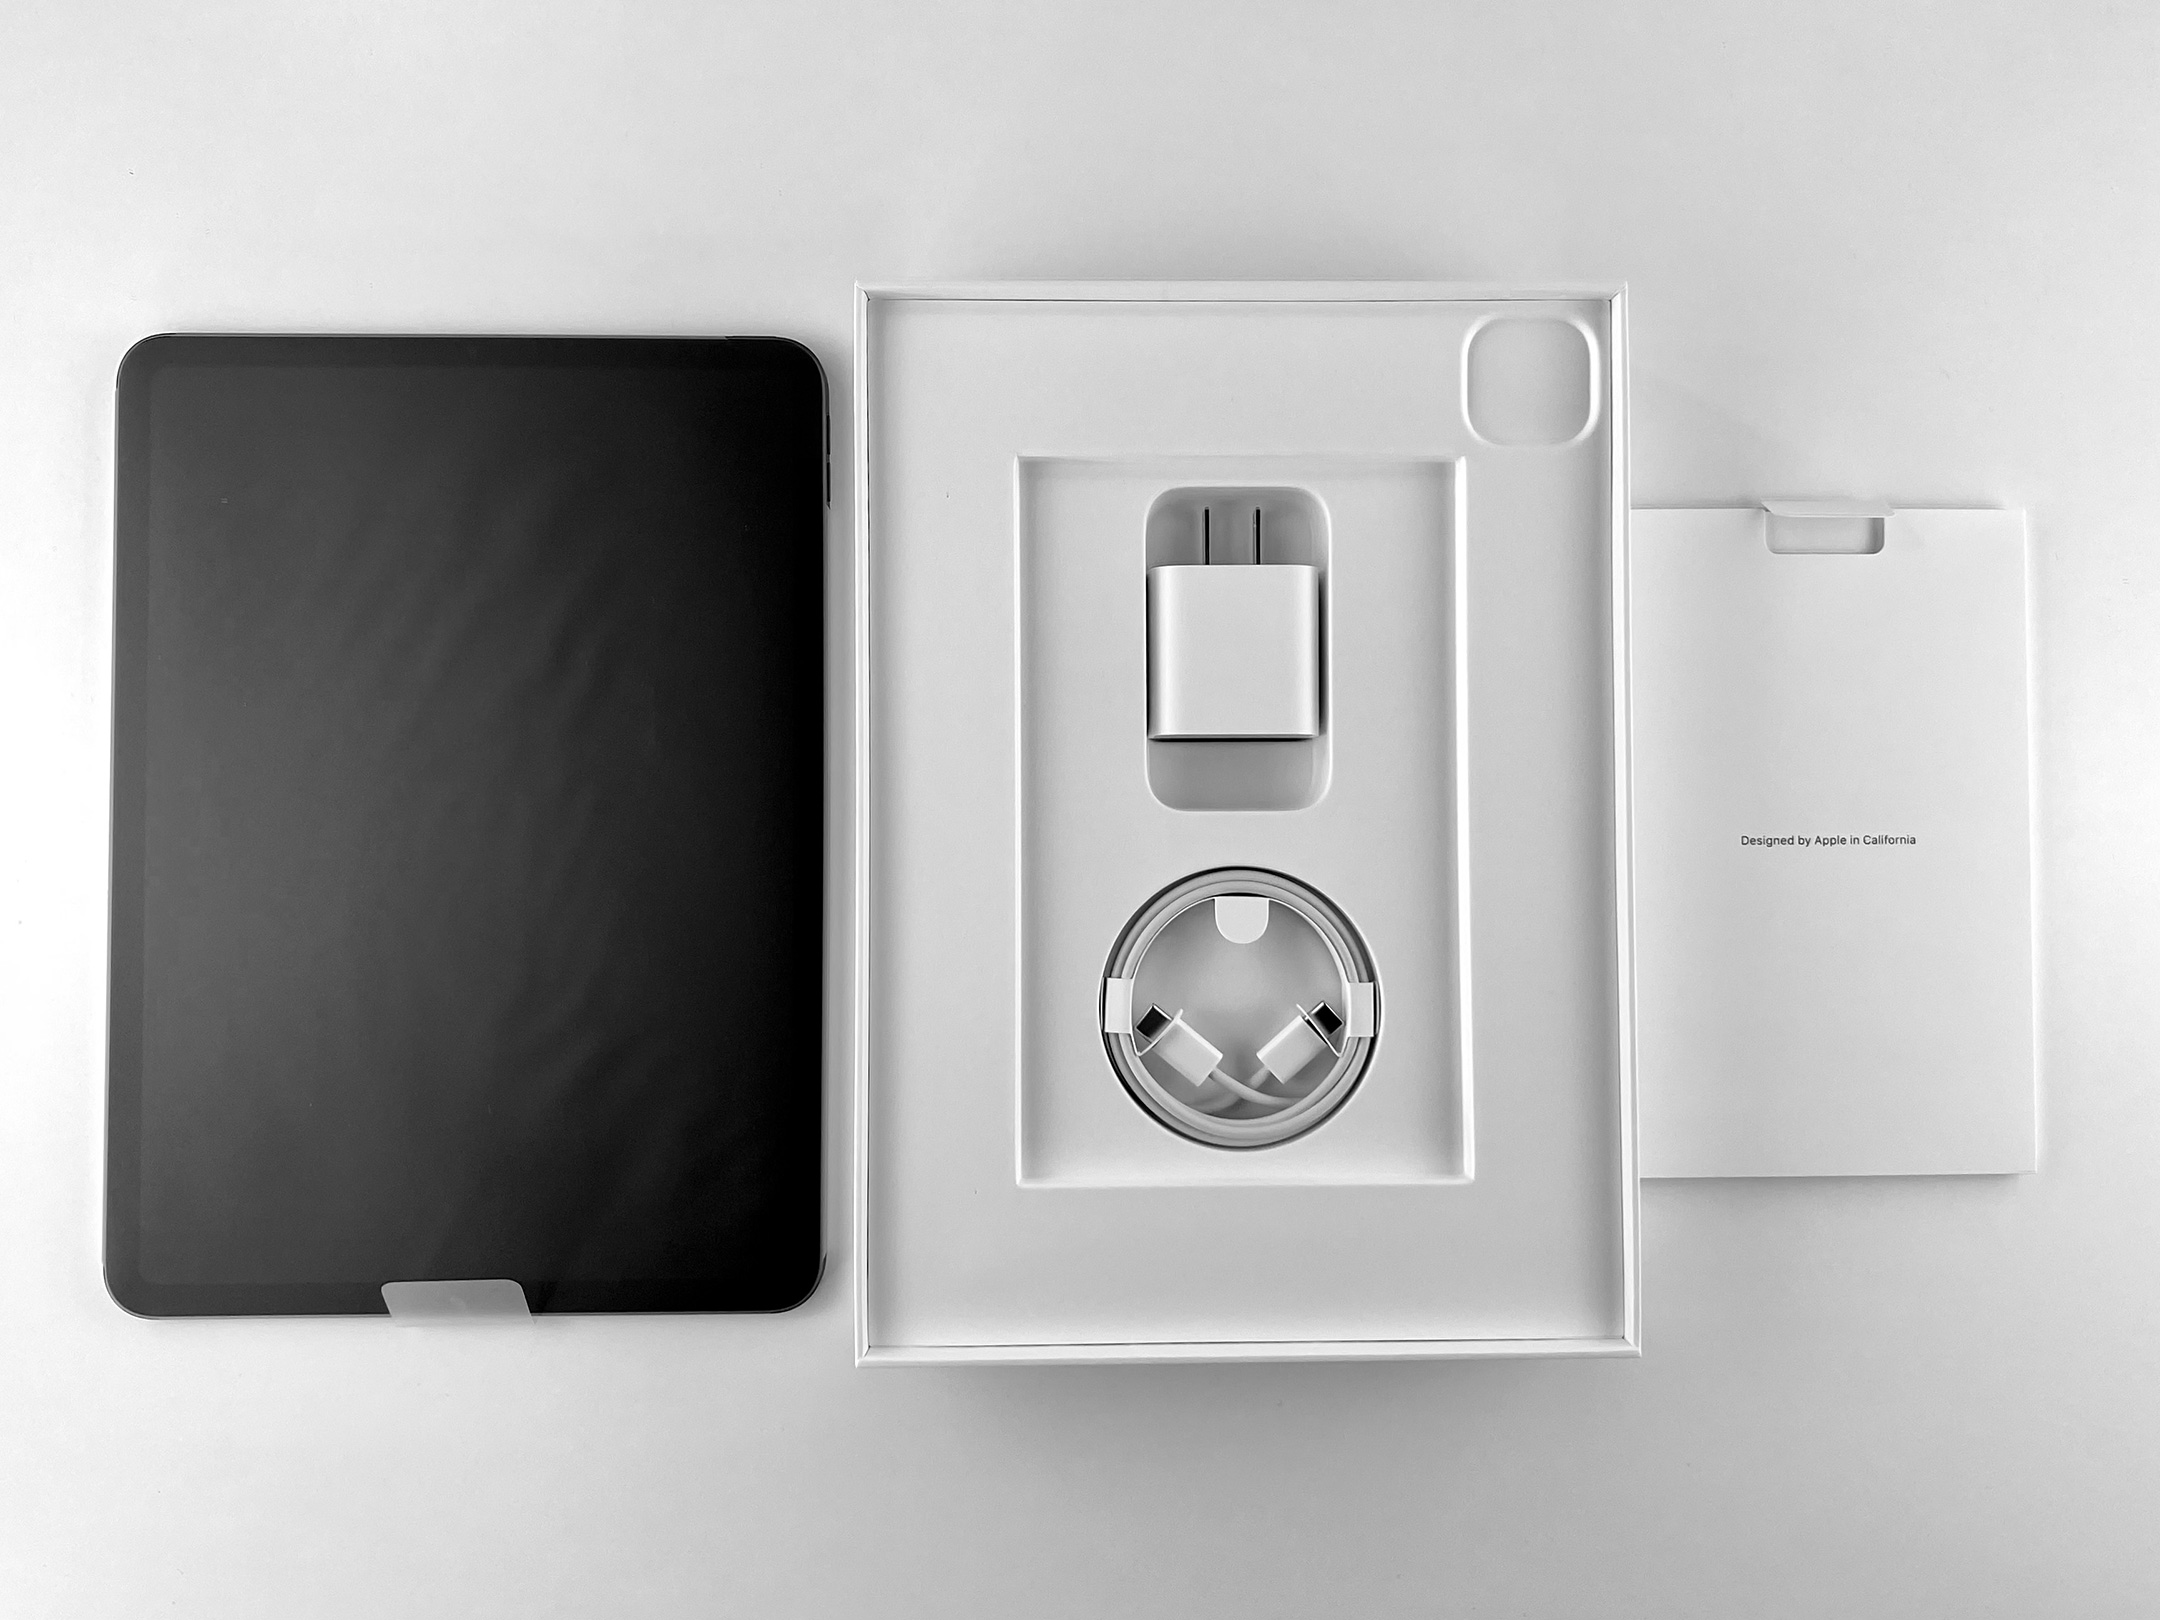
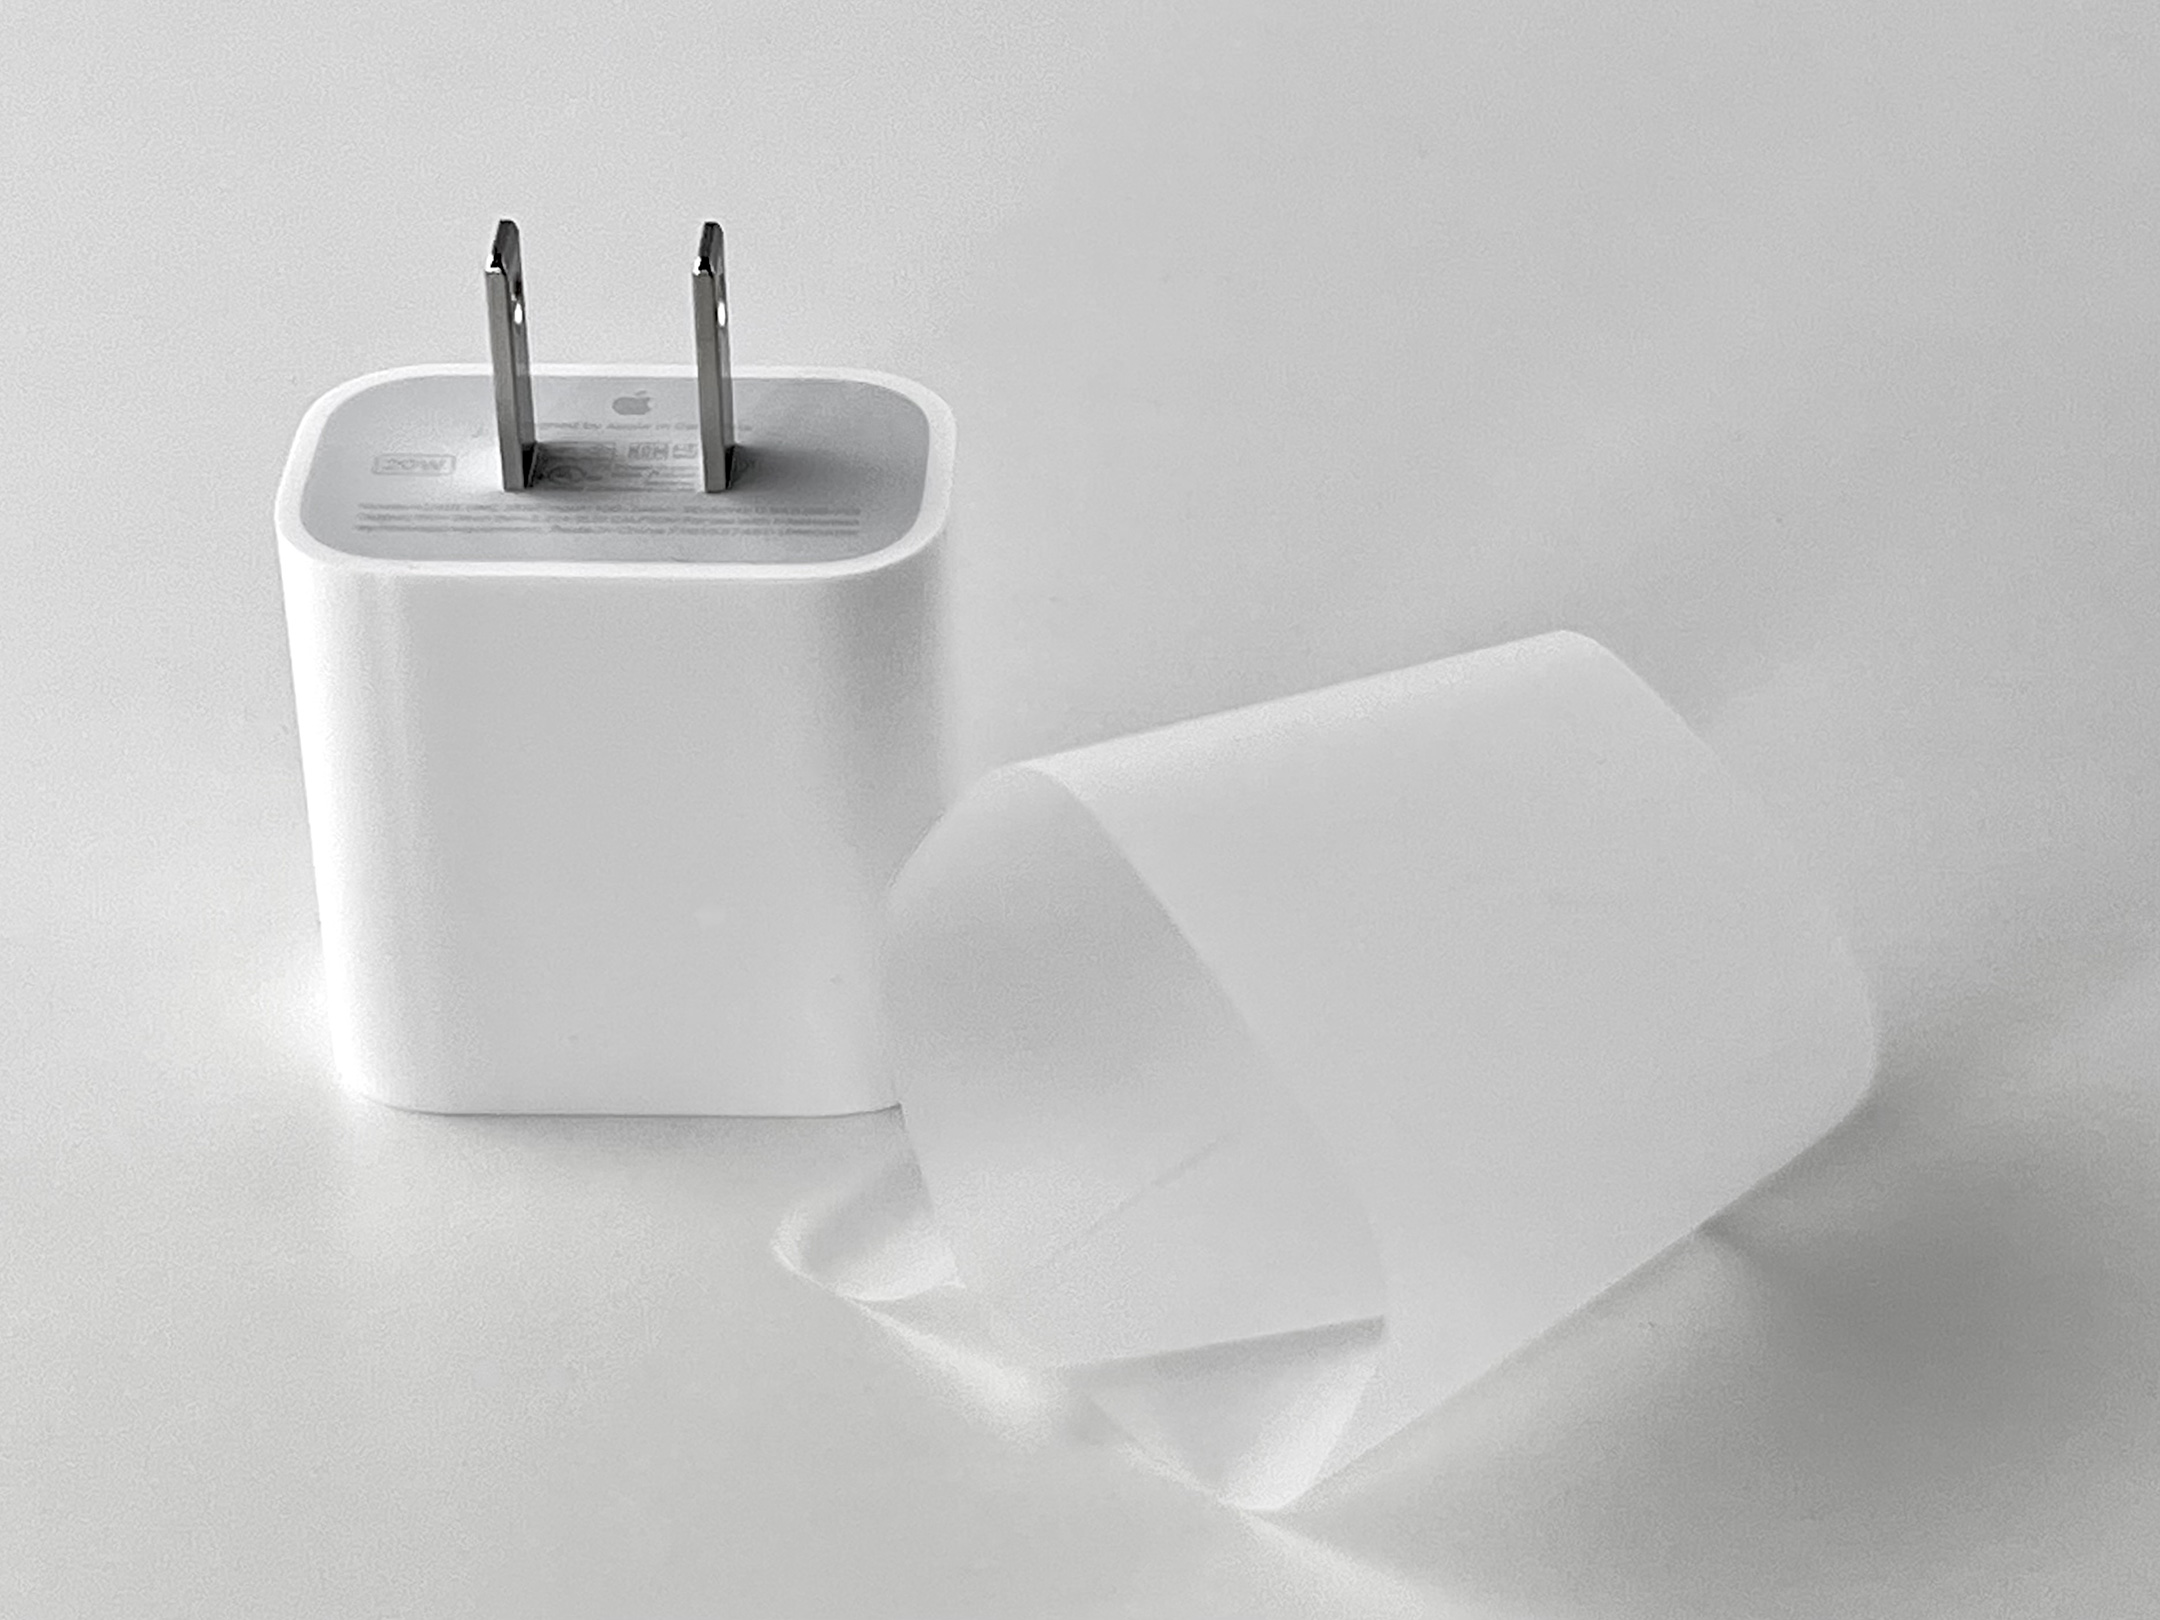
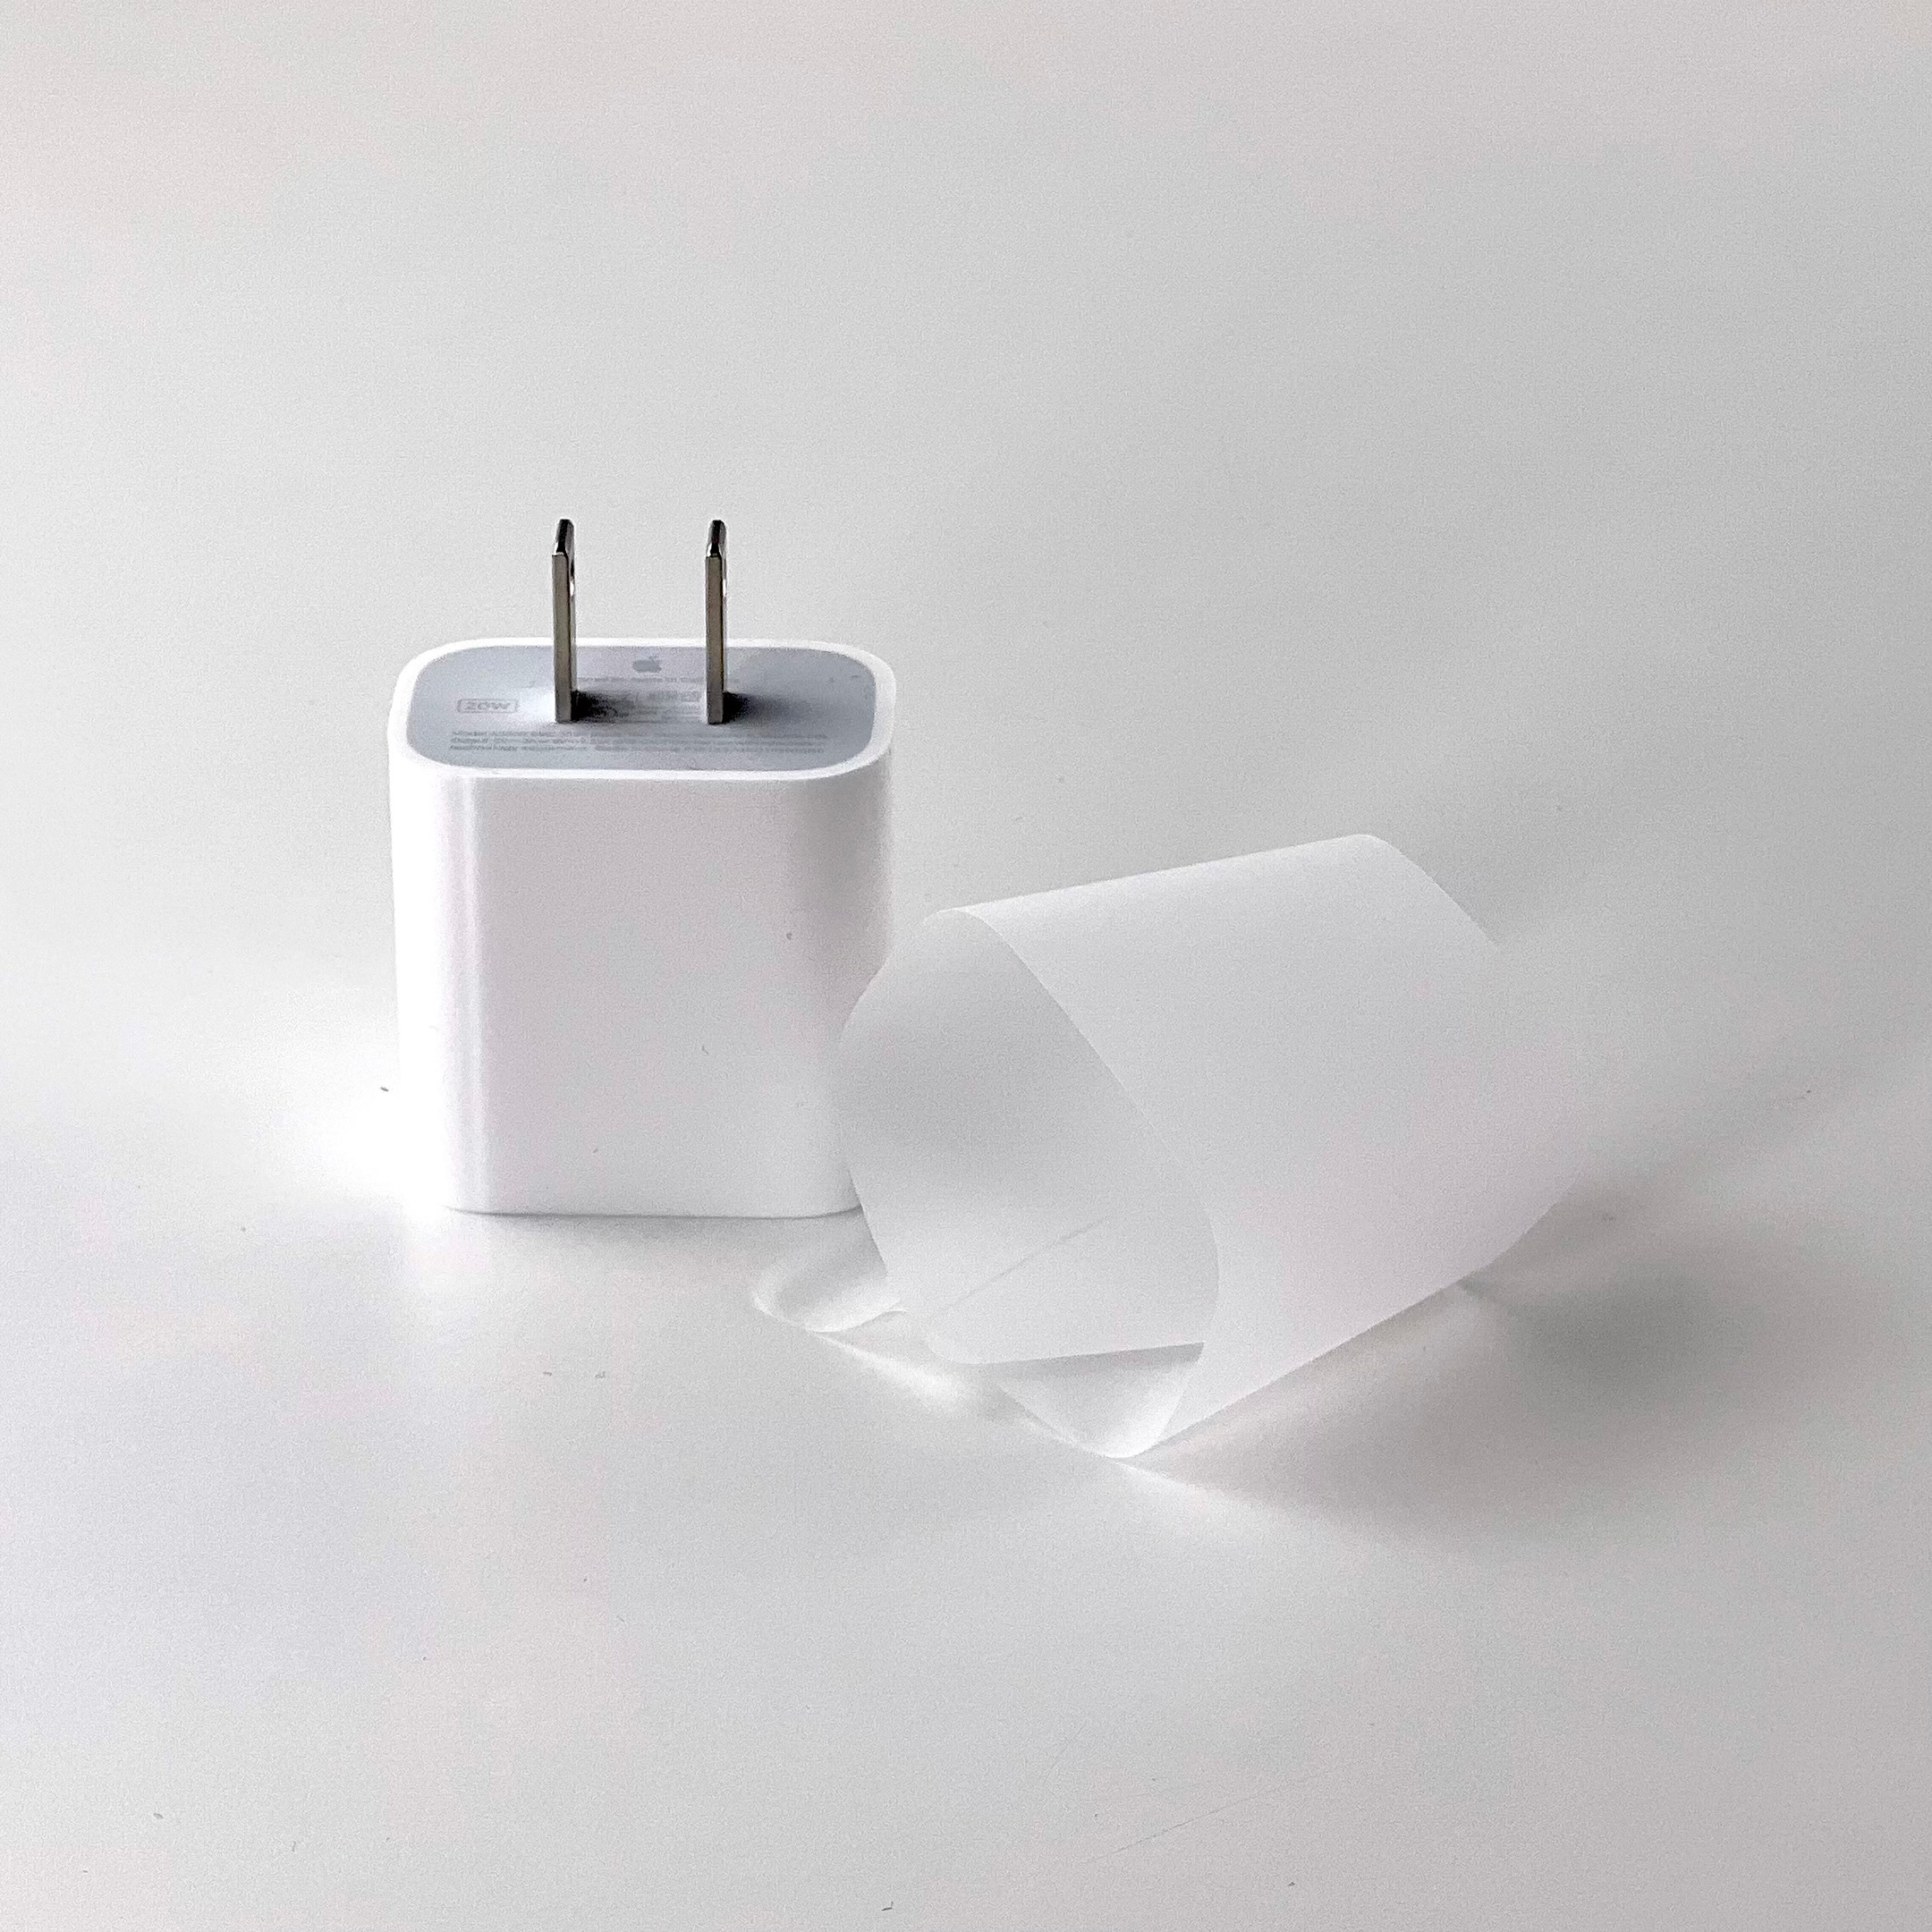
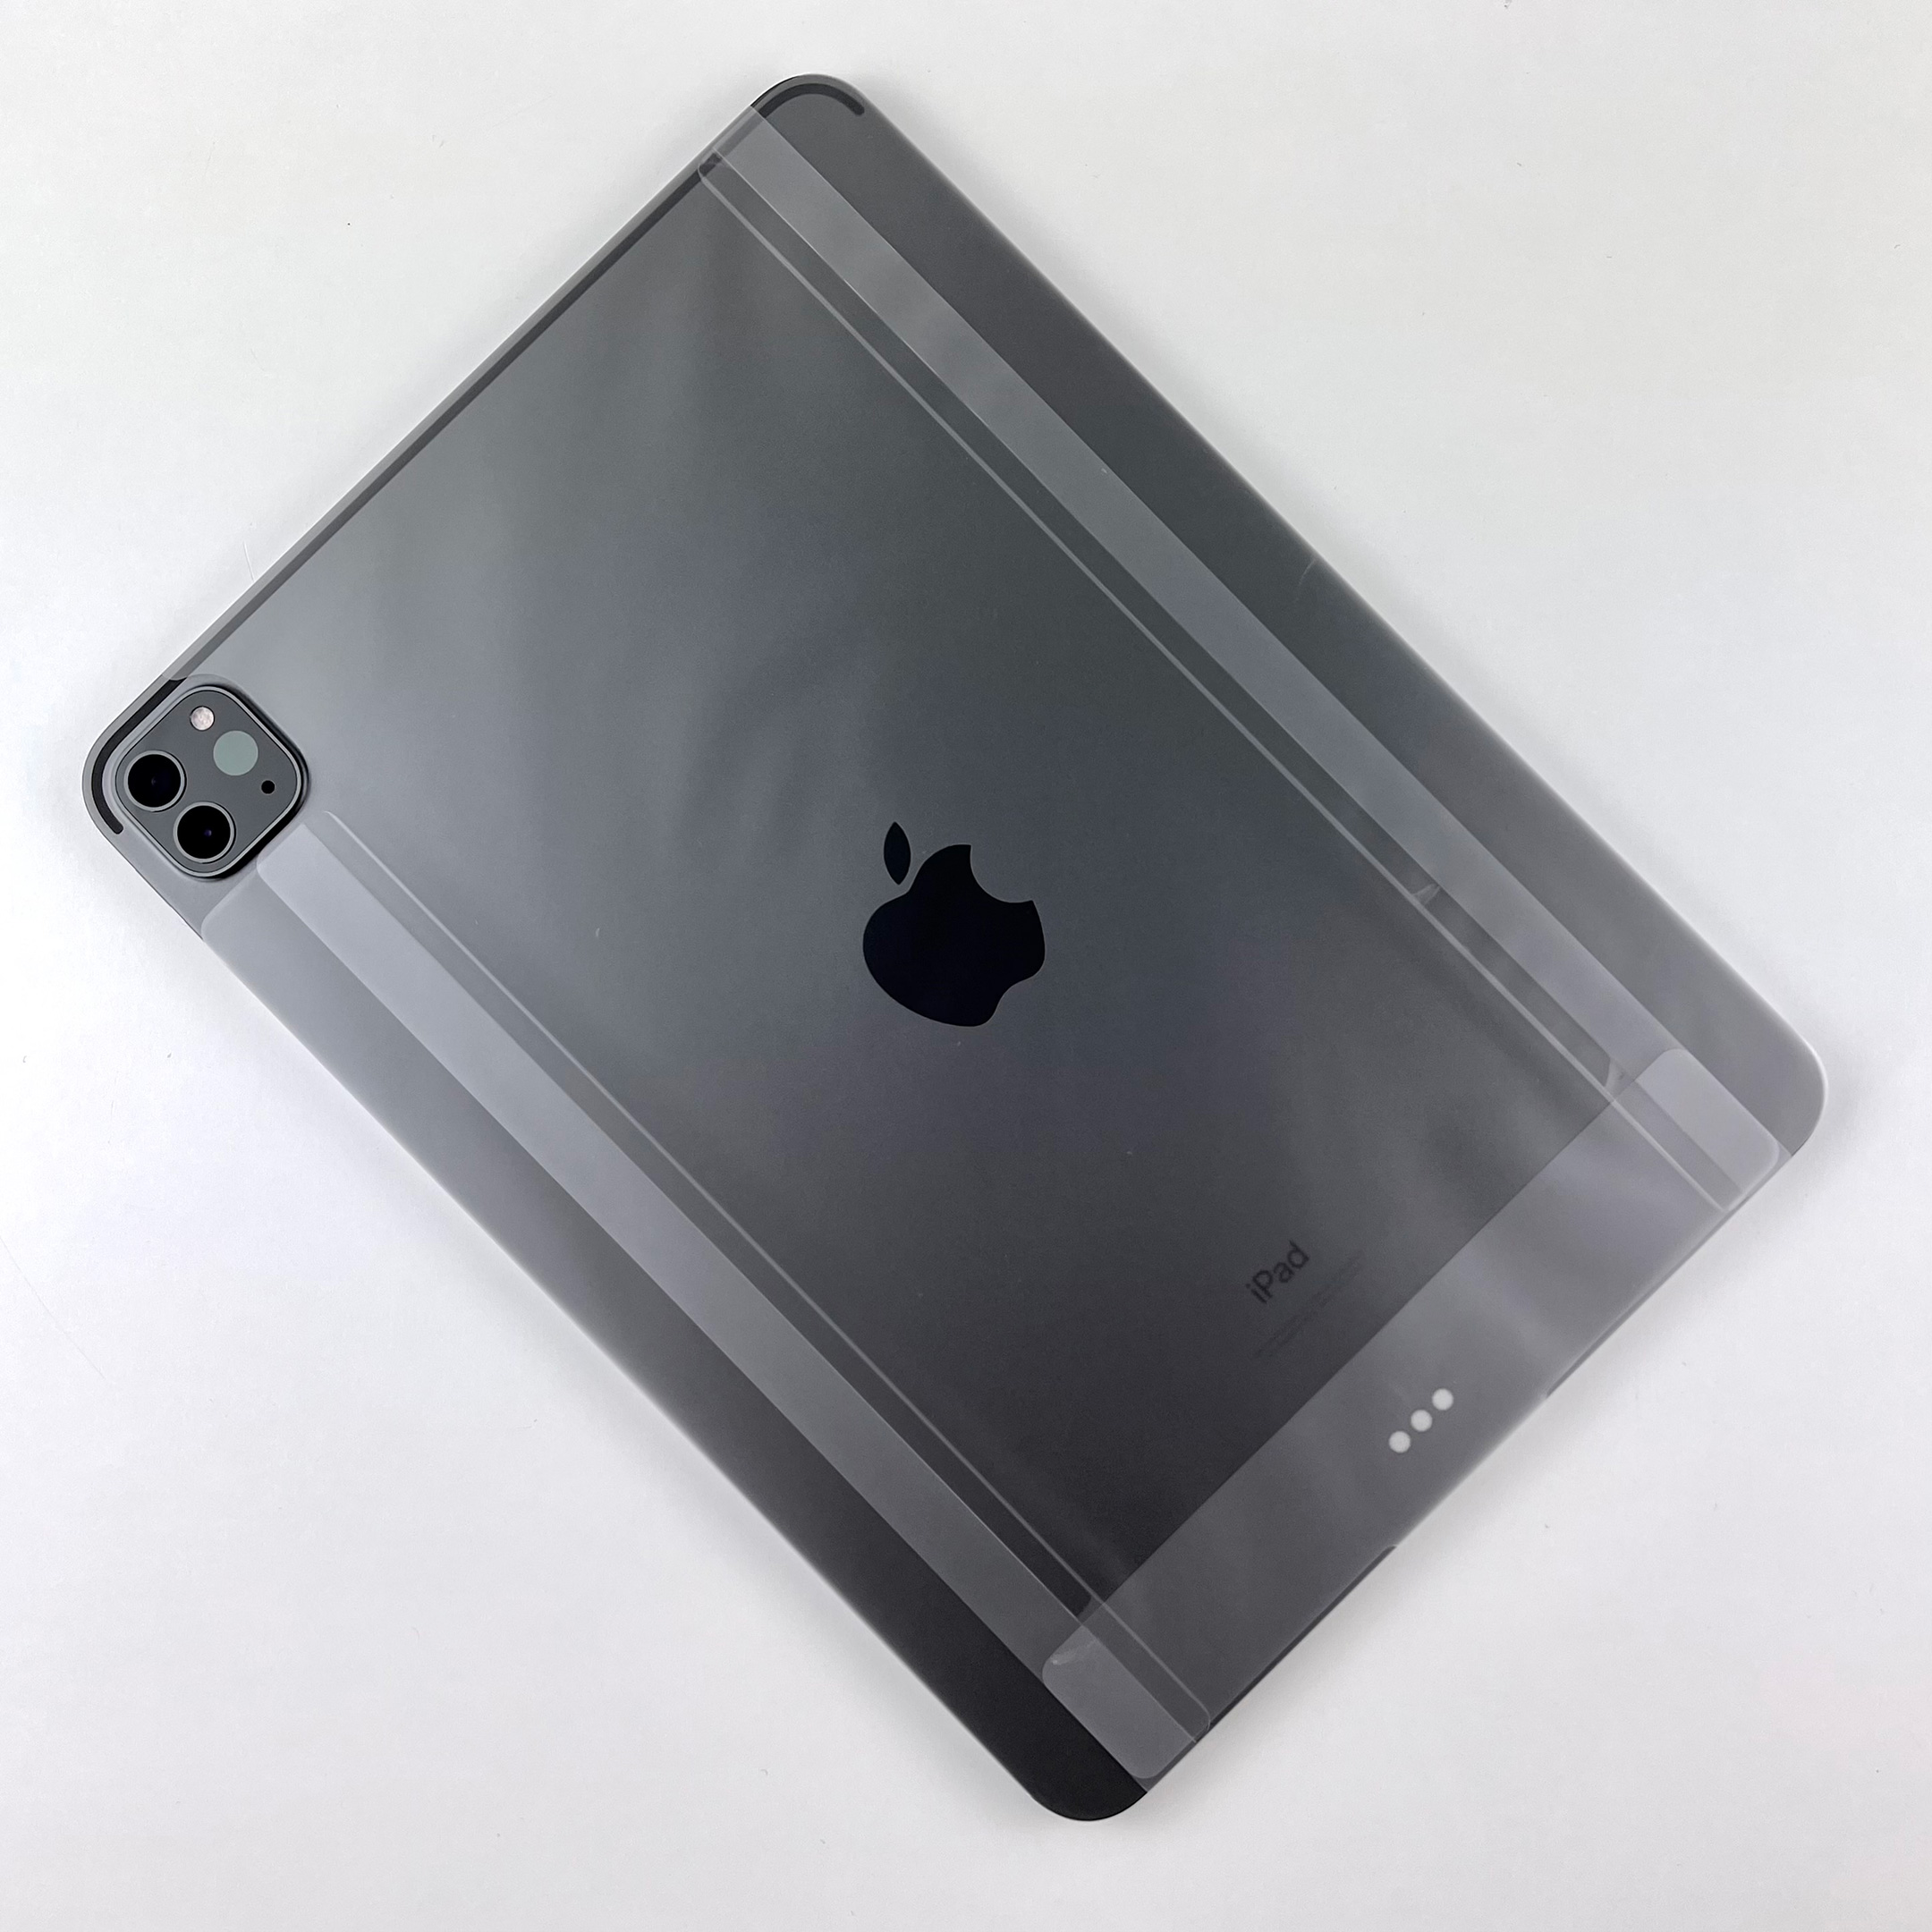
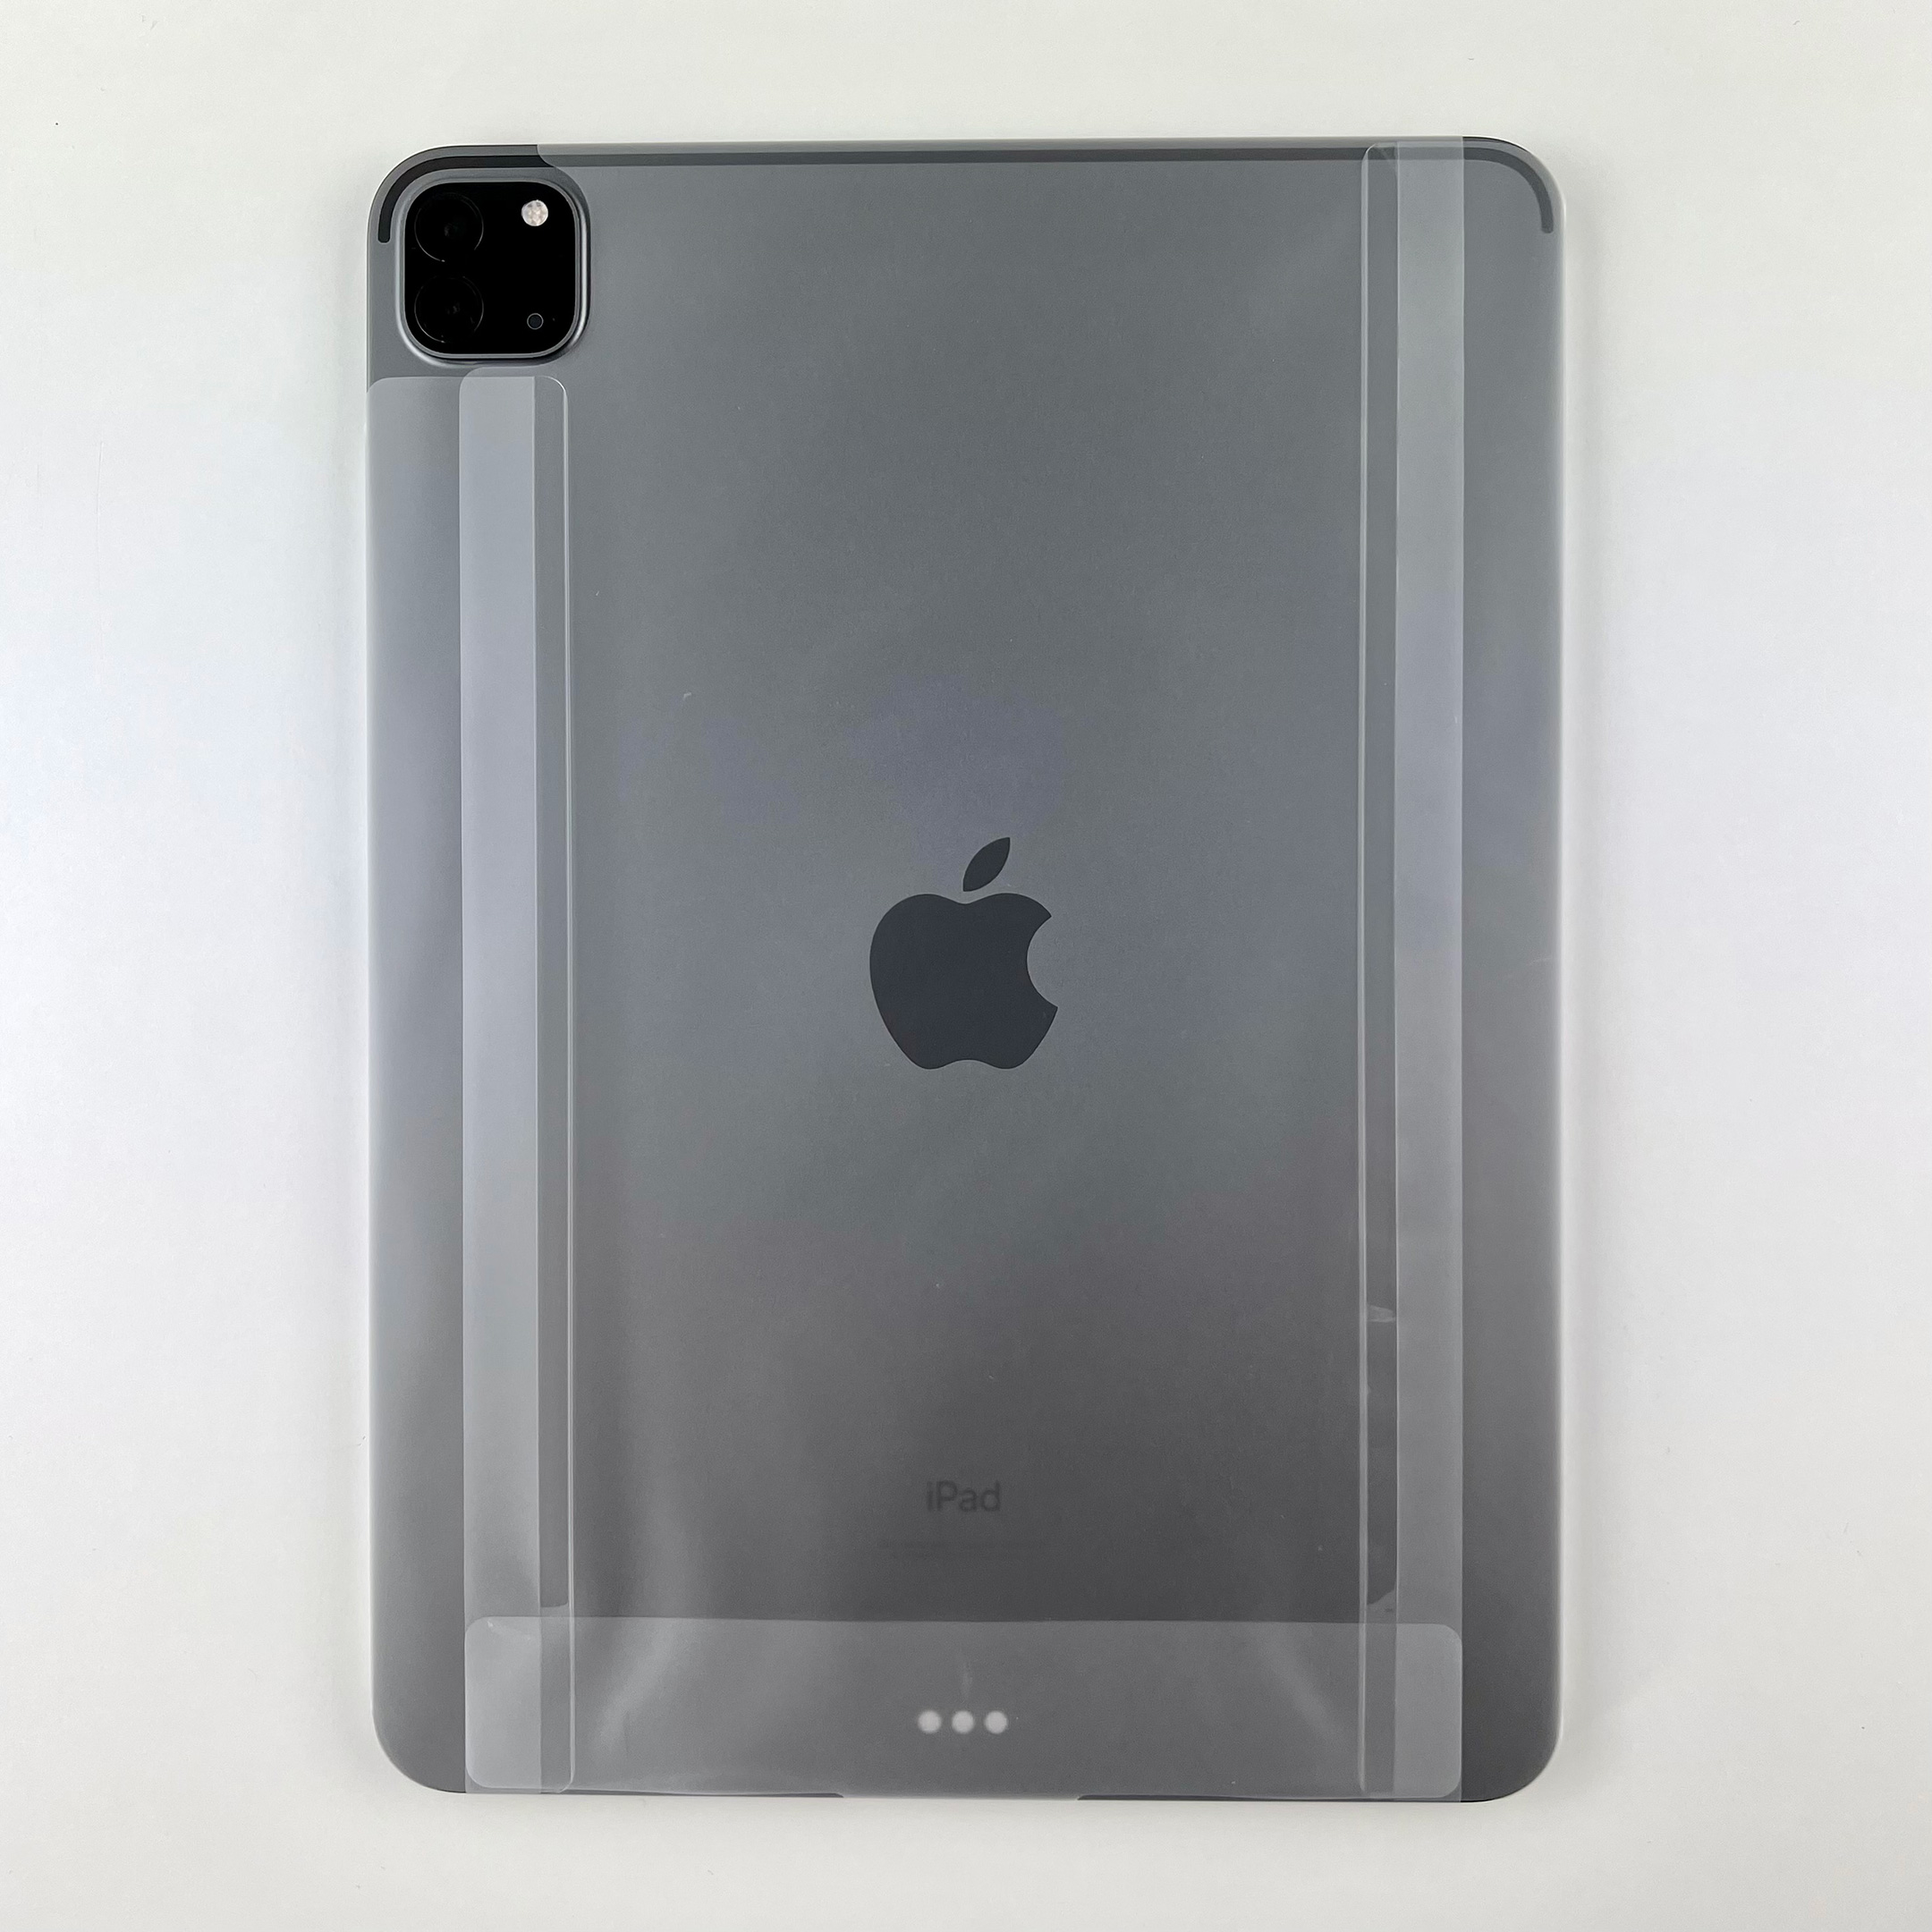
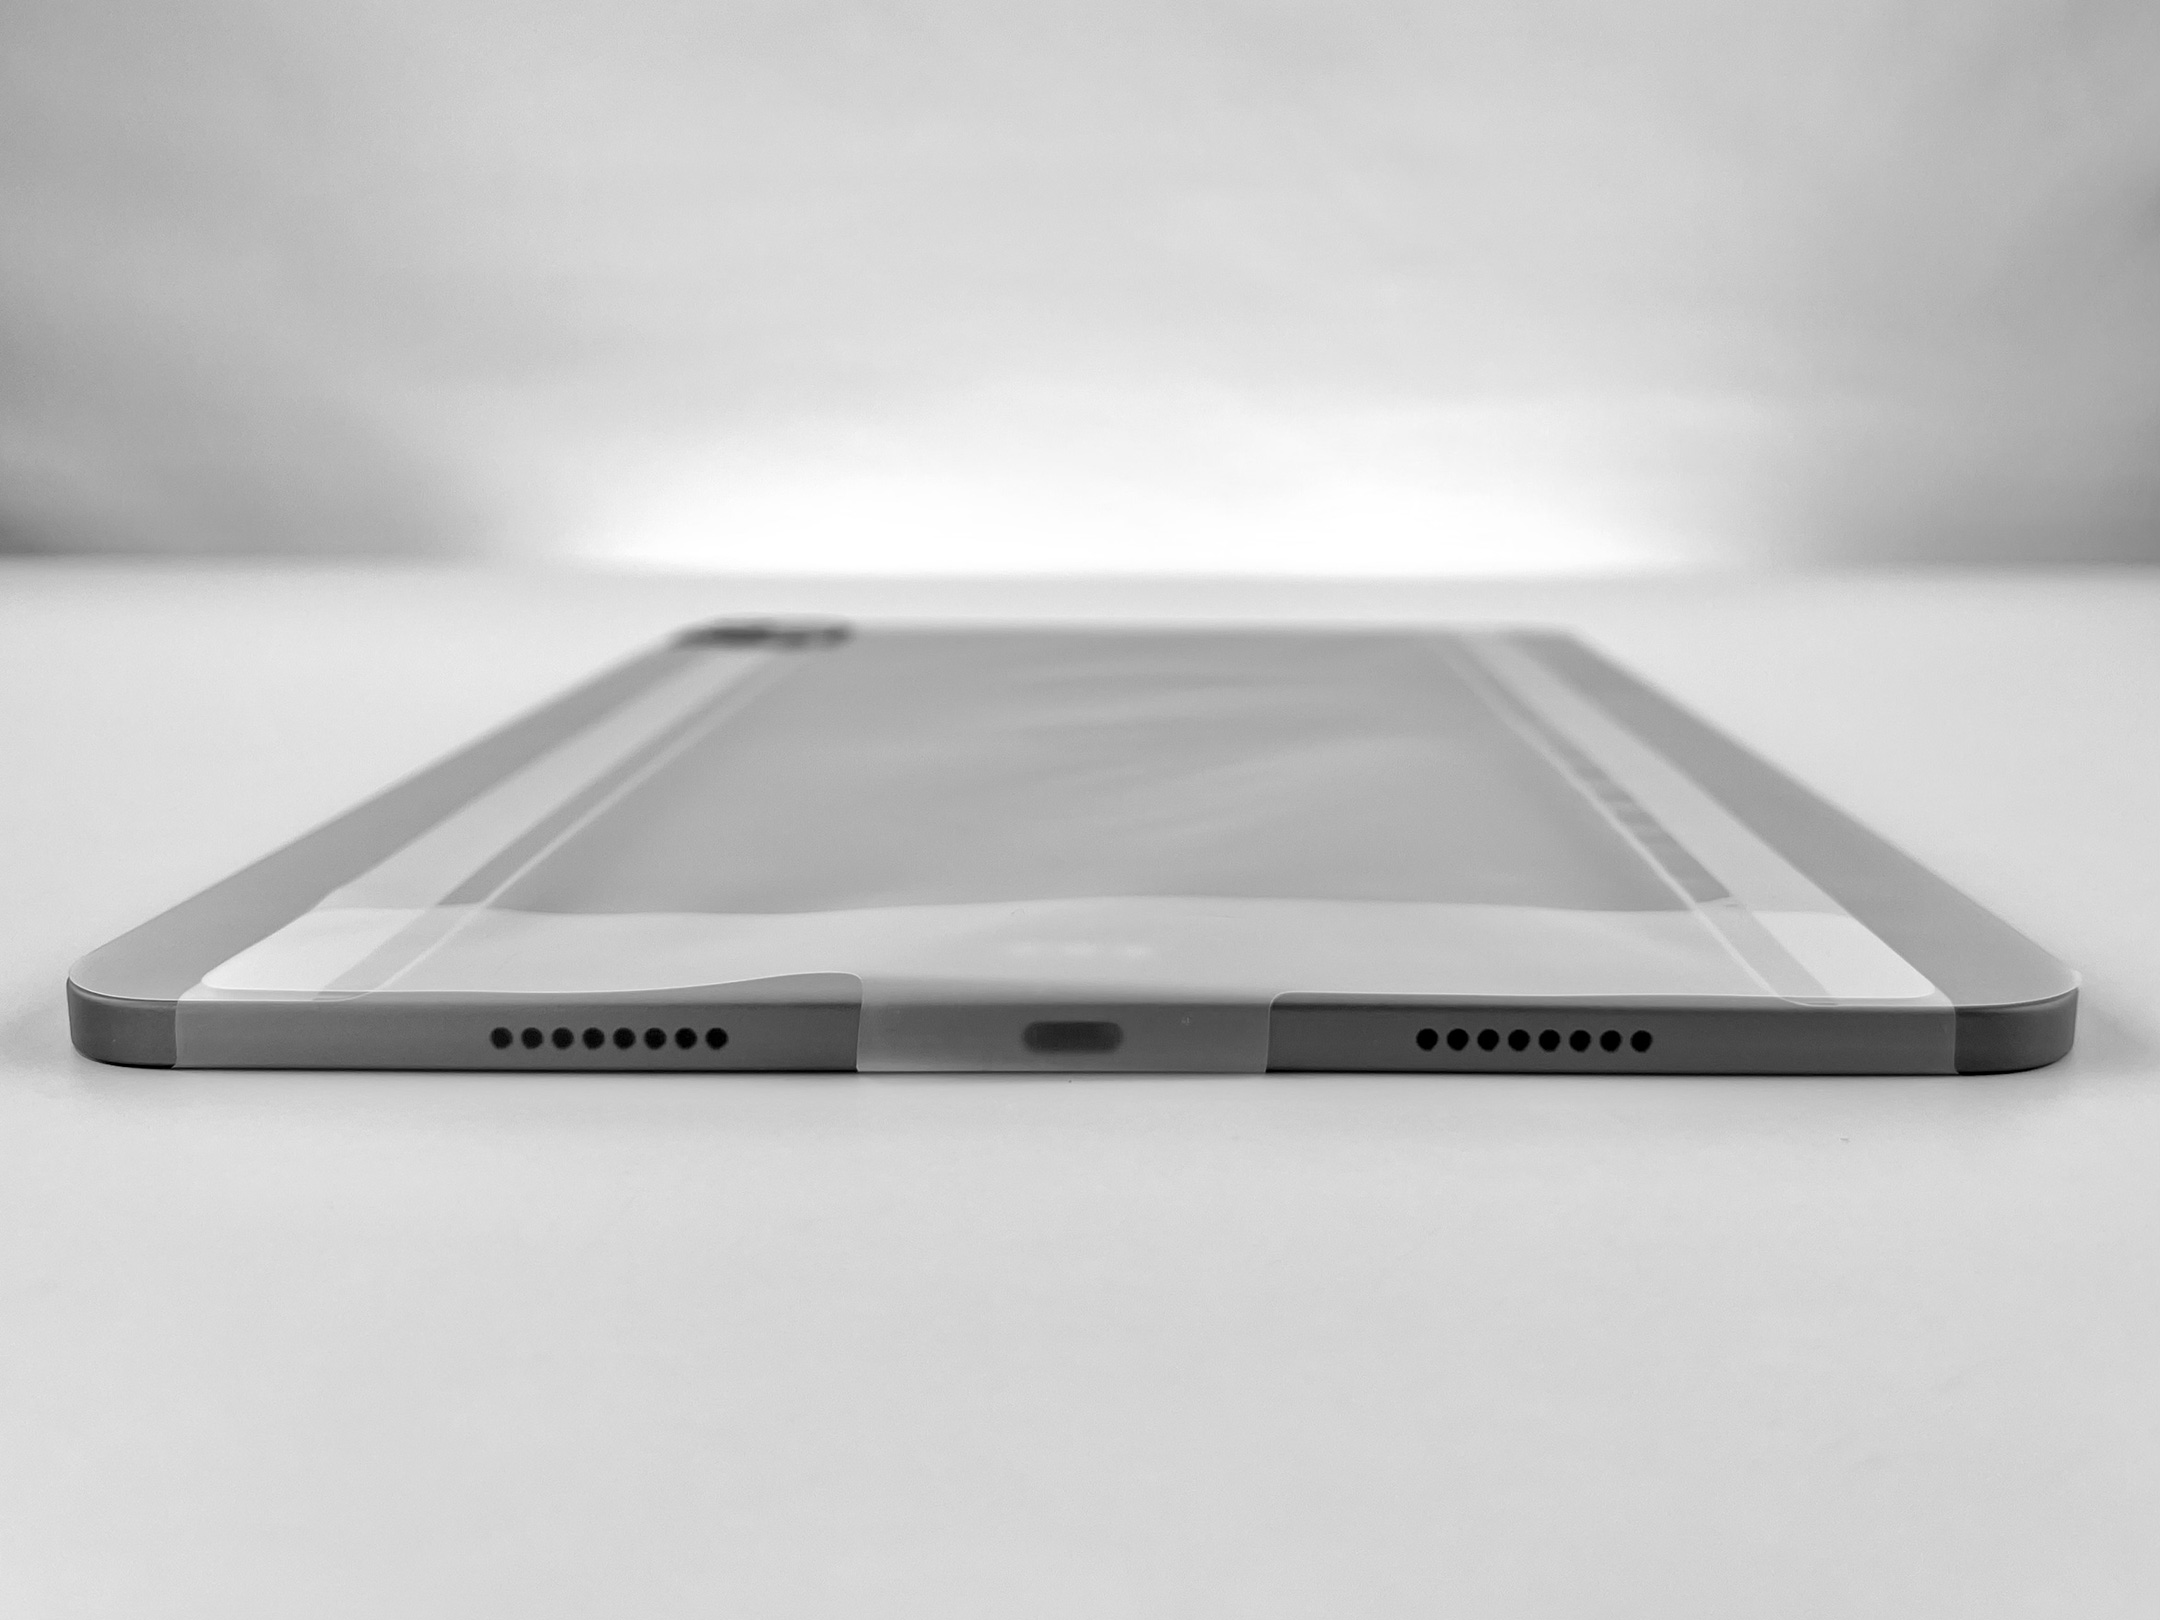
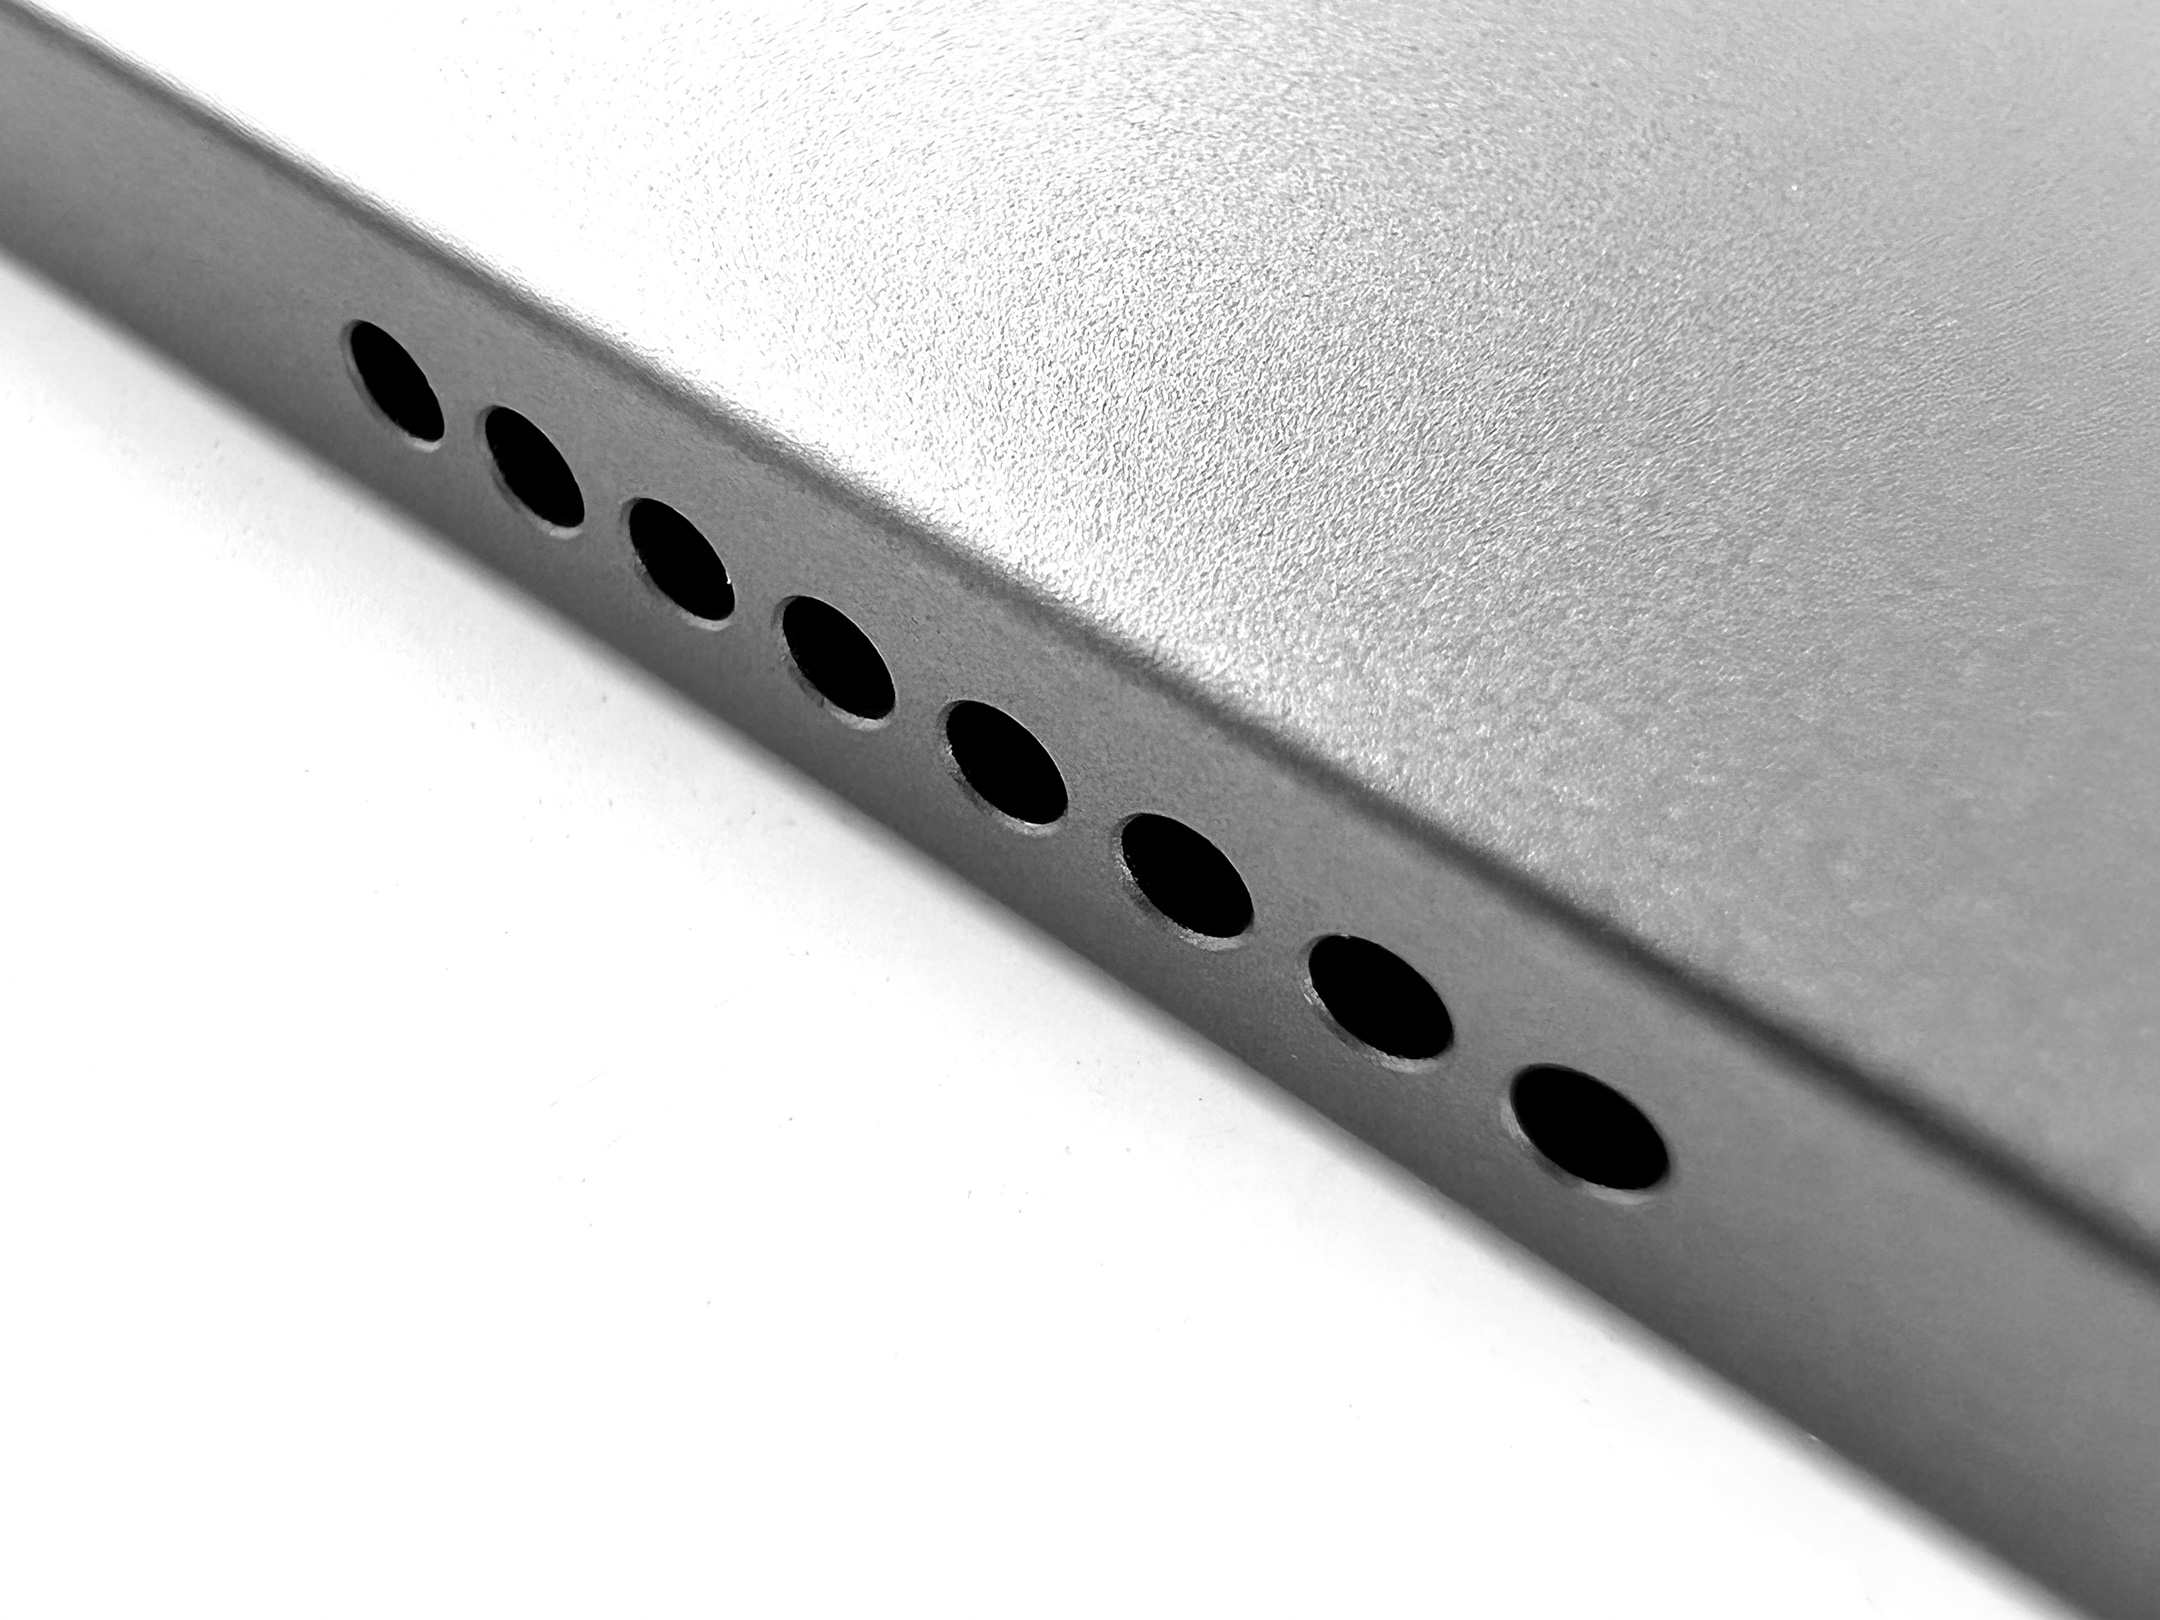
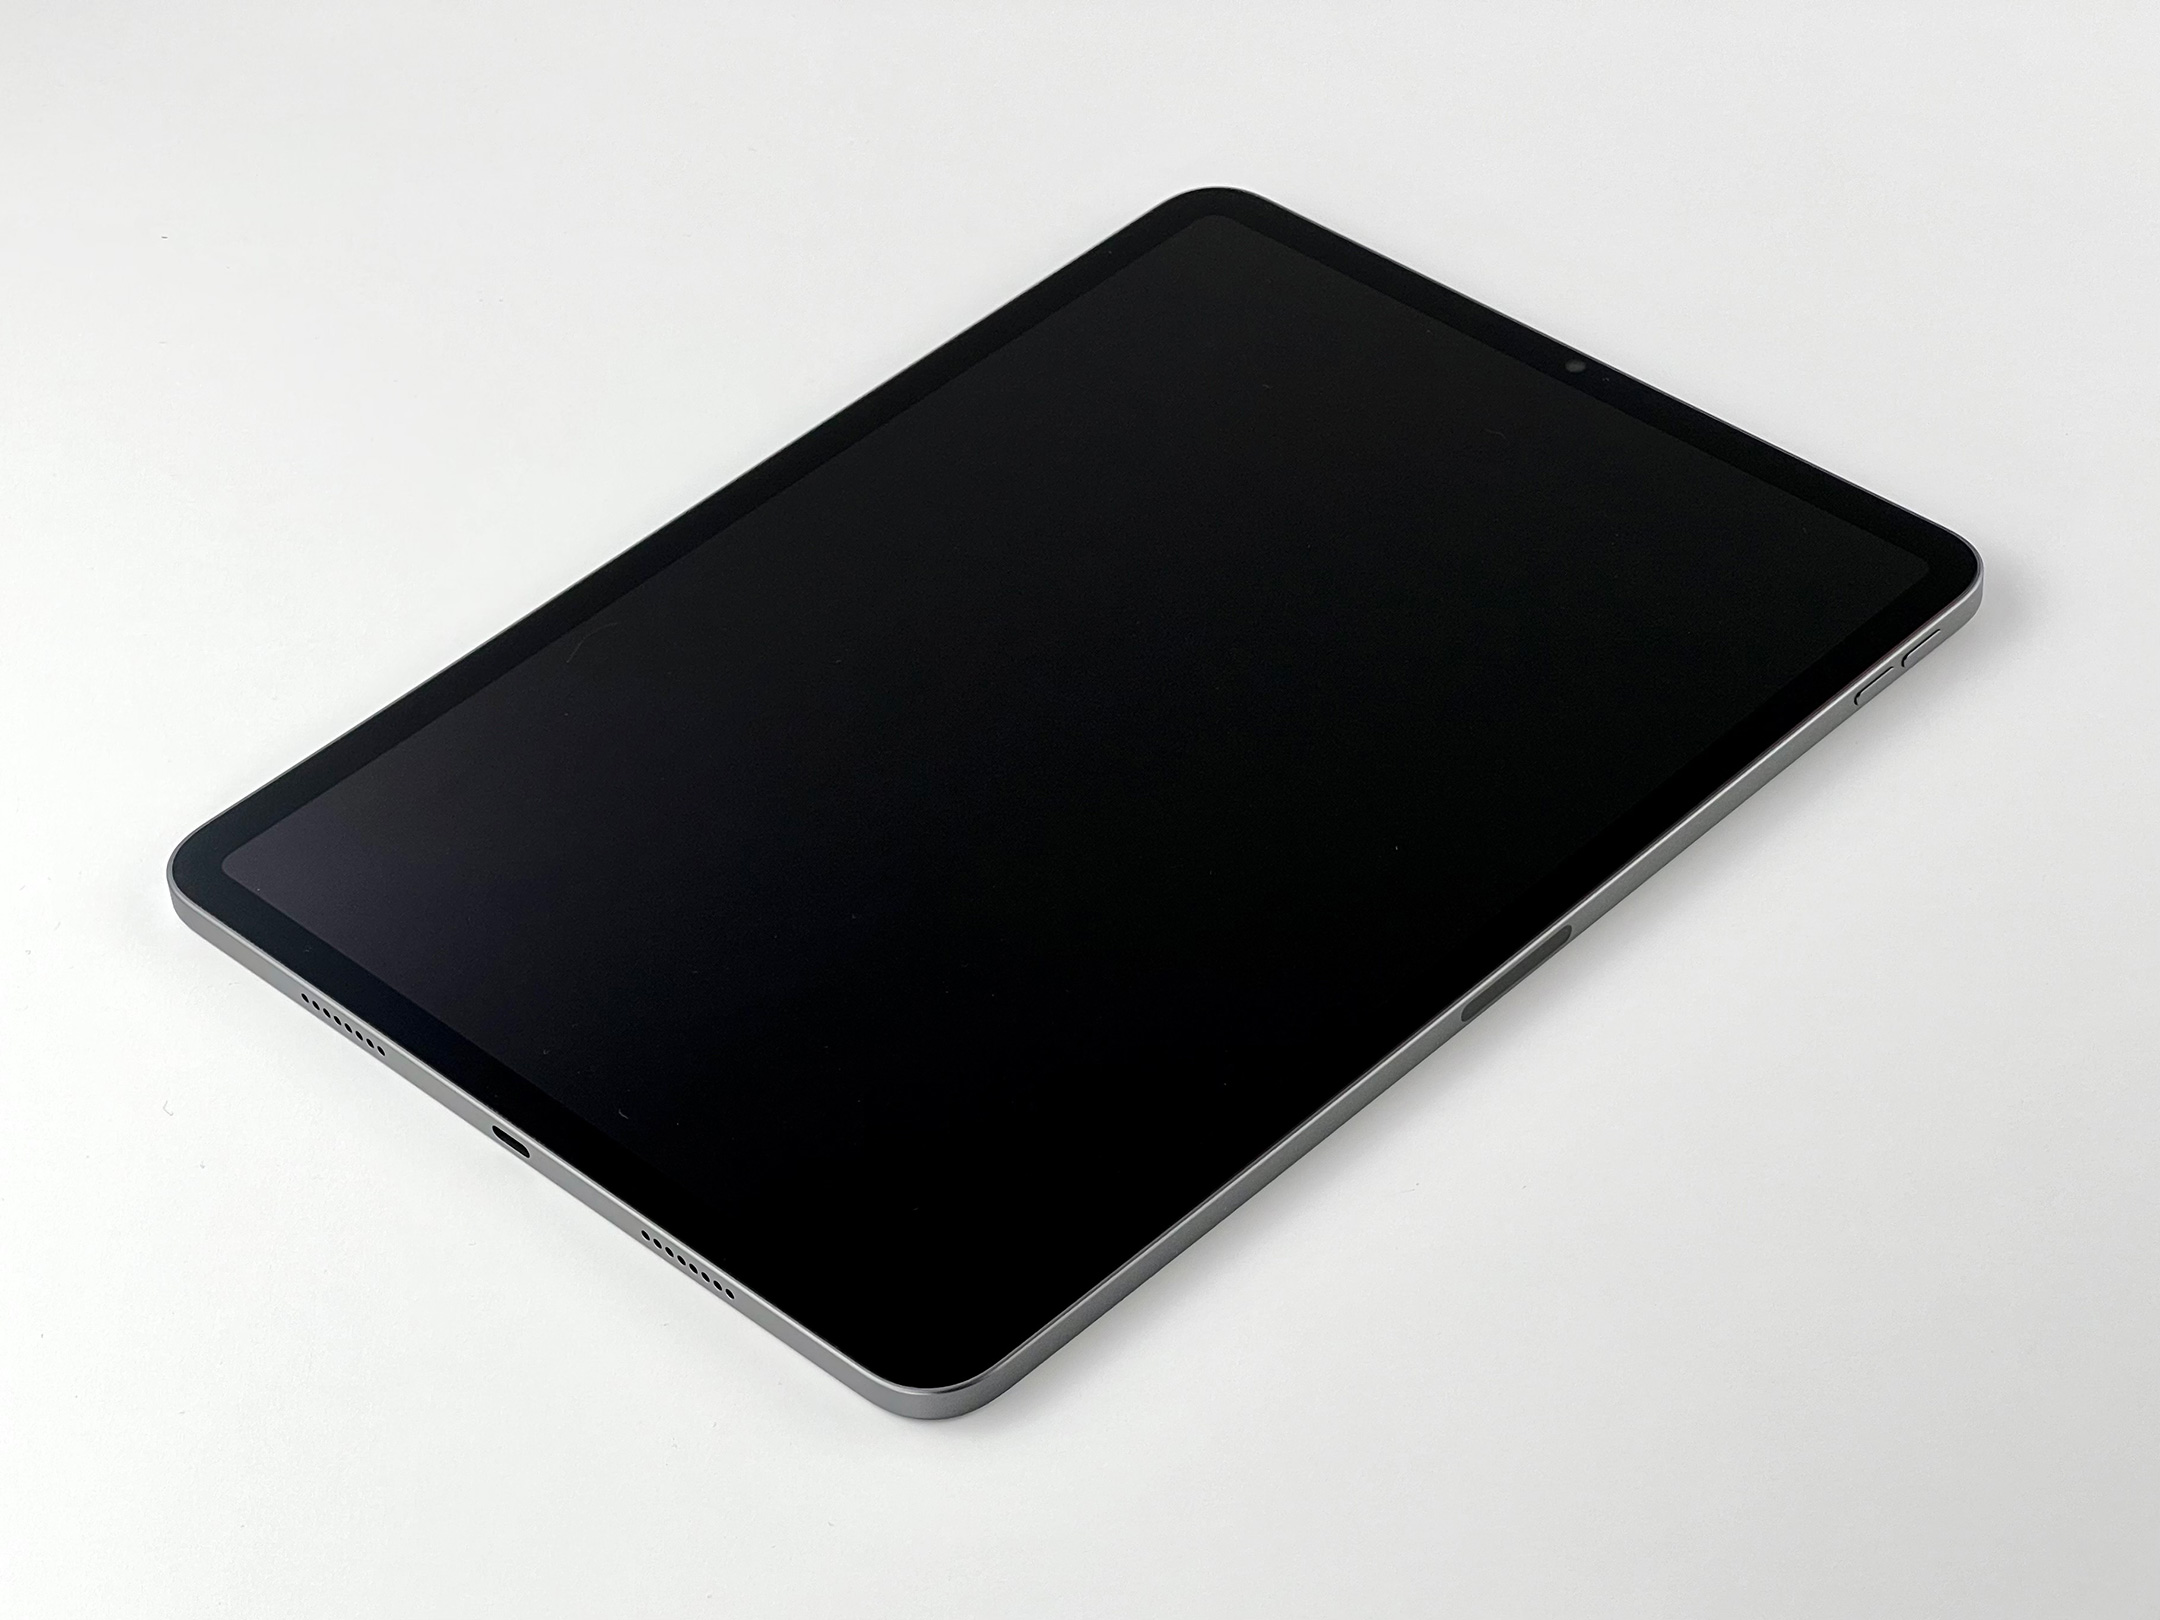
As an Apple Collector, I find the idea attractive to use an Apple camera to capture my Apple collection, but this has never been a goal. I decided to shoot photos of one collection item with both the iPhone 13 Pro and the Nikon D3500. The item selected was my recently purchased iPad Pro 11-inch with the M1 chip. The photo session includes the unboxing and the device.
Here’s what I learned.
Device Flexibility
At first, using the iPhone 13 Pro seemed more liberating than the Nikon D3500 because shooting with a phone seemed a bit more nimble than the larger camera. The iPhone screen is considerably larger than the Nikon’s viewfinder and display—and the iPhone shows a better representation of the subject in real time, especially when viewing the depth of field effects rendered with the iPhone 13 Pro.
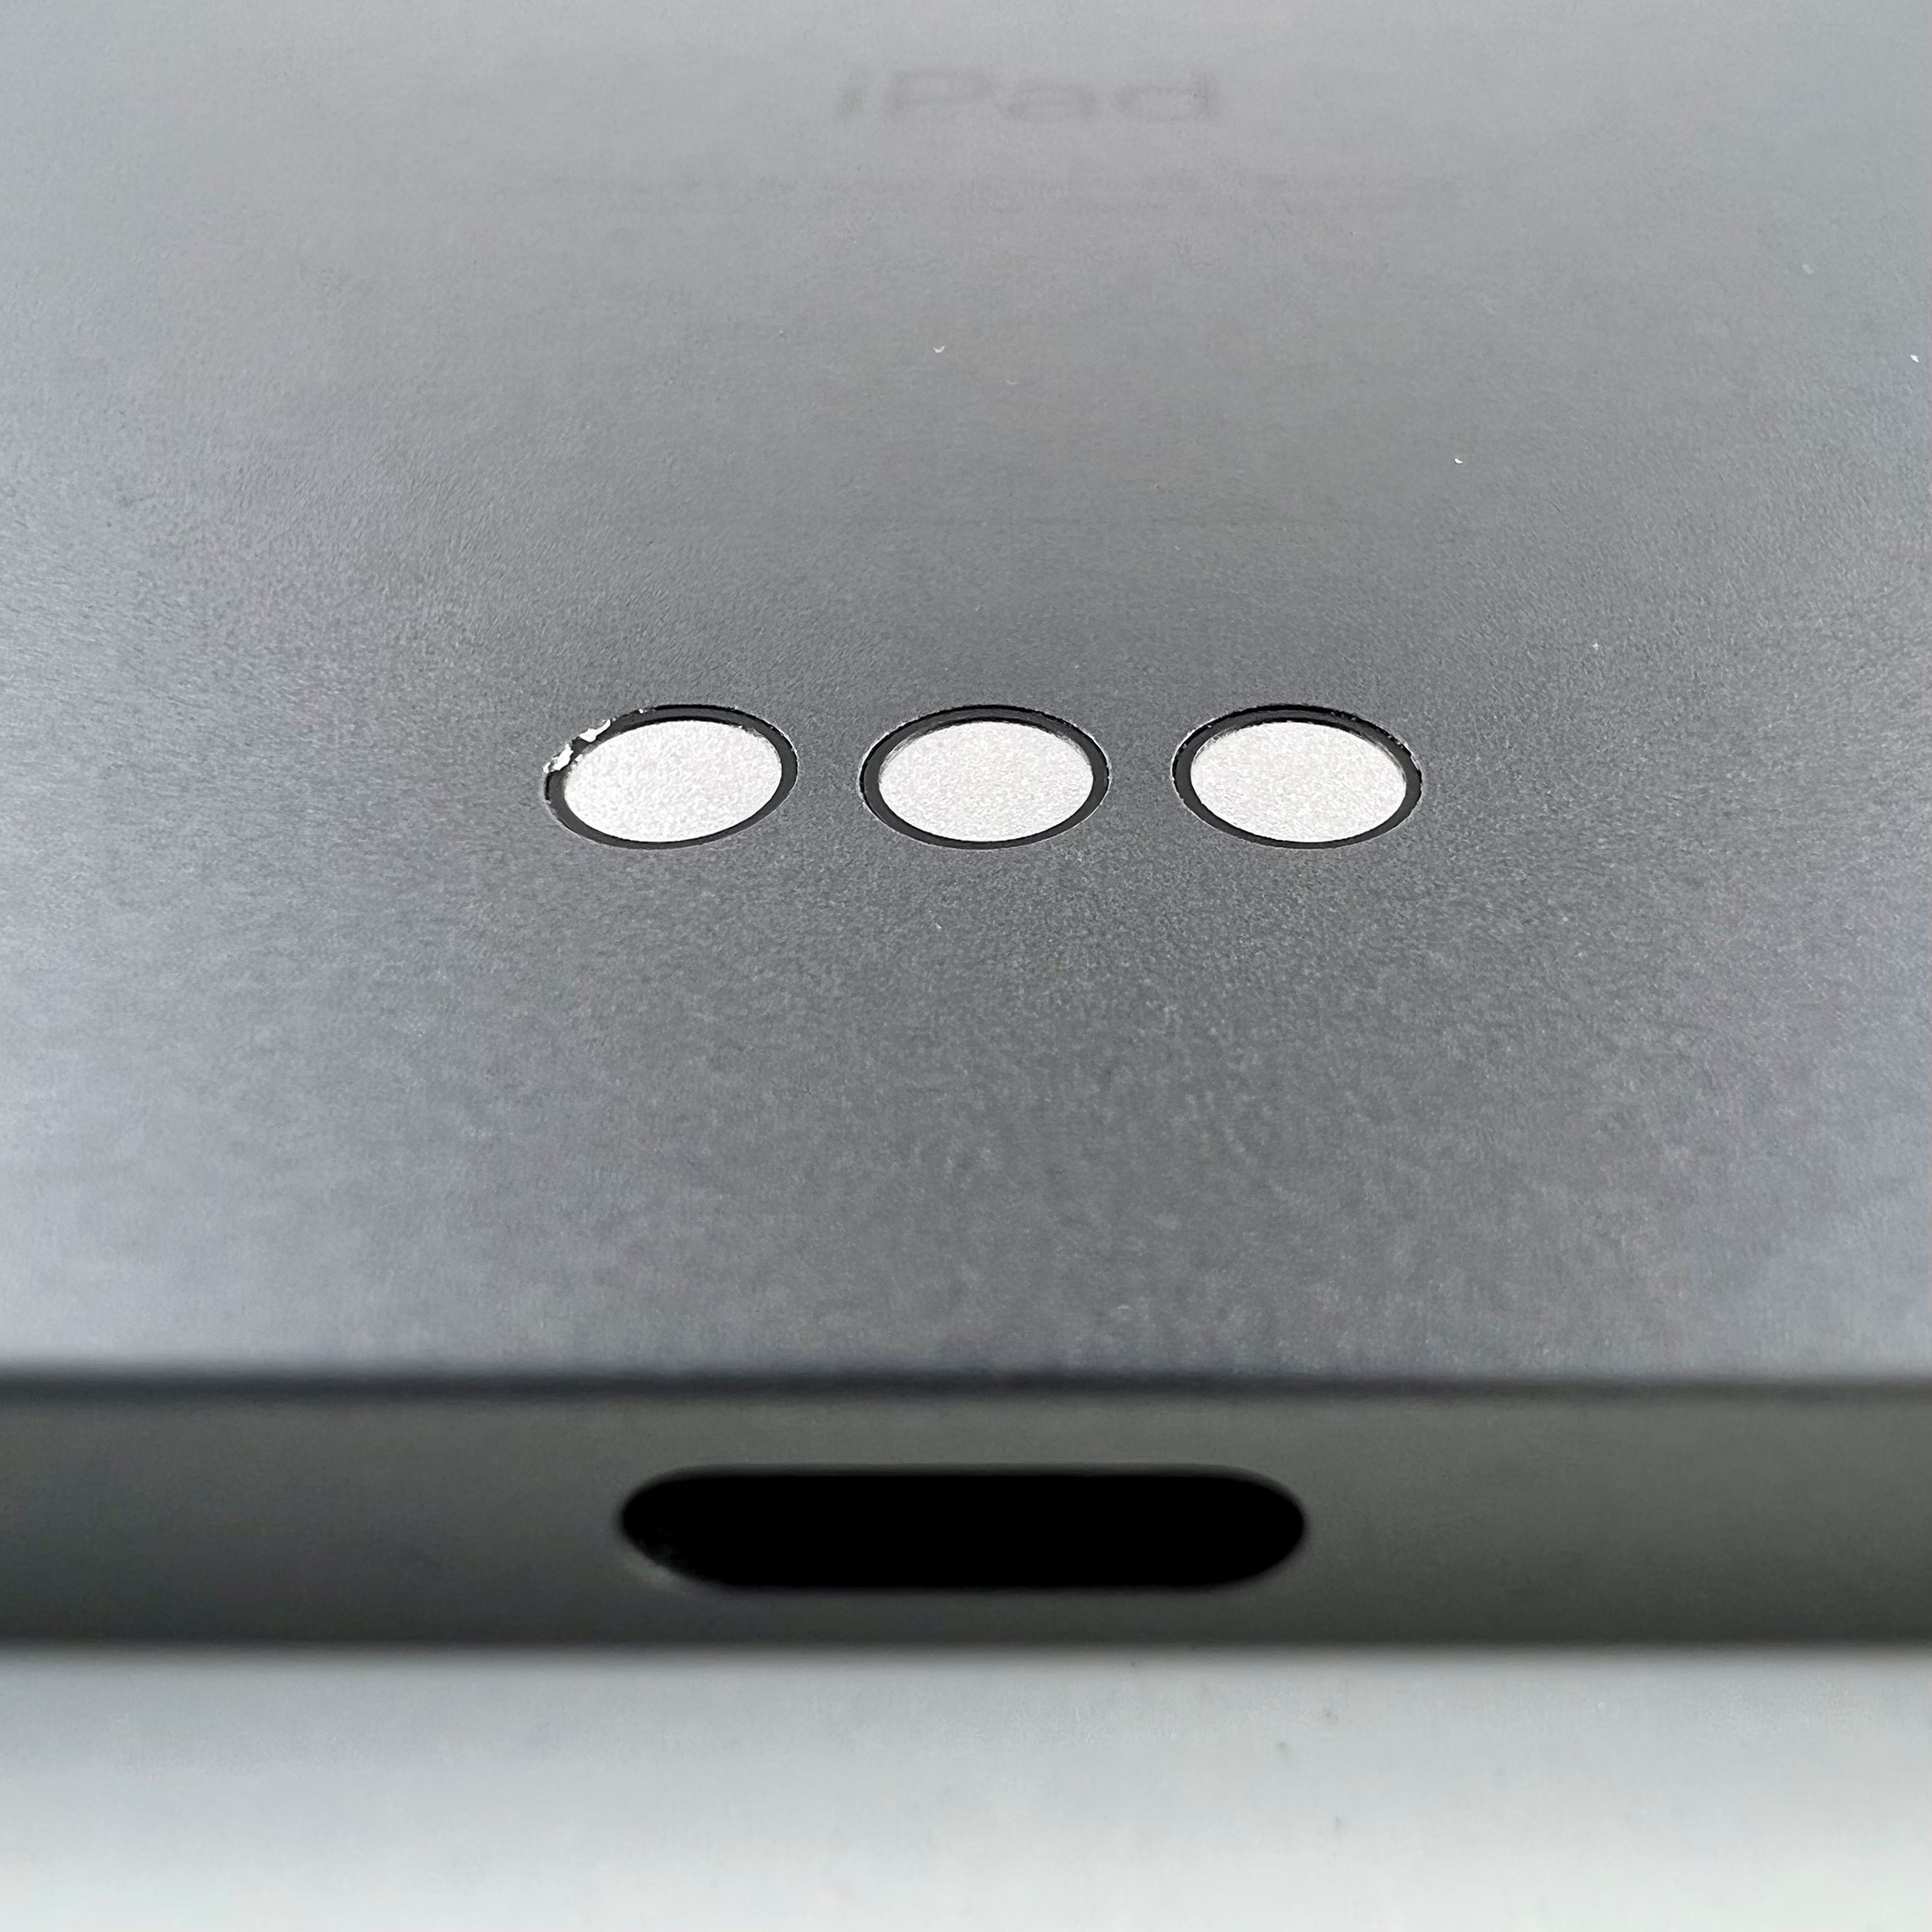
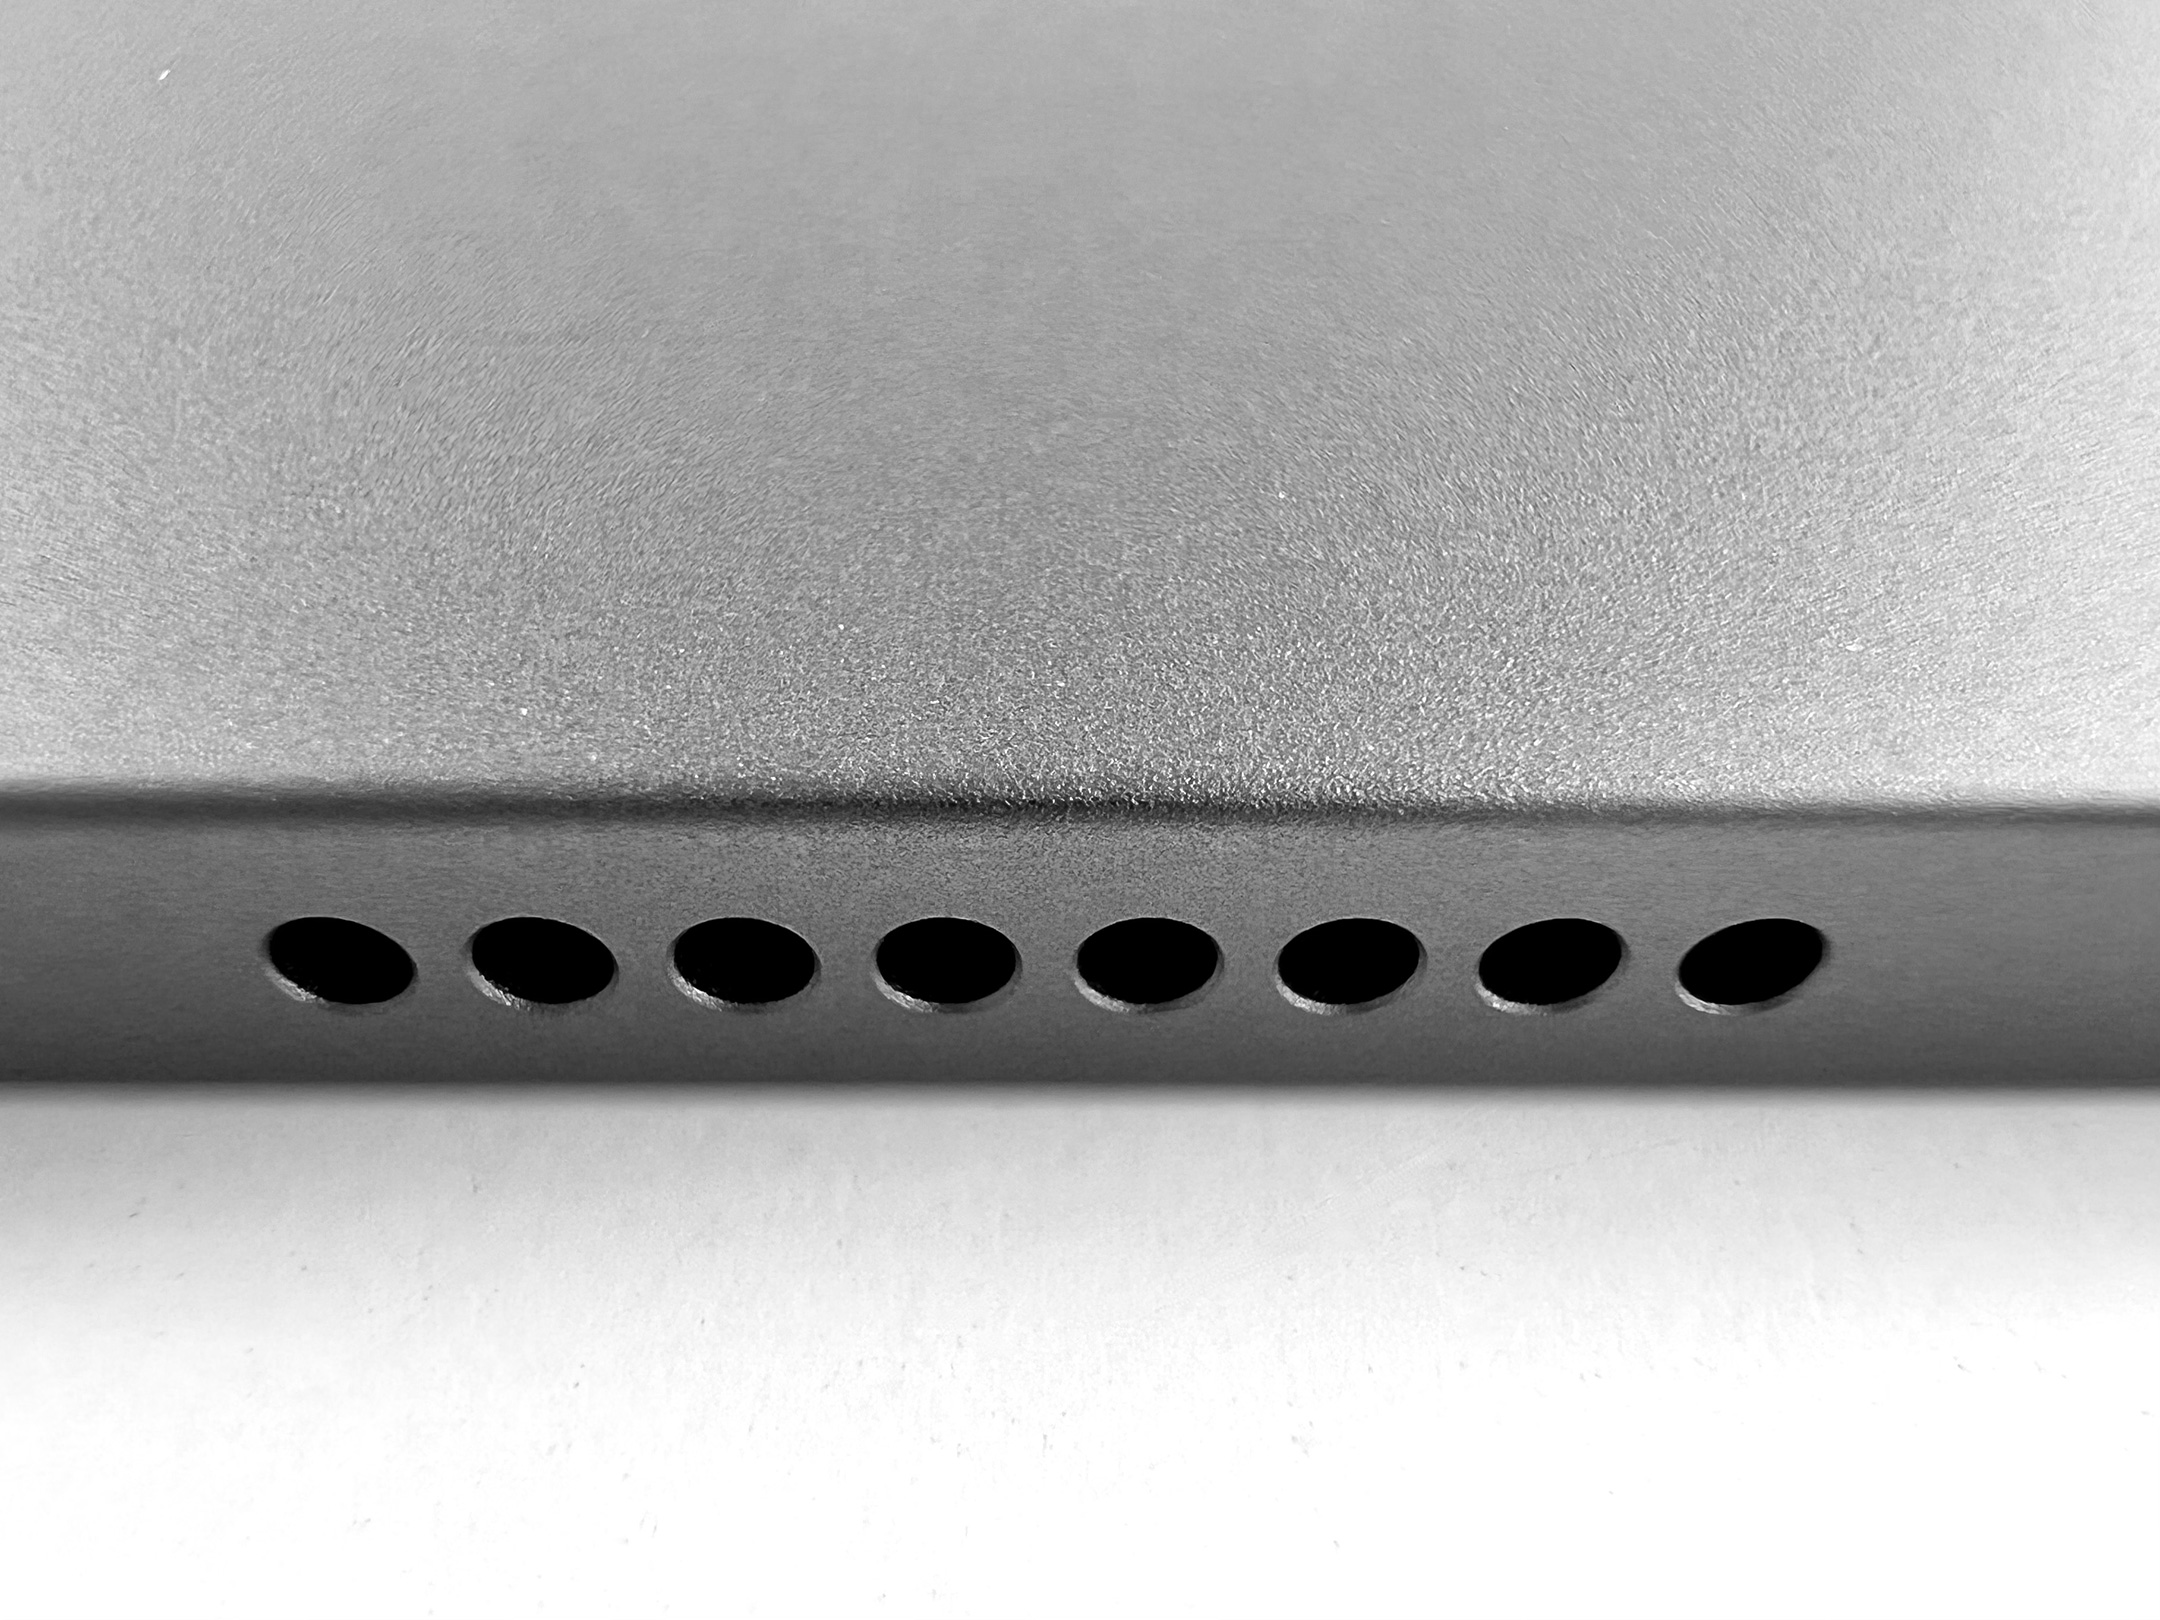
I changed my mind when I started using the iPhone 13 Pro’s touted Macro features. As it turns out, when you get close to an object with the iPhone 13 Pro, the phone casts a shadow from the studio lights, making the photos nearly unusable without readjusting all my lighting. On the Nikon, I just twist to zoom the lens. While I generally don’t capture many Macro shots, I’d definitely consider adding more if it was easy to do so.
That being said, a few of the Macro shots I captured from the iPhone 13 Pro were impressive after a bit of light fussing.
Macro Lens Issue
When the initial reviews for the iPhone 13 Pro started getting posted, I read about one particular problem with incredulity—the issue of the iPhone camera switching frames when moving between the “regular” camera lens and the Macro lens. Very often, reviewers over-state issues as major problems that turn out to be very minor annoyances. Unfortunately, this is not one of those times.
Reviewer Raymond Wong for inputmag.com states the issue well: “…if you have your iPhone 13 Pro camera set to the 1x wide camera and place an object or a subject within 14 centimeters (5.5 inches) of it, the viewfinder will maintain the 1x framing/composition but use the ultrawide’s close-range autofocusing in tandem. You can literally see the viewfinder flicker/pop and ‘switch’ to this hybrid viewfinder.”
In my experience, Mr. Wong may have understated this problem. When I attempted to frame my Macro shots, I moved the lens to the 2cm zone where I expected the Macro feature to engage, and the iPhone not only reframed my shot, but when the lens changed, I was unable to re-locate the part of the subject I wanted to capture.
How does this happen, you might ask?
If you are shooting, for instance, the overall texture of a surface, getting 2cm from the surface and having the camera system switch to a different lens is not much an issue since the surface you are shooting covers the area still viewable by all the camera lenses. However, if you are attempting to photograph a detail that’s just a few millimeters wide, getting the lens within 2cm and then having then lens switch to a different lens that’s about 2cm away, you have now lost your subject! Most of the time, I couldn’t find the subject again—AND the lenses kept switching as I was attempting to re-locate the subject.
IT WAS INFURIATING, but Apple claims to have a fix for this coming.
Lighting
For both photo shoots, I used the exact same lighting comprised of my three lighting sources: two bright daylight CFL studio lighting bulbs behind a filter (the primary lighting source), two non-filtered daylight CFL studio lighting bulbs providing mostly indirect lighting on the white backdrop, and two LED bulbs providing a “wash” from below my white backdrop. I occasionally use these old LED Philips Hue bulbs to provide a color wash on the backdrop, but they mostly are set to a pure white to match the studio lighting bulbs.
Despite the fact that the lighting was exactly the same for both cameras, the iPhone 12 Pro photos delivered very inconsistent backgrounds compared to the Nikon D3500.
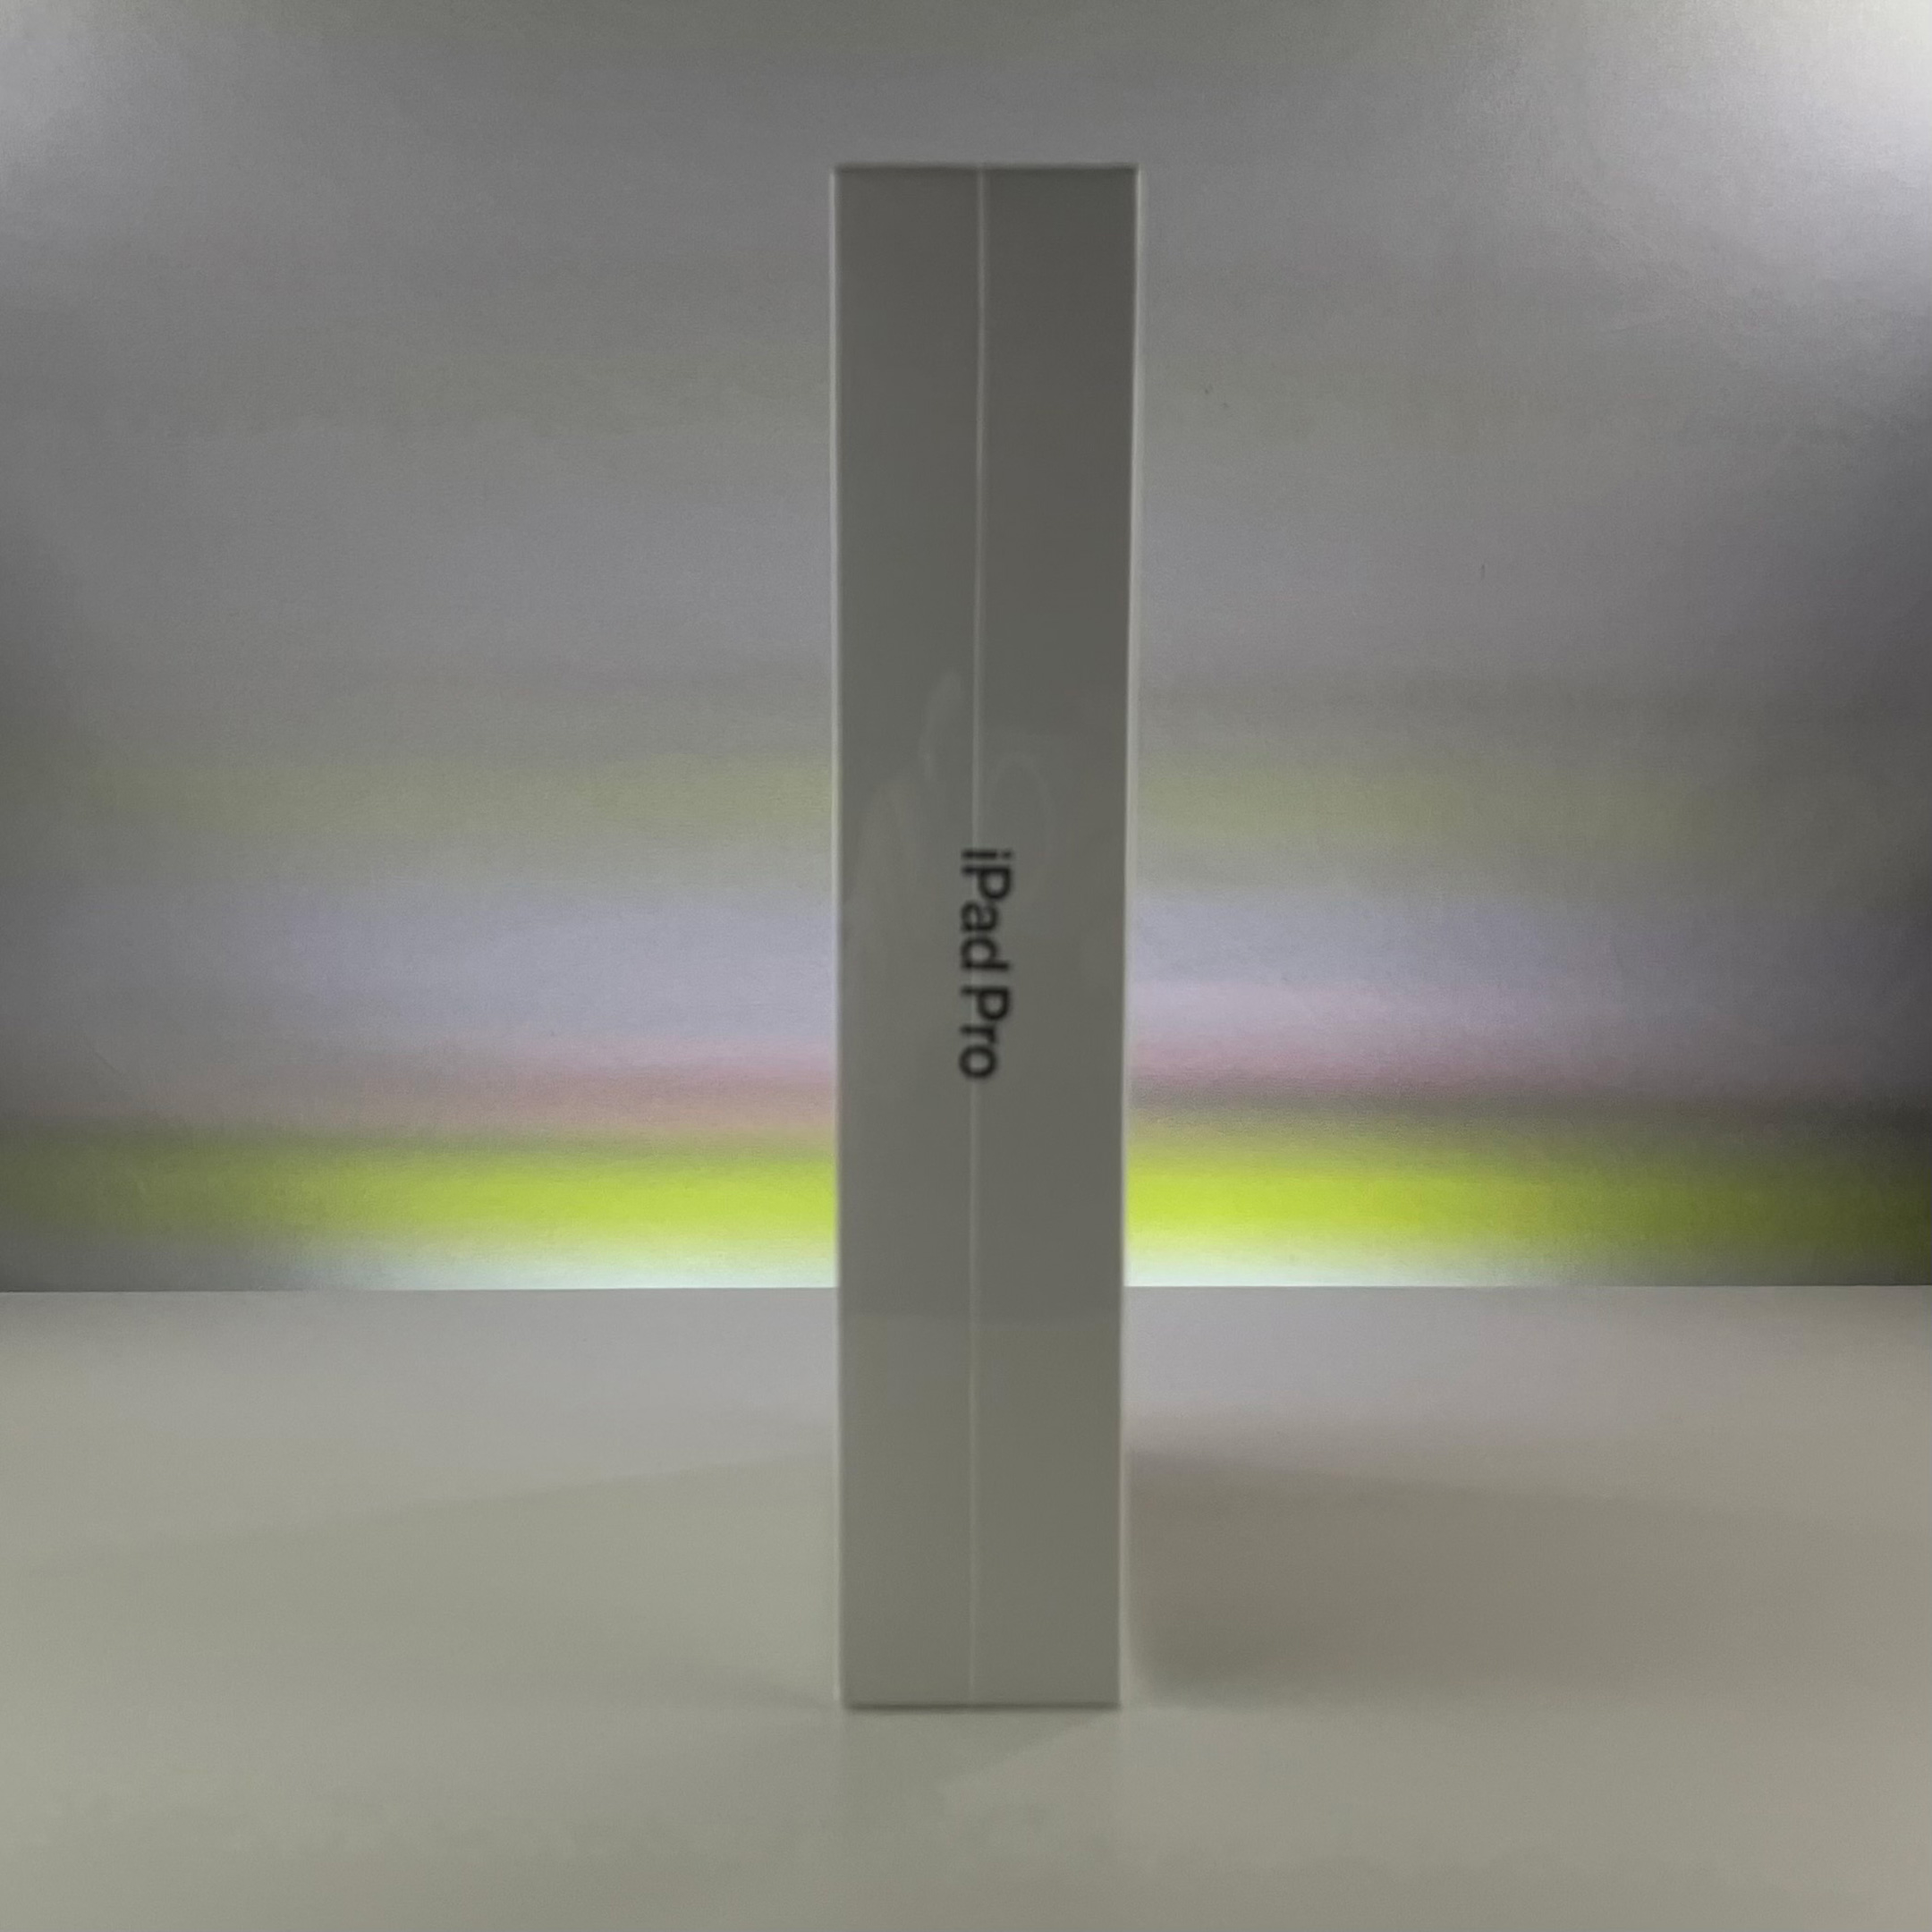
Far more concerning to me, the iPhone 13 Pro captured the light from the Hue bulbs differently in every shot. Although the bulbs are set to pure white, the iPhone somehow captured the cycling individual colors of the LED bulbs. One shot shows this in detail where the background shows color bands of yellow, pink, and blue in distinct stripes of color. At the same time, all lighting looked far darker on the iPhone 13 Pro.
When editing, the only way to remove these odd colorations was to either greatly desaturate the iPhone photos or switch them to black-and-white. To be fair, the Nikon is not blameless in casting odd colors. However, when the D3500 casts color, it is usually yellow—it has never delivered color bands or multiple color casts in the same photo.
Surprise and Delight
When I set out to try the iPhone 13 Pro camera, I was thinking about capturing photos, not using the other features offered by the iPhone 13 Pro and iOS 15. One particular feature truly surprised and delighted me: Live Text.
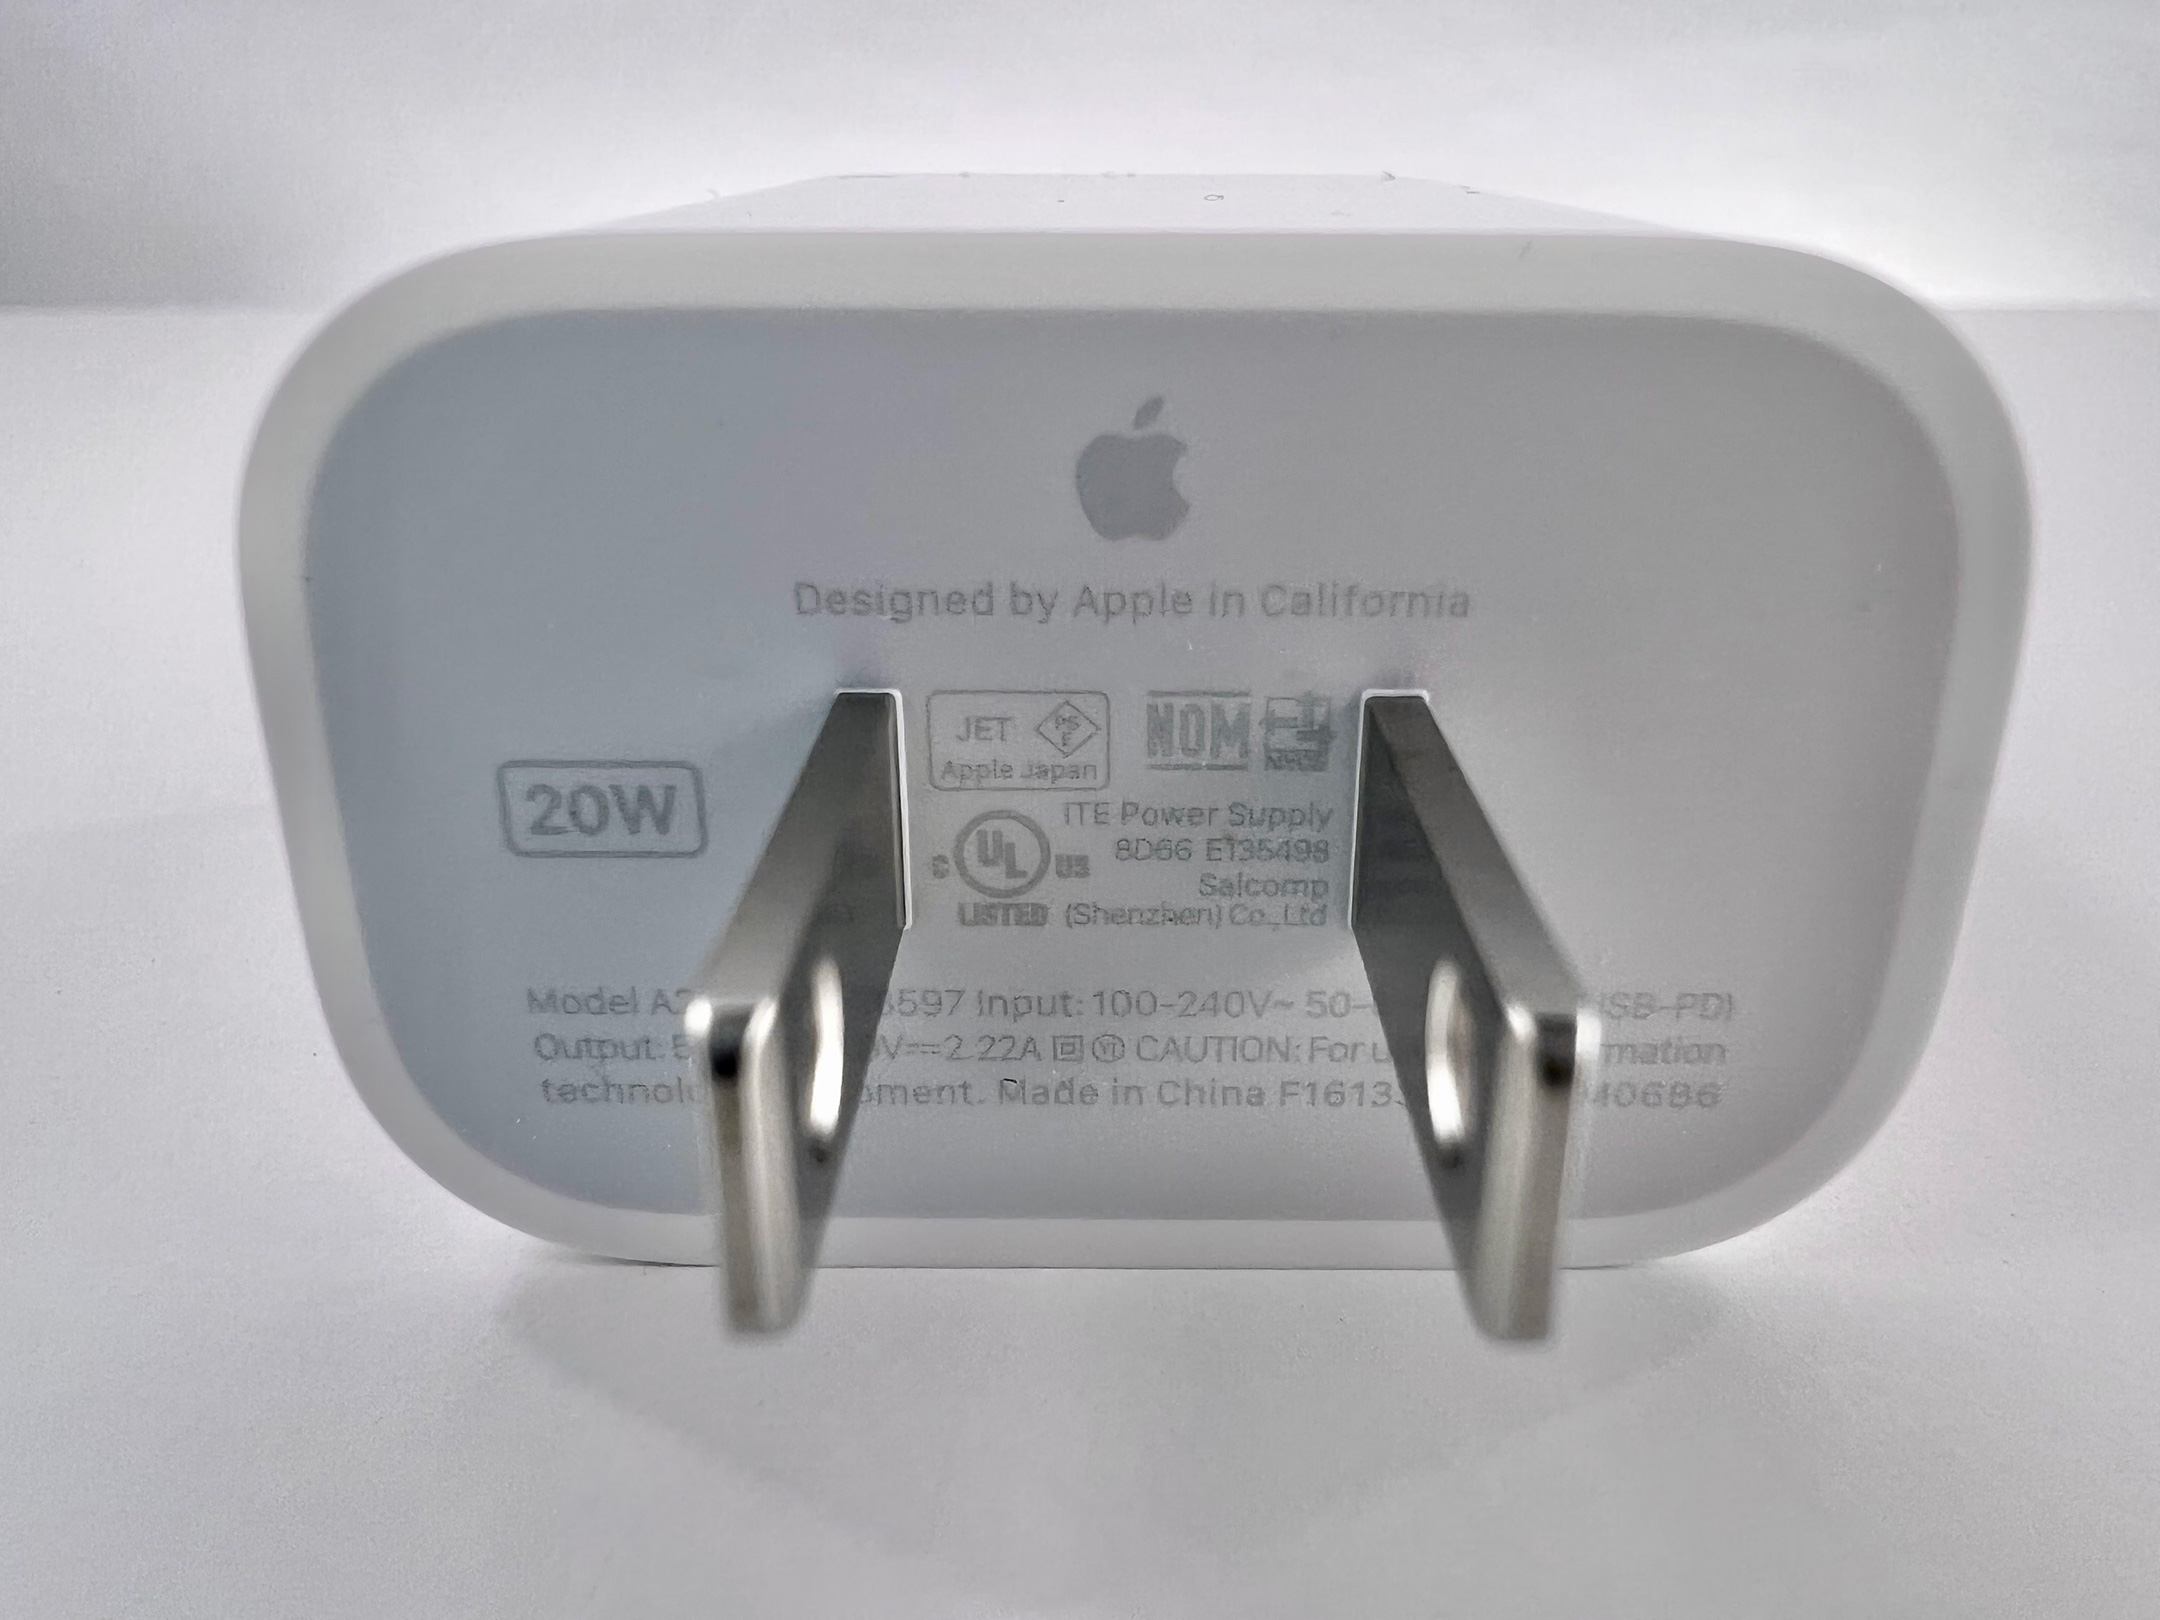
As I shot the packaging for the iPad 11 Pro, the iPhone’s new Live Text feature immediately “read” and displayed the text on the box—and interpreted the printed text perfectly. Since my collection includes mostly old Apple items that may no longer be online (or difficult to find), my sources are sometimes limited to what’s printed on a box or included in a manual. The iOS 15 Live Text feature allows me to capture a photo of any text and instantly have the ability to select, copy, and paste the text from my photo and use it in my accompanying blog post. Live Text will save countless hours in the future when photographing new items when only printed information is available.
Incidentally, Live Text also perfectly interpreted a printed serial number. I capture serial numbers for every item in my collection, and I dread doing so since they are generally difficult to read and prone to transposition errors. This will make the activity far more palatable.
I was not expecting to consider using Live Text, and the feature is exceptionally useful.
Photo Quality
When comparing the photos from the two camera devices, the overall photo quality is the most important aspect of this exercise. I am surprised by the significant differences between the devices.
While the iPhone 13 Pro photos show an impressive sharpness, that sharpness appears unnatural to me. All the photos appear to use a mechanical-looking pixel pattern compared to the more natural look of the Nikon. The unnatural pixelation is especially obvious in the Macro shots.
Overall, my opinion is that the Nikon D3500 photos look better than the iPhone 13 Pro photos.
Verdict
I will continue to use the Nikon D3500 for my primary Apple Collection photography.
That being said, I will definitely reach for the iPhone 13 Pro when I want a Macro shot to add to my blog post. Similarly, when shooting older product packaging and/or manuals, I will use the iPhone’s Live Text features to grab the text so I don’t have to retype it.
Overall, this verdict is neither surprising nor disappointing to me. I have always had a “pick the right tool for the job” mindset, and this situation is no different.
To see the “official” photo shoot for the iPad Pro 11 (2021) in my collection, please see this post. The photos I captured with the iPhone 13 Pro are shown below in this post.
Thanks
Sincere thanks to my friend Sid for suggesting this comparison! I learned a lot here.
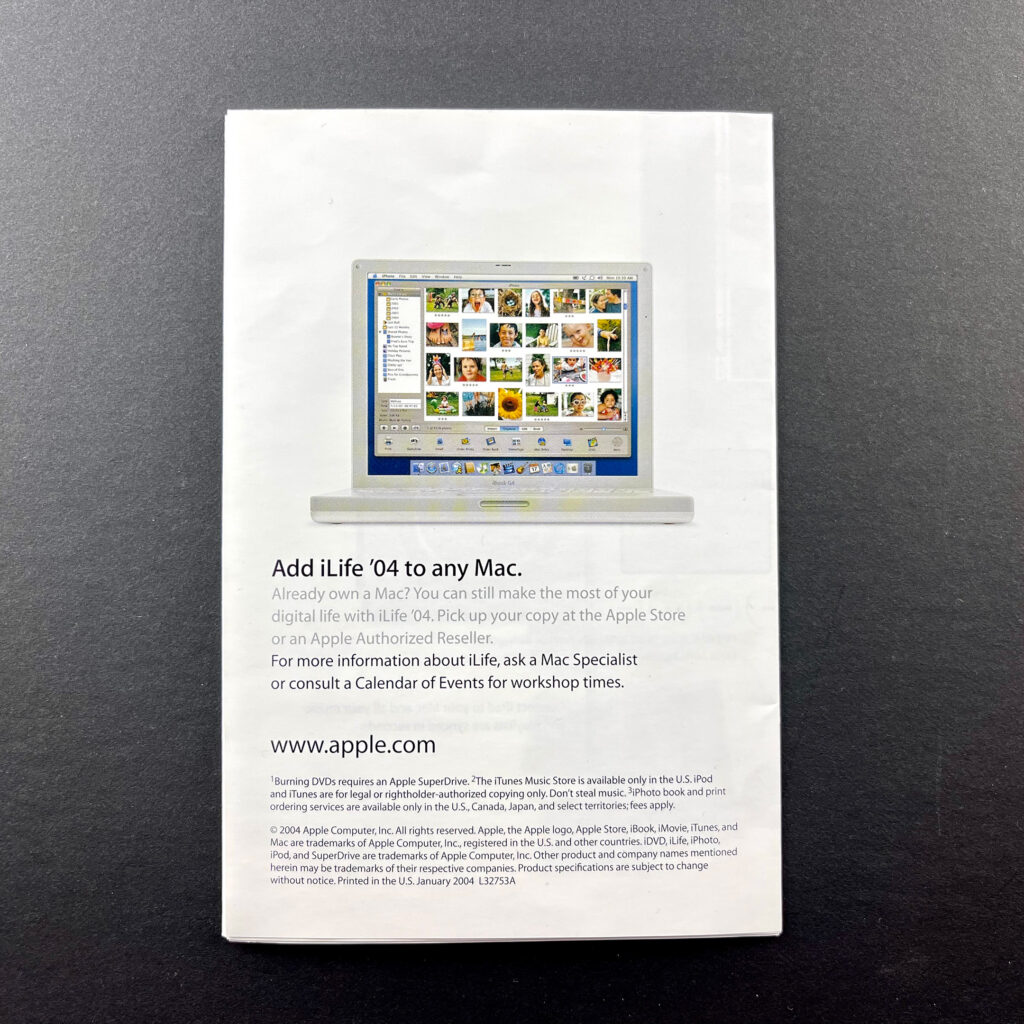
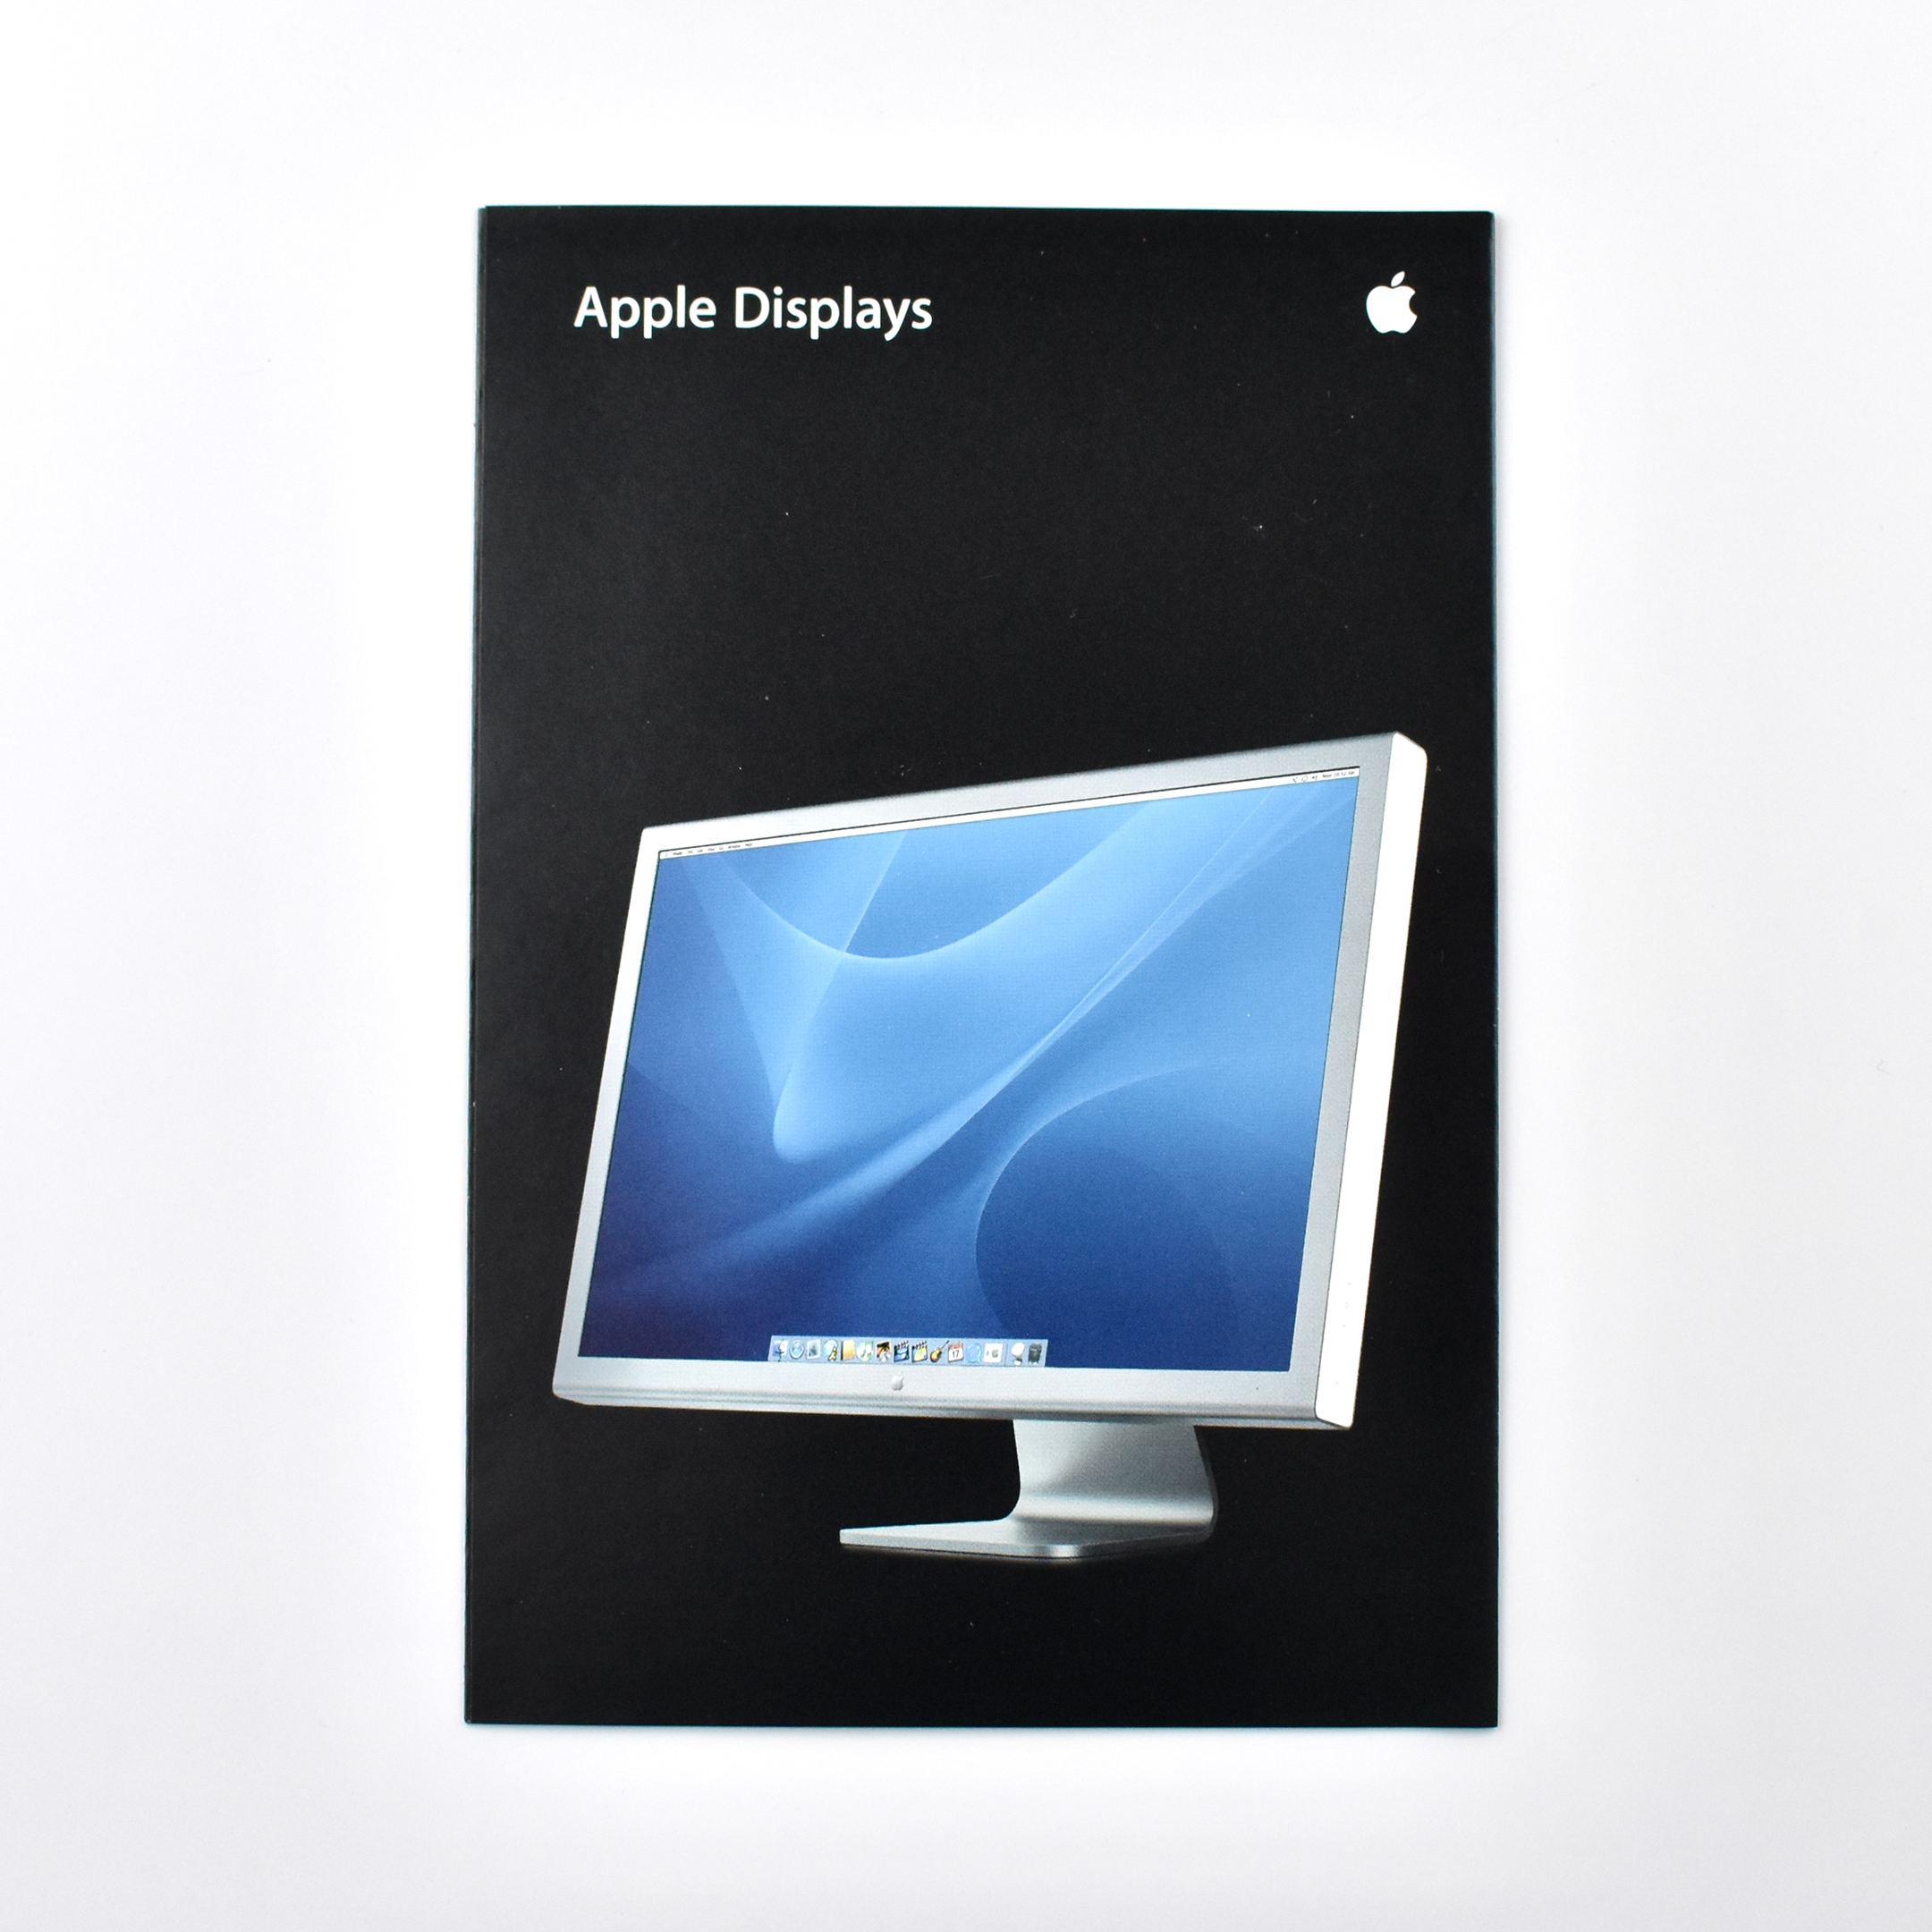
These product brochures were available in Apple Stores and elsewhere in the early 2000s. They measured 4.25 x 6.5 inches folded, and designs were sometimes stapled and folded out into different layouts. All of these brochures feature a photo of the product on the front panel, information inside, and specifications on the back panel.
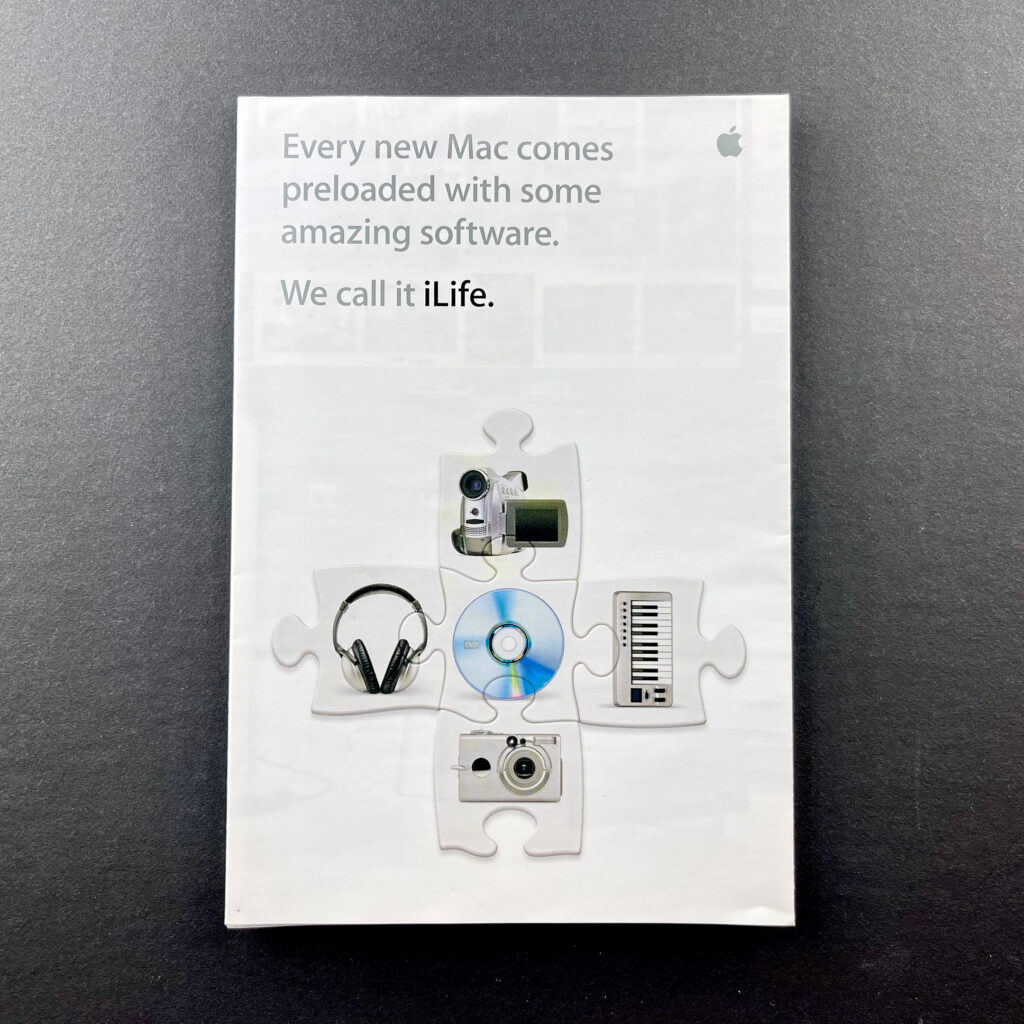
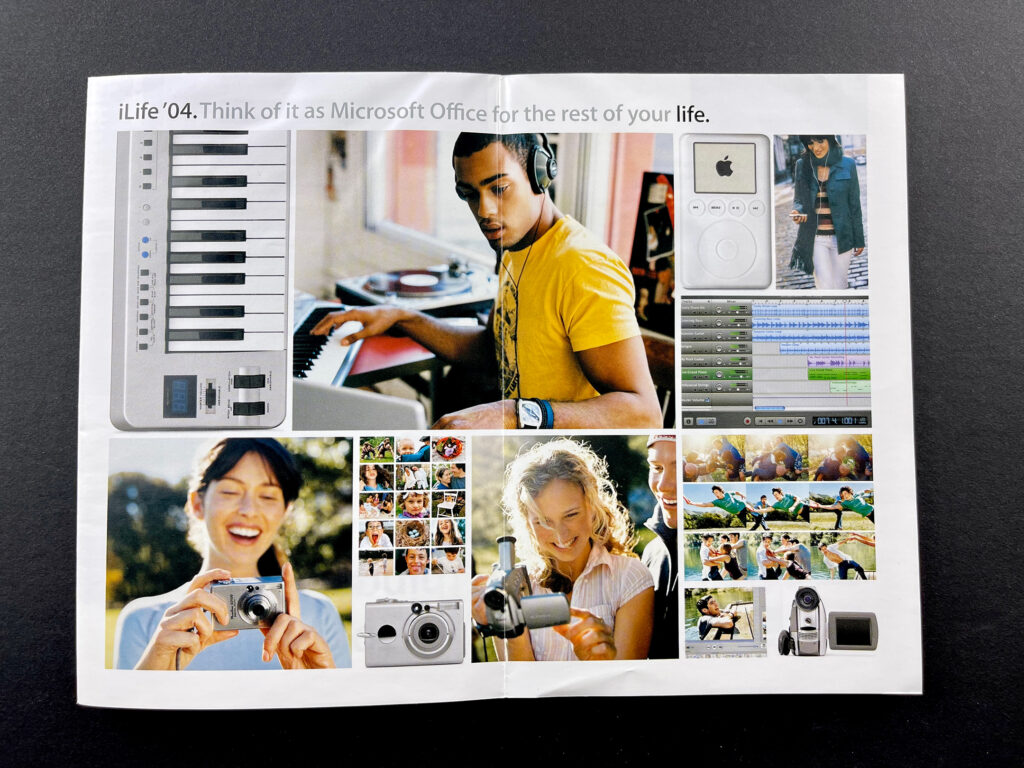
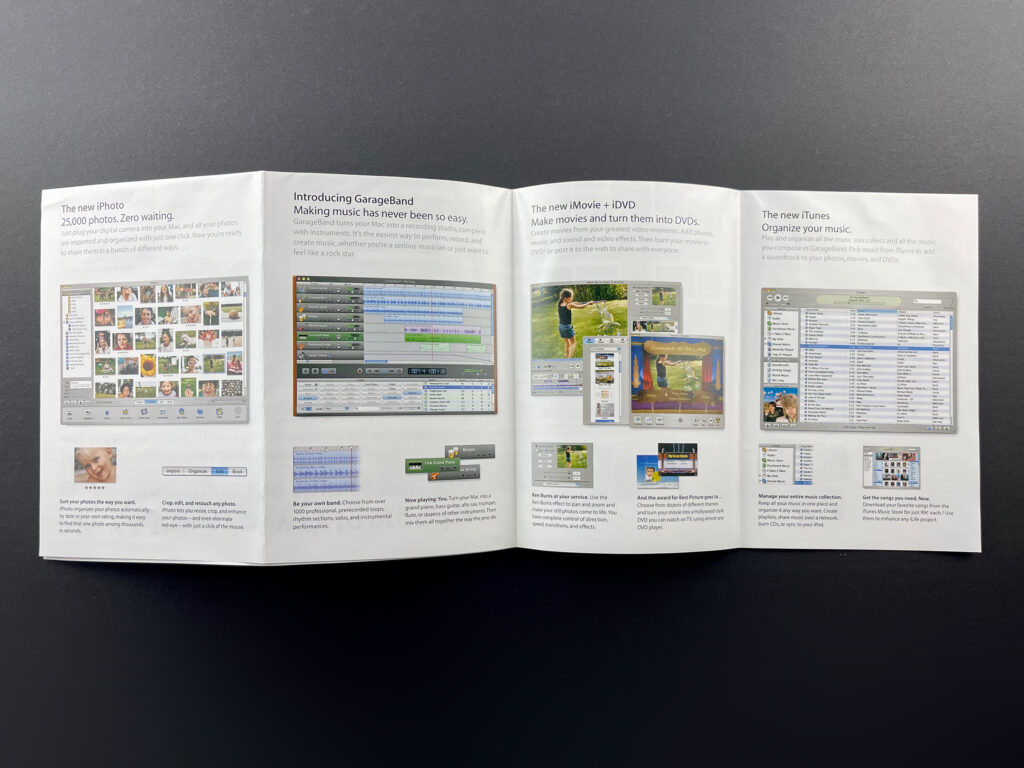
iLife ’04 (2004) This brochure’s cover features five interlocking puzzle pieces—picturing a video camera, headphones, digital camera, MIDI keyboard, and DVD—that represent the iLife suite along with the headline, “Every new Mac comes preloaded with some amazing software. We call it iLife.” The brochure folds out into an 8-up mini-poster that shows an iBook G4 surrounded by items that work with iLife, including a MIDI keyboard, a digital video camera, a digital camera, an iPod, and a stack of DVDs. The headline reads, “iLife ’04. The easiest way to organize, create, and share the things you love.”
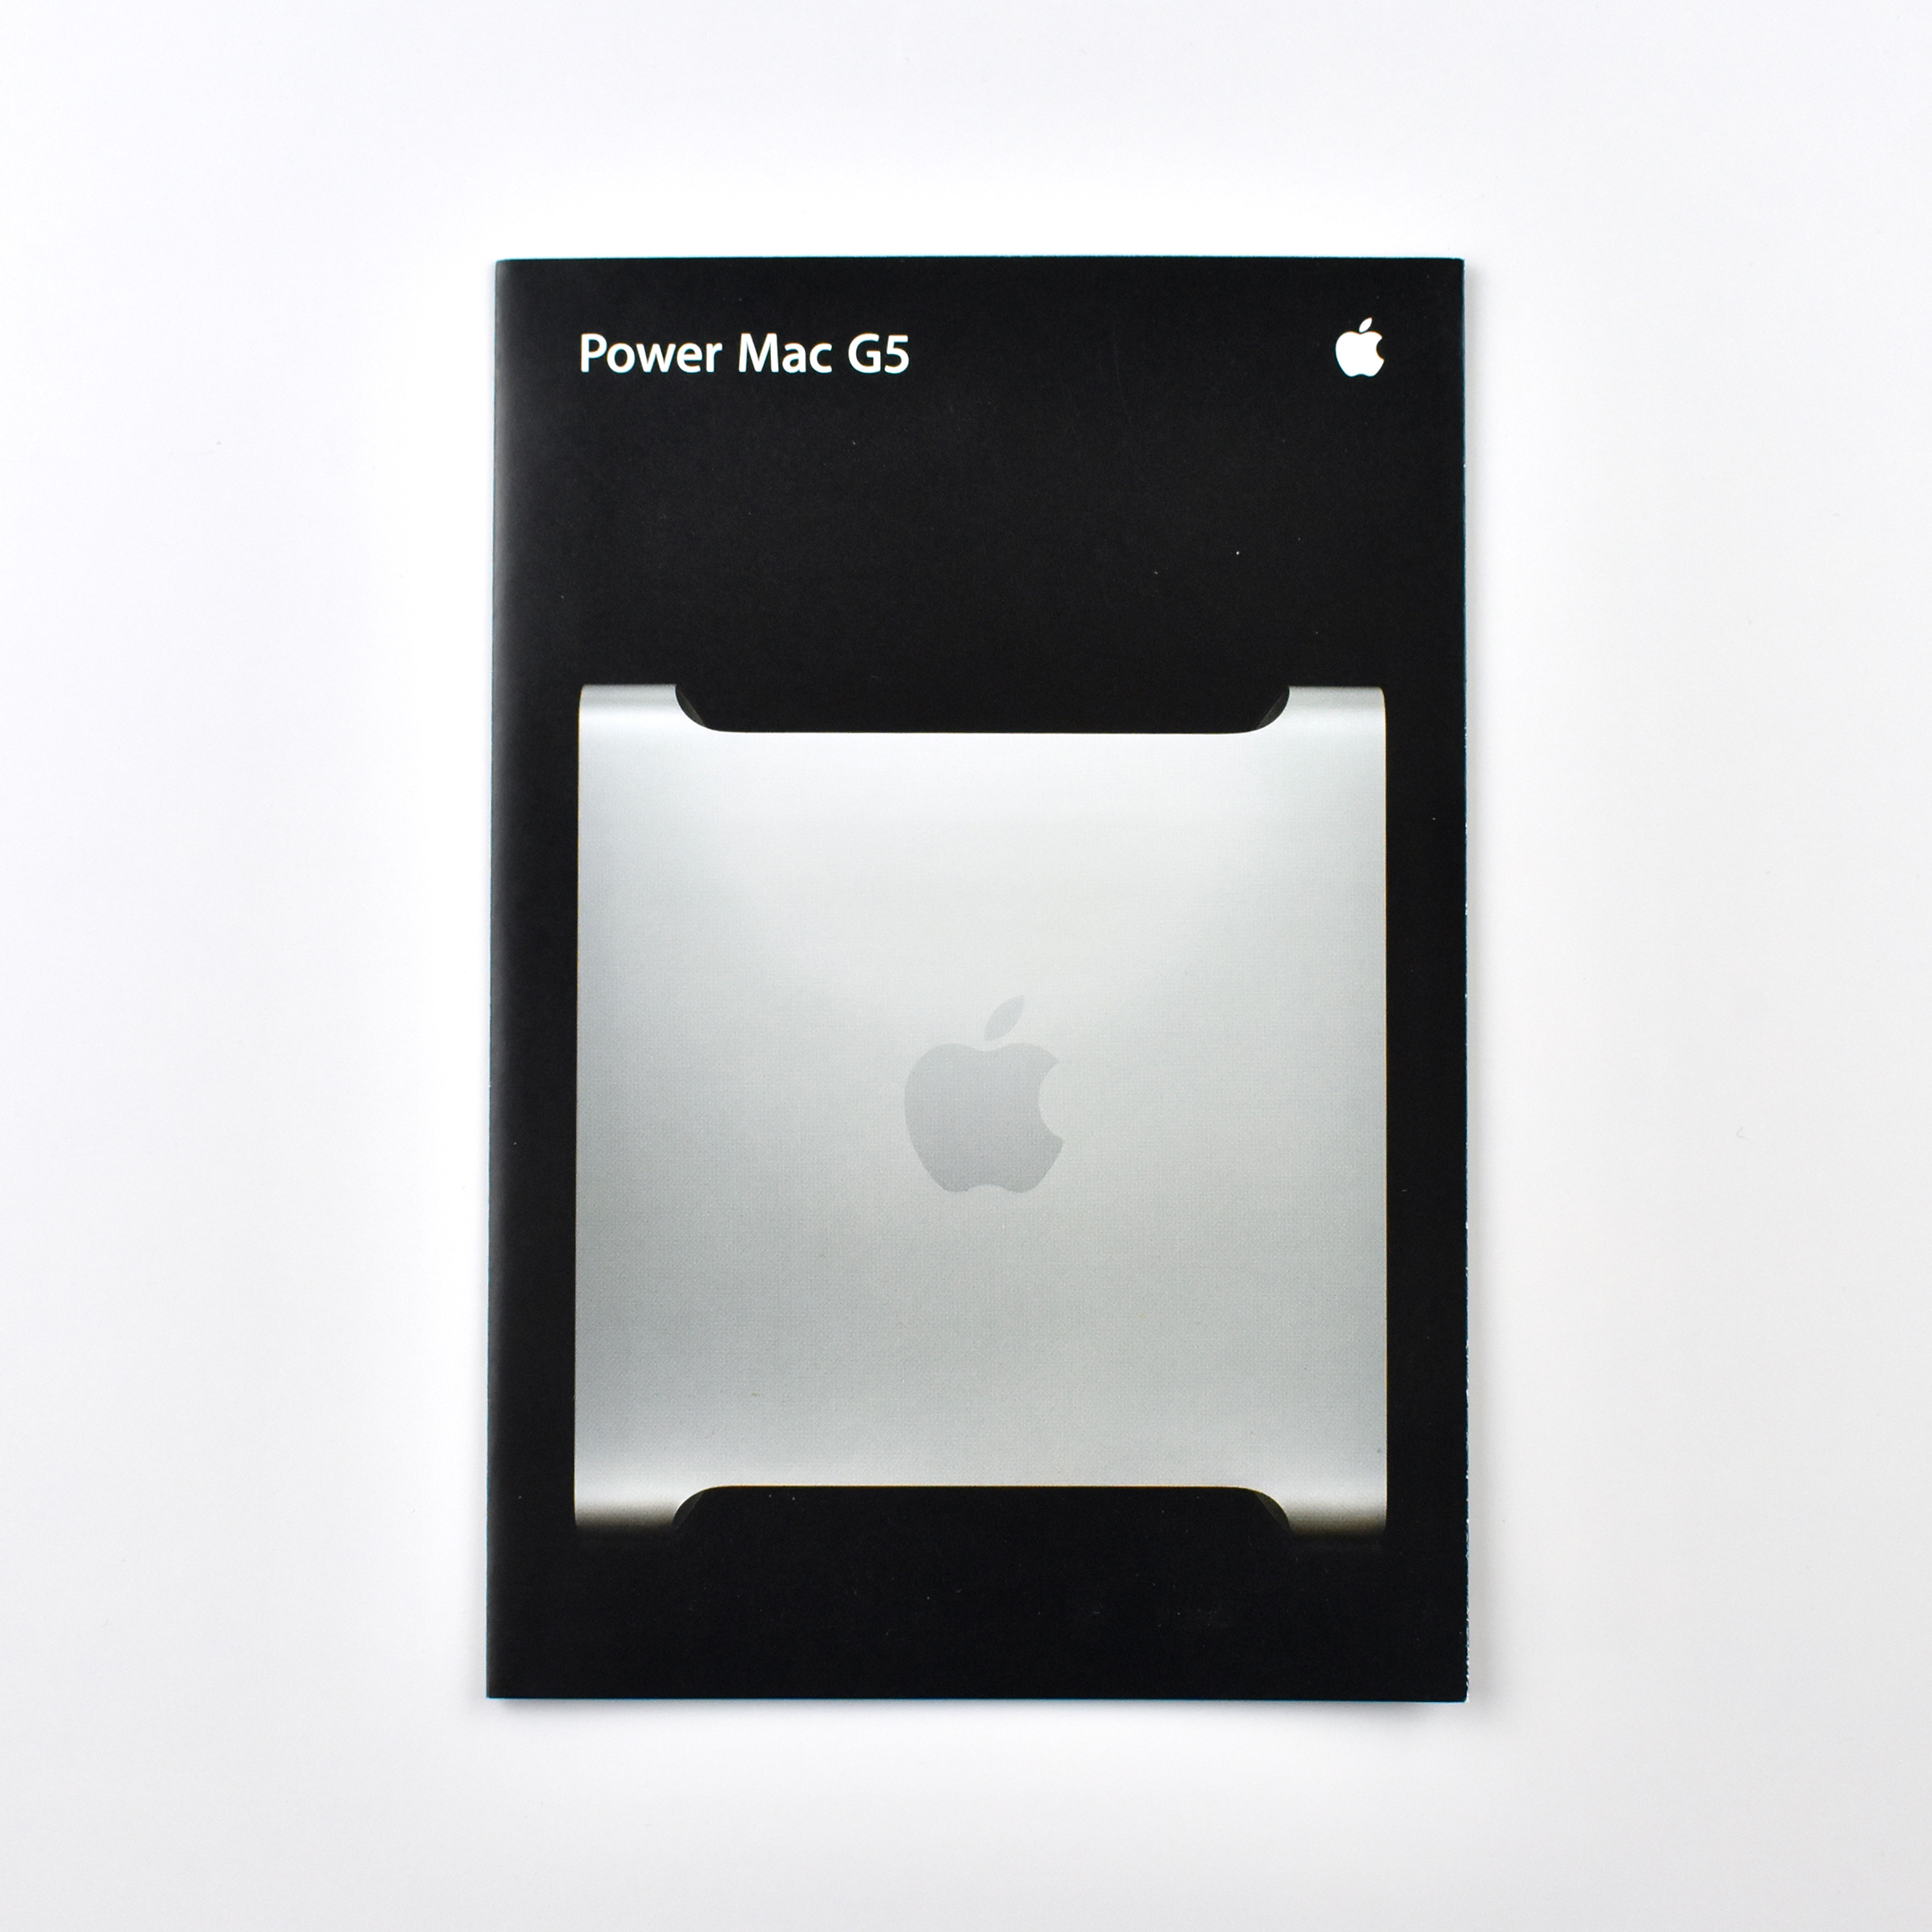
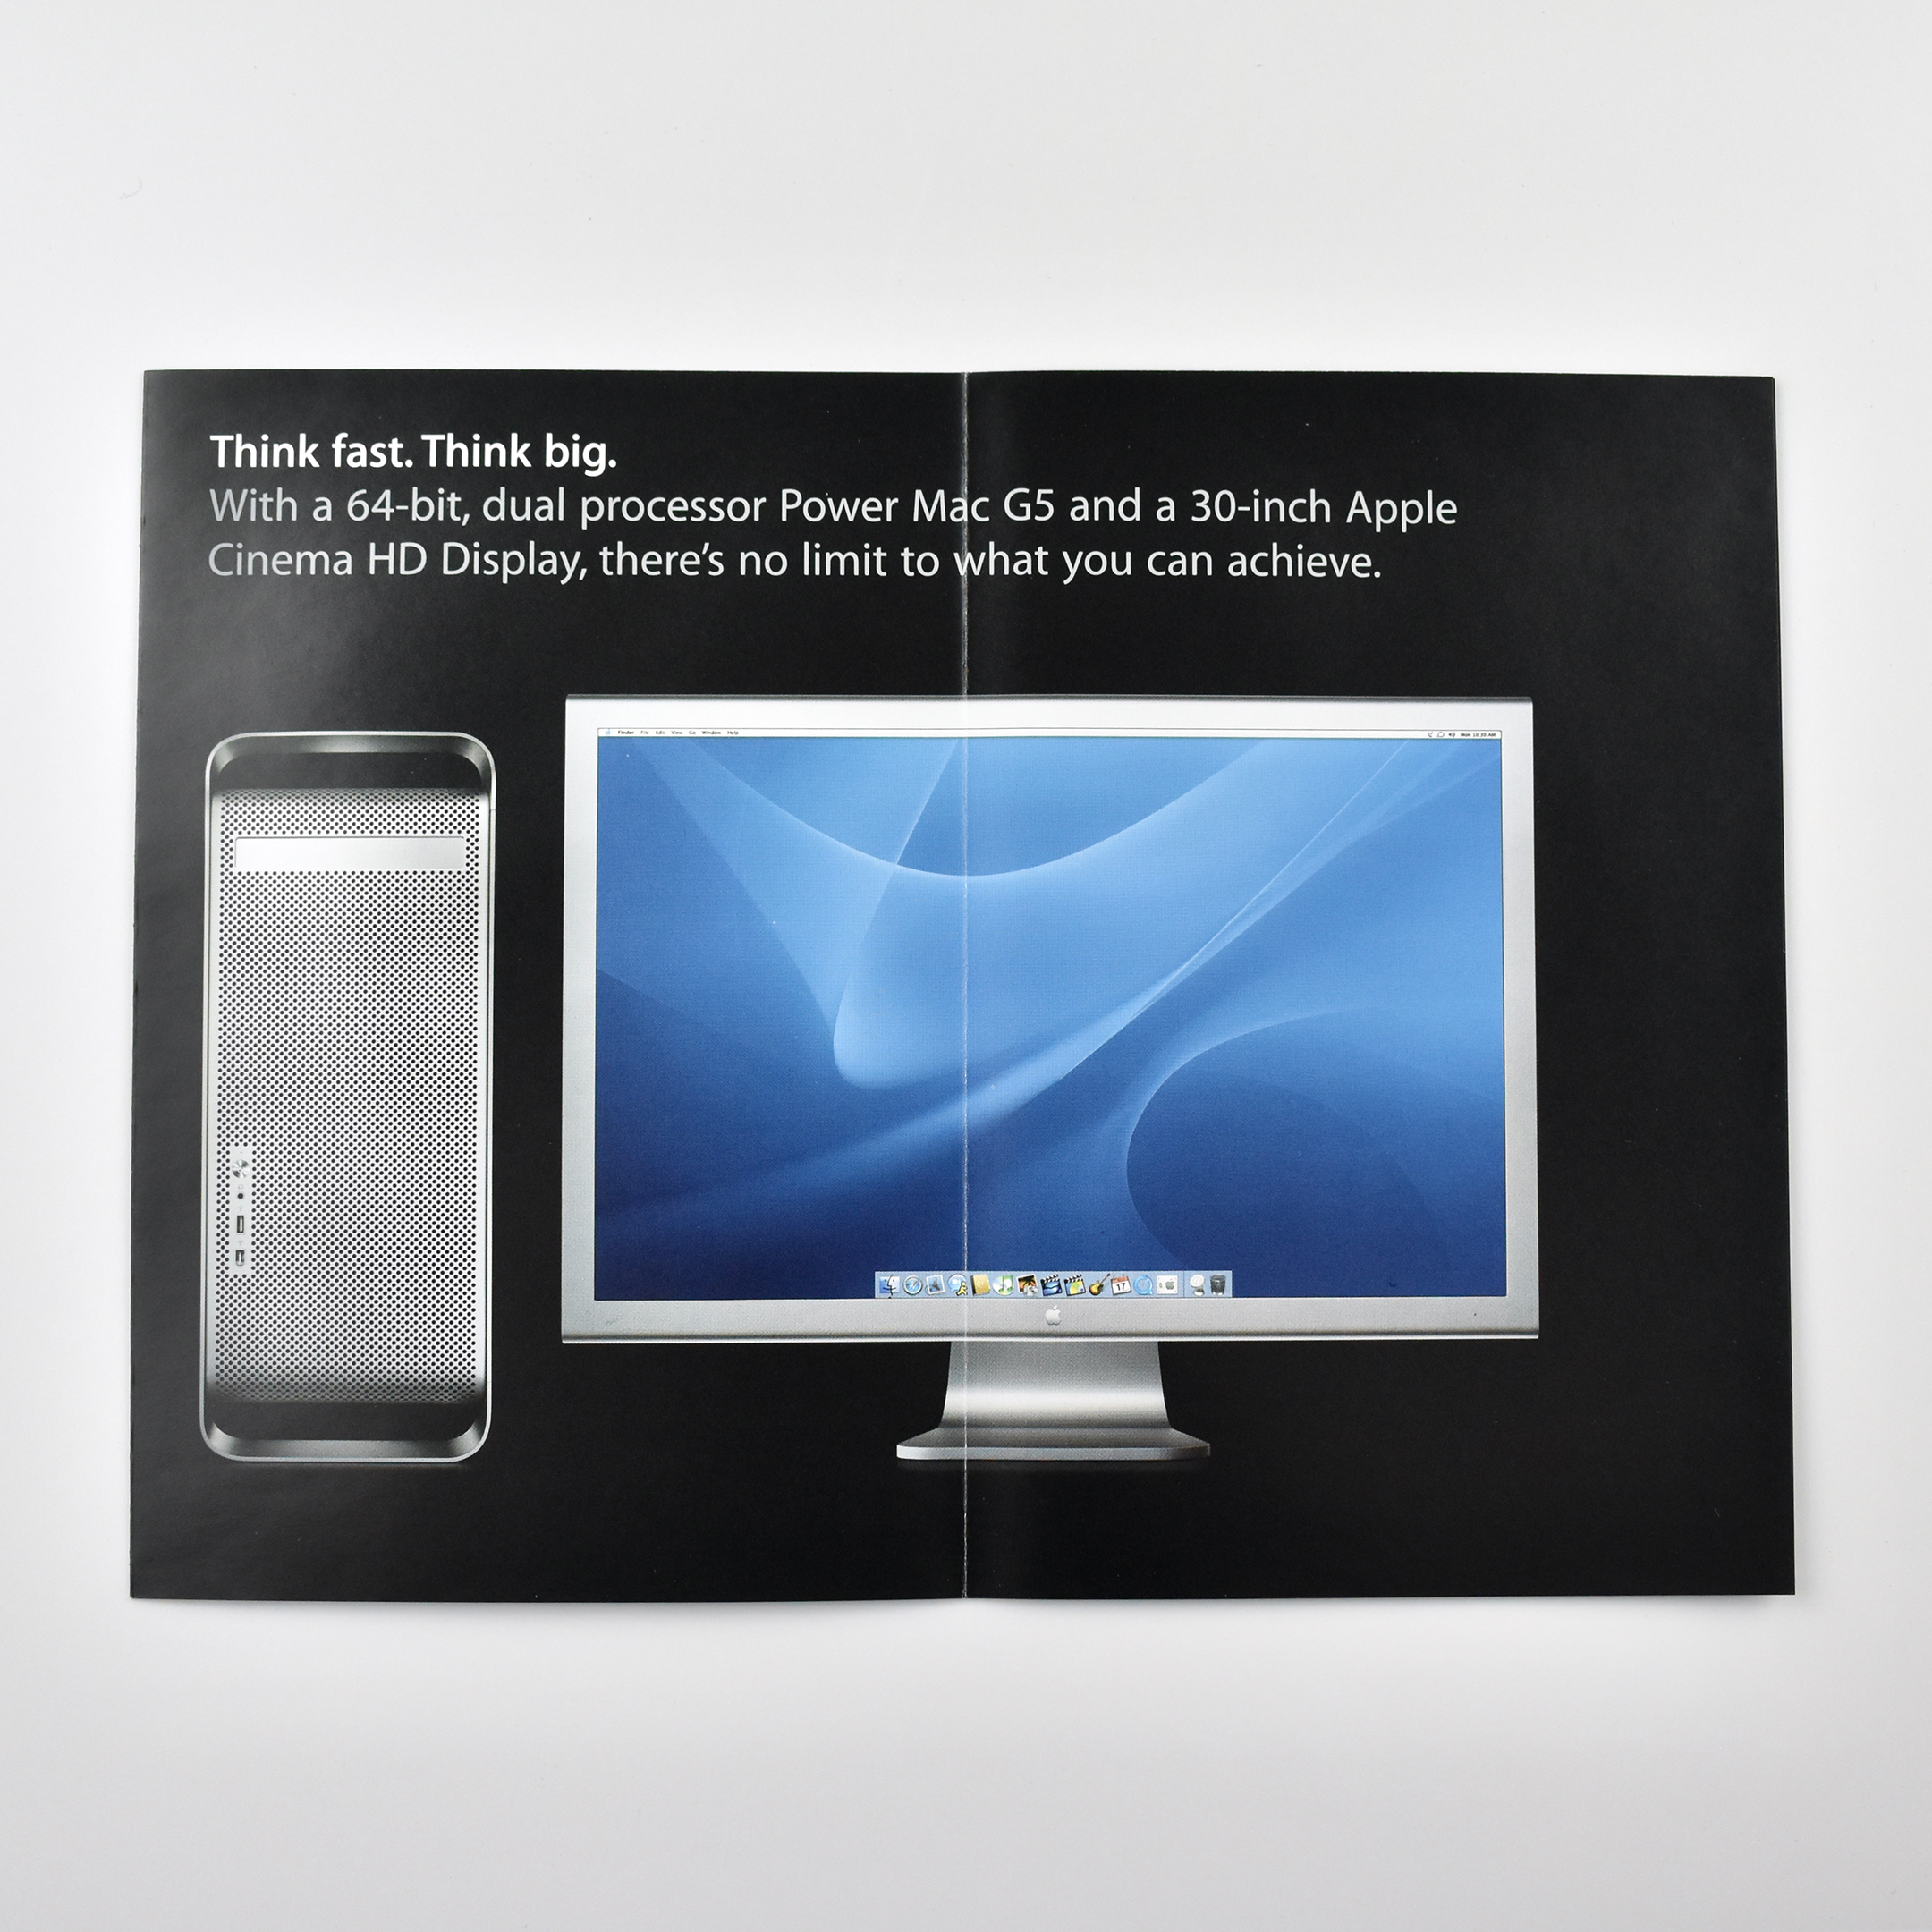
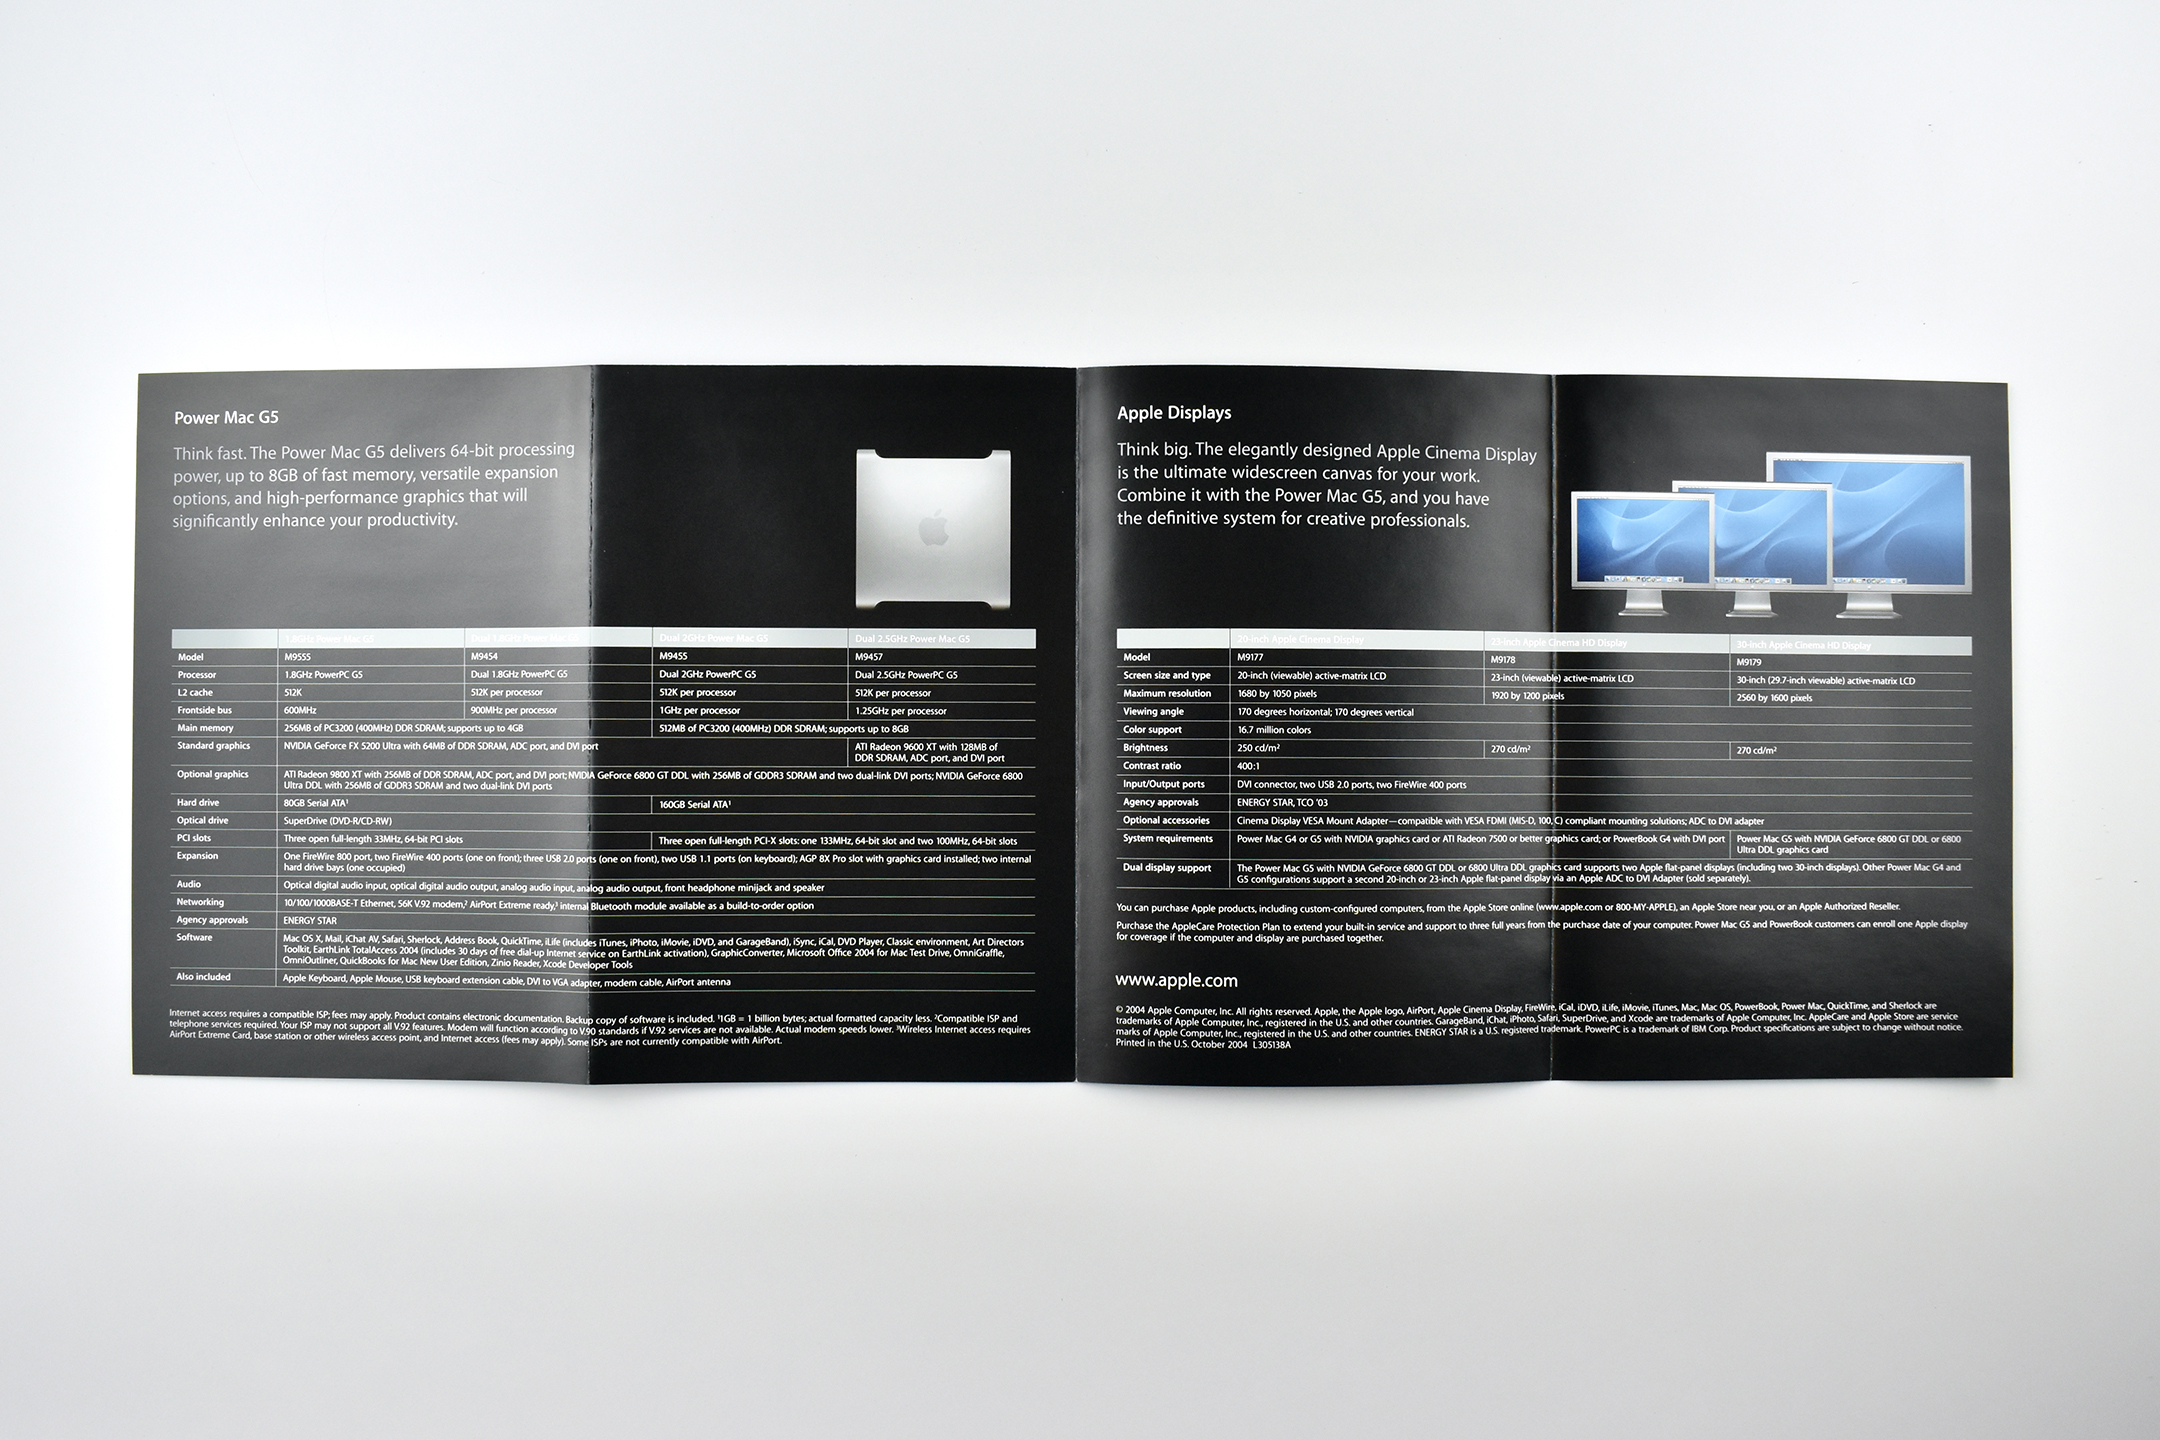
Power Mac G5/Apple Displays (2004) This brochure is two-sided. One side features the Power Mac G5 and the other side features Apple Displays. When opened, the 2-up layout headline reads, “Think fast. Think big.” and a Power Mac G5 is pictured along side a 23-inch Apple Cinema HD Display. Inside, the 4-up horizontal layout shows all available default configurations of Power Mac G5 computers and Apple Cinema Displays.
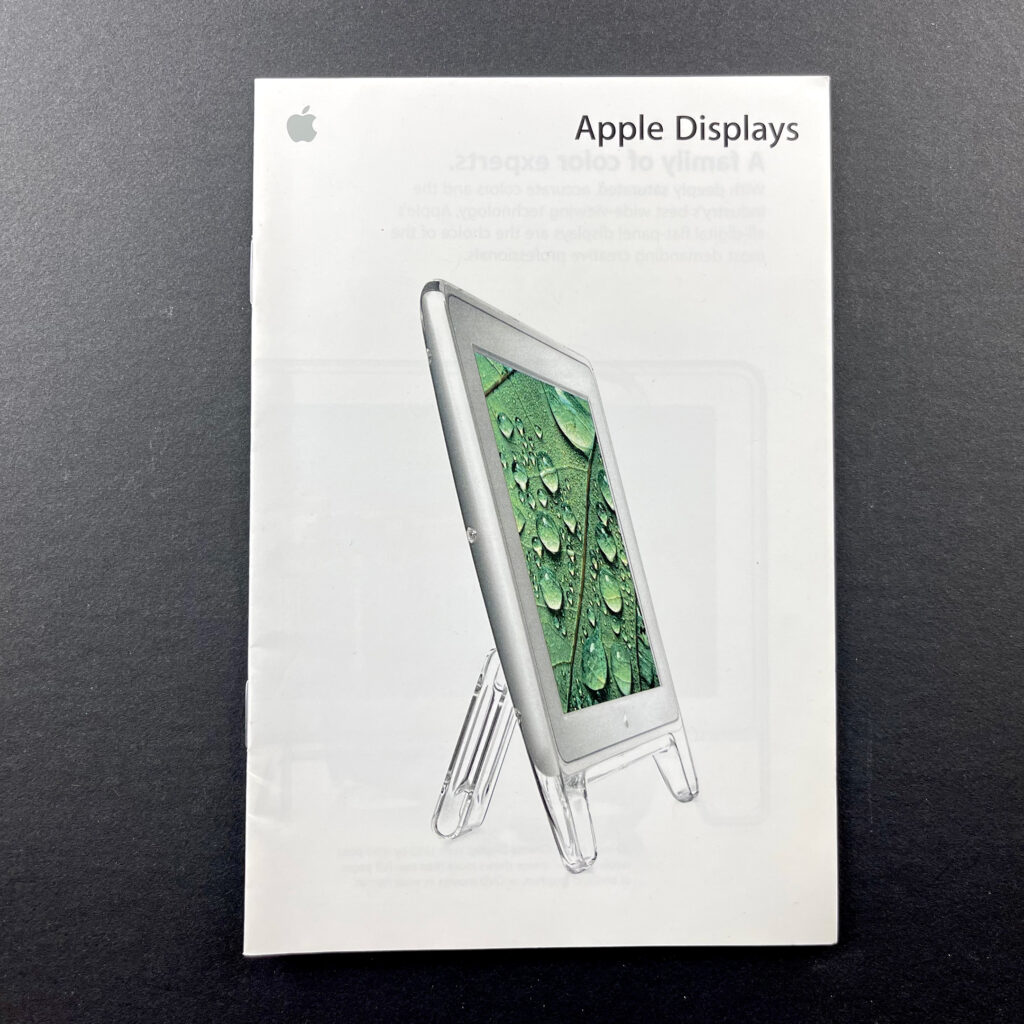
These product brochures were available in Apple Stores and elsewhere in the early 2000s. They measured 4.25 x 6.5 inches folded, and designs were sometimes stapled and folded out into different layouts. All of these brochures feature a photo of the product on the front panel and specifications on the back panel.
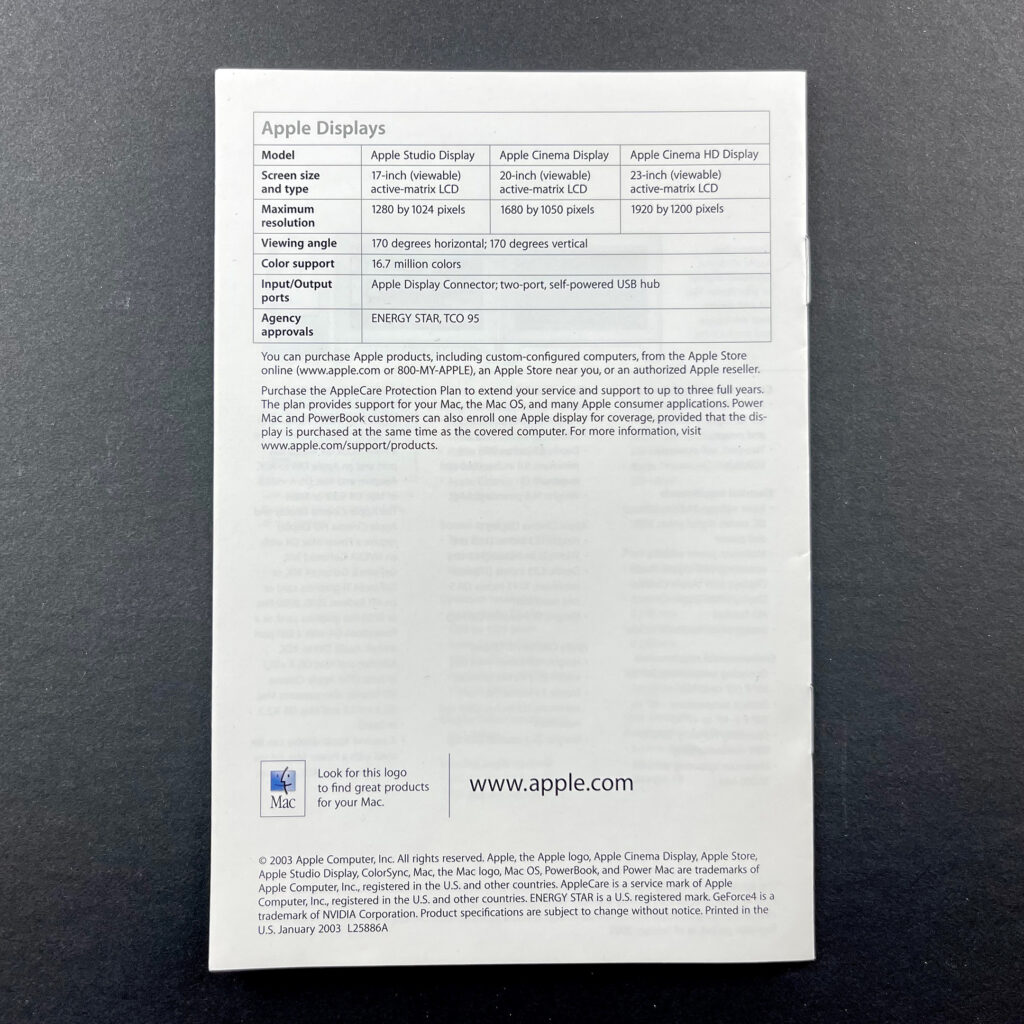
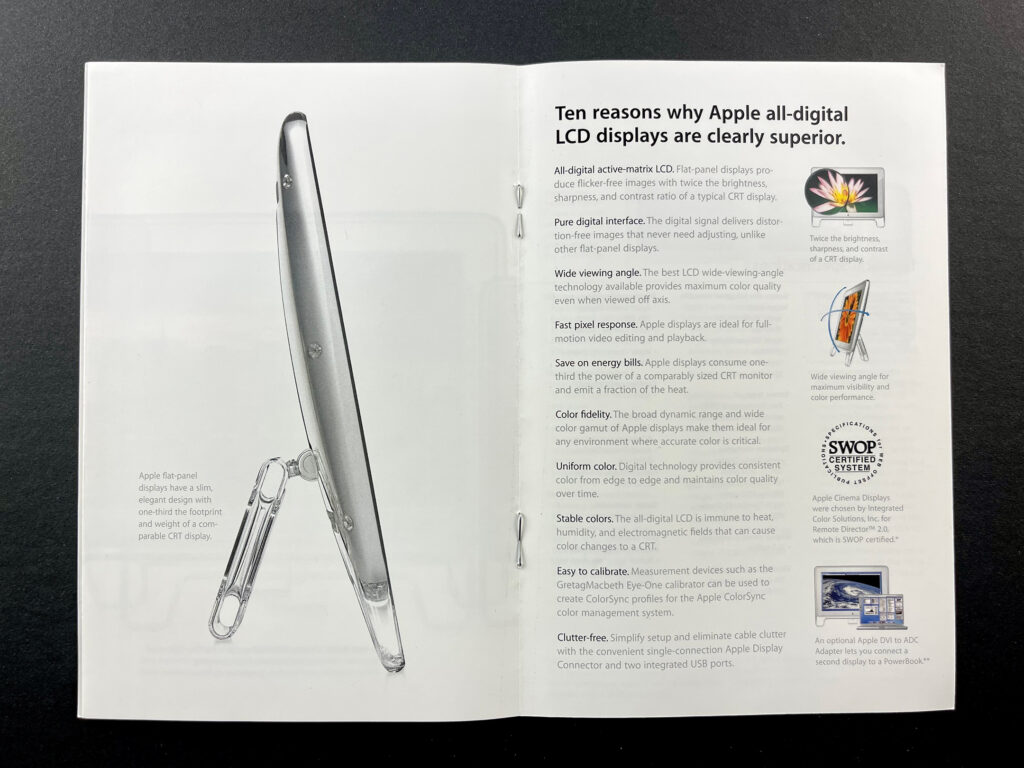
Apple Displays (January 2003) This stapled Apple Displays brochure features a 3-up fold out section showing three models: 20-inch Apple Cinema Display, 23-inch Apple Cinema HD Display, and 17-inch Apple Studio Display. The next 2-up layout includes: 10 reasons why Apple all-digital LCD displays are clearly superior. All-digital active-matrix LCD. Pure digital interface. Wide viewing angle. Fast pixel response. Save on energy bills. Color fidelity. Uniform color. Stable colors. Easy to calibrate. Clutter-free. The final pages include product specifications.
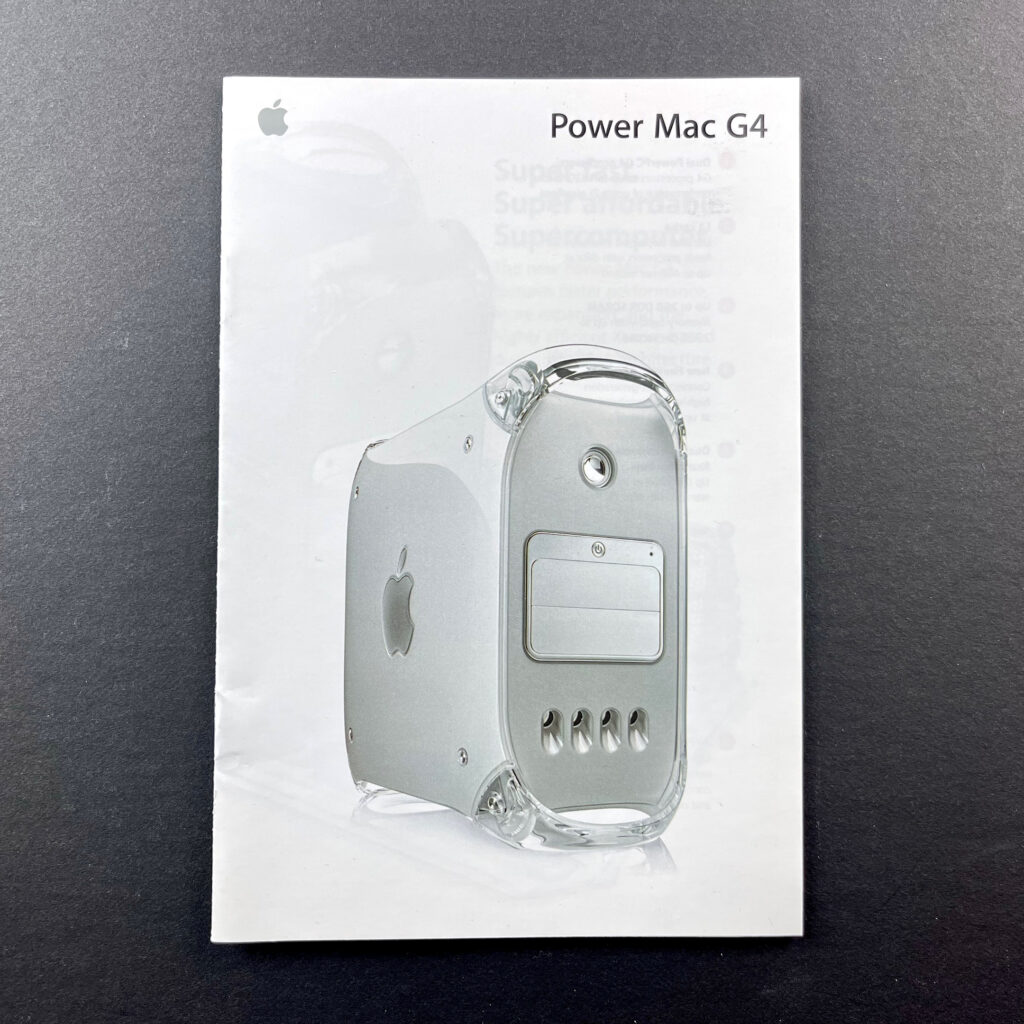
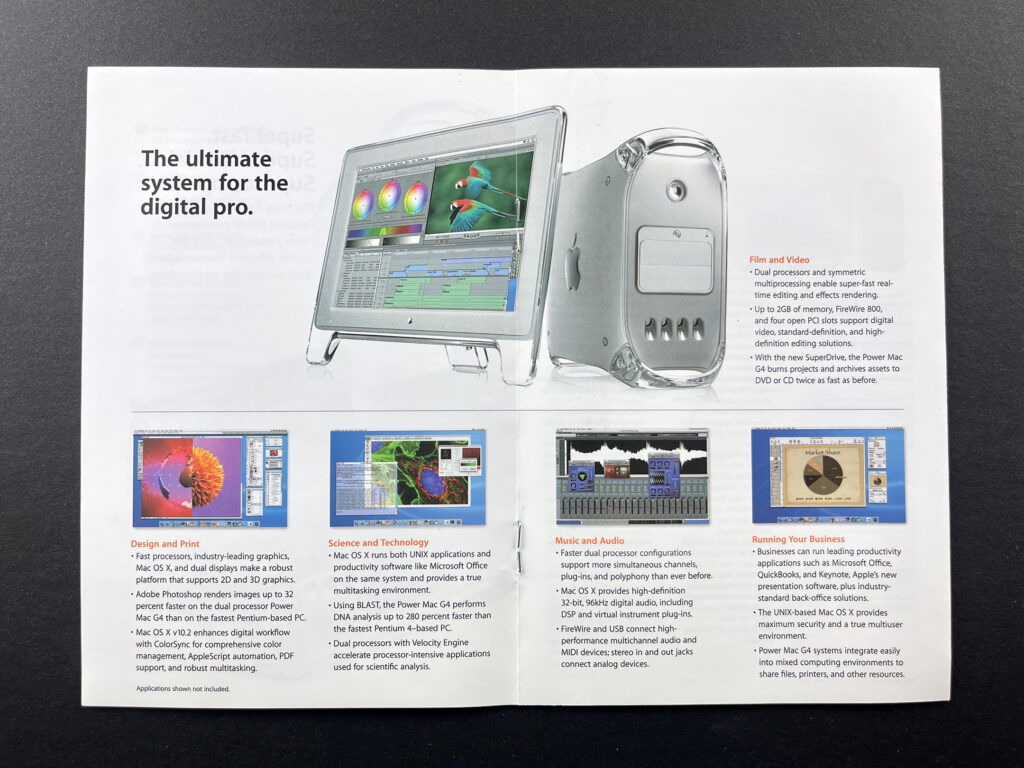
Power Mac G4 (January 2003) This stapled 8-page brochure features a Power Mac G4 (mirrored drive door) on the cover. The next 2-page spread shows the Power Mac G4 with the door open and the copy: “Power Mac G4. Super fast. Super affordable. Supercomputer. The new Power Mac G4 features faster performance, more expansion, and the highly efficient Xserve-based dual processing architecture.” The center spread features the headline, “The ultimate system for the digital pro.” The last pages contain Technical Specifications and Power Mac G4 configurations.
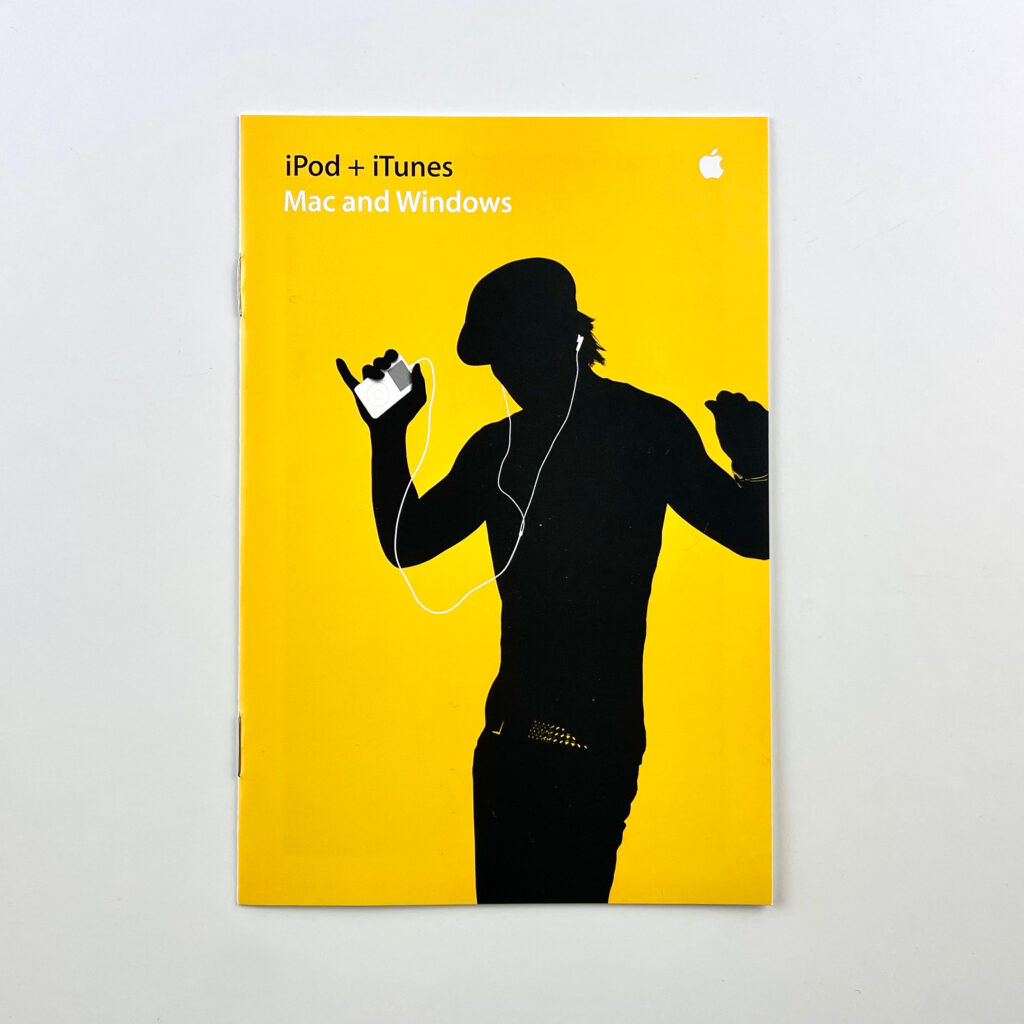
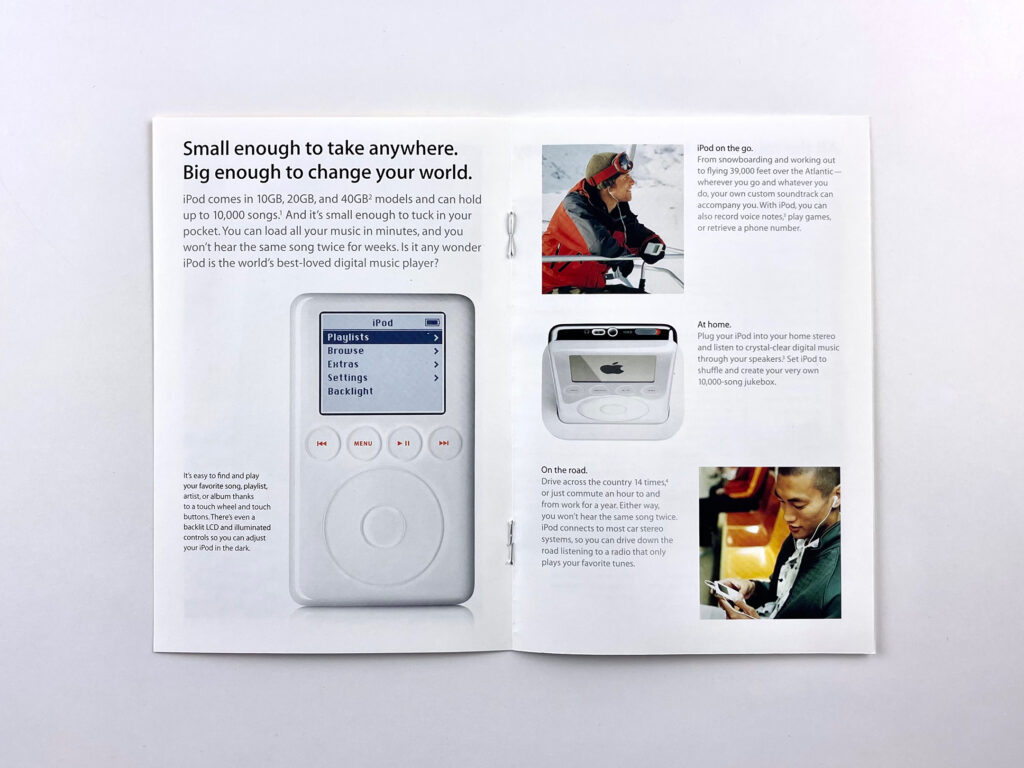
iPod+iTunes Mac and Windows (October 2003) The cover of this brochure is bright yellow and features the iconic “silhouette” iPod imagery—a black silhouette of a person holding a white iPod wearing white earbuds connected by white wires. The opening copy reads: “iPod and iTunes. Perfect harmony. Together, iPod and iTunes changed the way Mac users listen to music. Now everyone can join the digital music revolution, because iTunes now works on Windows PCs—the same way it does on a Mac. So no matter what computer you use, you can enjoy the most acclaimed portable digital music player and jukebox software ever created. And go anywhere with up to 10,000 songs in your pocket.” The remainder of the brochure features iPod and iTunes features and specifications.
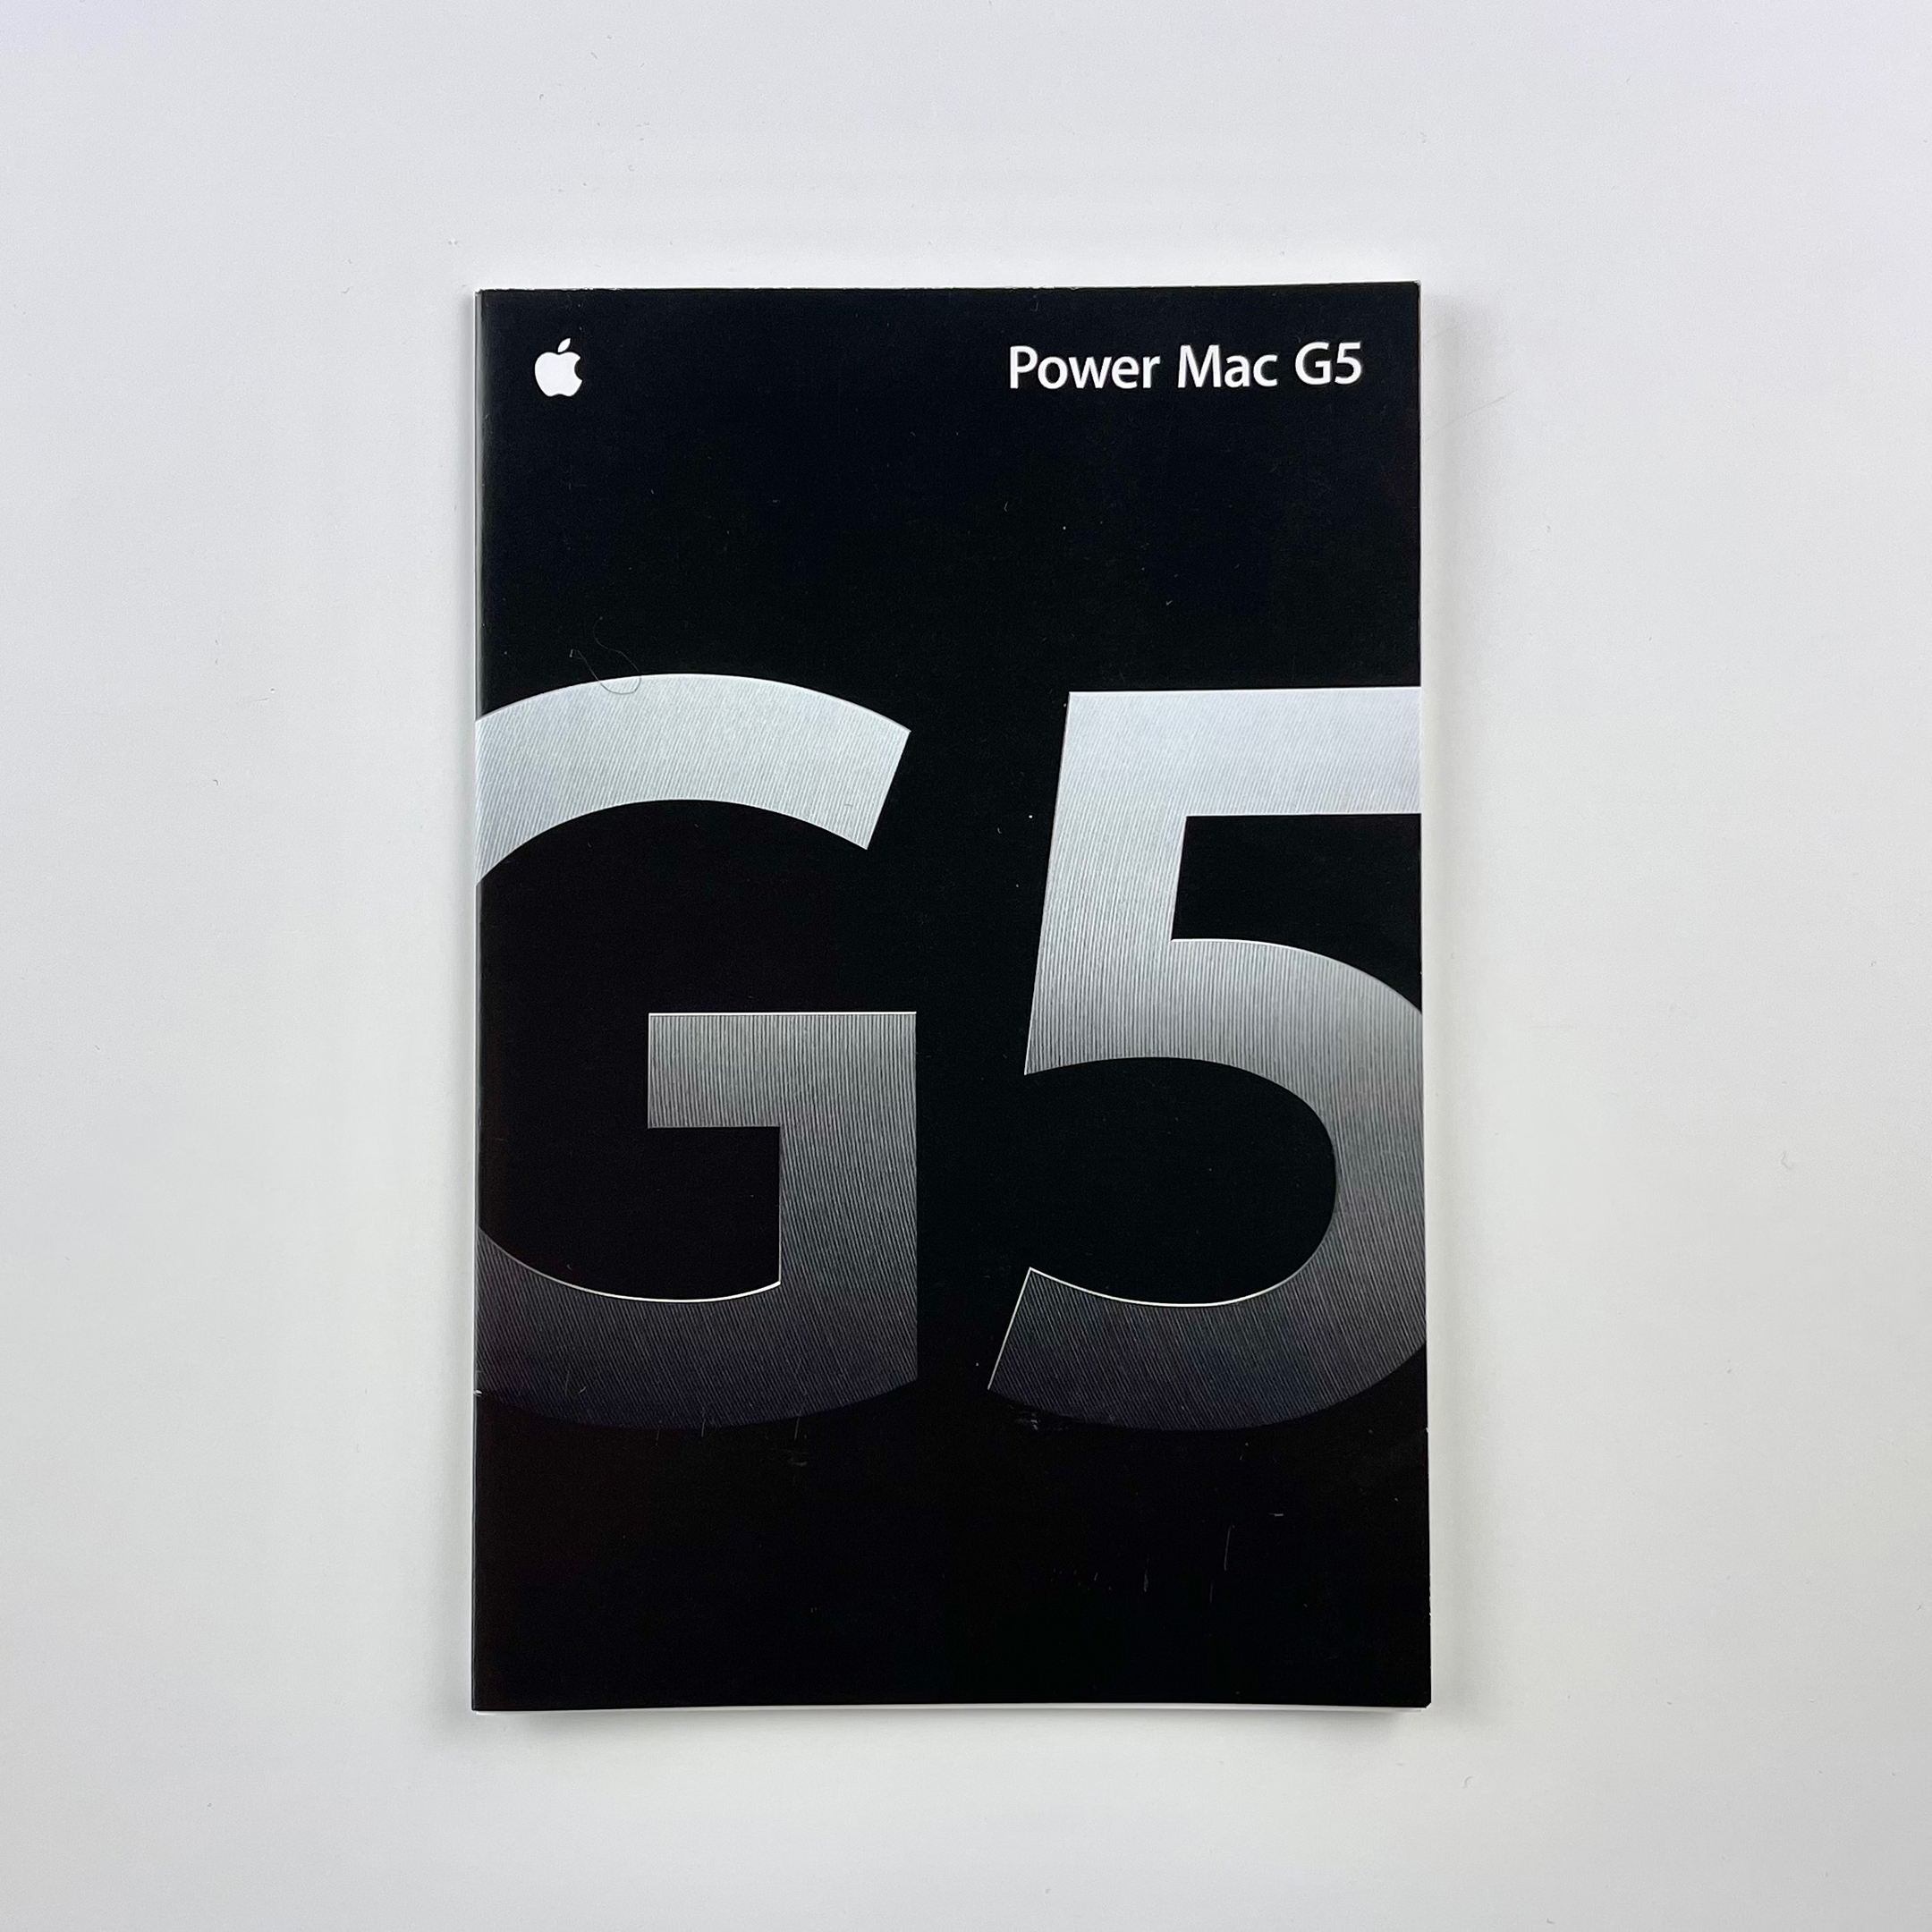
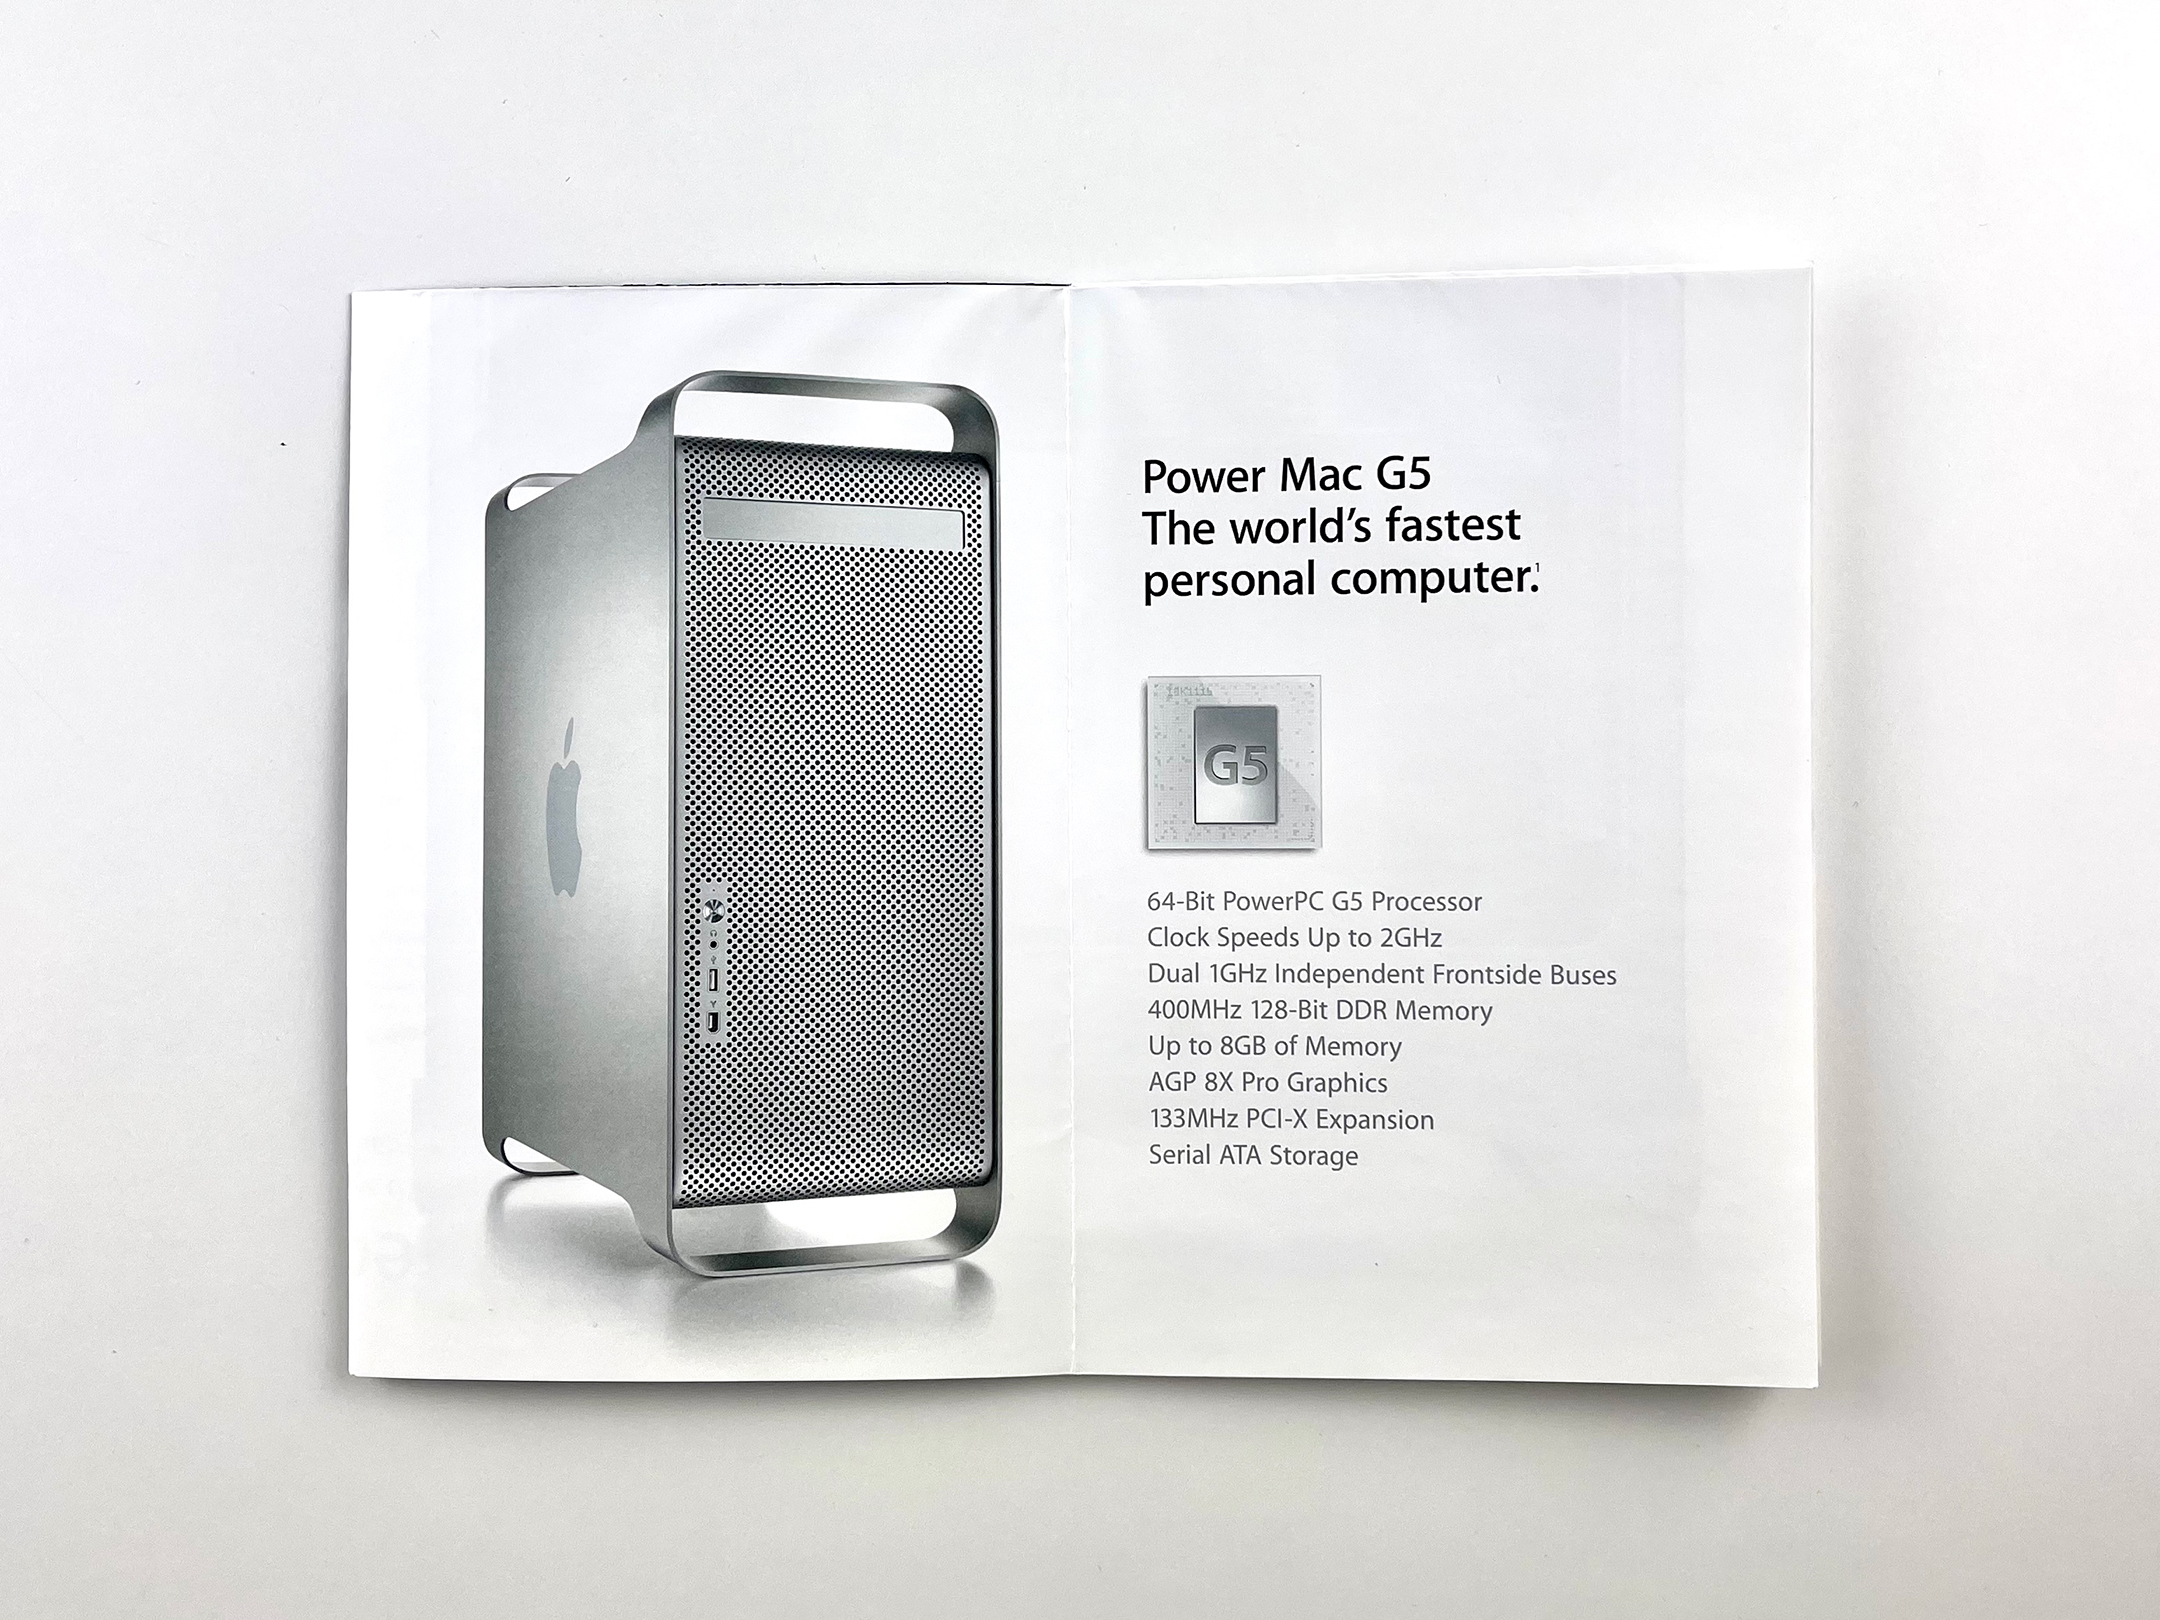
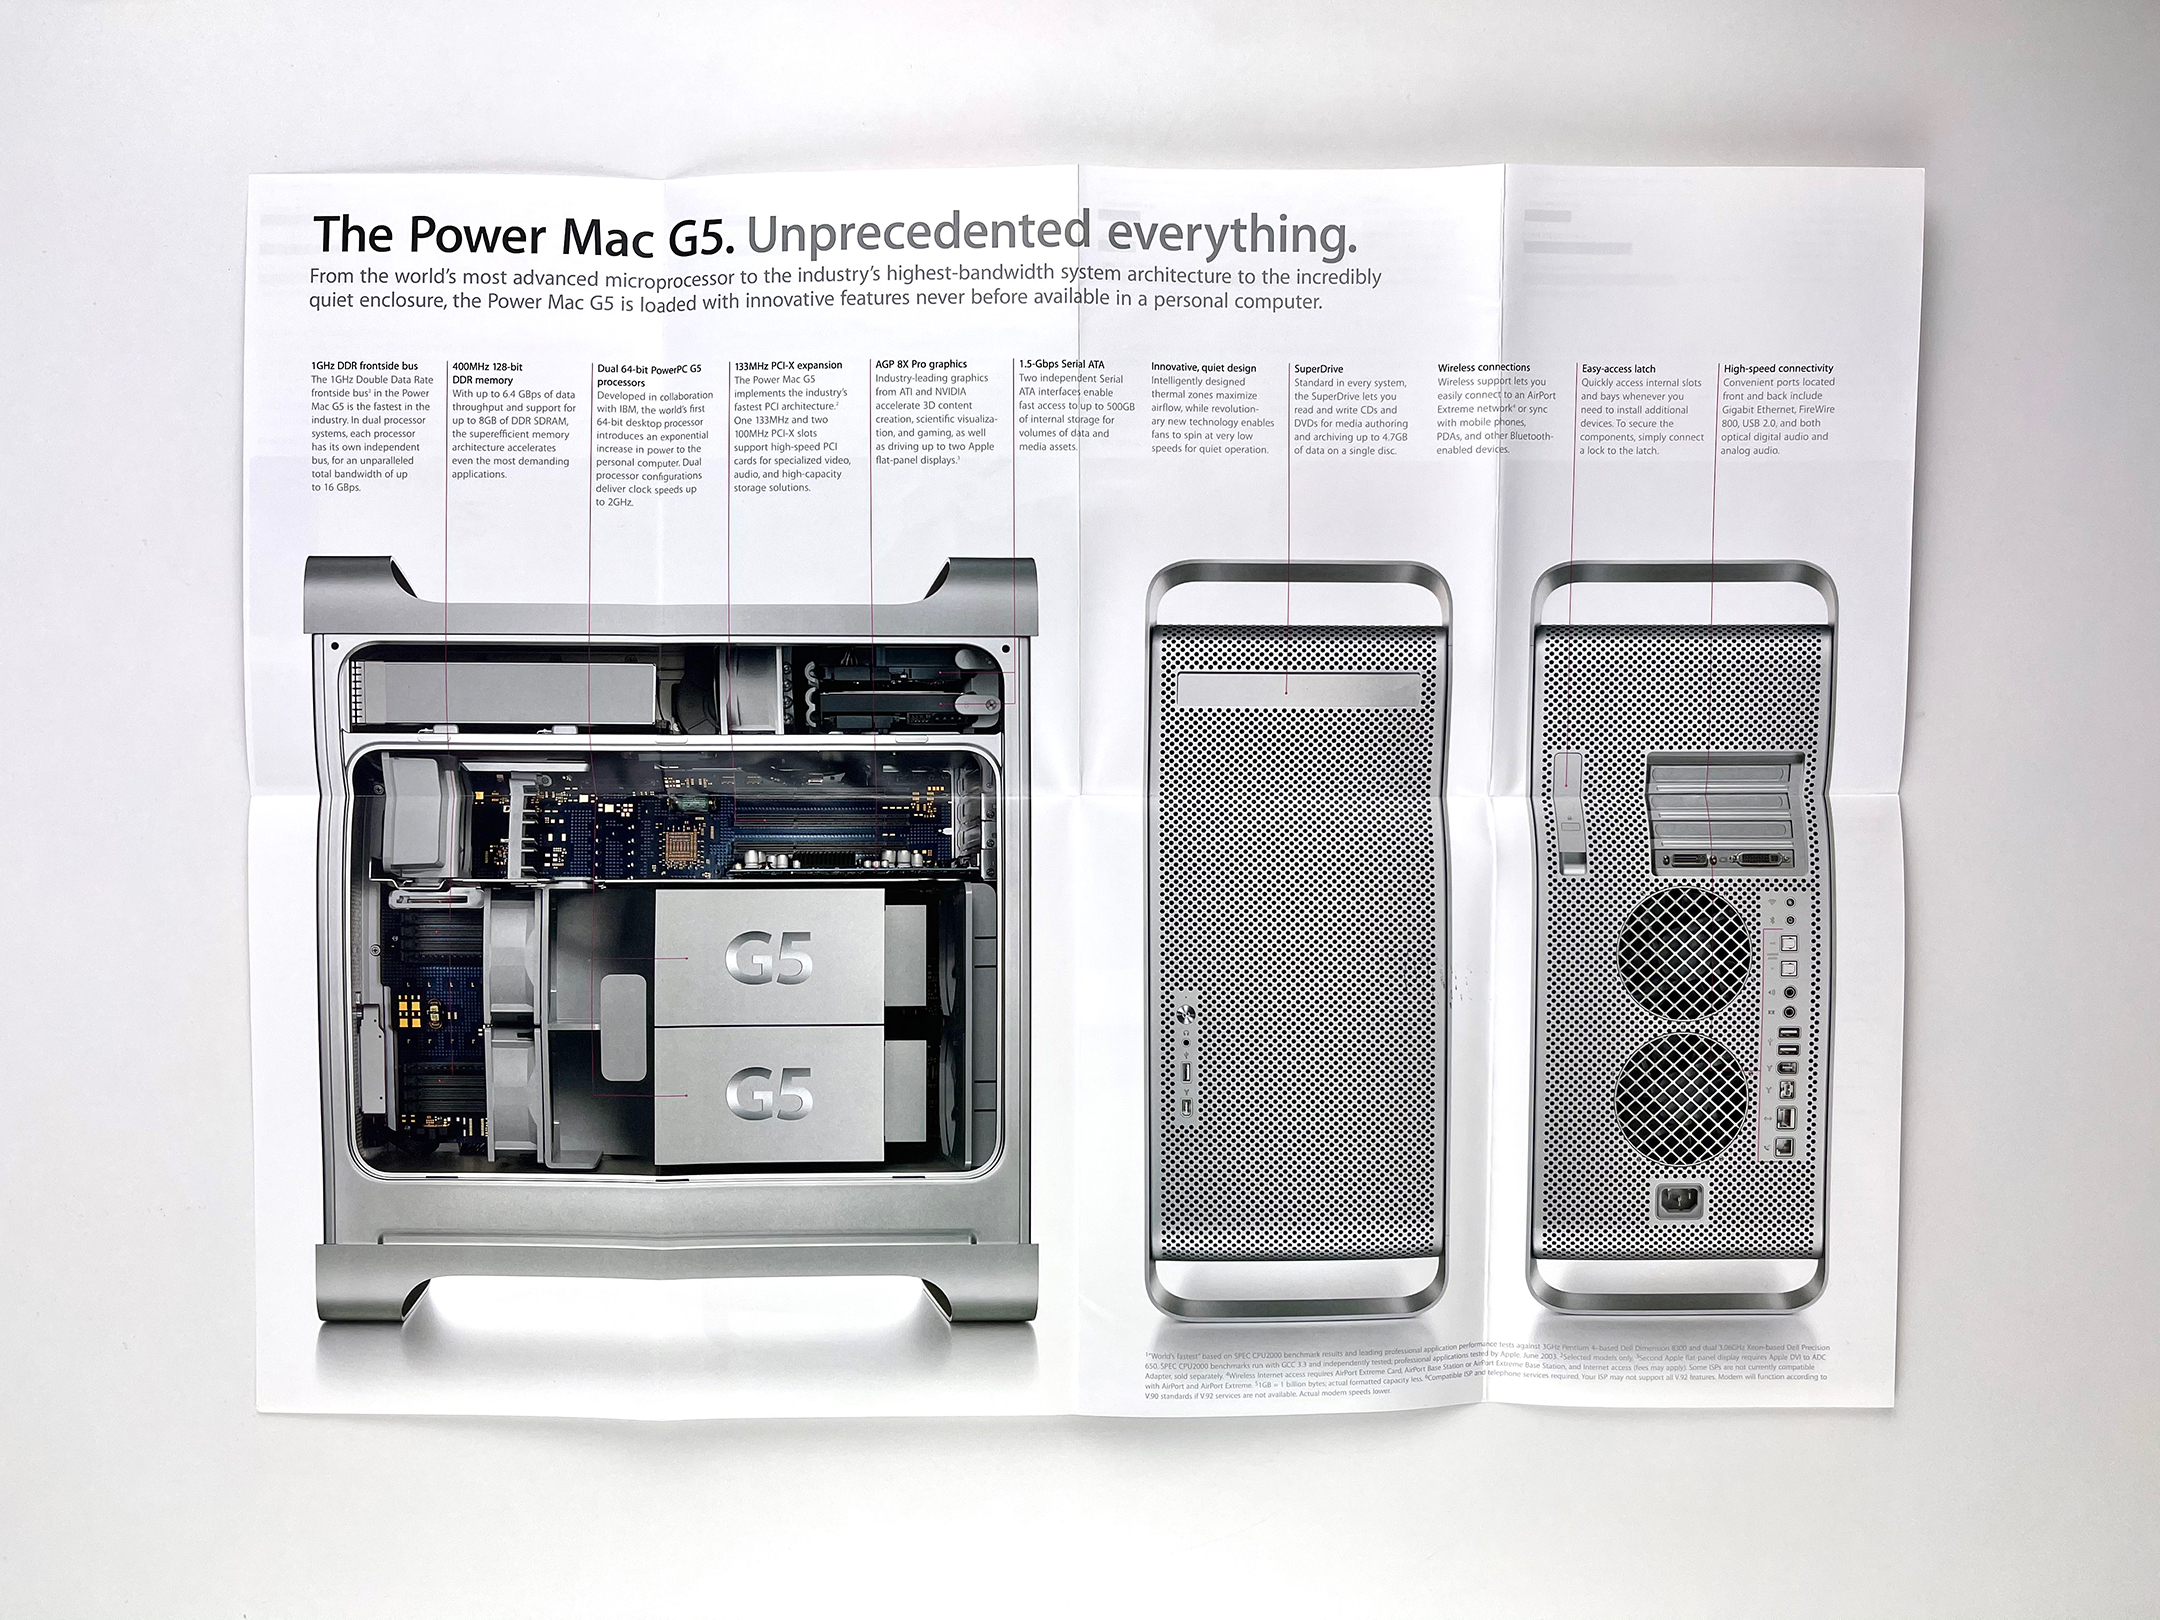
Power Mac G5 (July 2003) The Power Mac G5 brochure opens to a 2-up layout with the headline “Power Mac G5 The worlds fastest personal computer.” along with a “hero” photo of the product. The next 4-up horizontal layout features four stunning photographs, each representing one of four disciplines: color graphics, video production, scientific research, and music production. It fully opens to an 8-up mini poster with the headline, “The Power Mac G5. Unprecedented everything.”