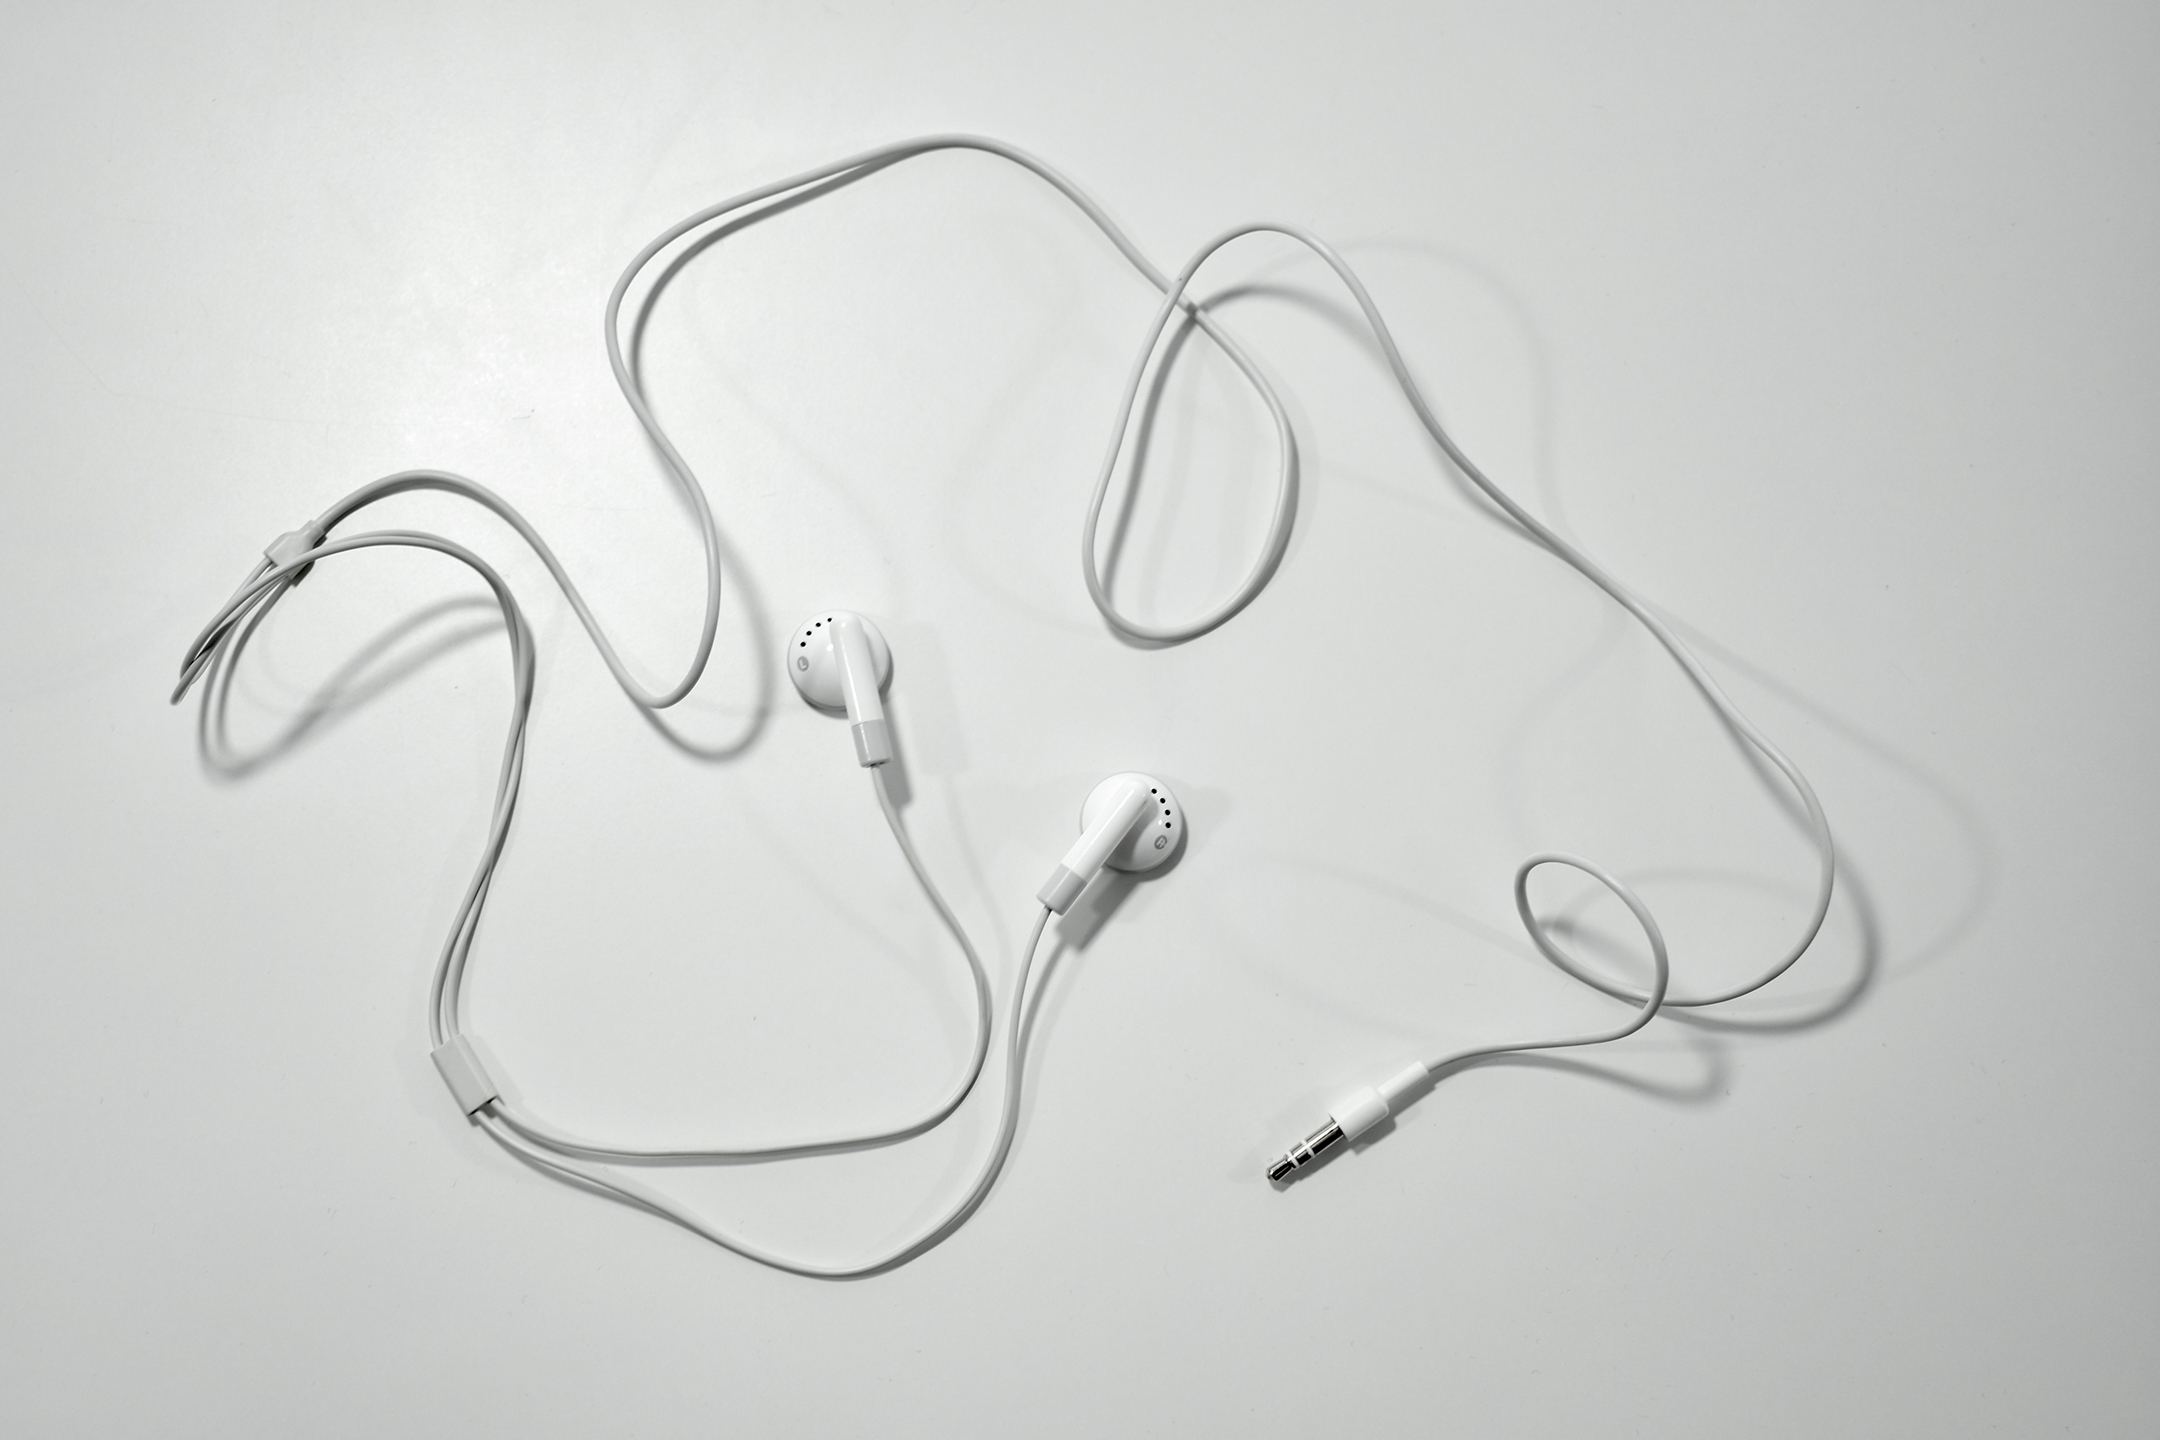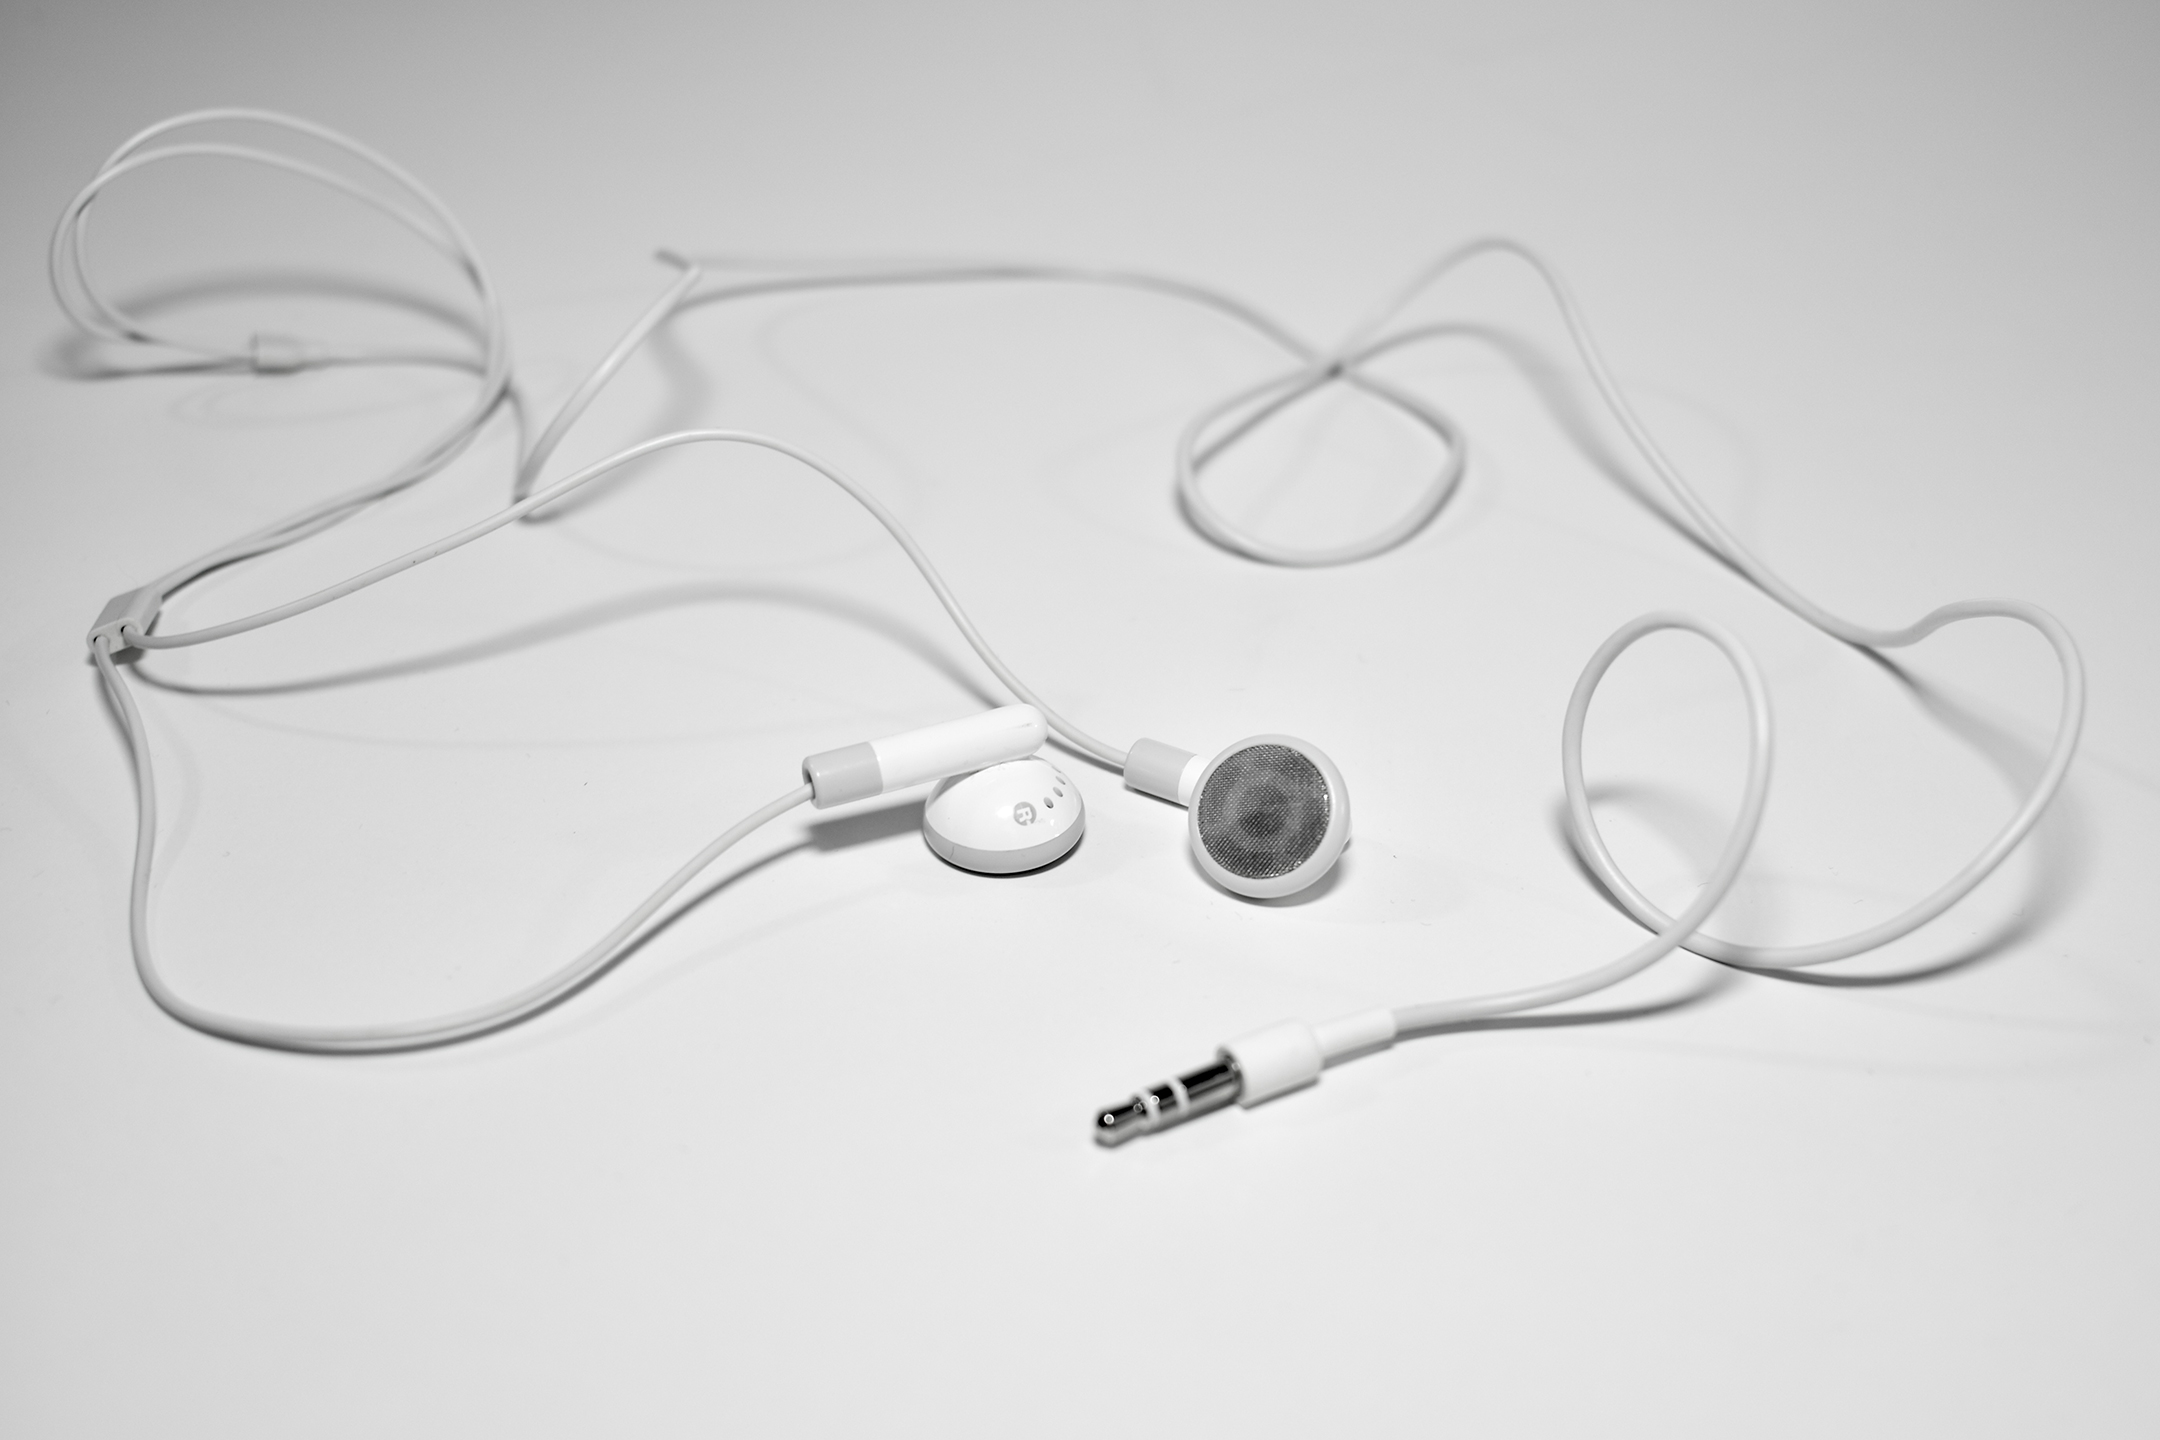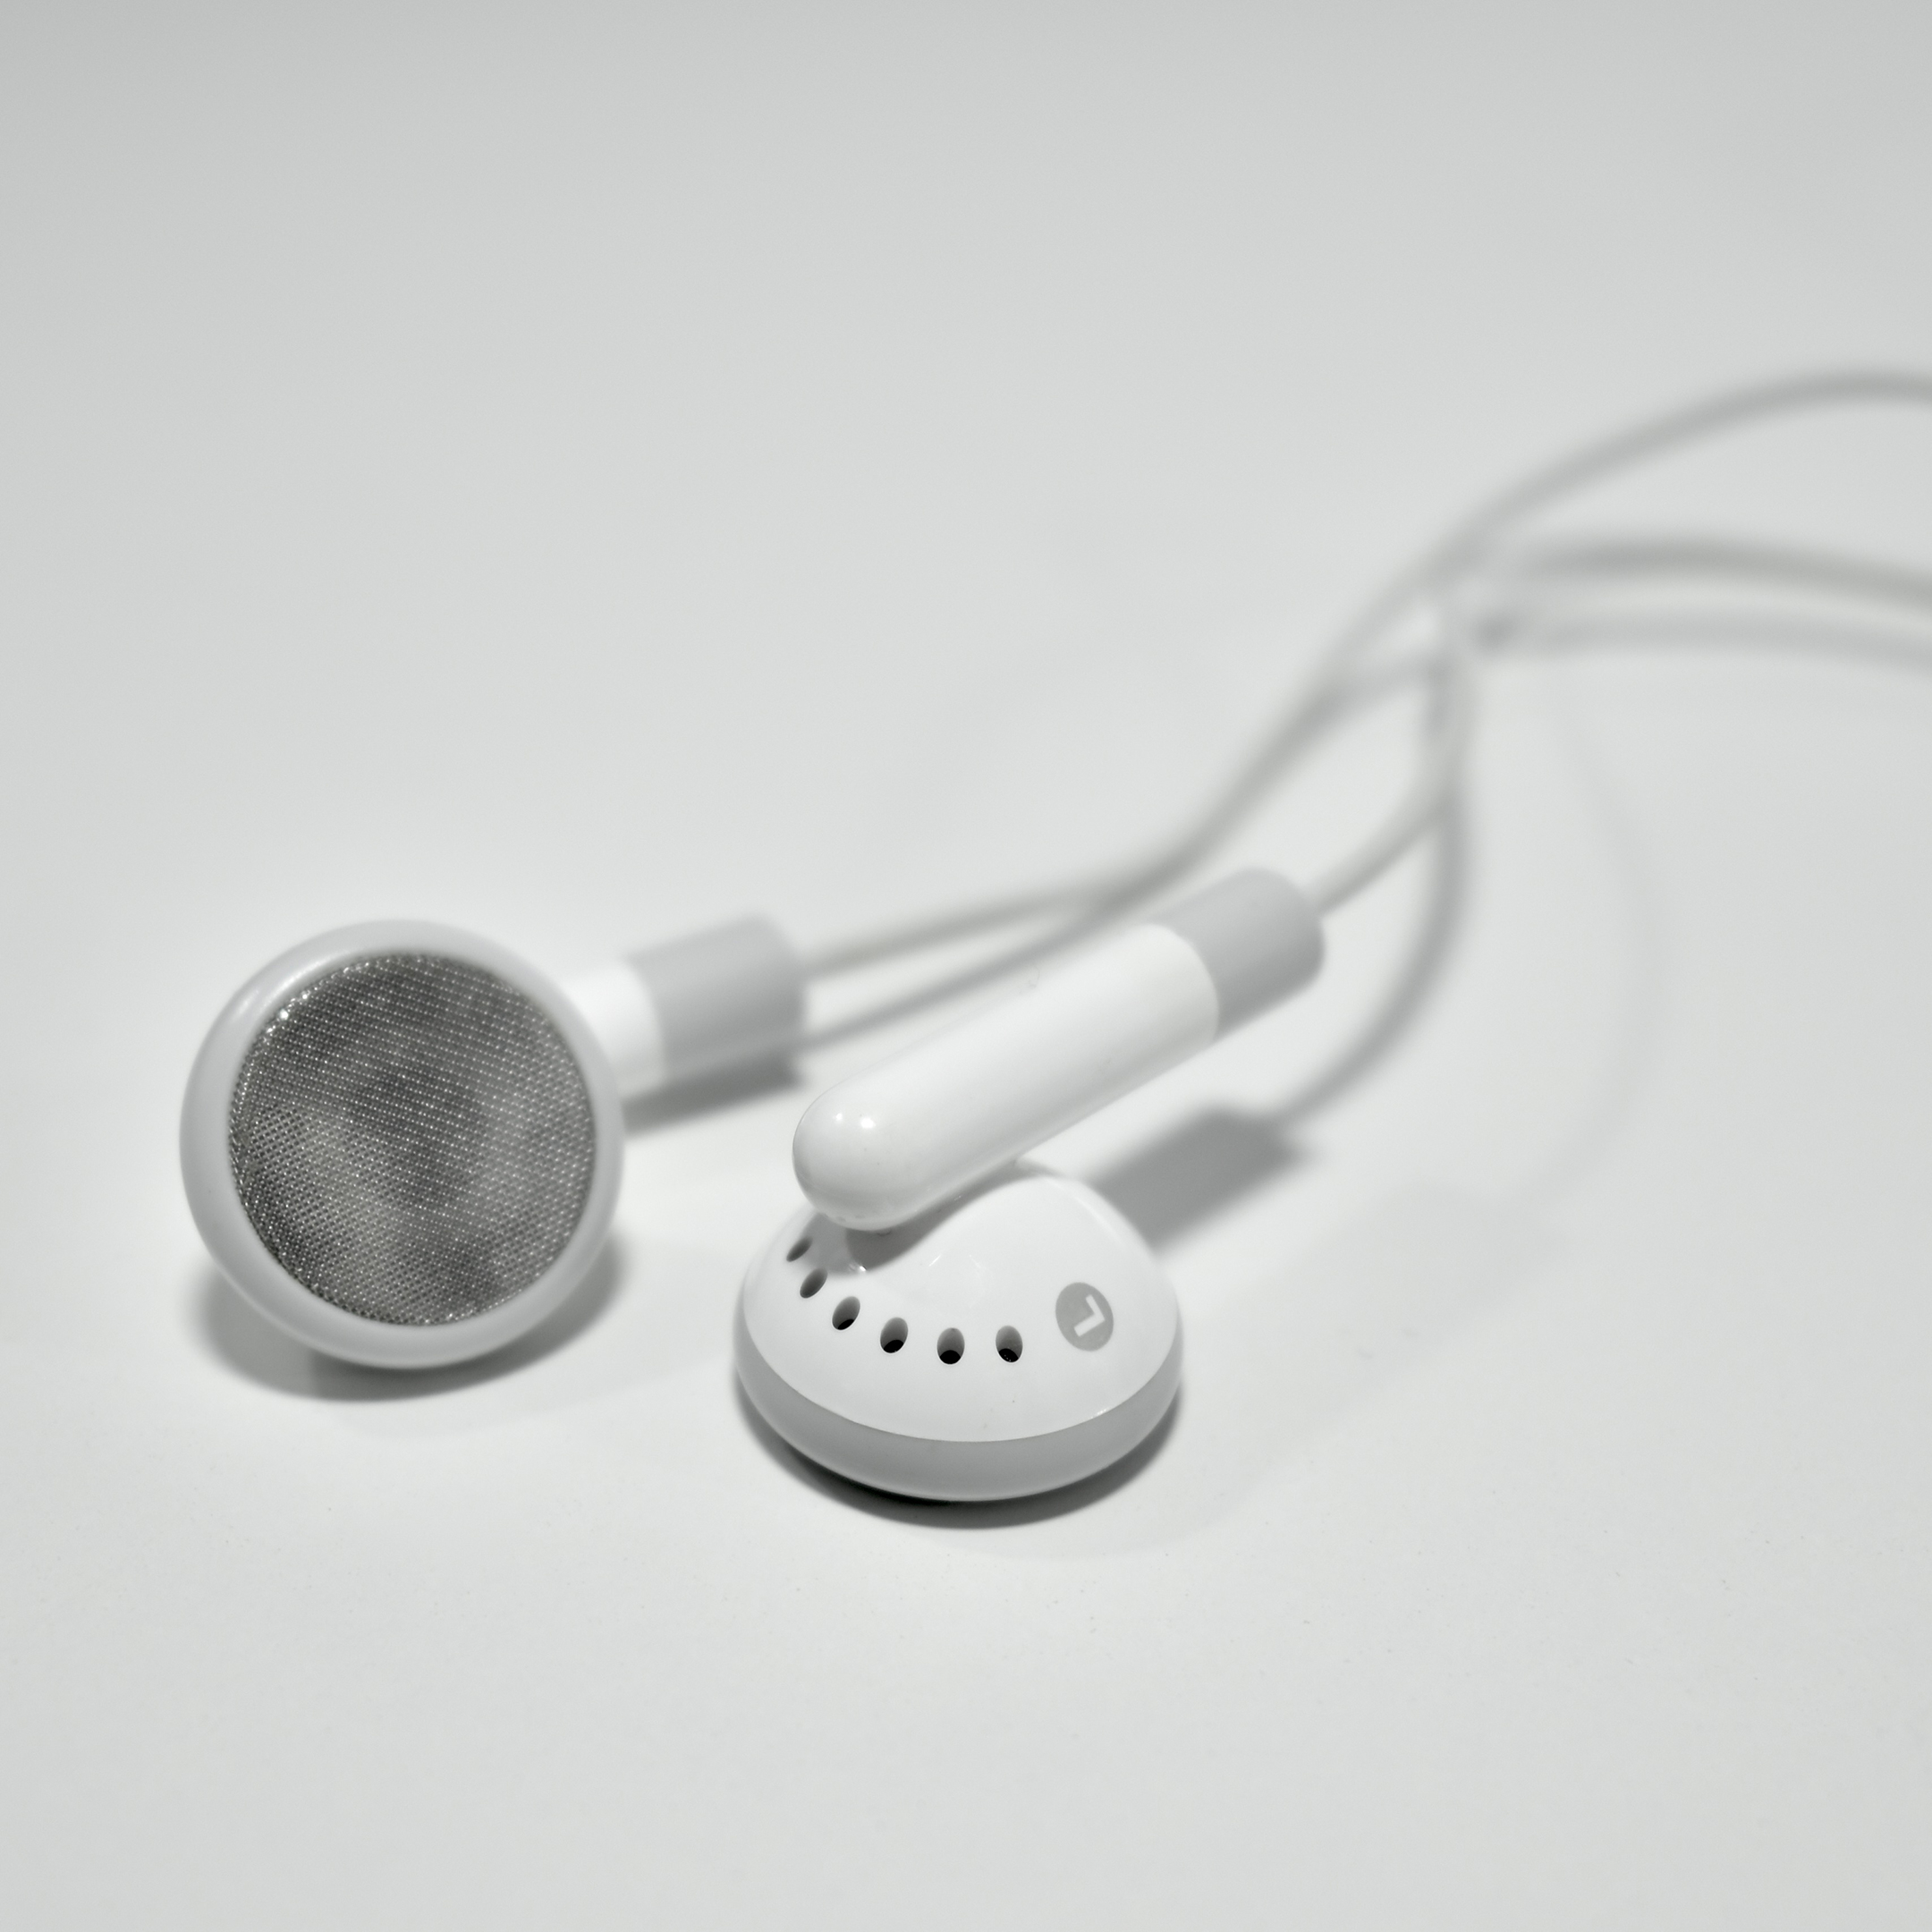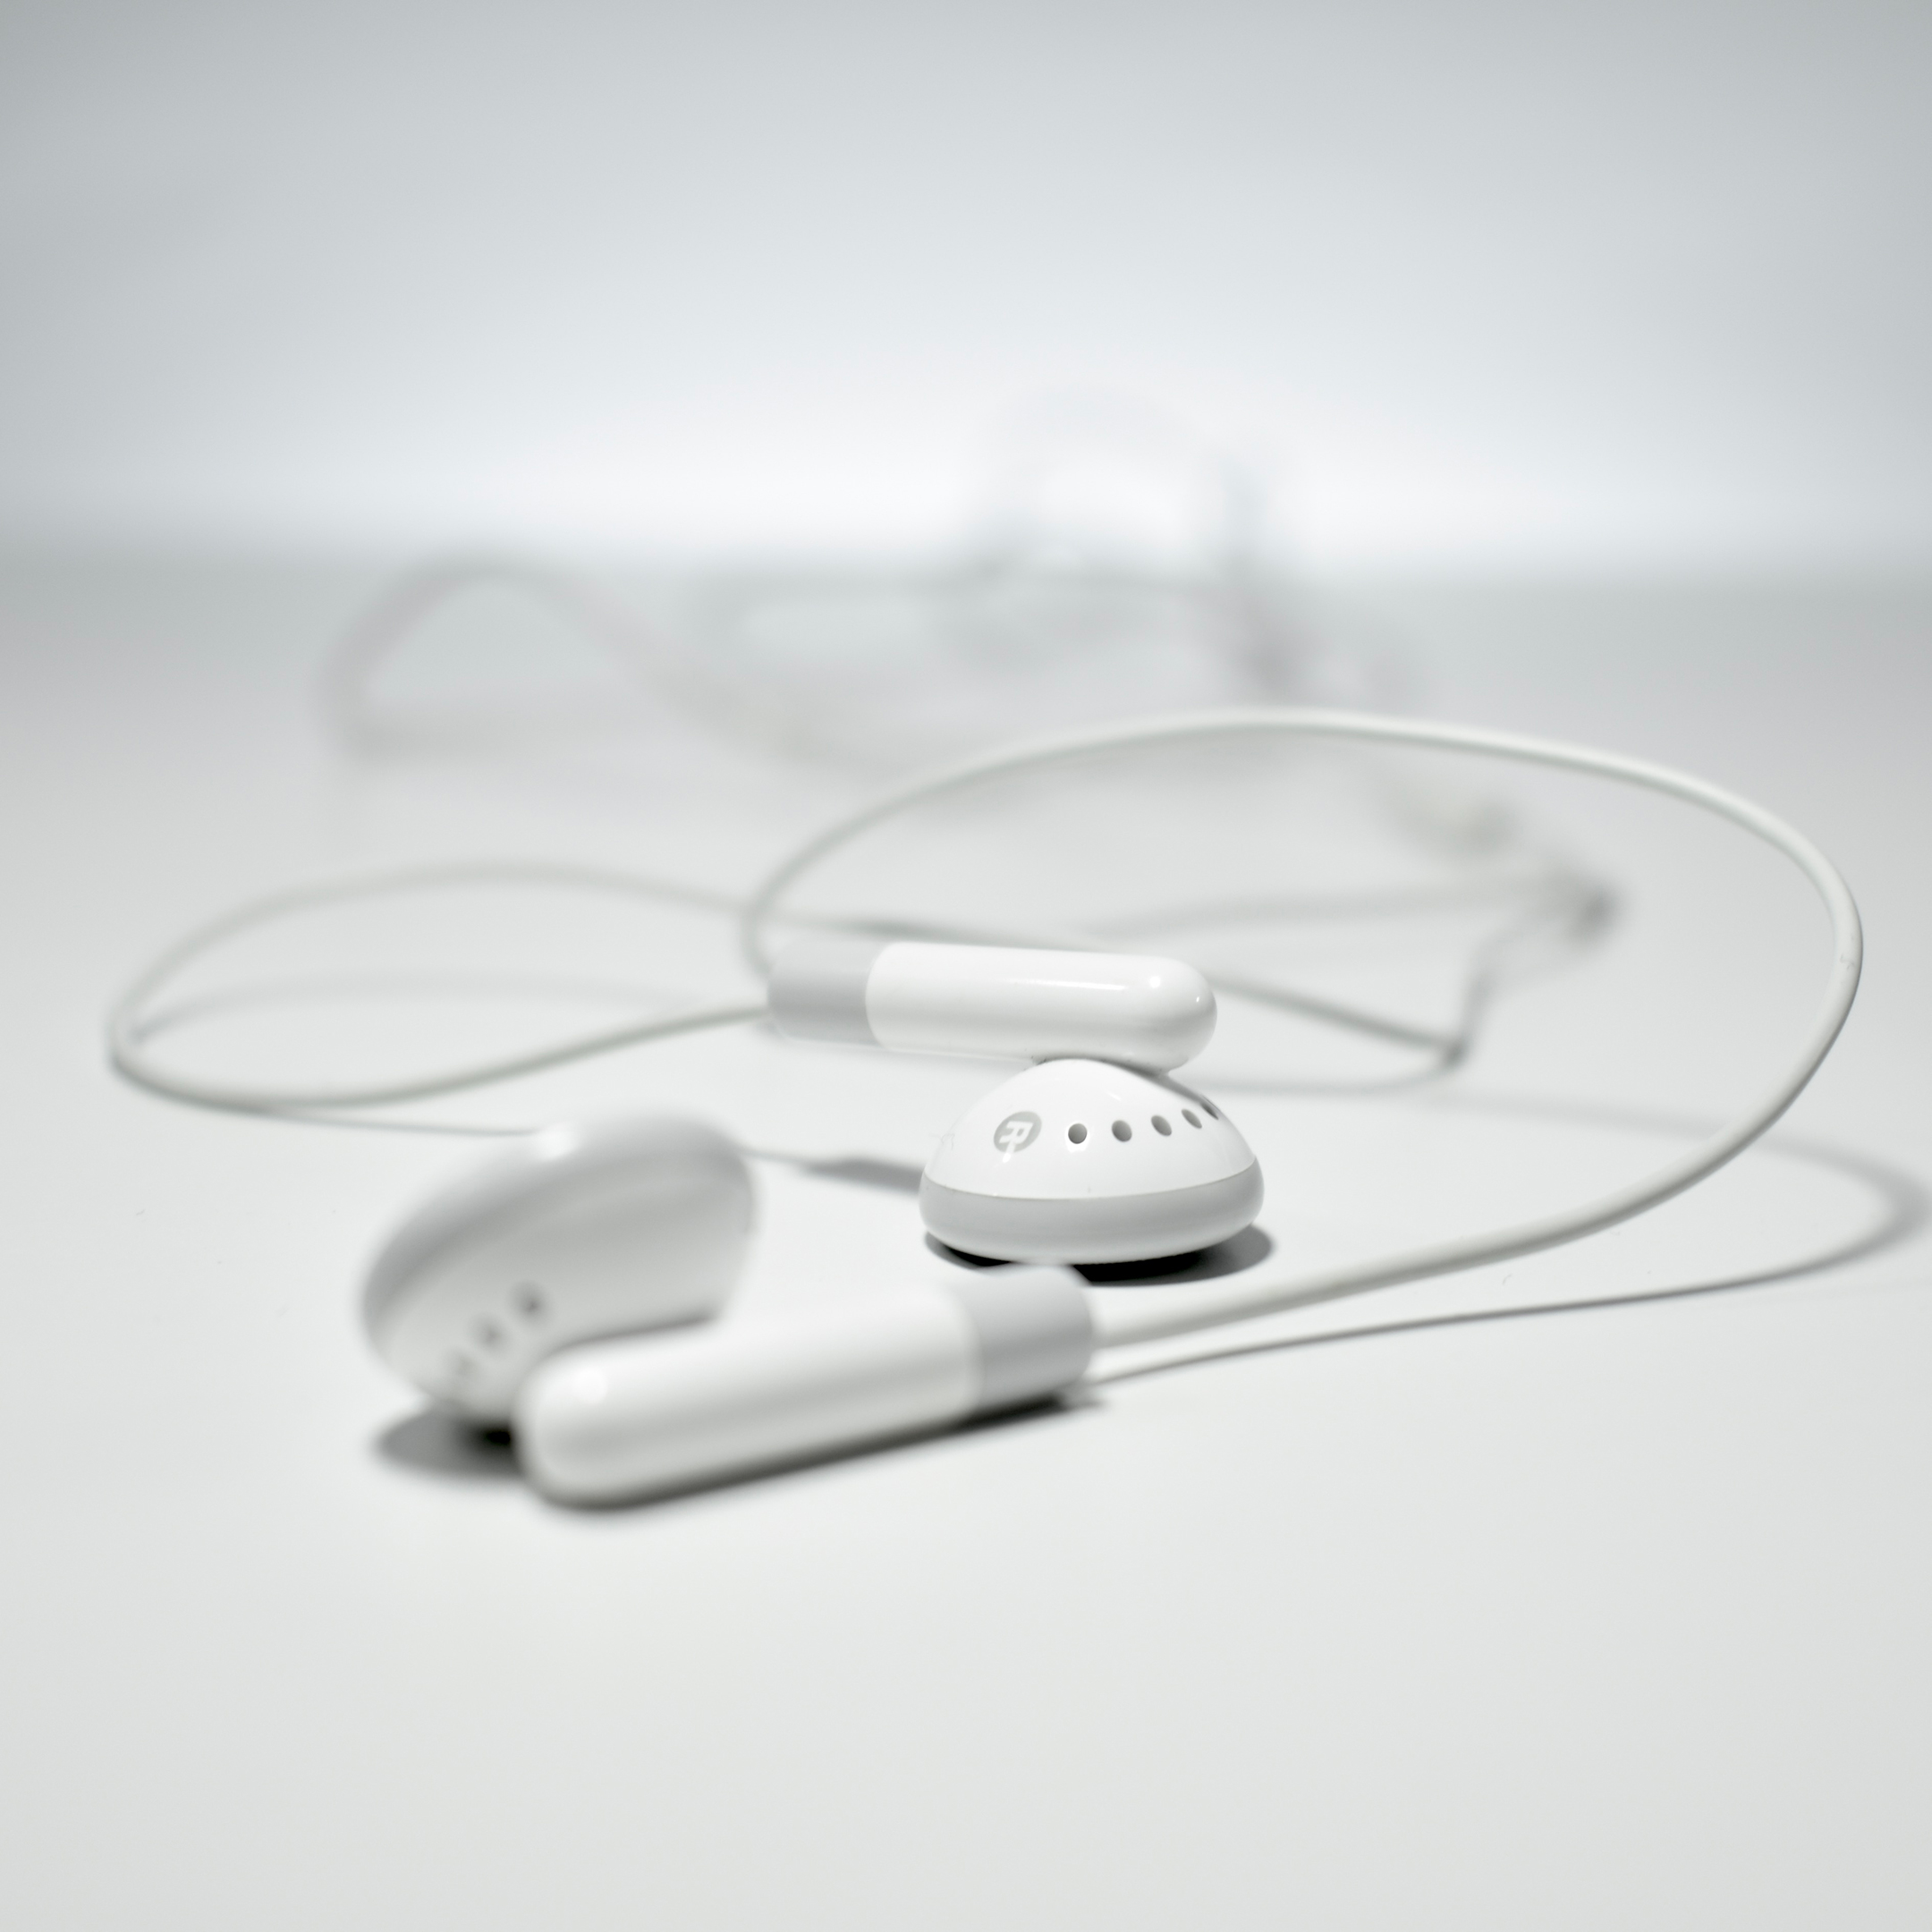
The Original iPod headphones were the earbuds that shipped with the original iPod. They sounded quite good, shipped with two sets of black foam ear covers, were sometimes panned for not fitting some people’s ears, and came with the iPod at no additional cost so most iPod users used them.
Perhaps the most important, and in my opinion overlooked, feature of these headphones was not the specs, but the color. Soon after the iPod was introduced in 2001, an iconic ad campaign was released in 2003 referred to as “silhouettes,” created by the company Chiat\Day. In each commercial, poster, print ad, or billboard, the all-black silhouette of a dancer moved over a brightly colored background (hot pink, lime green, yellow, or bright blue) while the highly-contrasted bright white headphone wire and iPod moved along with the dancer. The effect was striking and the white cord color effectively called attention to the product nearly screaming, “I’m using an iPod!”
The white earbud design not only became permanently associated with “cool” Apple gear, but 20 years later is still being used as the only color choice for Apple-branded headphones, EarPods, AirPods, and likely future Apple headphone iterations. (Apple-owned brand Beats, however, does produce many headphone styles in multiple colors.)
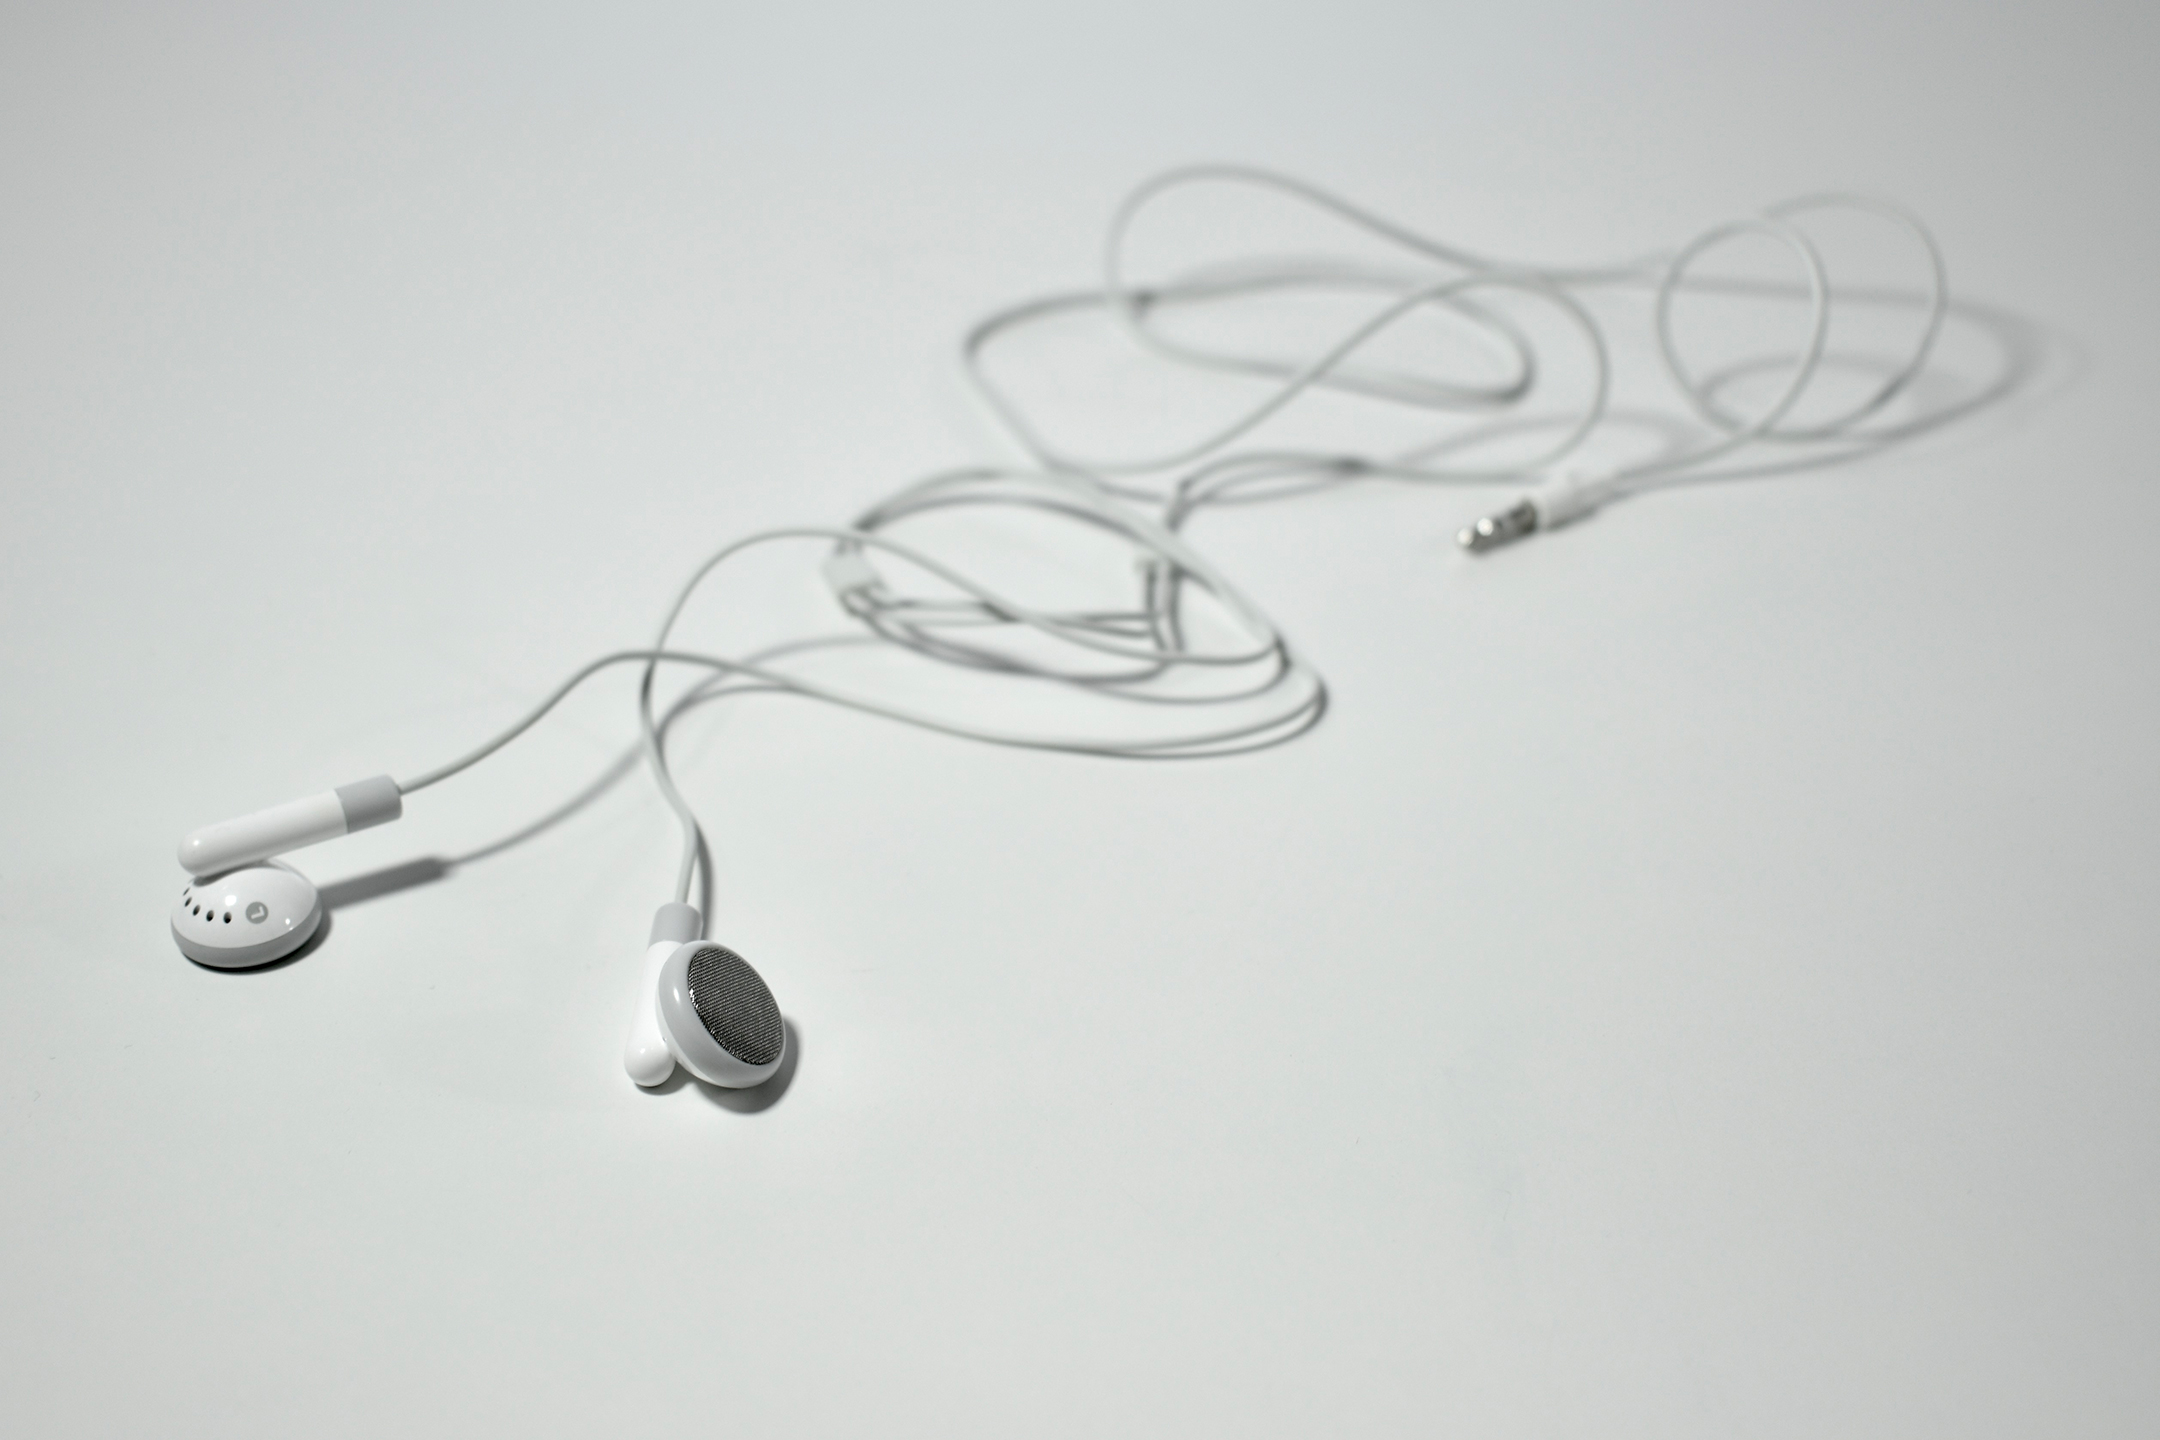
According to my research, this particular example of the original iPod headphone design is a Generation 2 release, identified as such due to the addition of a plastic slider to adjust the gap between the headphone wires.