Mac OS X, version 10.3, named “Panther,” was the fourth release of the Mac OS X [pronounced “Mac O S ten”] operating system. The operating system was released October 24, 2003.
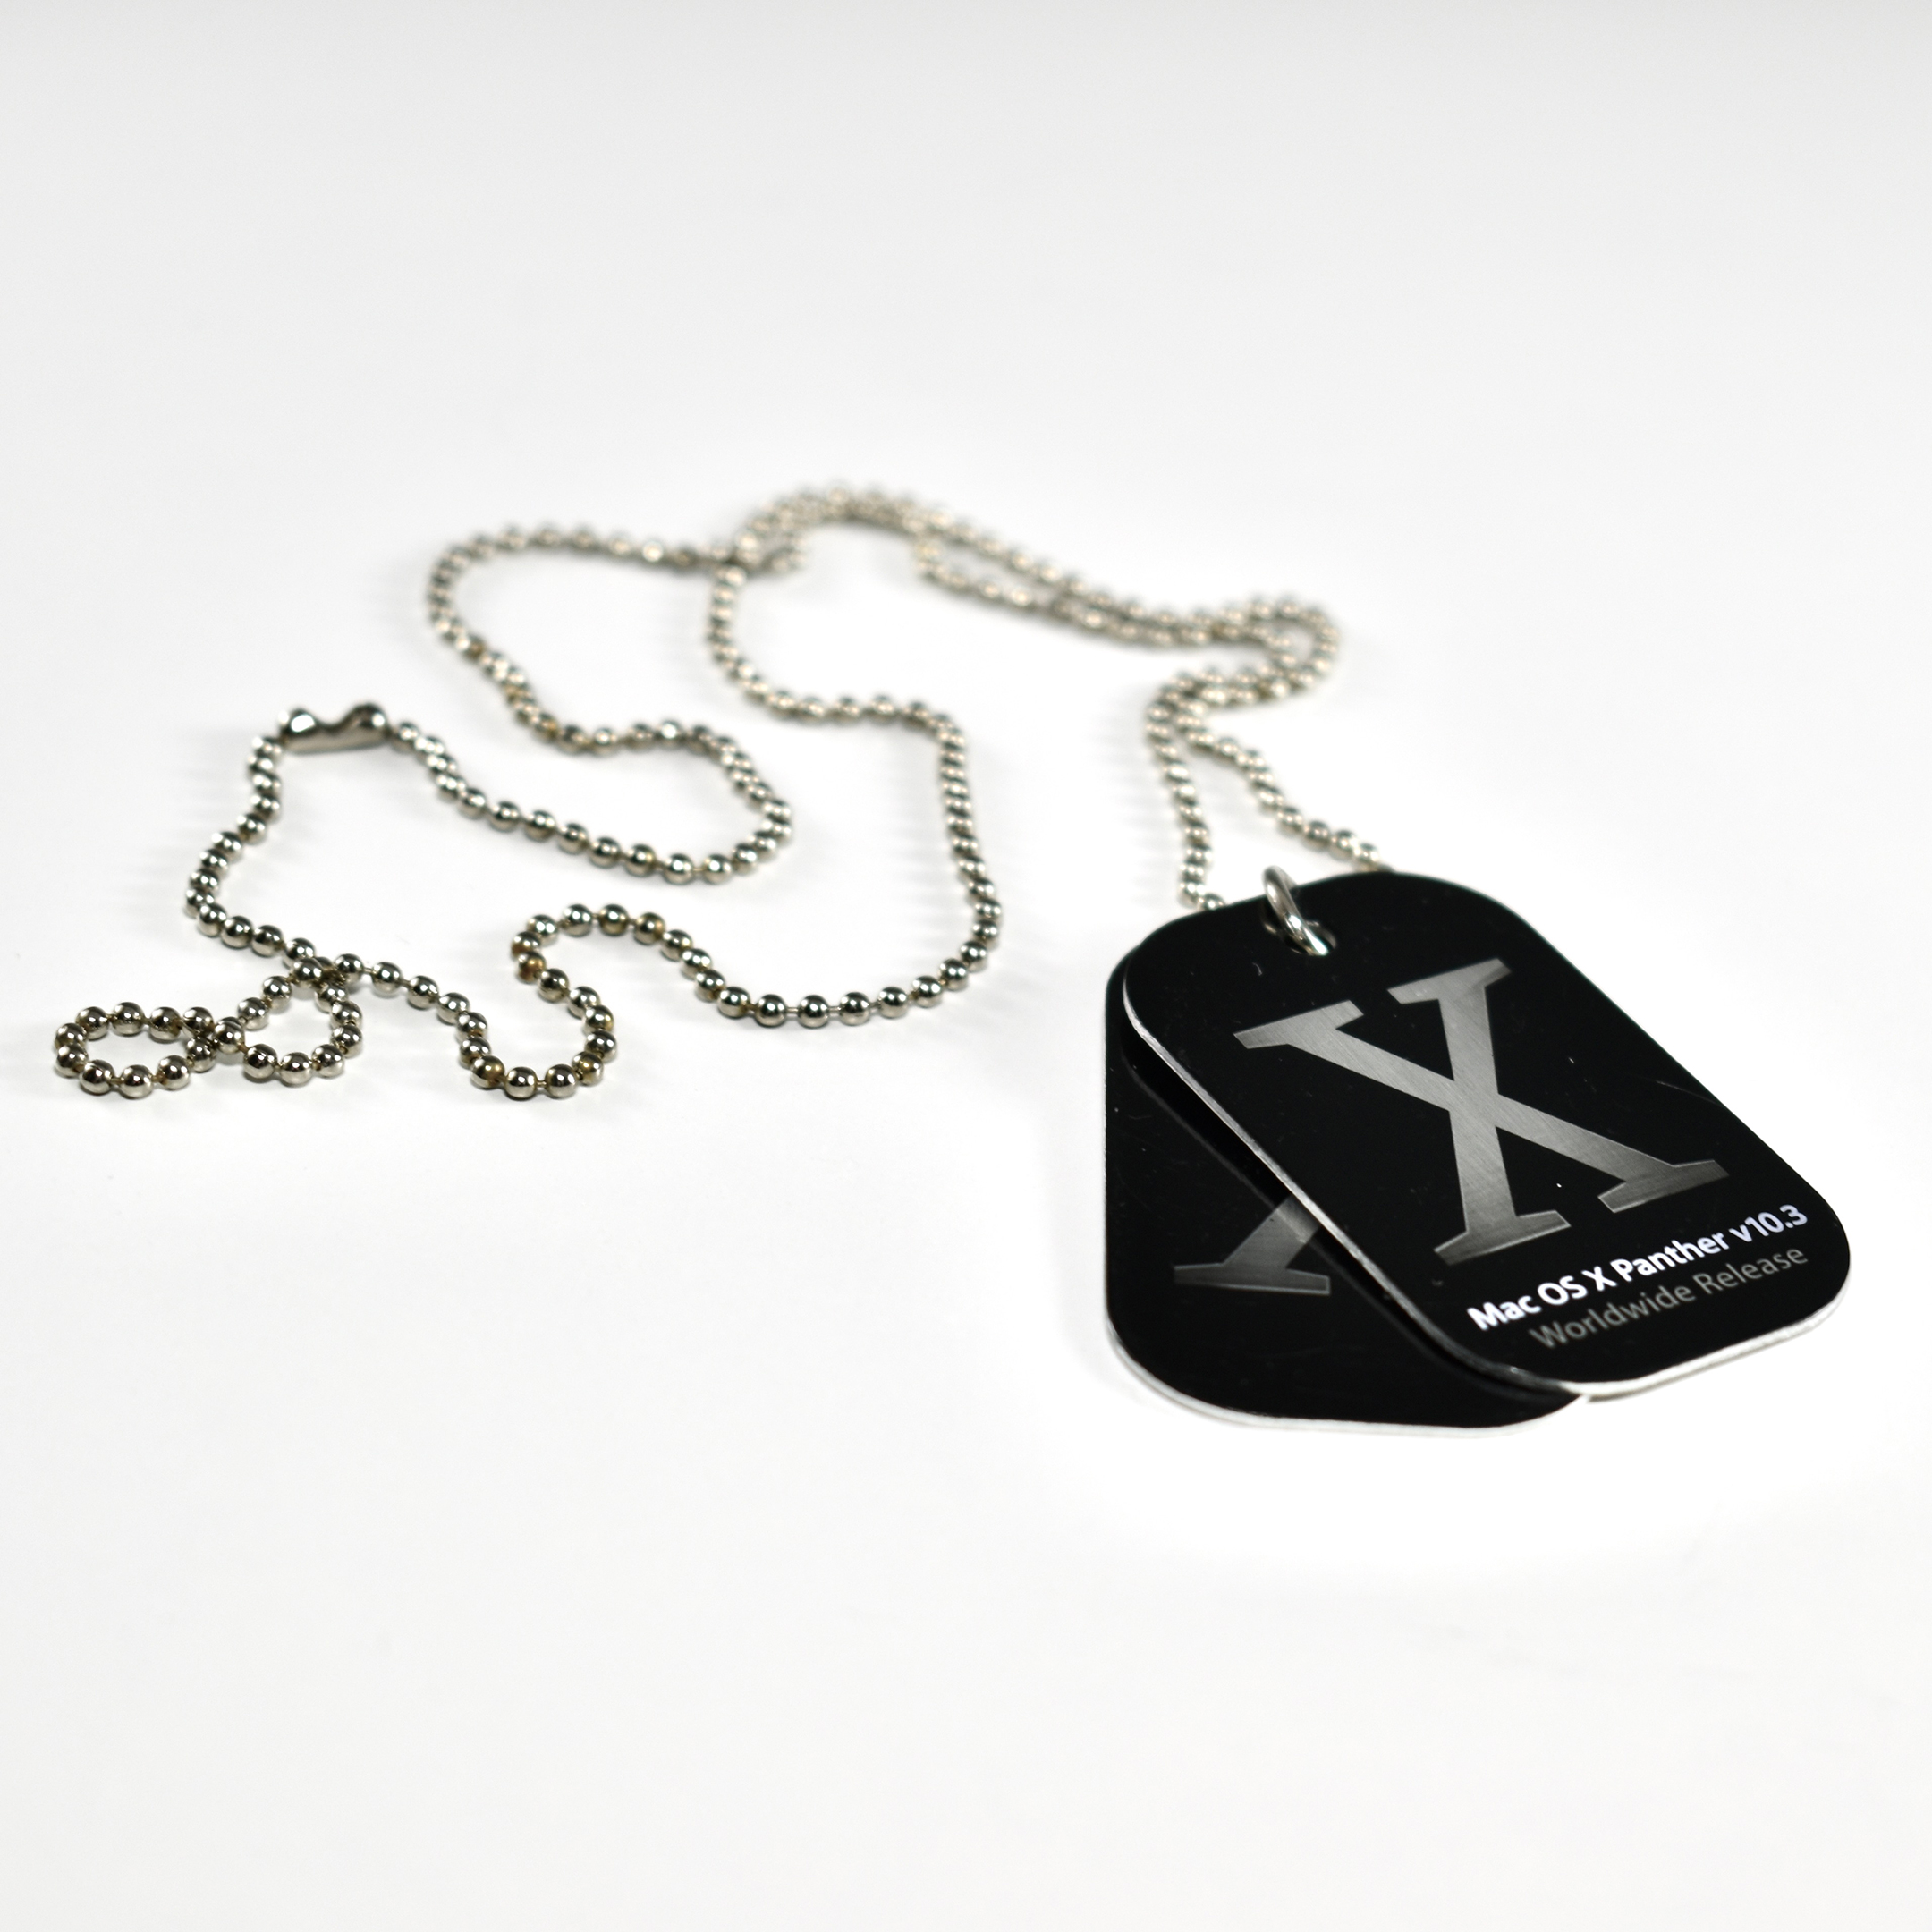
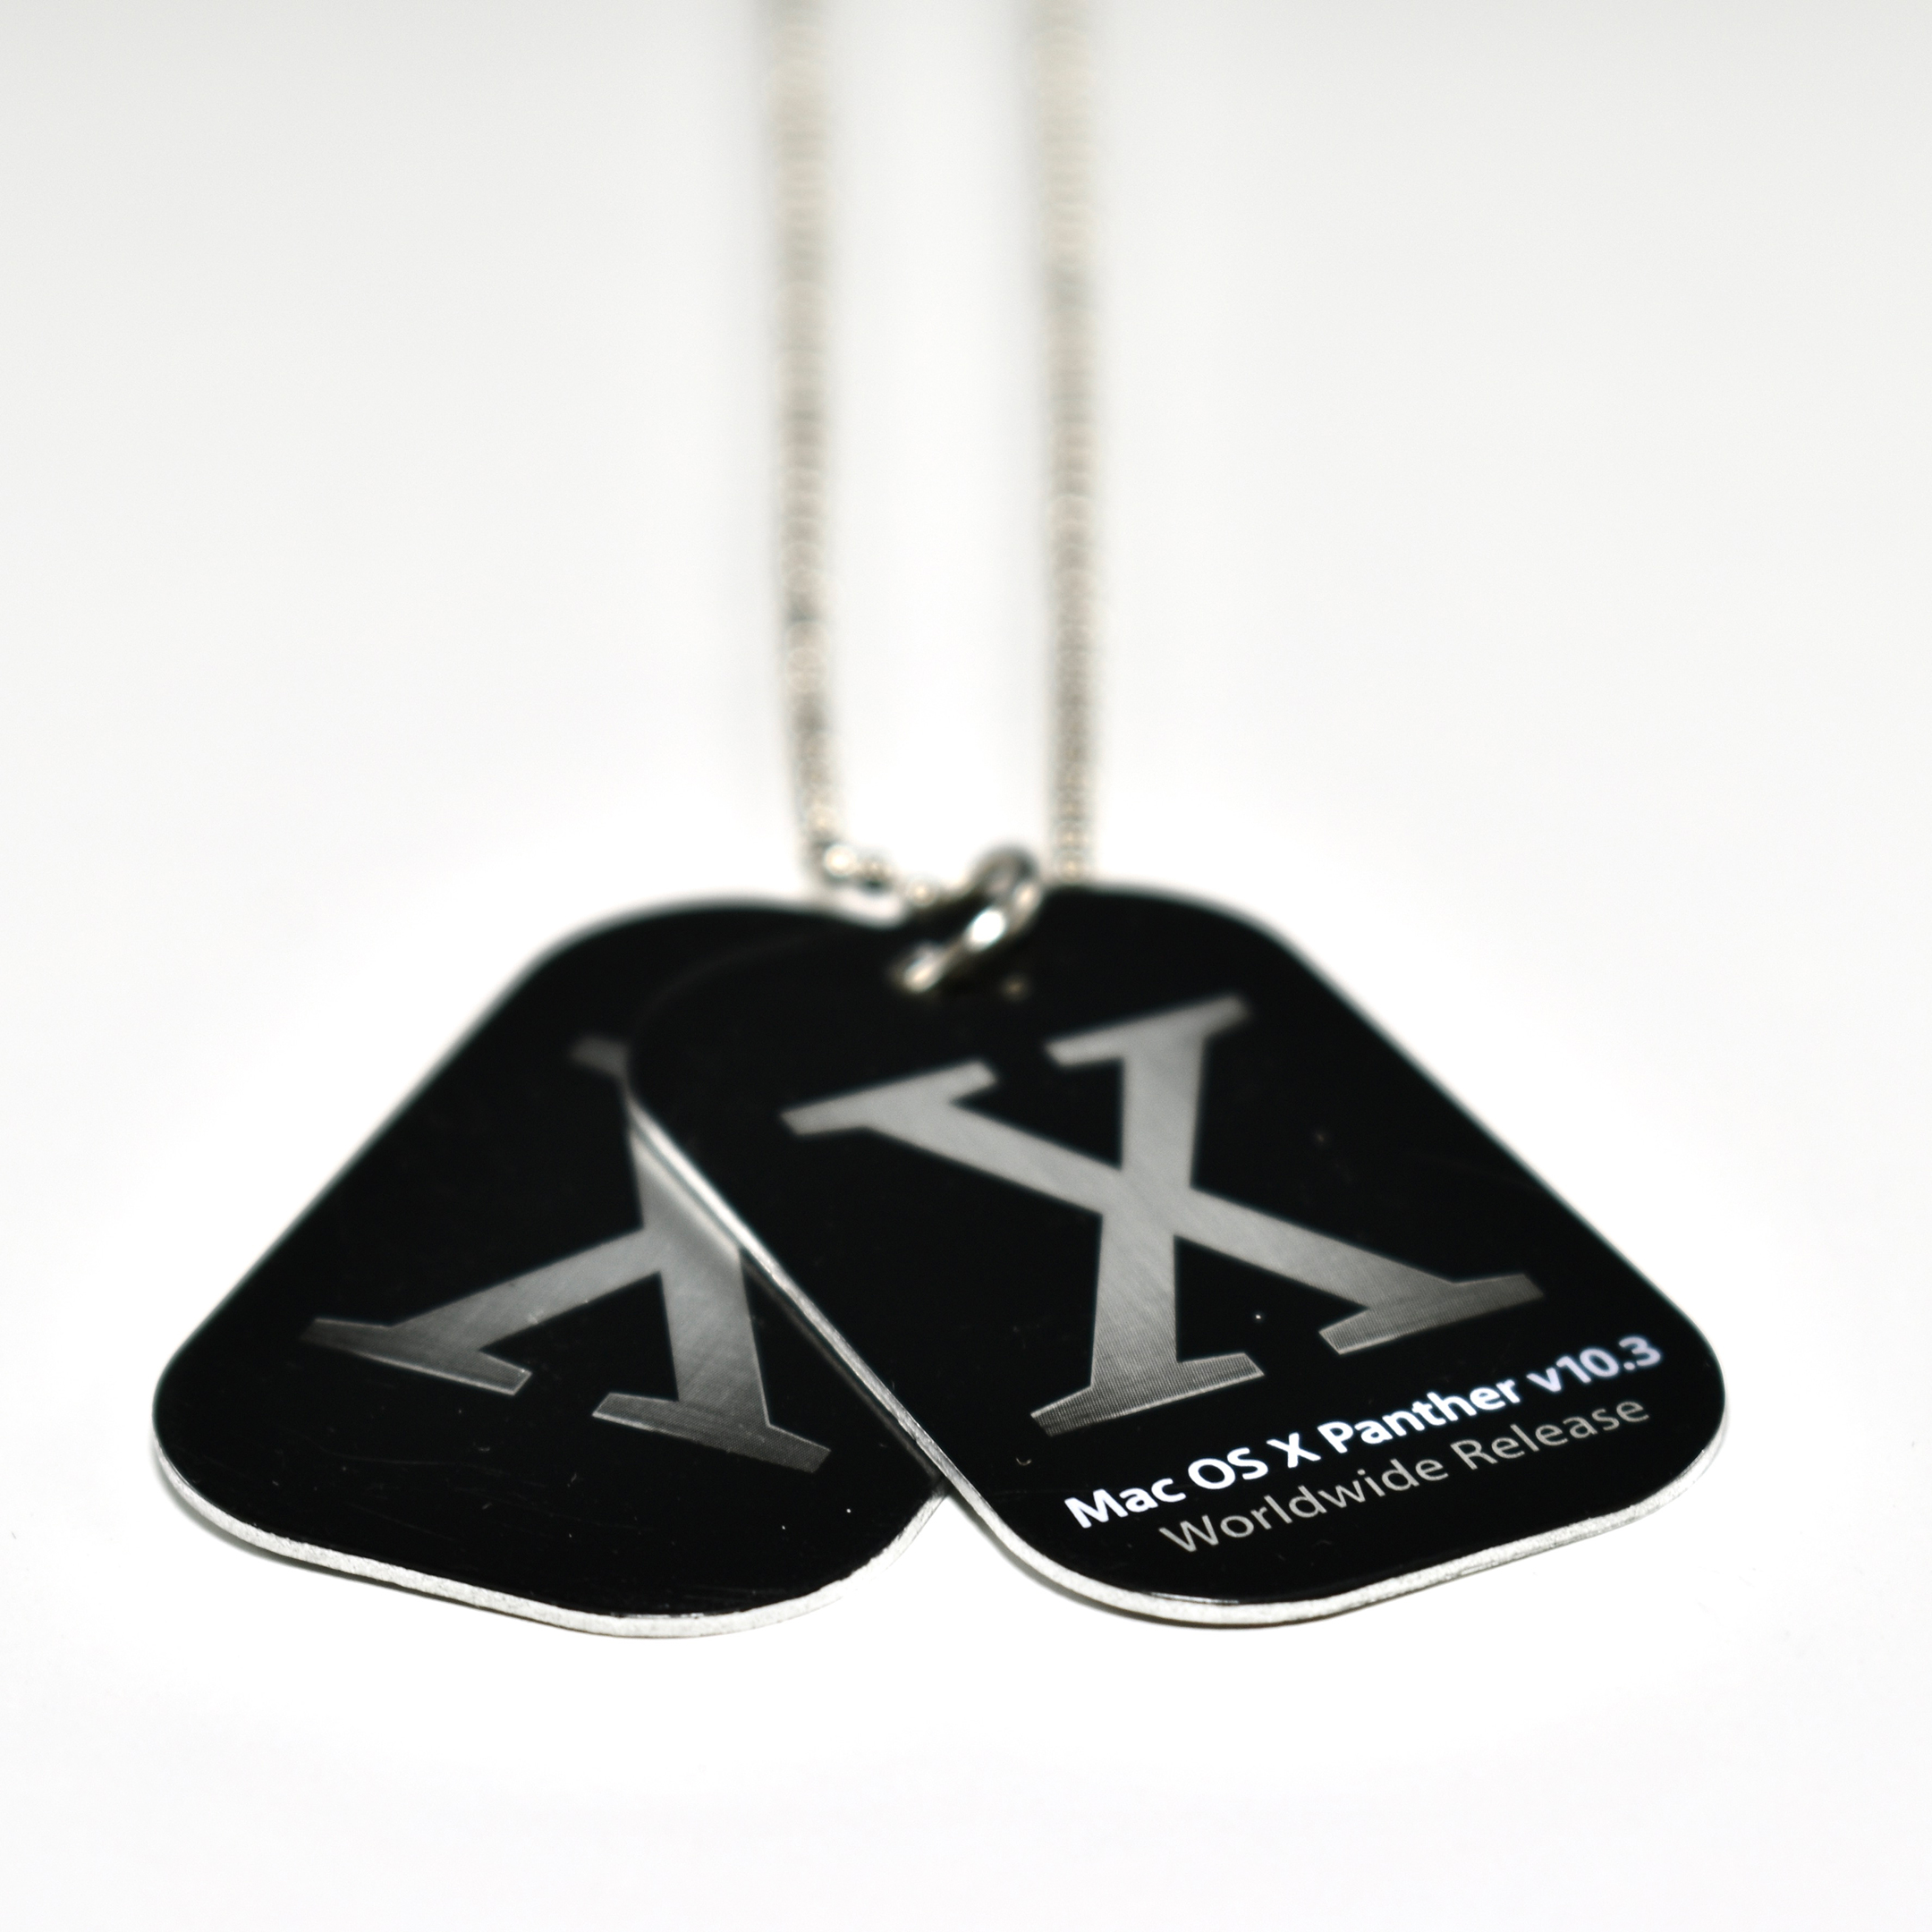
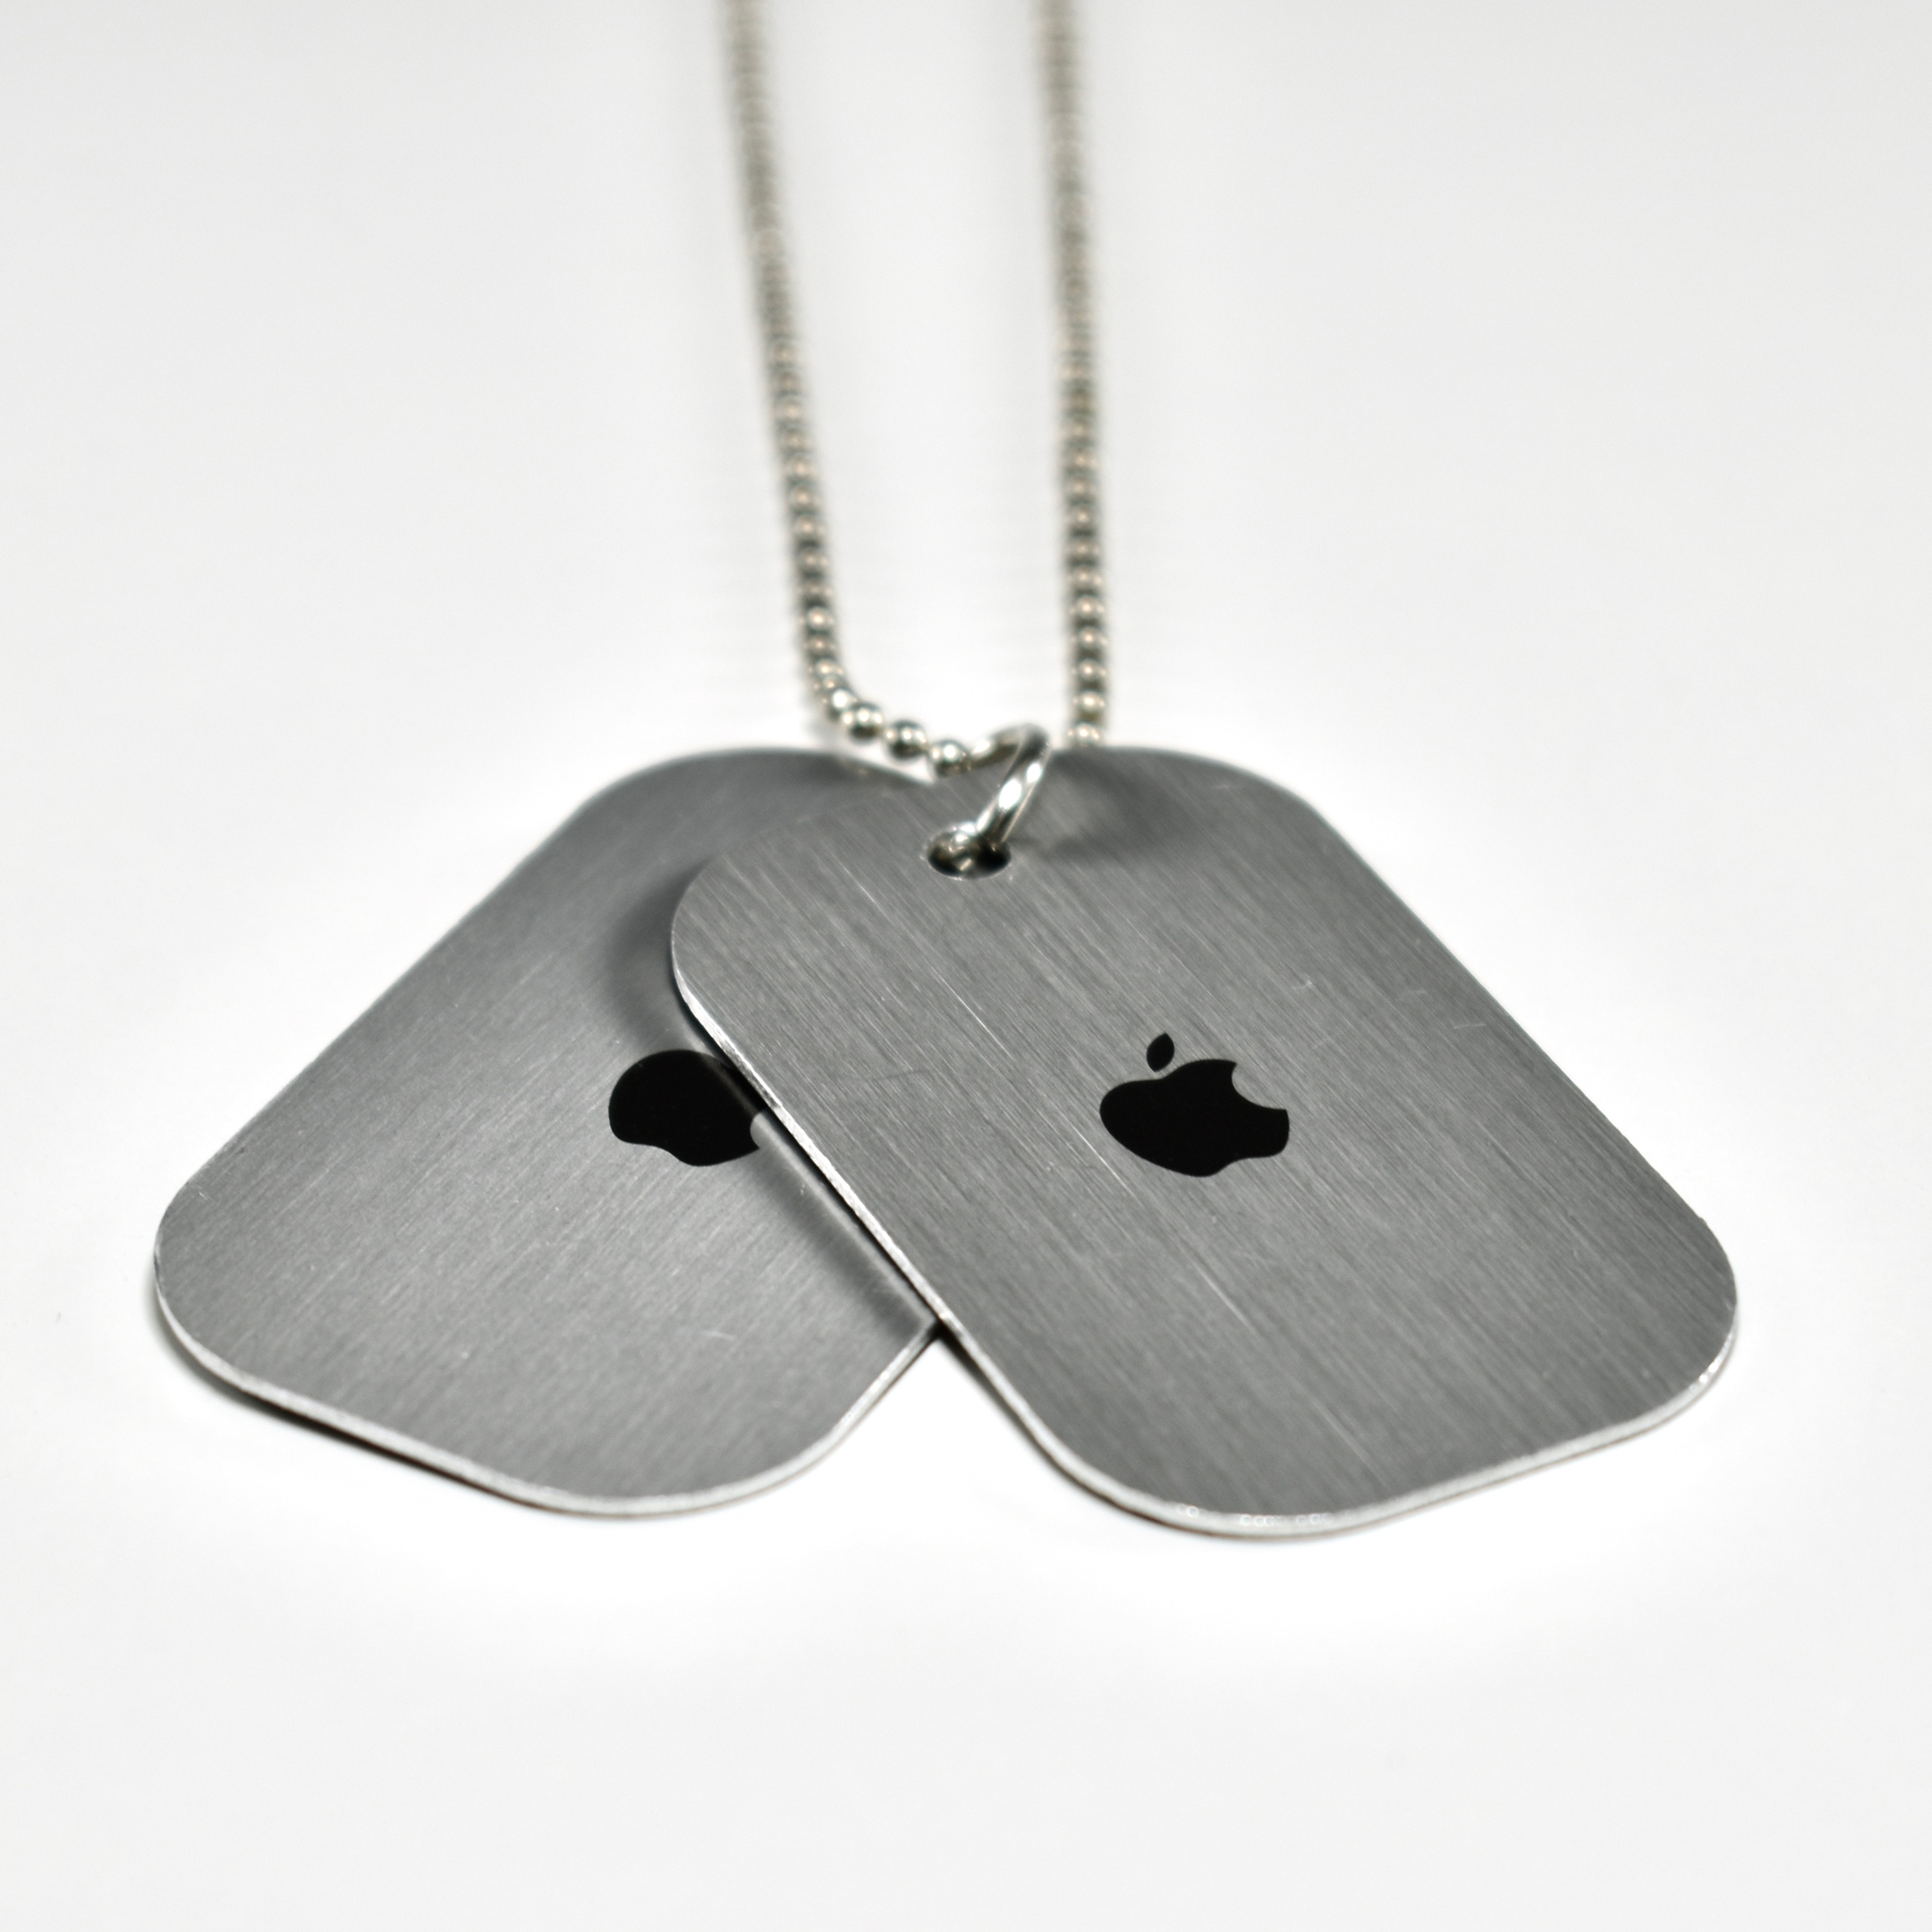
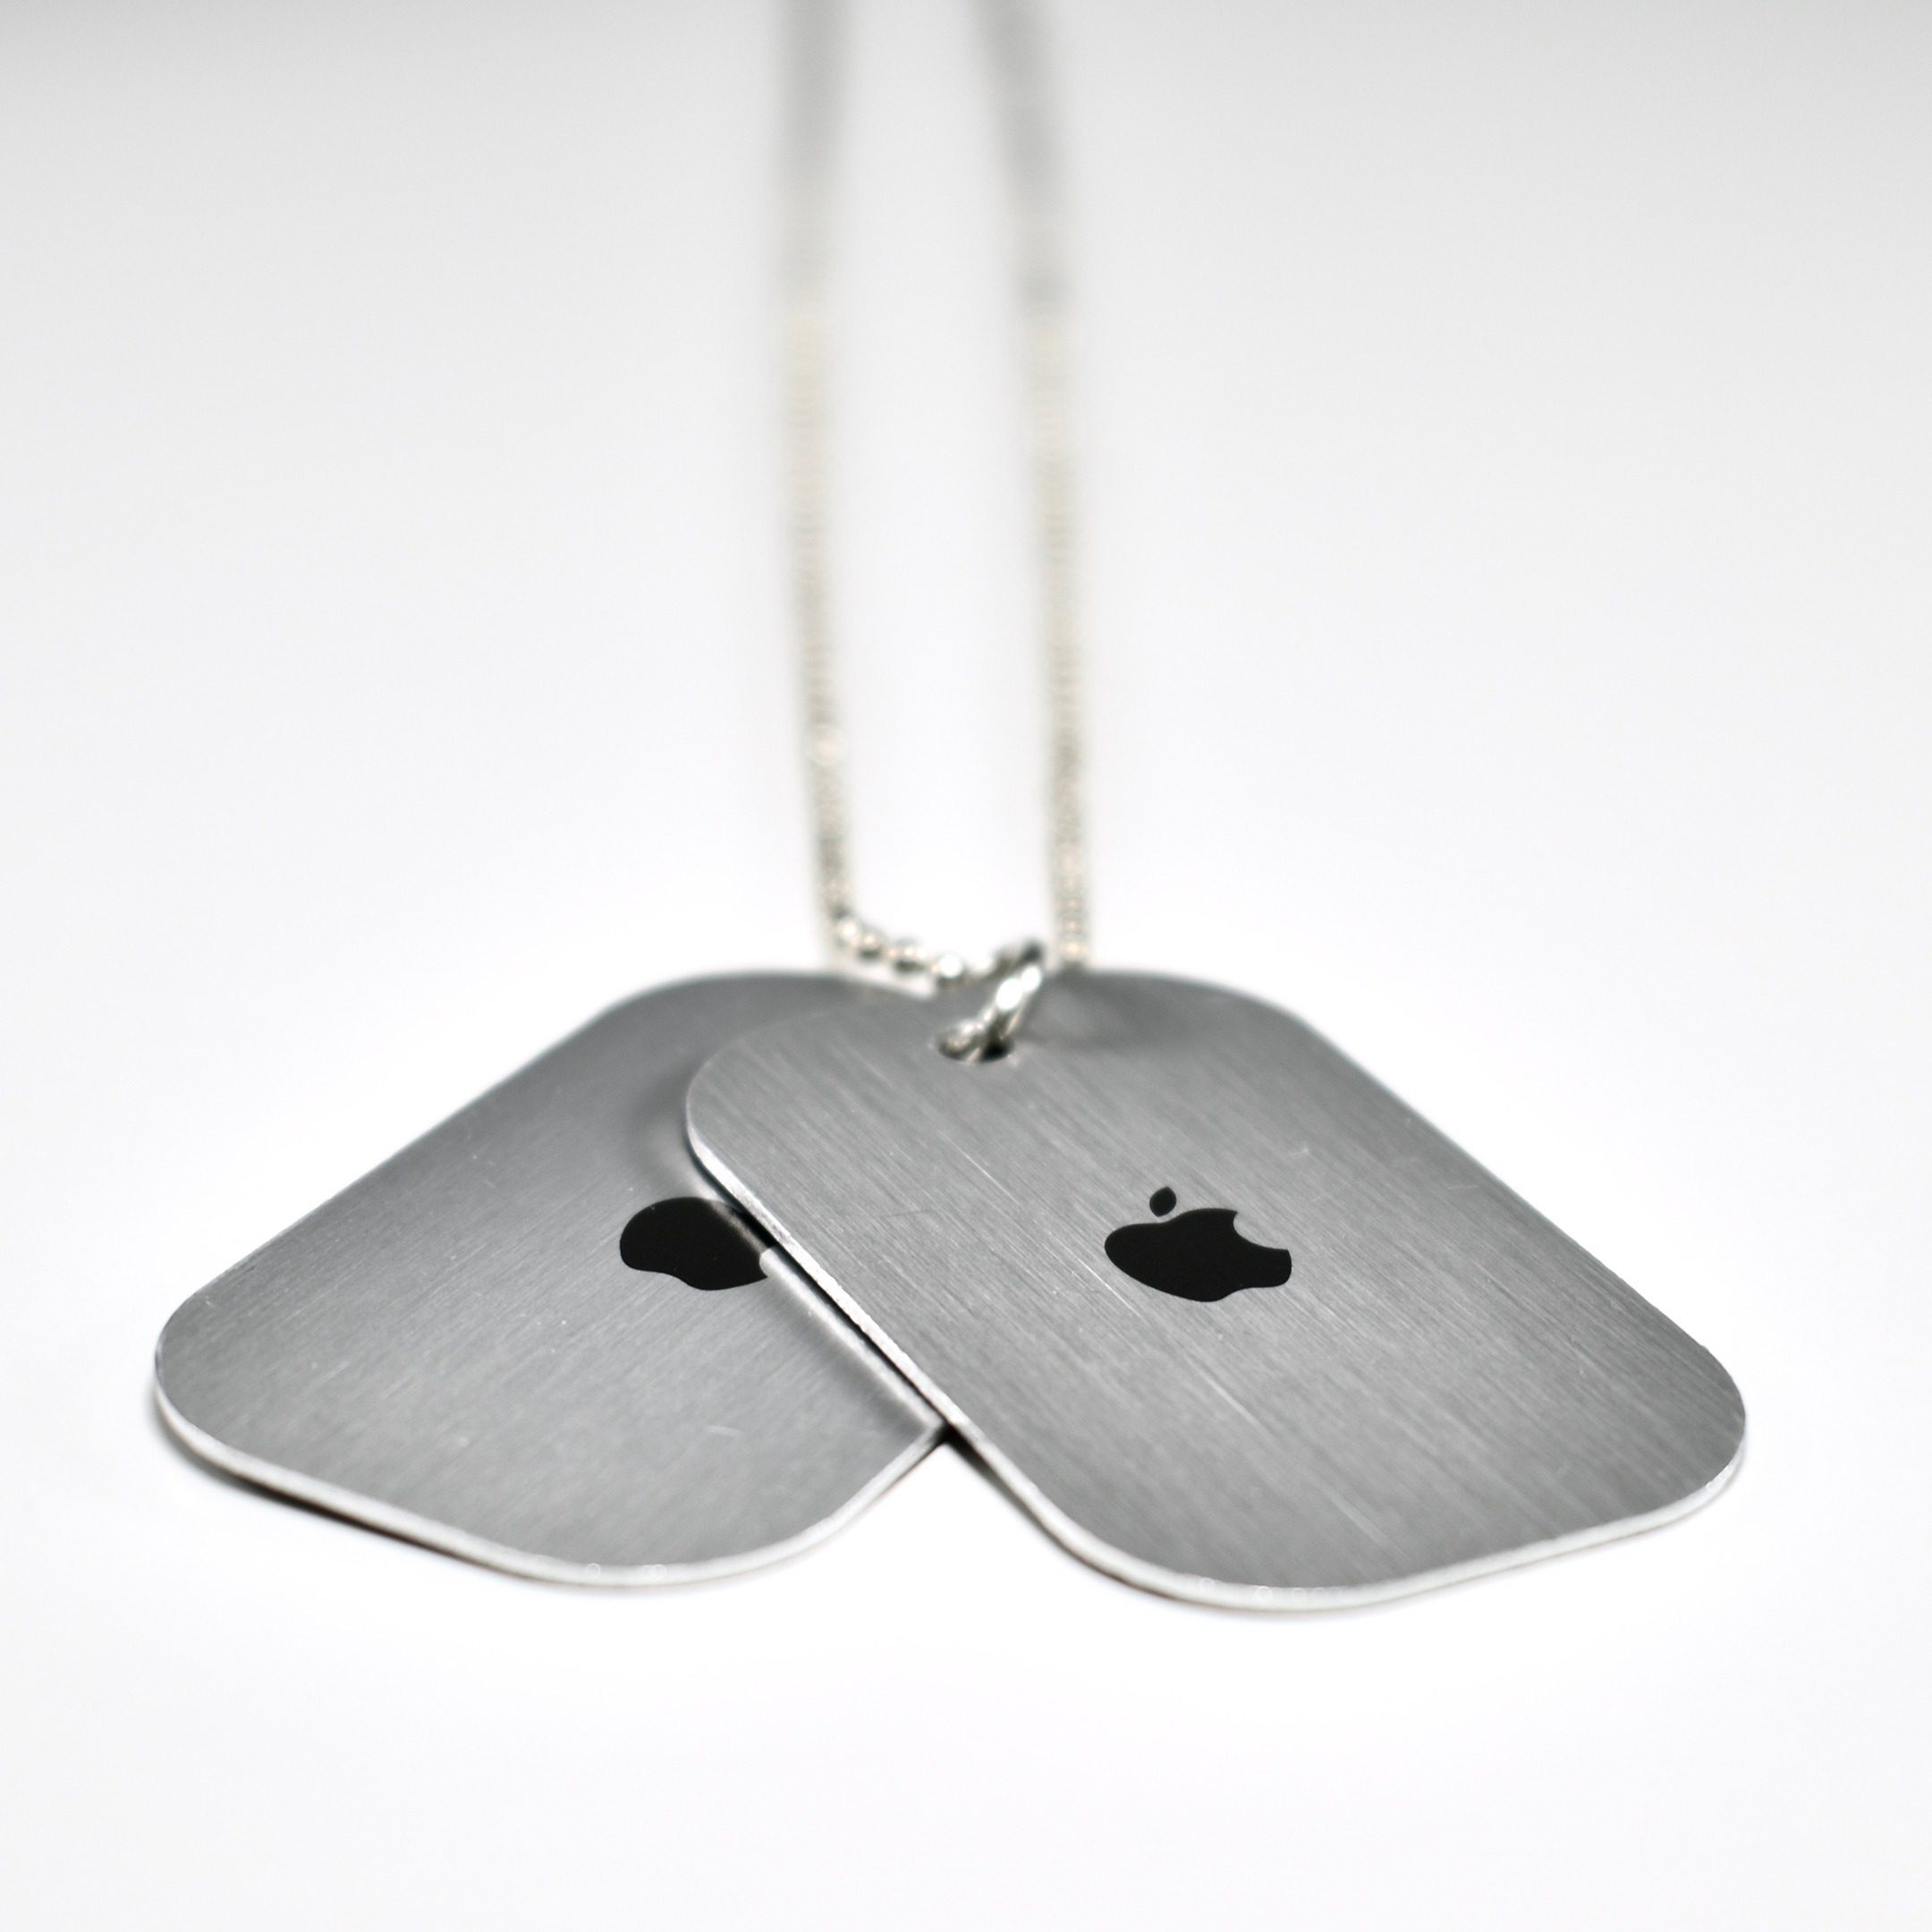
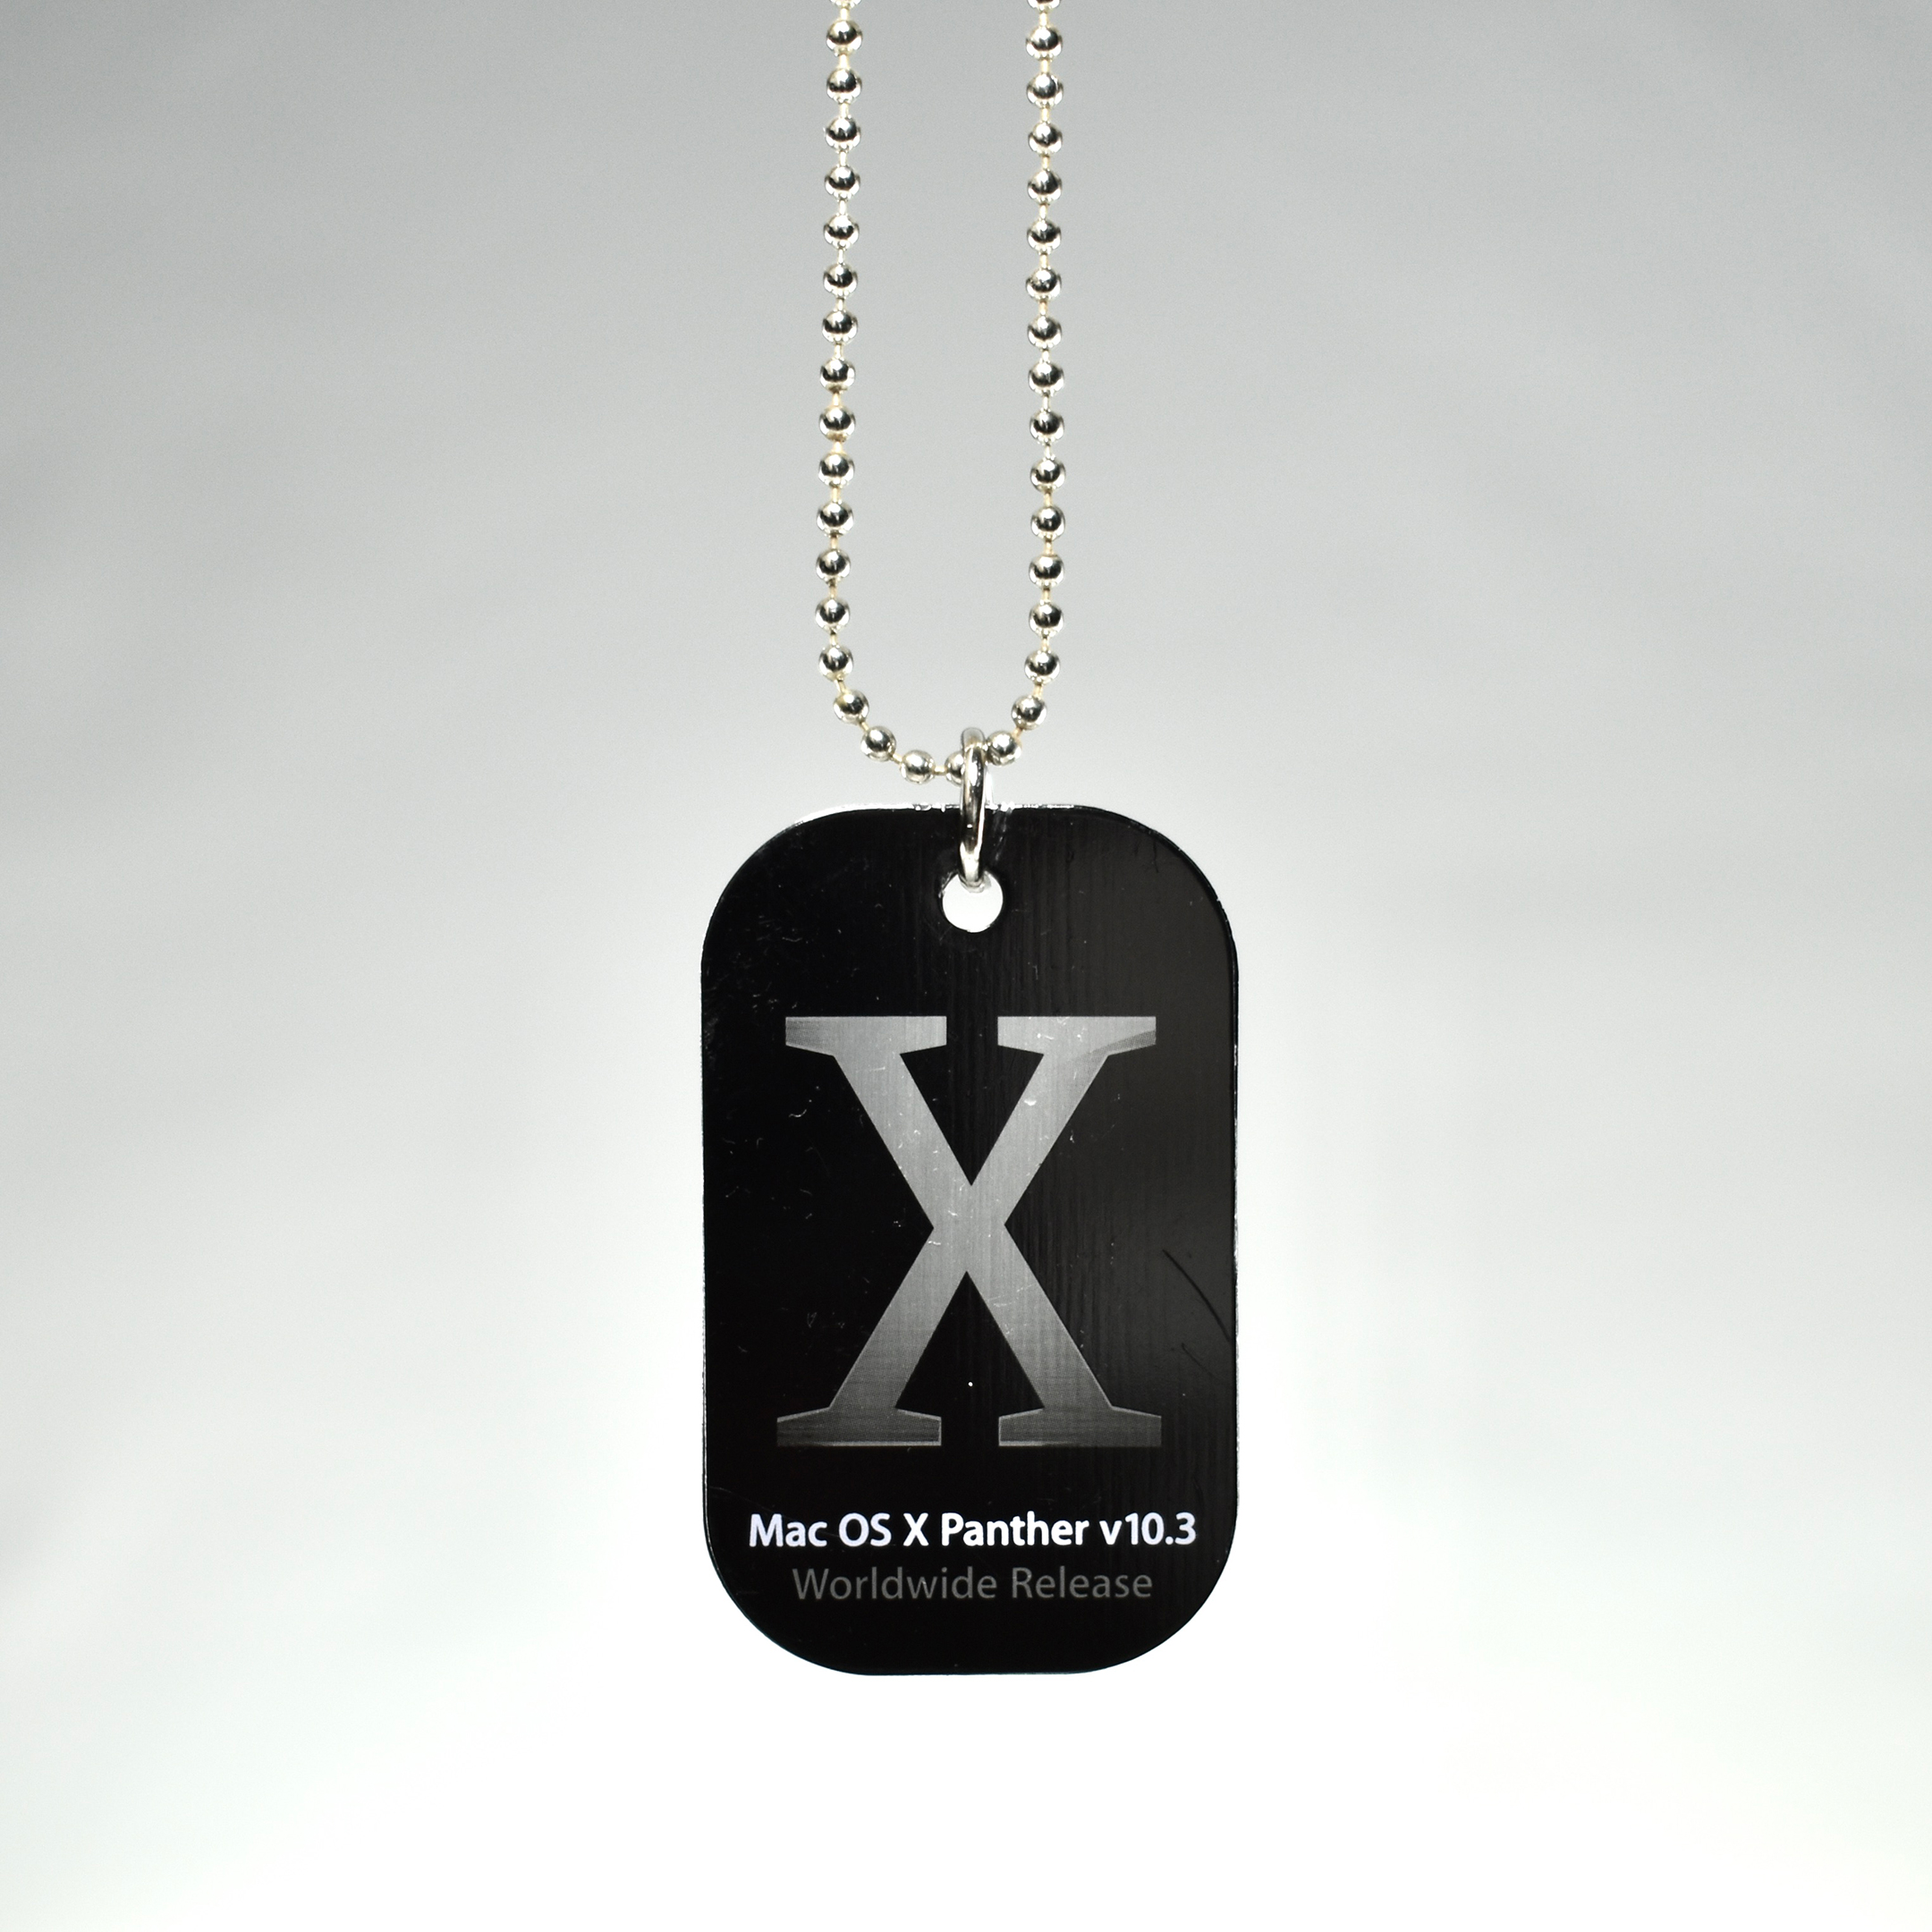
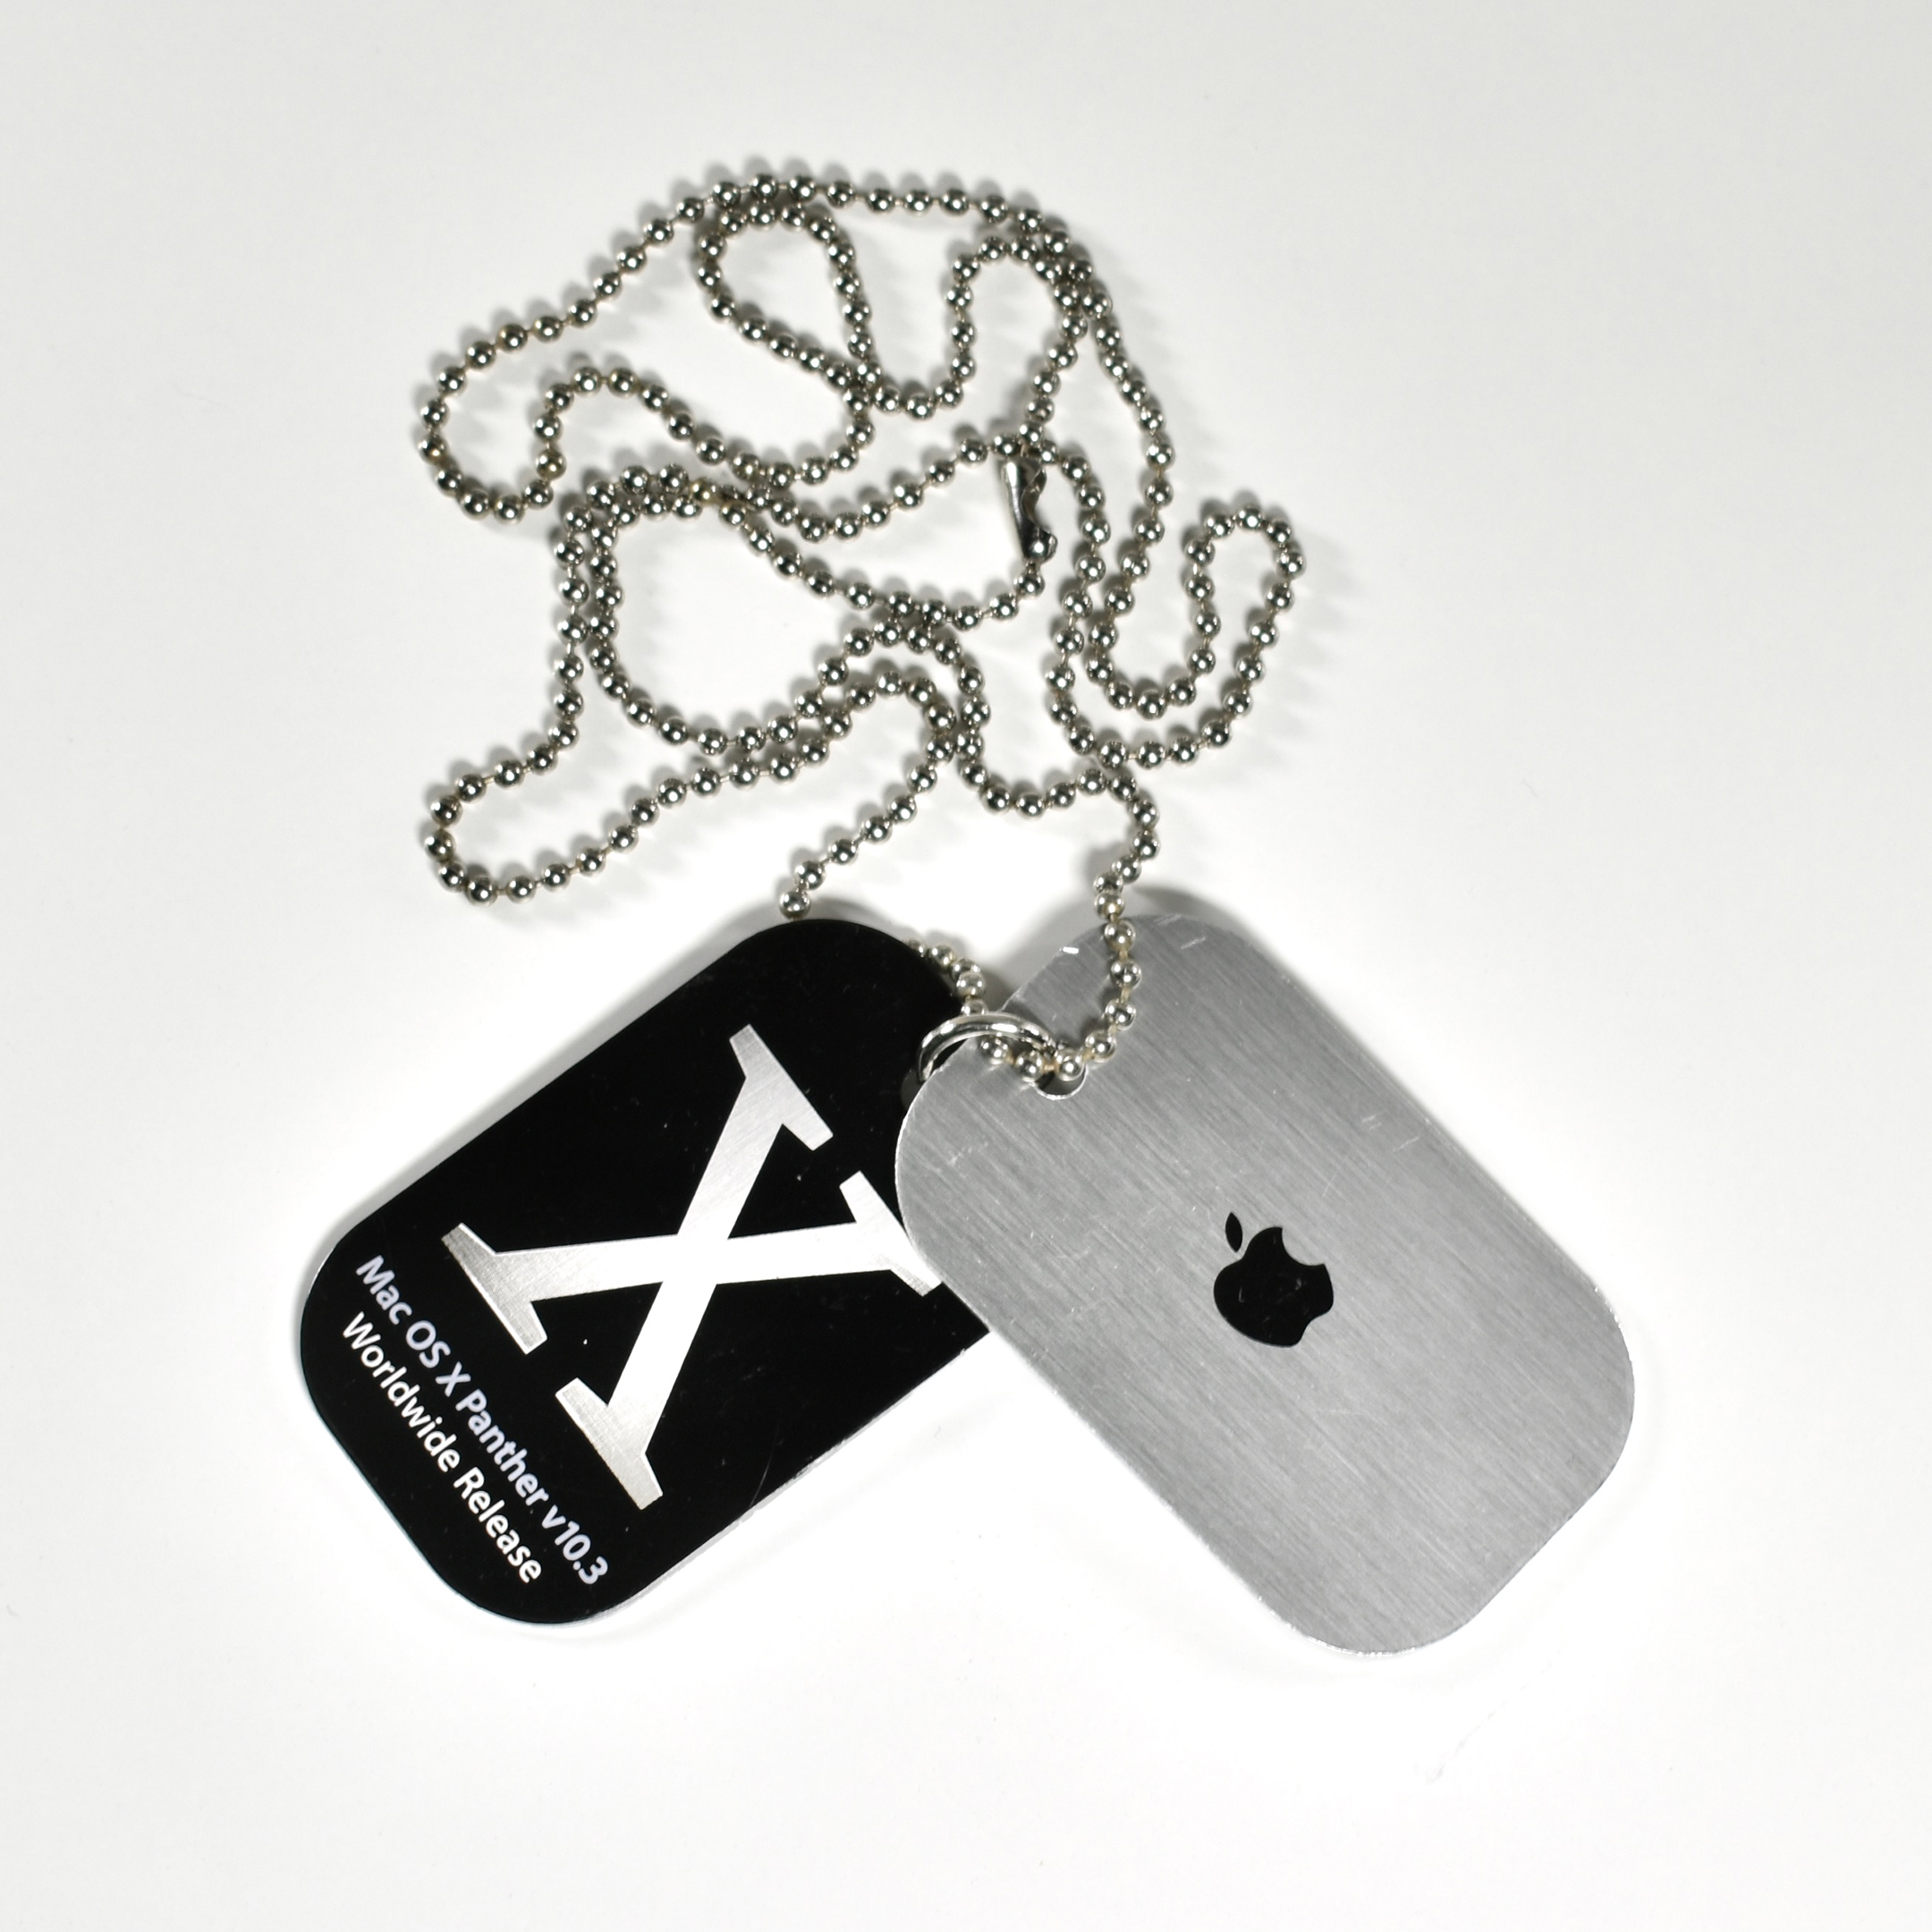
Upon release of Panther, Apple Stores gave customers these commemorative dog tags. Each set includes two two-sided tags—the front tags are black and have a stylized “X” (ten) logo with the words “Mac OS X Panther v10.3 Worldwide Release,” while the back tag only features the stylized “X” logo on the front. Both tags have a silver back with a black Apple logo. The tags are held together with a silver loop, and the set includes a ball chain style neck chain. The dog tags are similar in style to identification worn by military personnel. The tags measure 50×30 mm.
Incidentally, the reason that the stylized “X” (ten) logo appears with a brushed-metal texture is because the operating system’s Finder added this texture to various interface elements, including the menu bar, Finder windows, and some dialog boxes. A version of Safari that preceded Mac OS X v10.3 was the first indication that the brushed-metal design style was forthcoming. Mac OS X v10.3 was also the first Mac OS X version to use Safari as the default web browser.
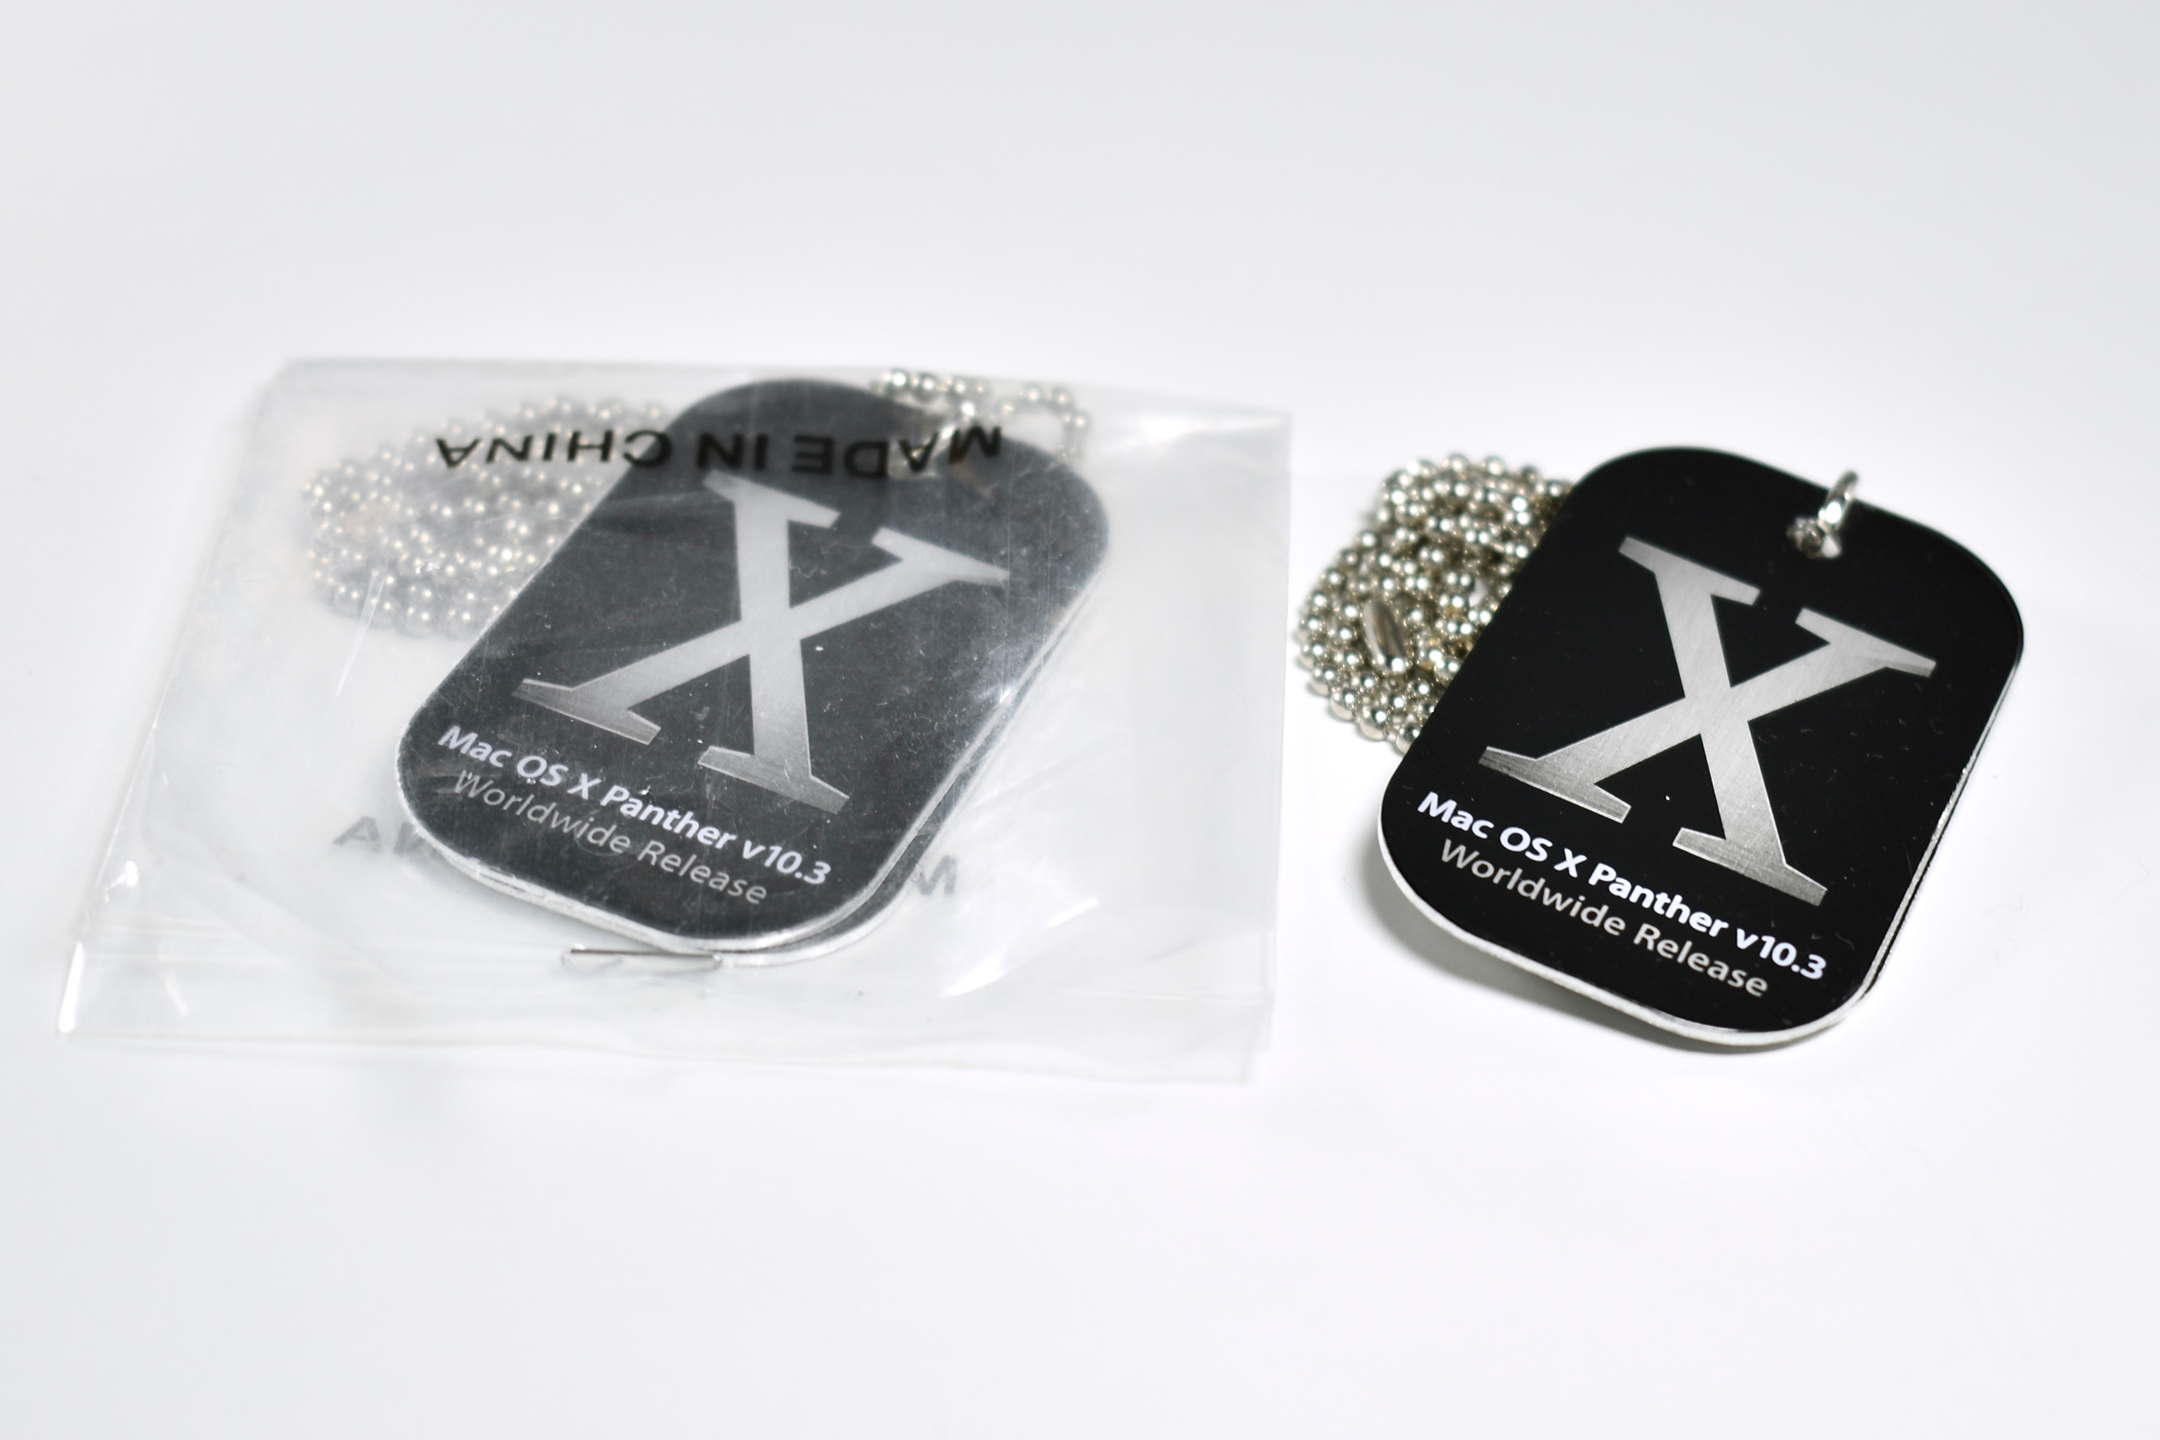
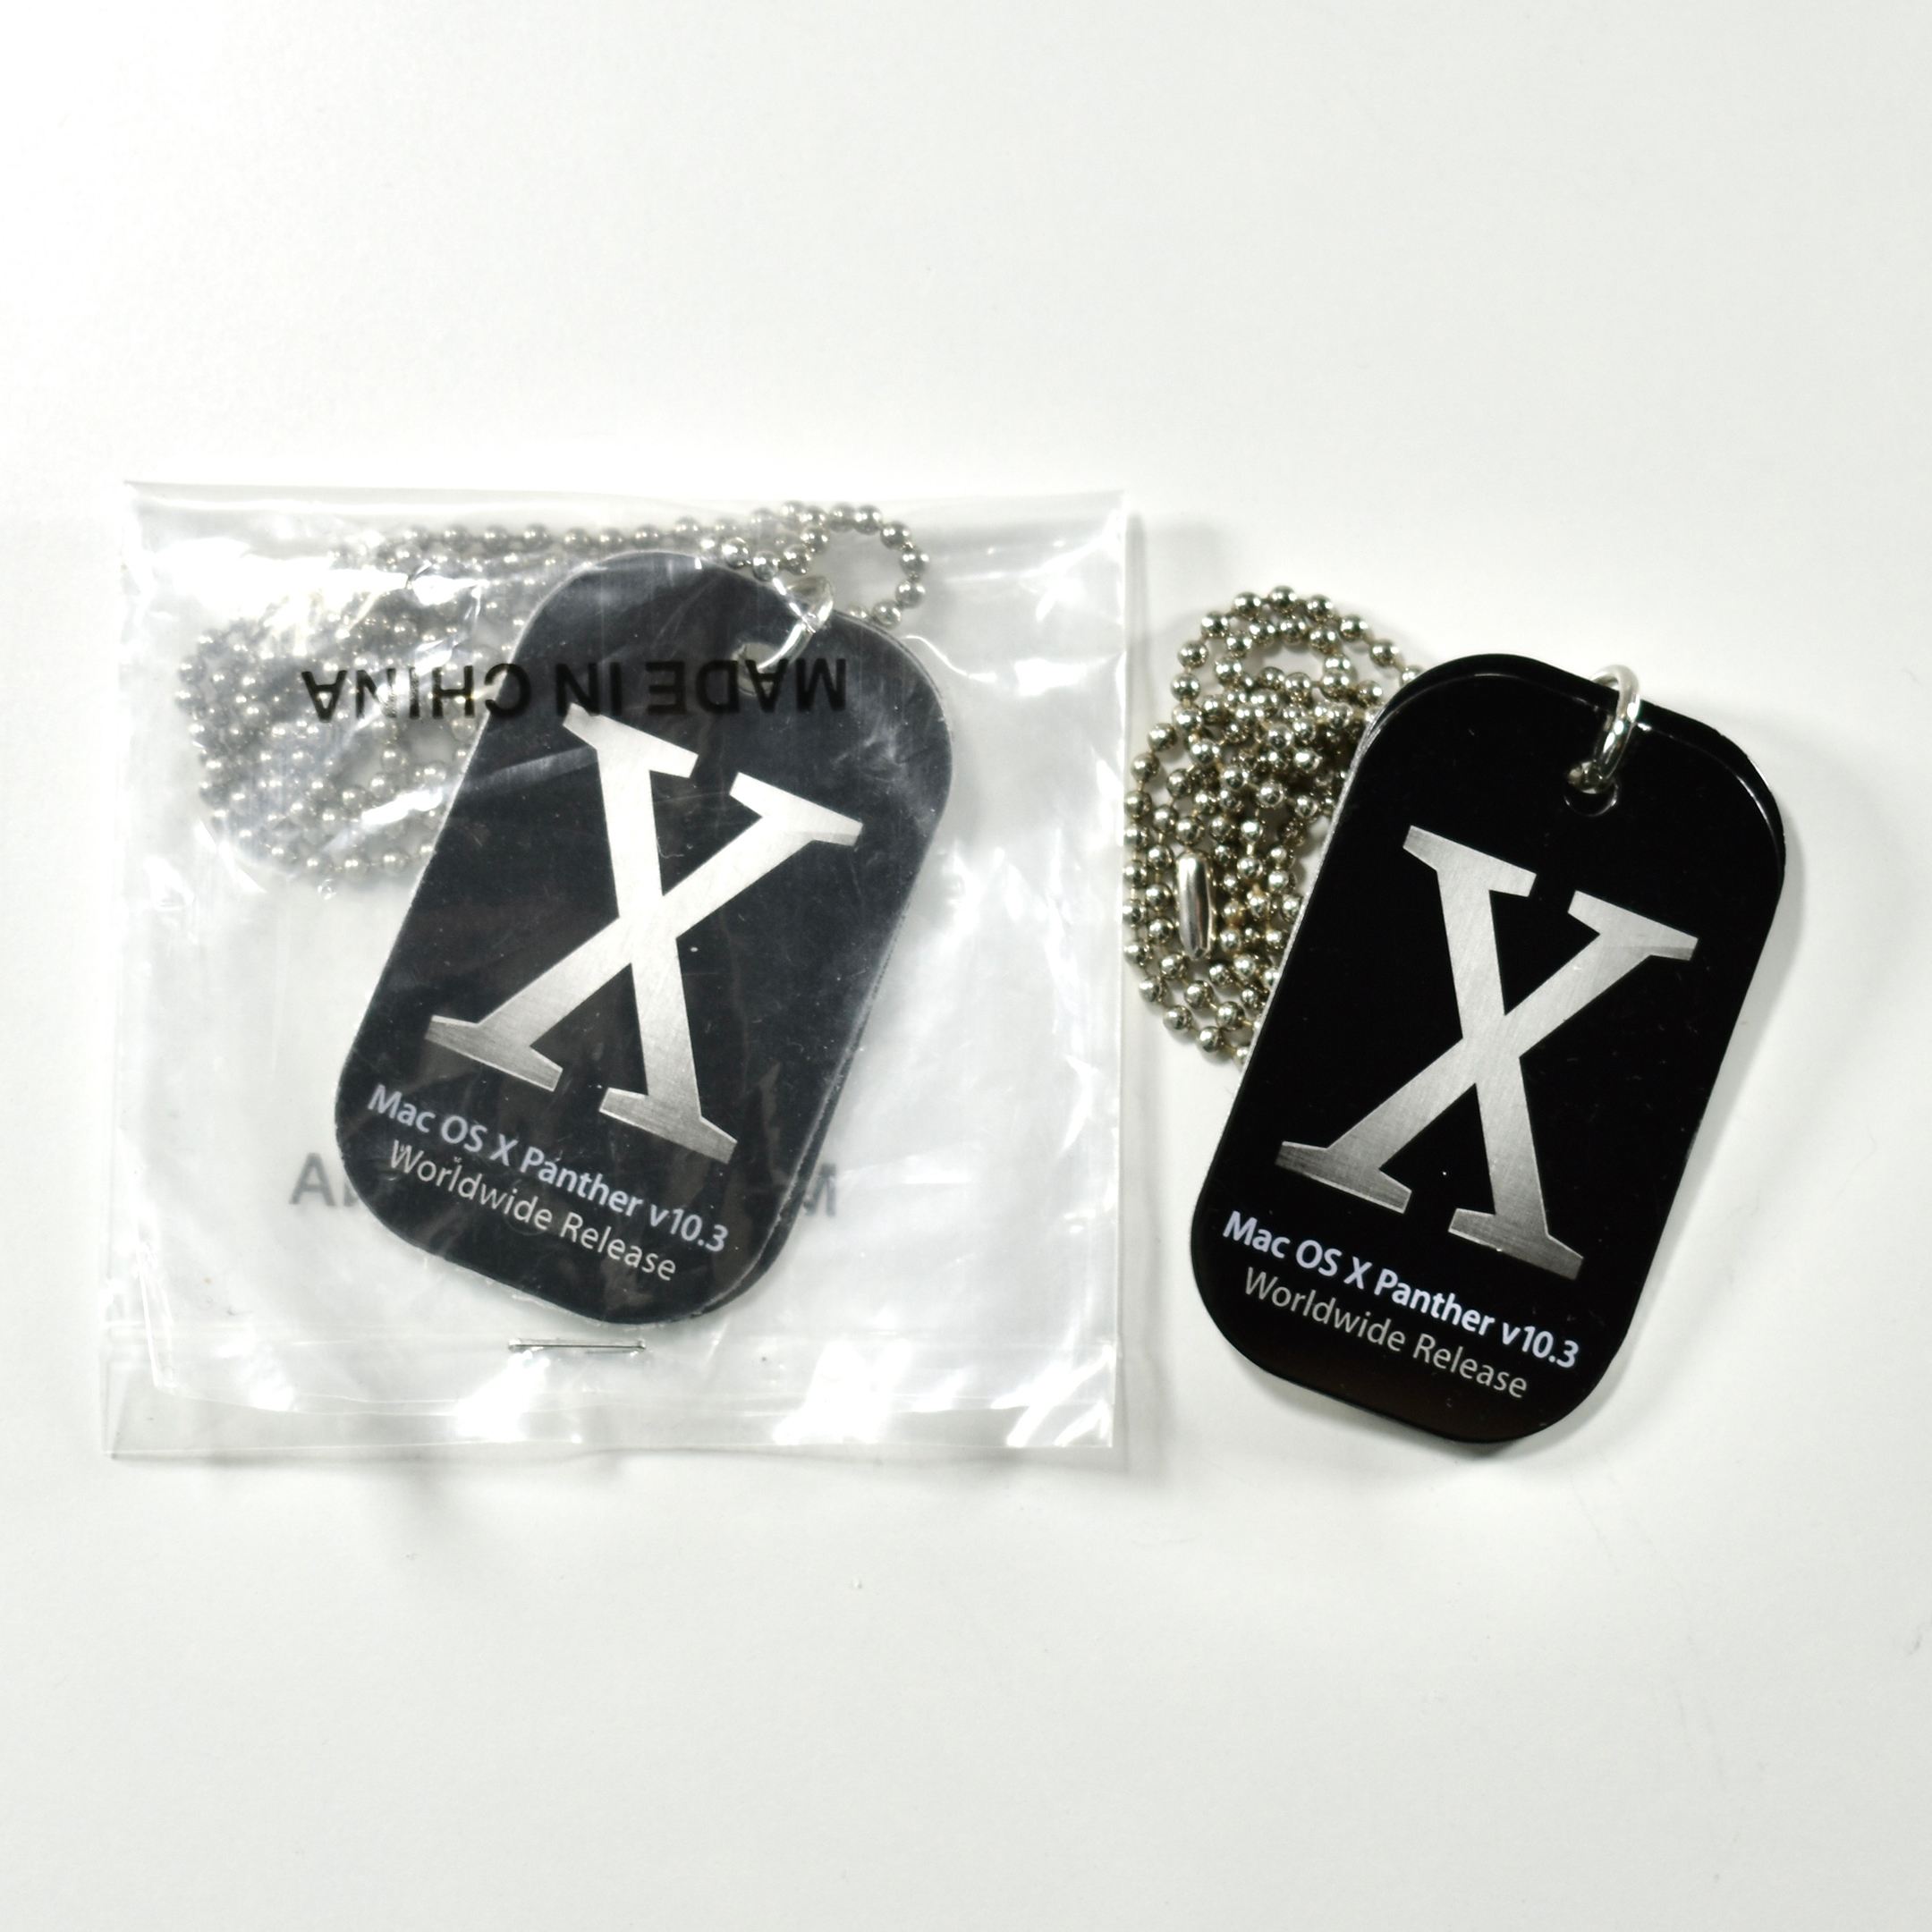
I have two of these sets in my collection, one opened and one unopened in the original package.
Wikipedia (Mac OS X Panther, Ball Chain, Dog Tag)