Xserve Enclosure Key (2003)

The Xserve Enclosure Key shipped with Apple’s Xserve line of racked mounted servers, beginning with the Xserve (Slot Load) model. (The “Slot Load” refers to the slot-loading optical drive built into the server.)

The purpose of the Xserve Enclosure Key was to unlock the physical enclosure (case) of the Xserve. The enclosure lock and status light were located in the upper-left corner of the Xserve over the far-left drive module and next to the power button/light.

According to page 11 of the Xserve User’s Guide: “The lock secures the enclosure and drive modules in the server. It can be locked and unlocked with the enclosure key supplied with the server.”

The Enclosure Key is also pictured on the page of the User’s Guide (page 16) that shows detailed drawings of the Mounting Hardware for the Xserve. This one-color illustration includes various braces, brackets, and screws necessary to mount the Xserve in a rack.

Later in the manual (page 49), the directions specify:

“To secure the drive modules in the server, use the enclosure key to lock them in place.”

Further, when the Security lock was engaged using the enclosure lock tool, further security measures were also in place, namely:

“When the enclosure lock is locked (the light is on), the server may not recognize peripheral devices such as a keyboard and mouse or a storage device. Unlock the lock to use those devices.”

The Xserve Enclosure Key measures 1.5 inches long and the cylinder has a diameter of 0.5 inch.

In my experience, Network Managers who worked in Mac environments in the early-2000s regularly carried an Xserve Enclosure Key with them on their keychain using the handy loop included on the tool. While certainly practical, I also felt like the tool was considered a “badge of honor” among a very specific subset of techies.

Sources: Apple (manuals)

Apple Watch Sizing Guide (2021)

Beginning in 2020 Apple began offering Apple Watch band designs that were specifically sized to wrists. These bands included the Apple Watch Solo Loop and the Apple Watch Braided Solo Loop. These Apple Watch bands were available in sizes 1–12.

In order to allow individuals to determine their Apple Watch Band size, Apple provided three methods:

1. Printable Tool (online PDF)

2. Everyday items (using a “tailor’s measuring tape” or a narrow strip of paper)

3. Sizing Tool (in-store paper tool)

Options 1 and 2 were available online. After measuring your wrist, Apple provided an online converter that allowed users to enter their wrist size to a maximum of 10 15/16 inch (although the Solo Loop only fit wrists to a maximum of 8 2/16 inches).
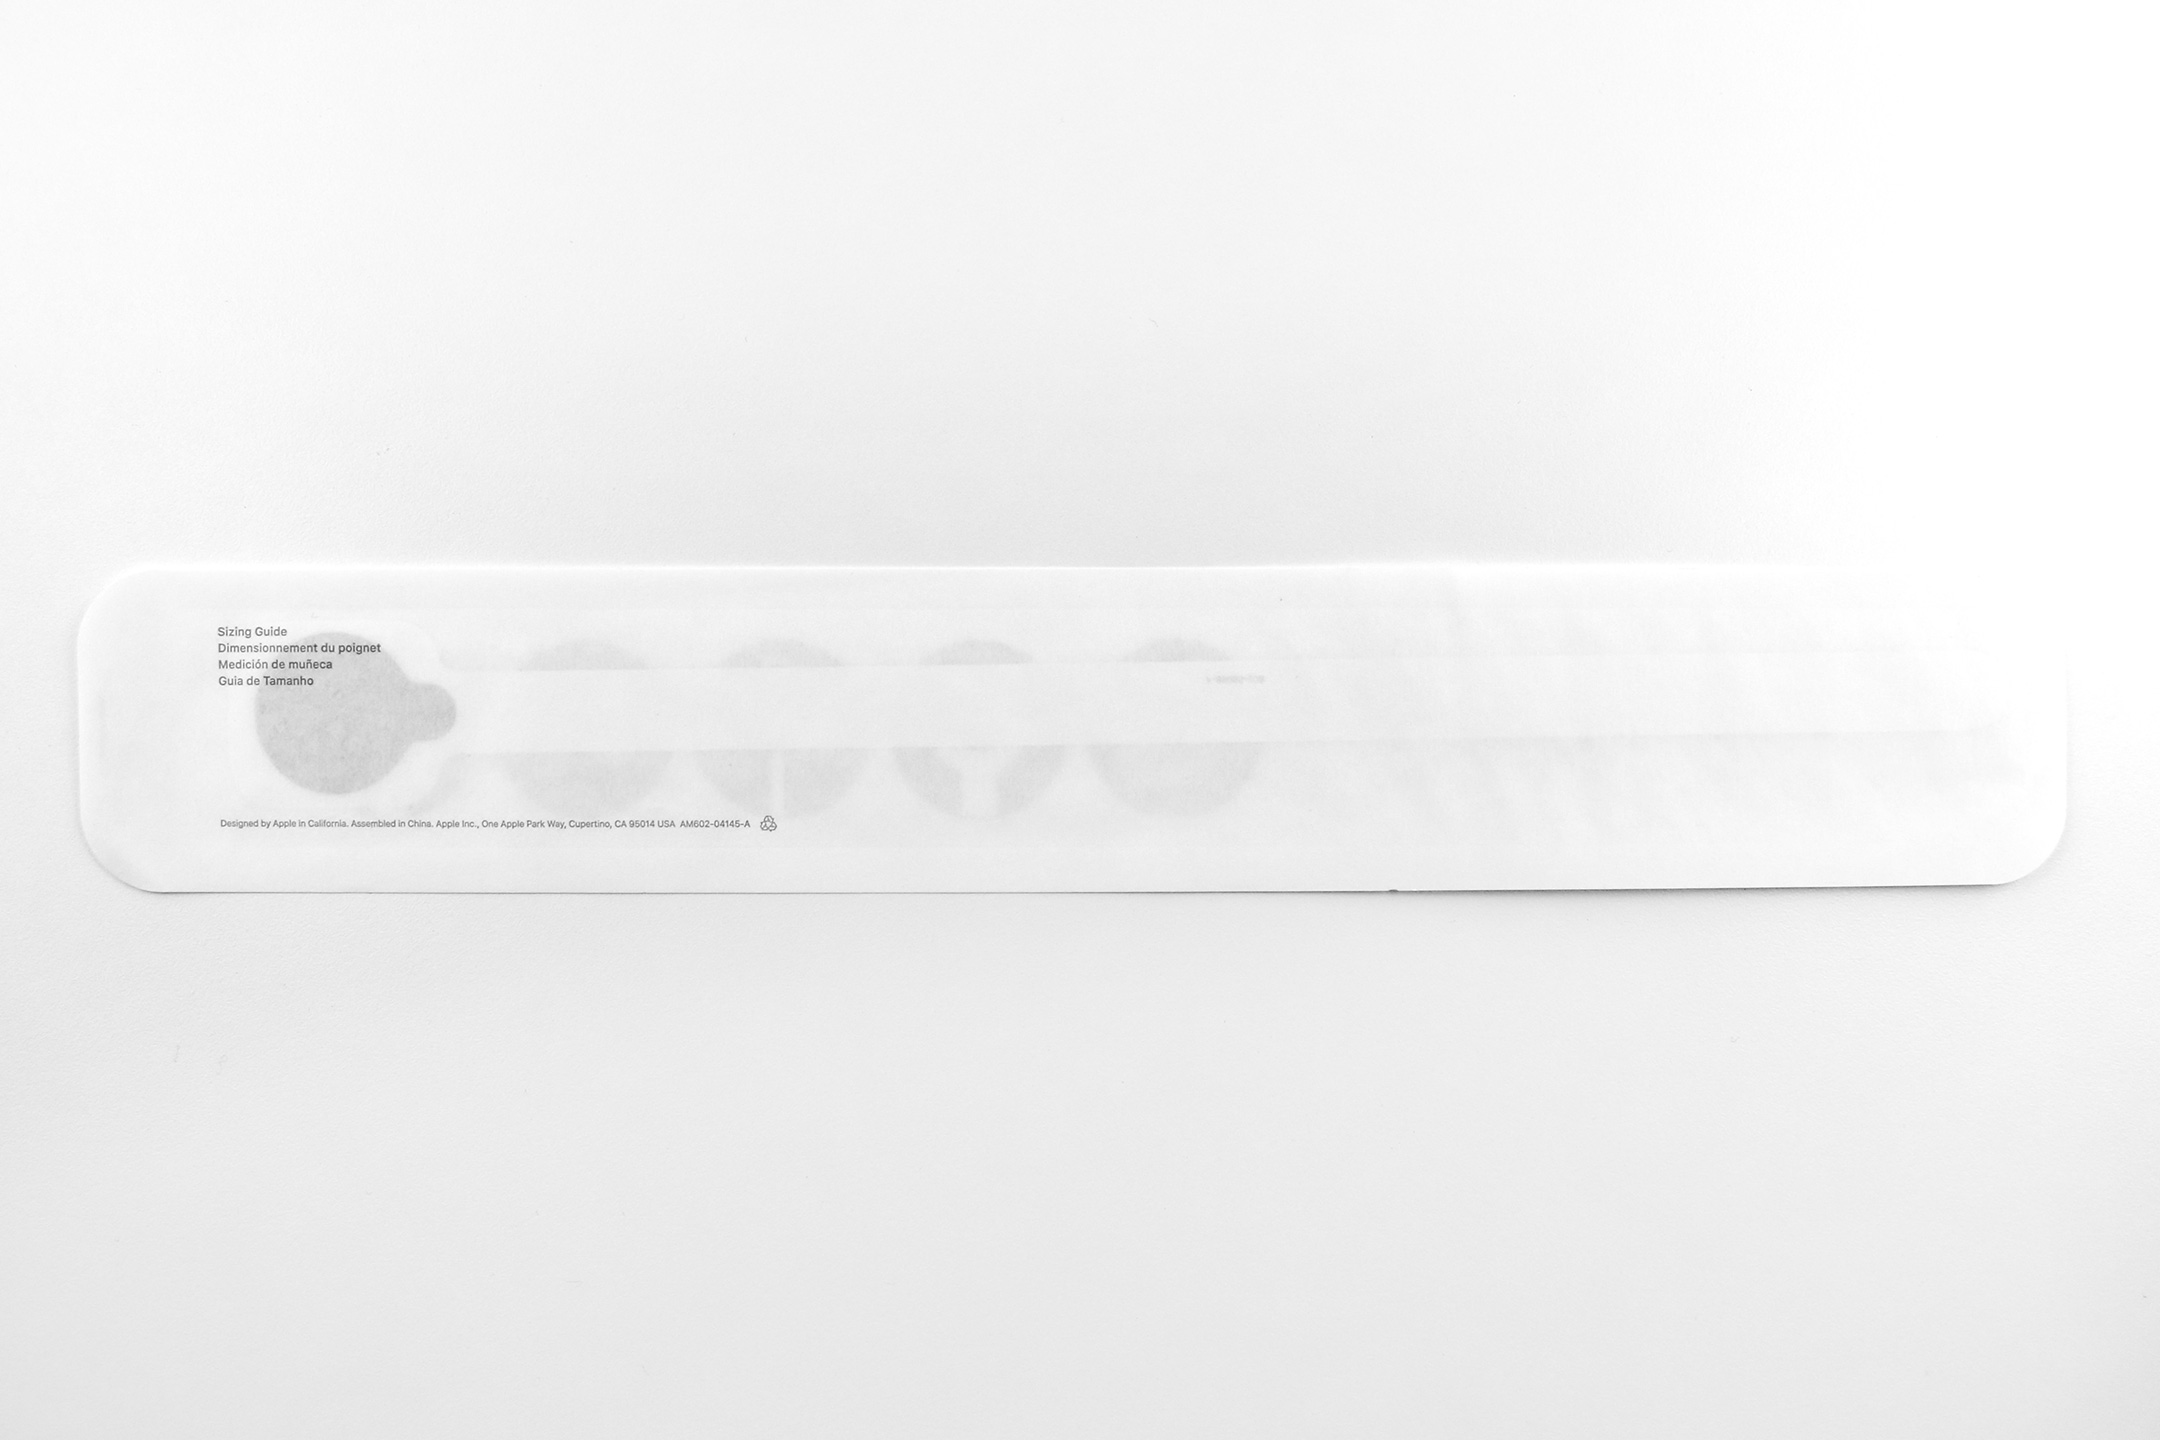
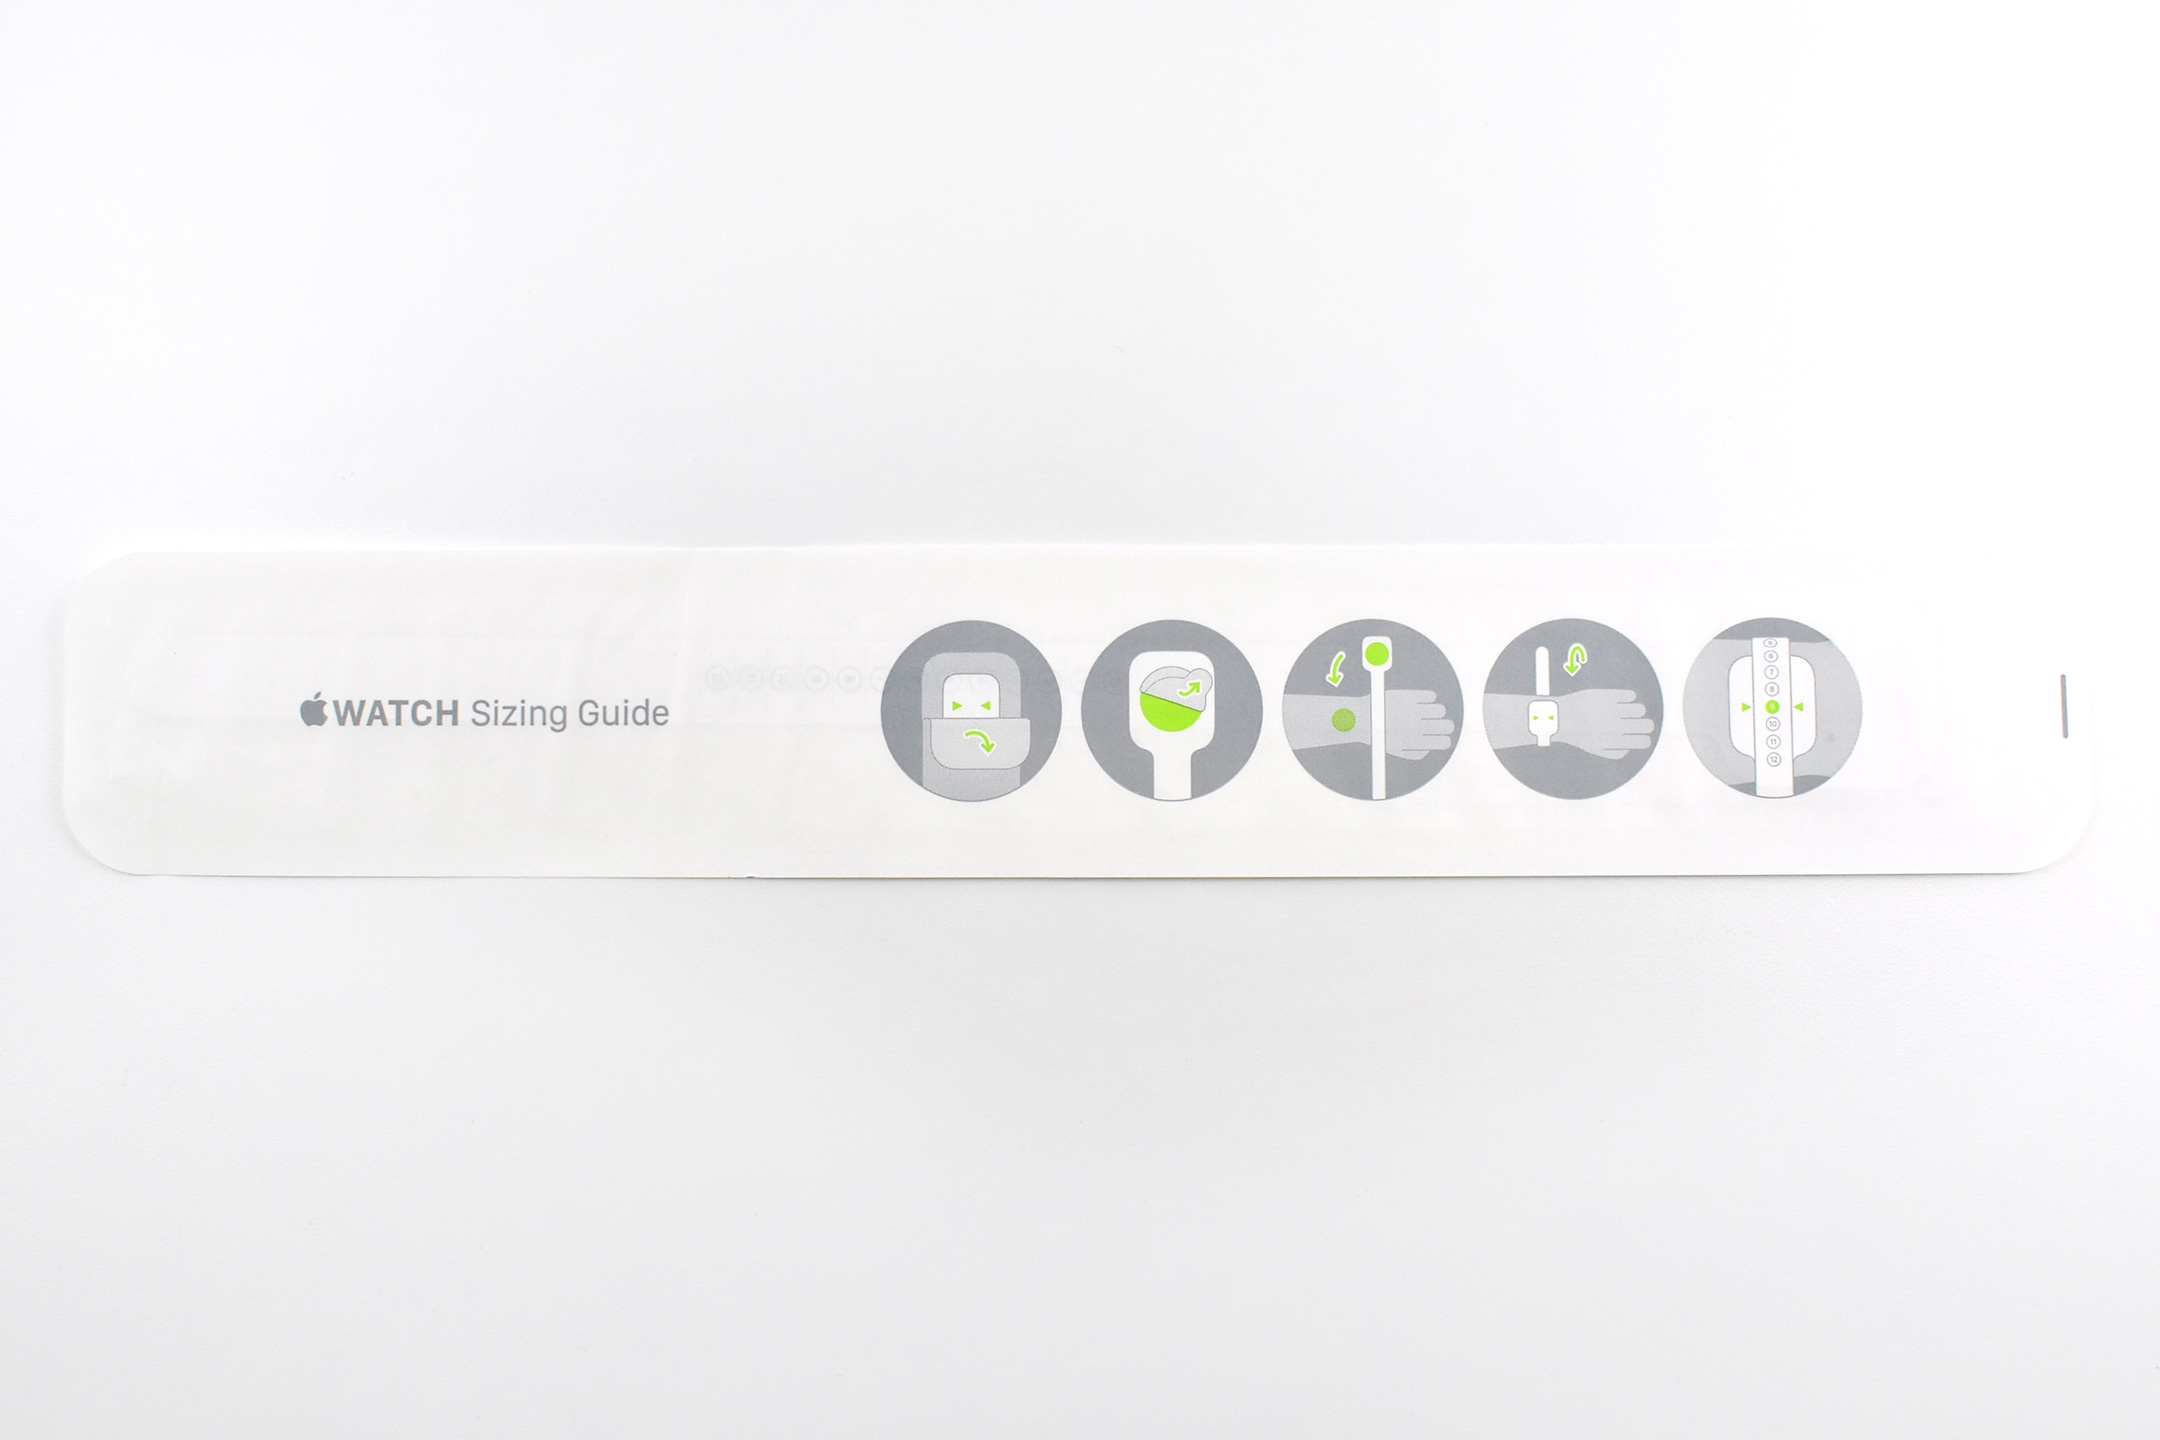
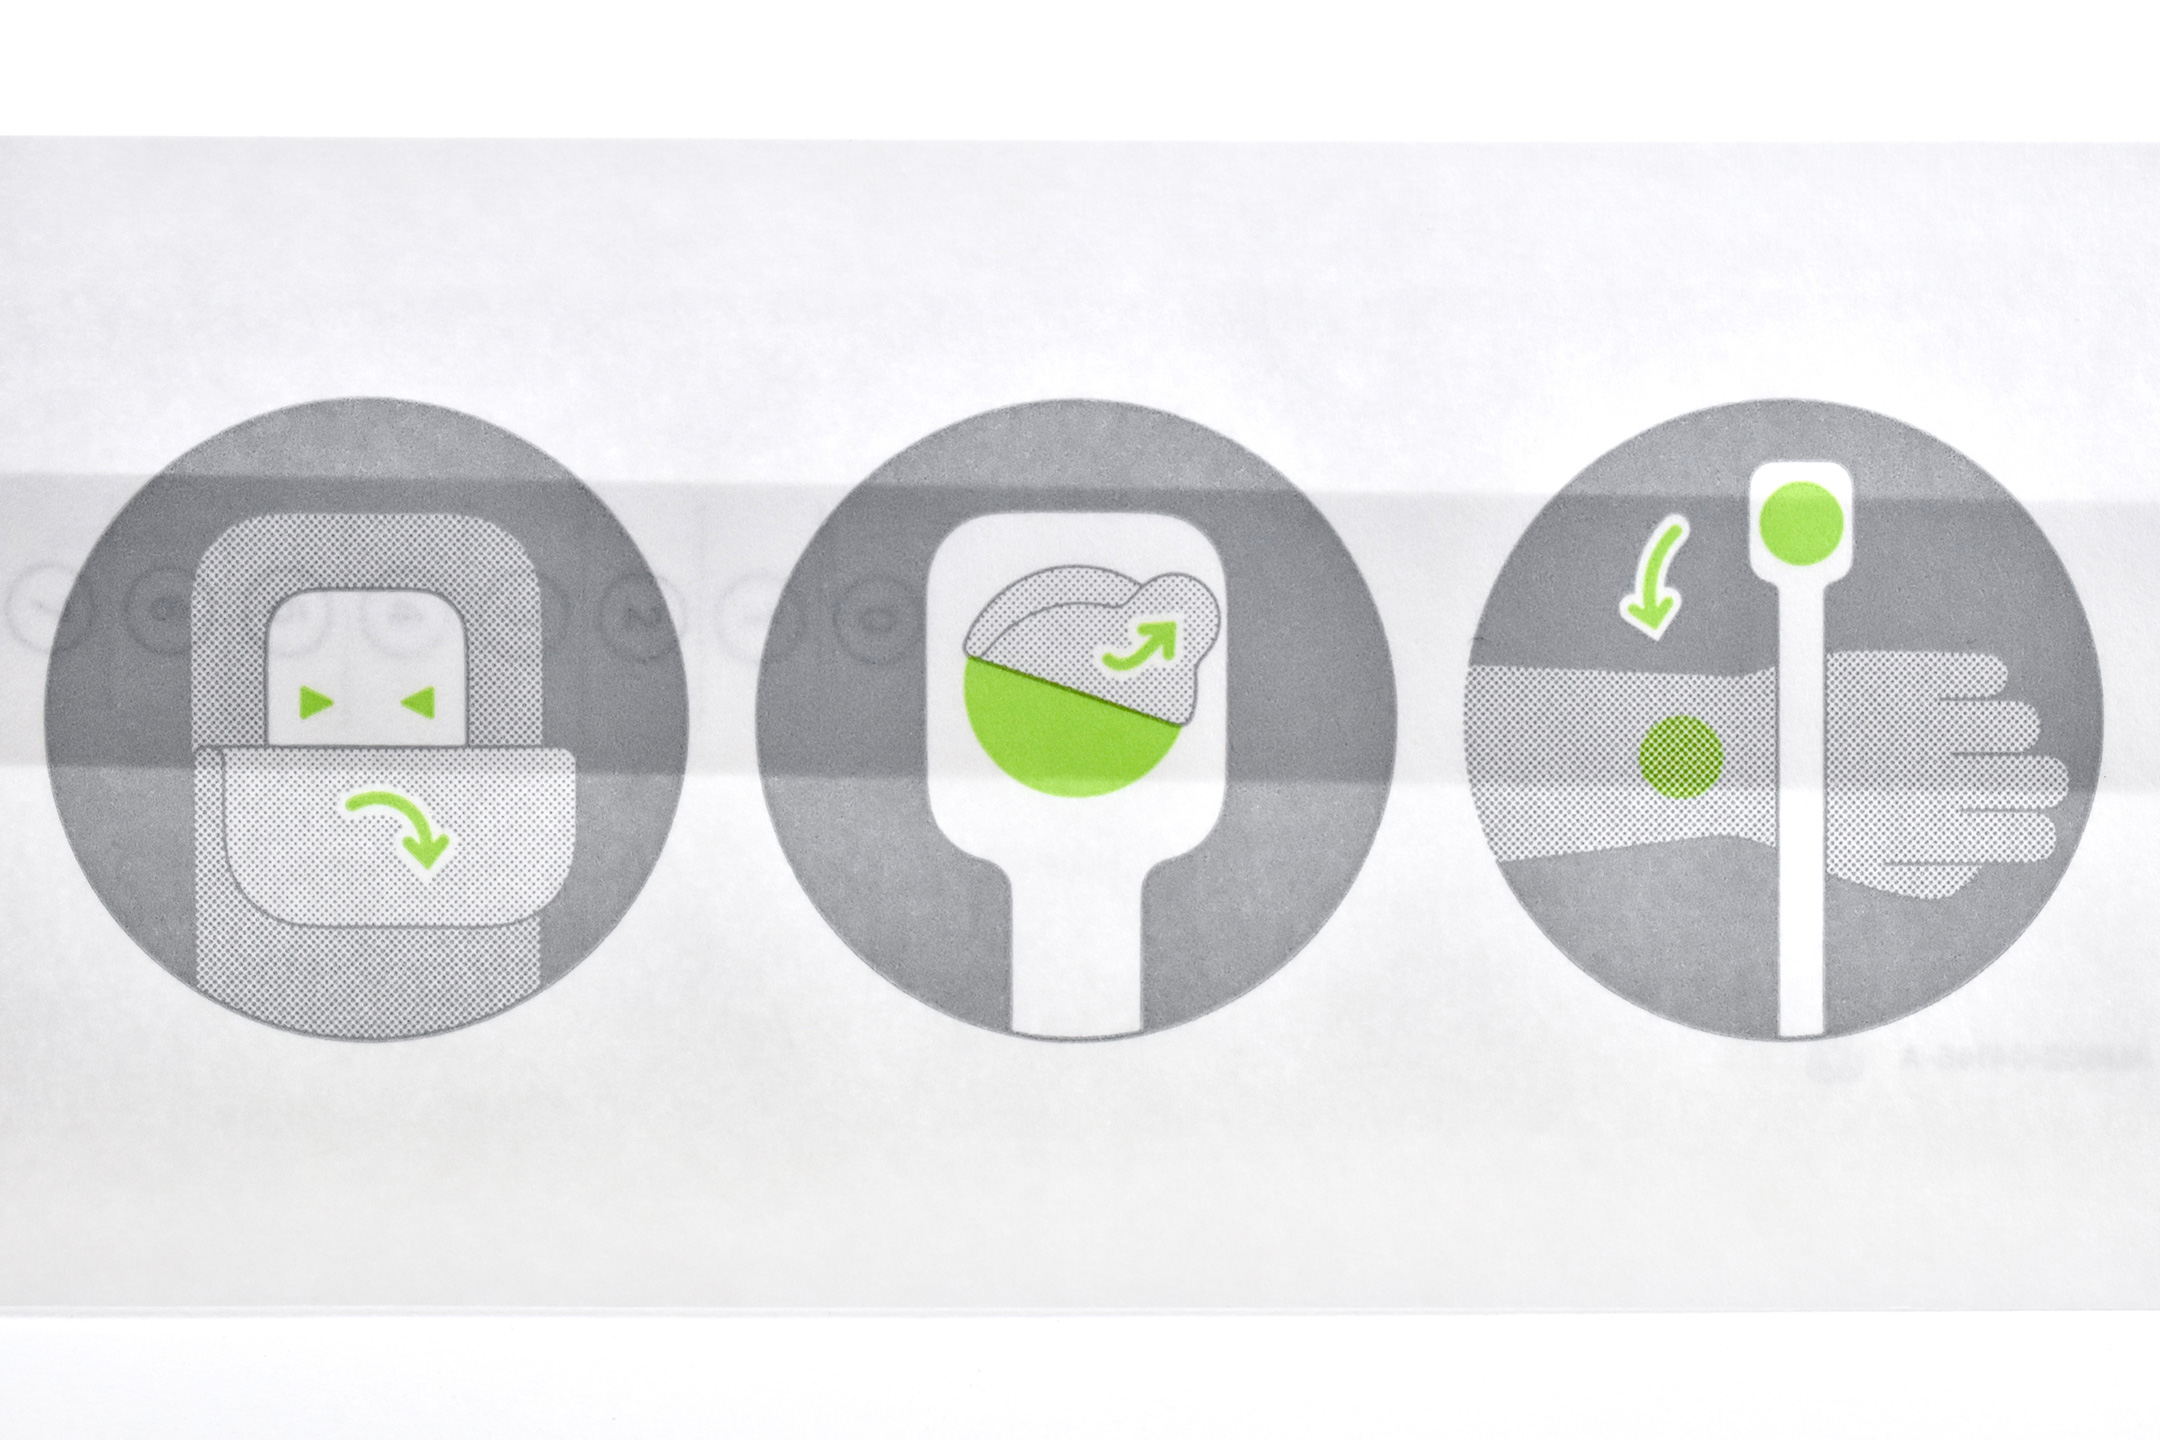
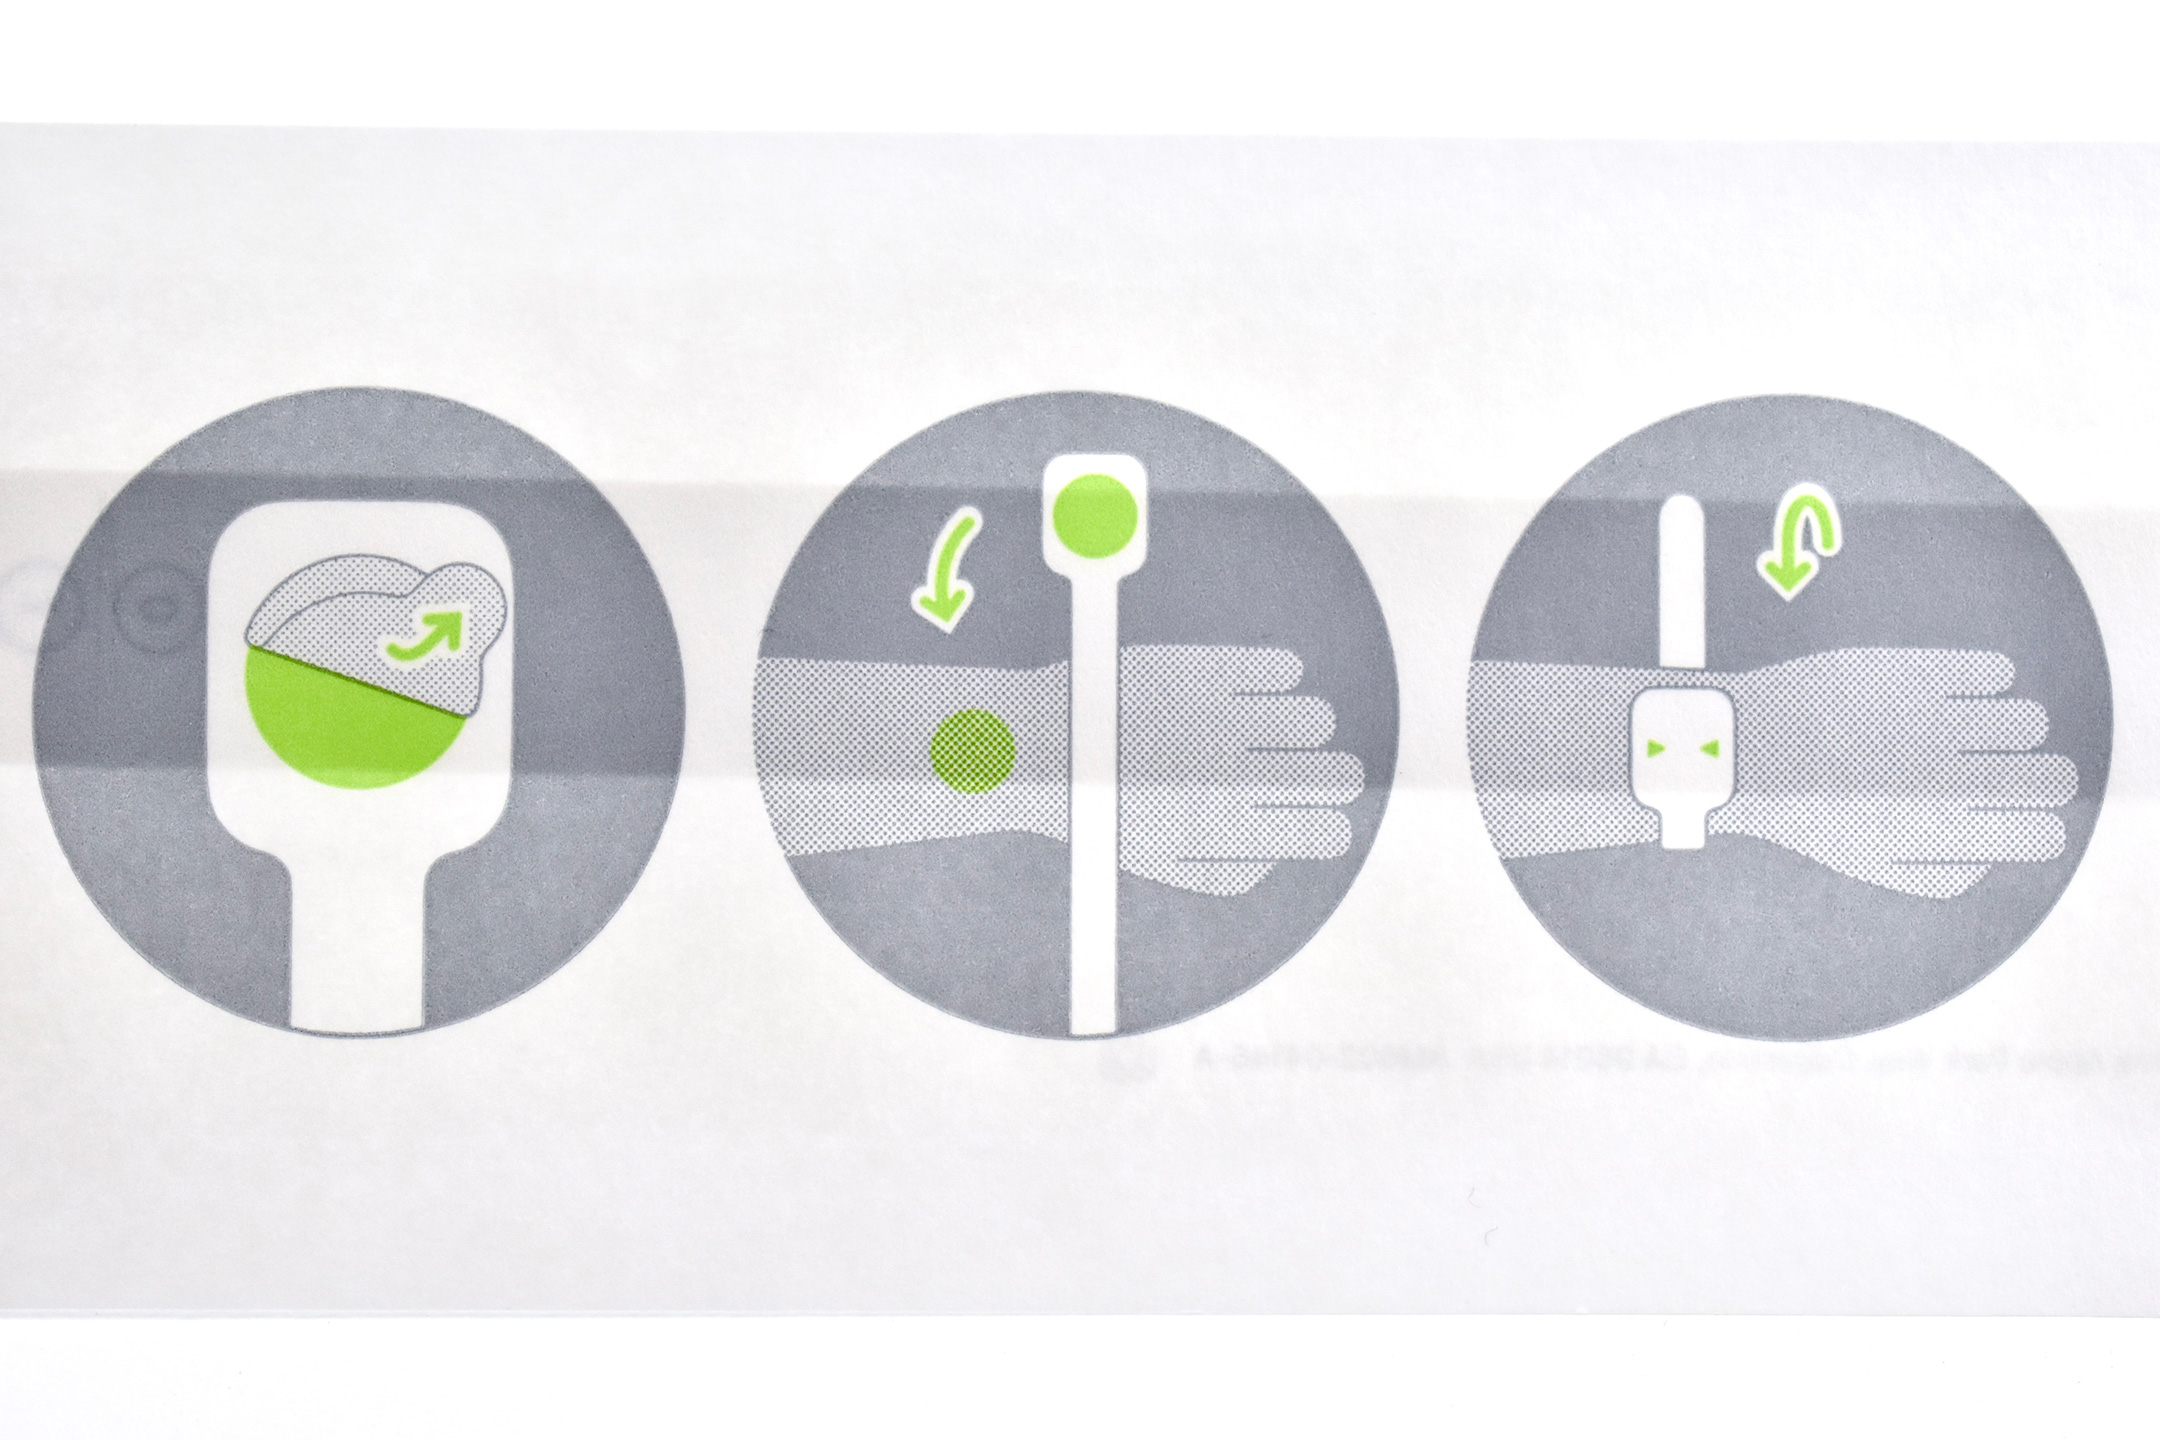
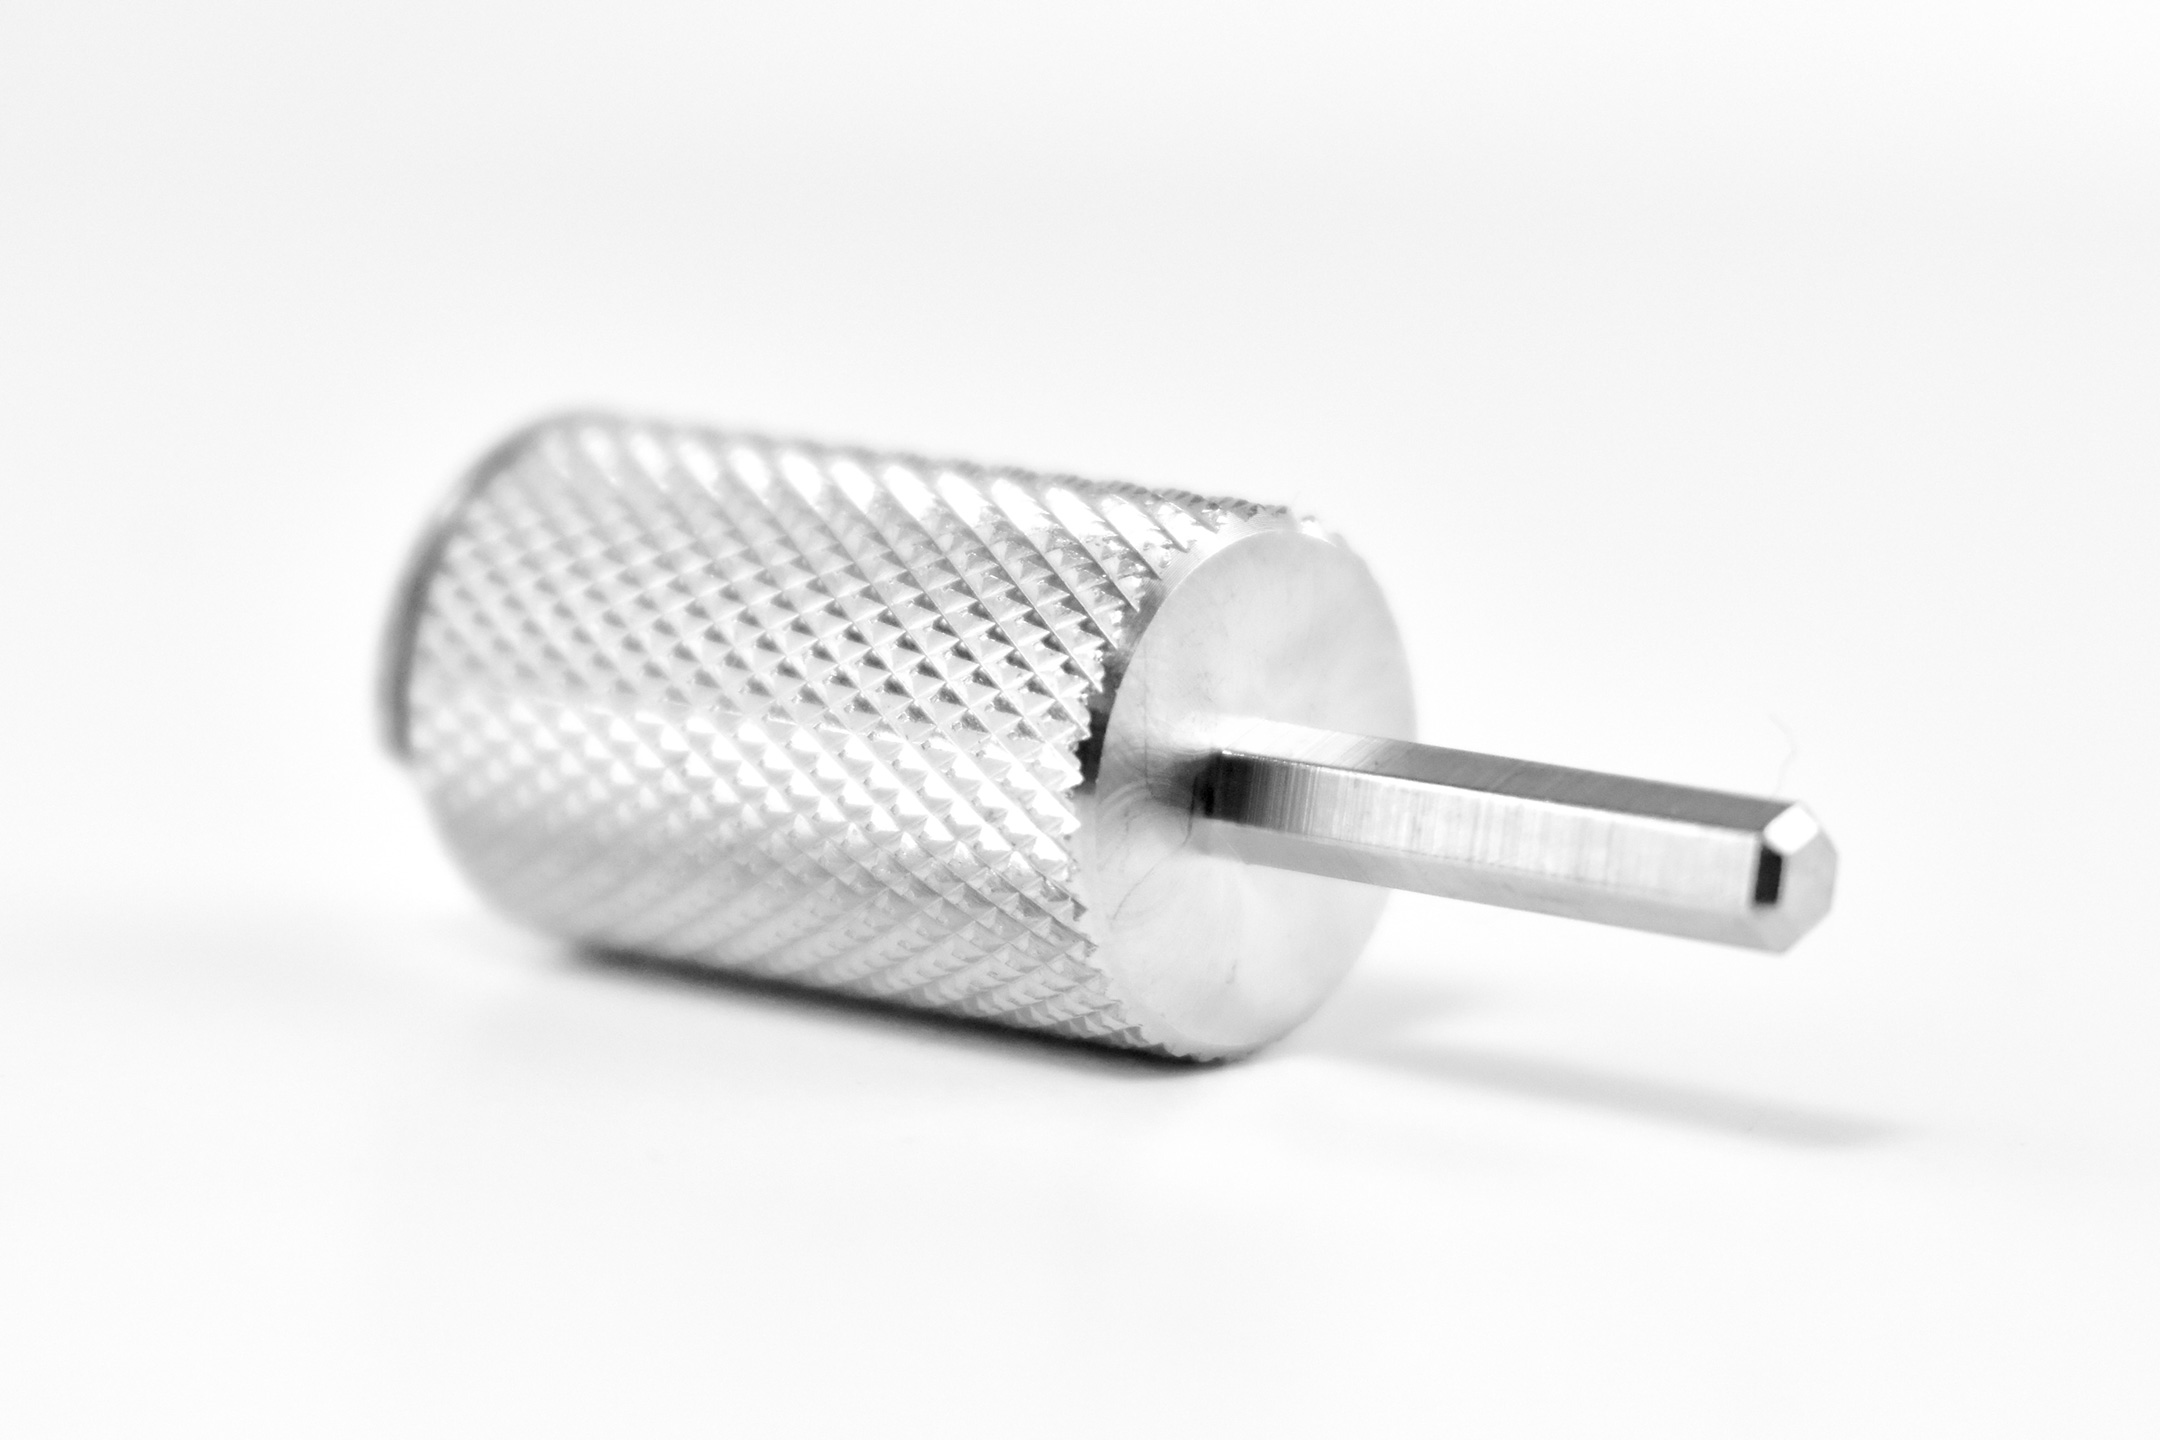
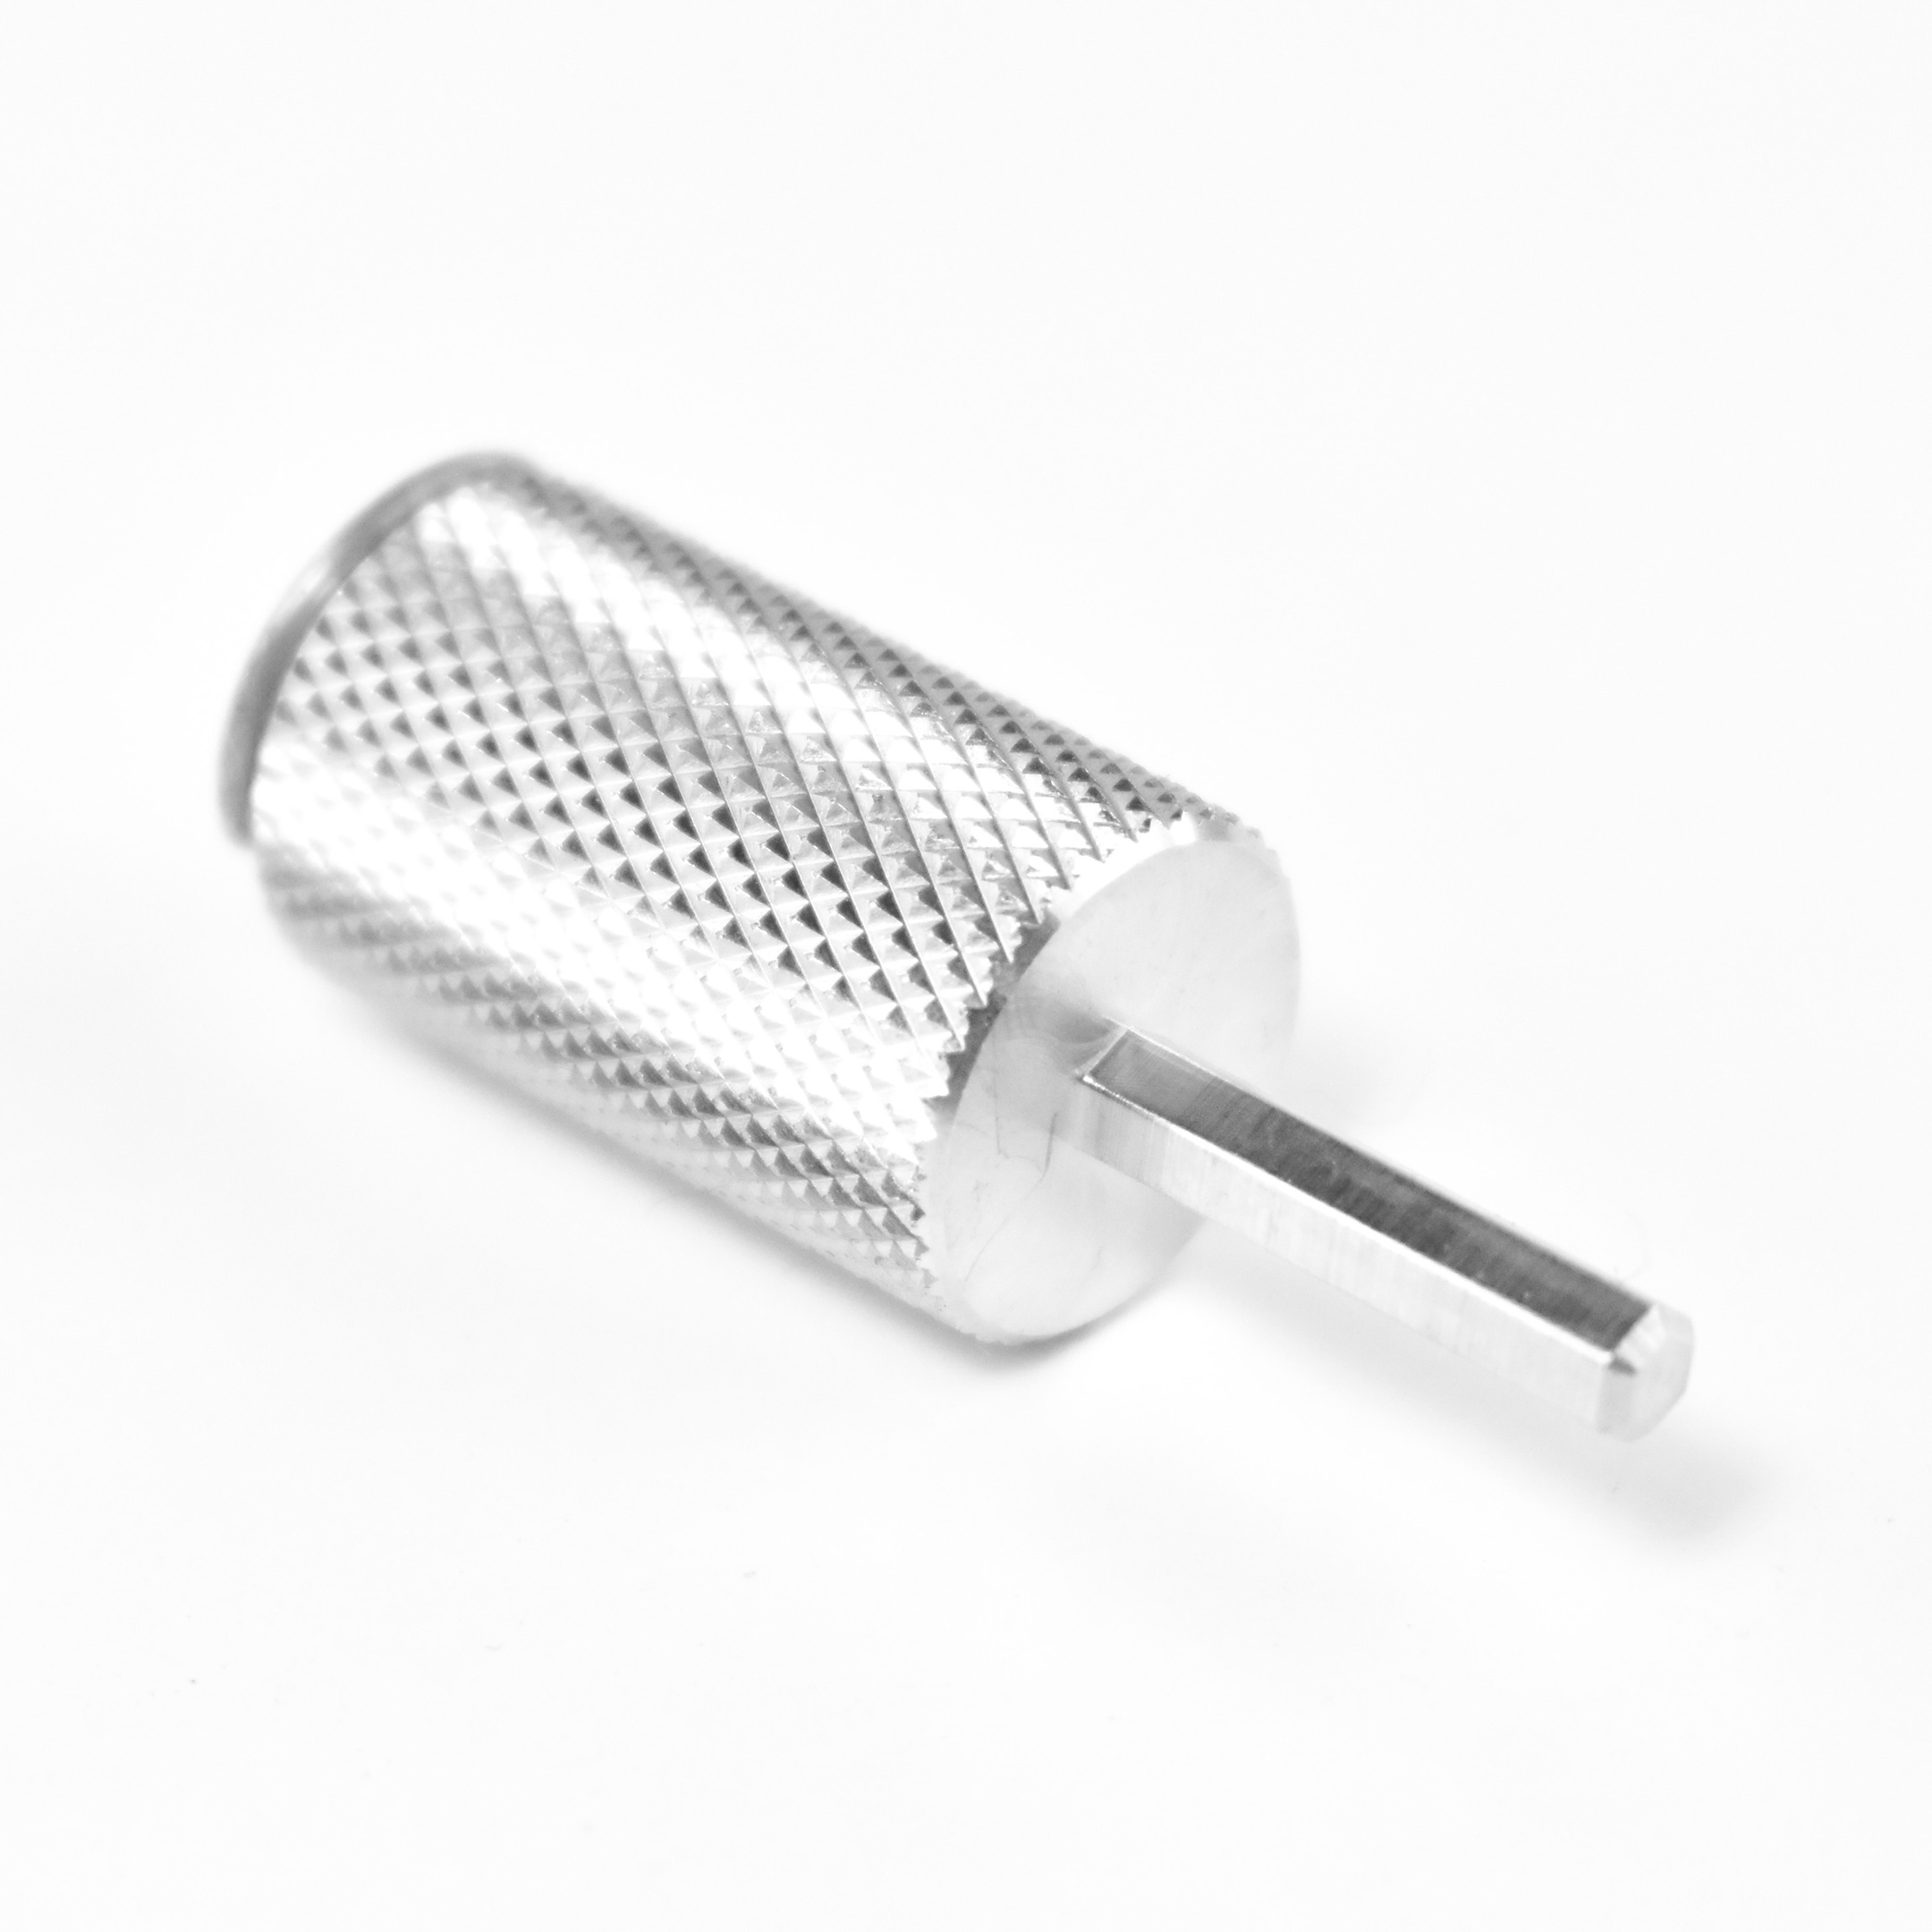
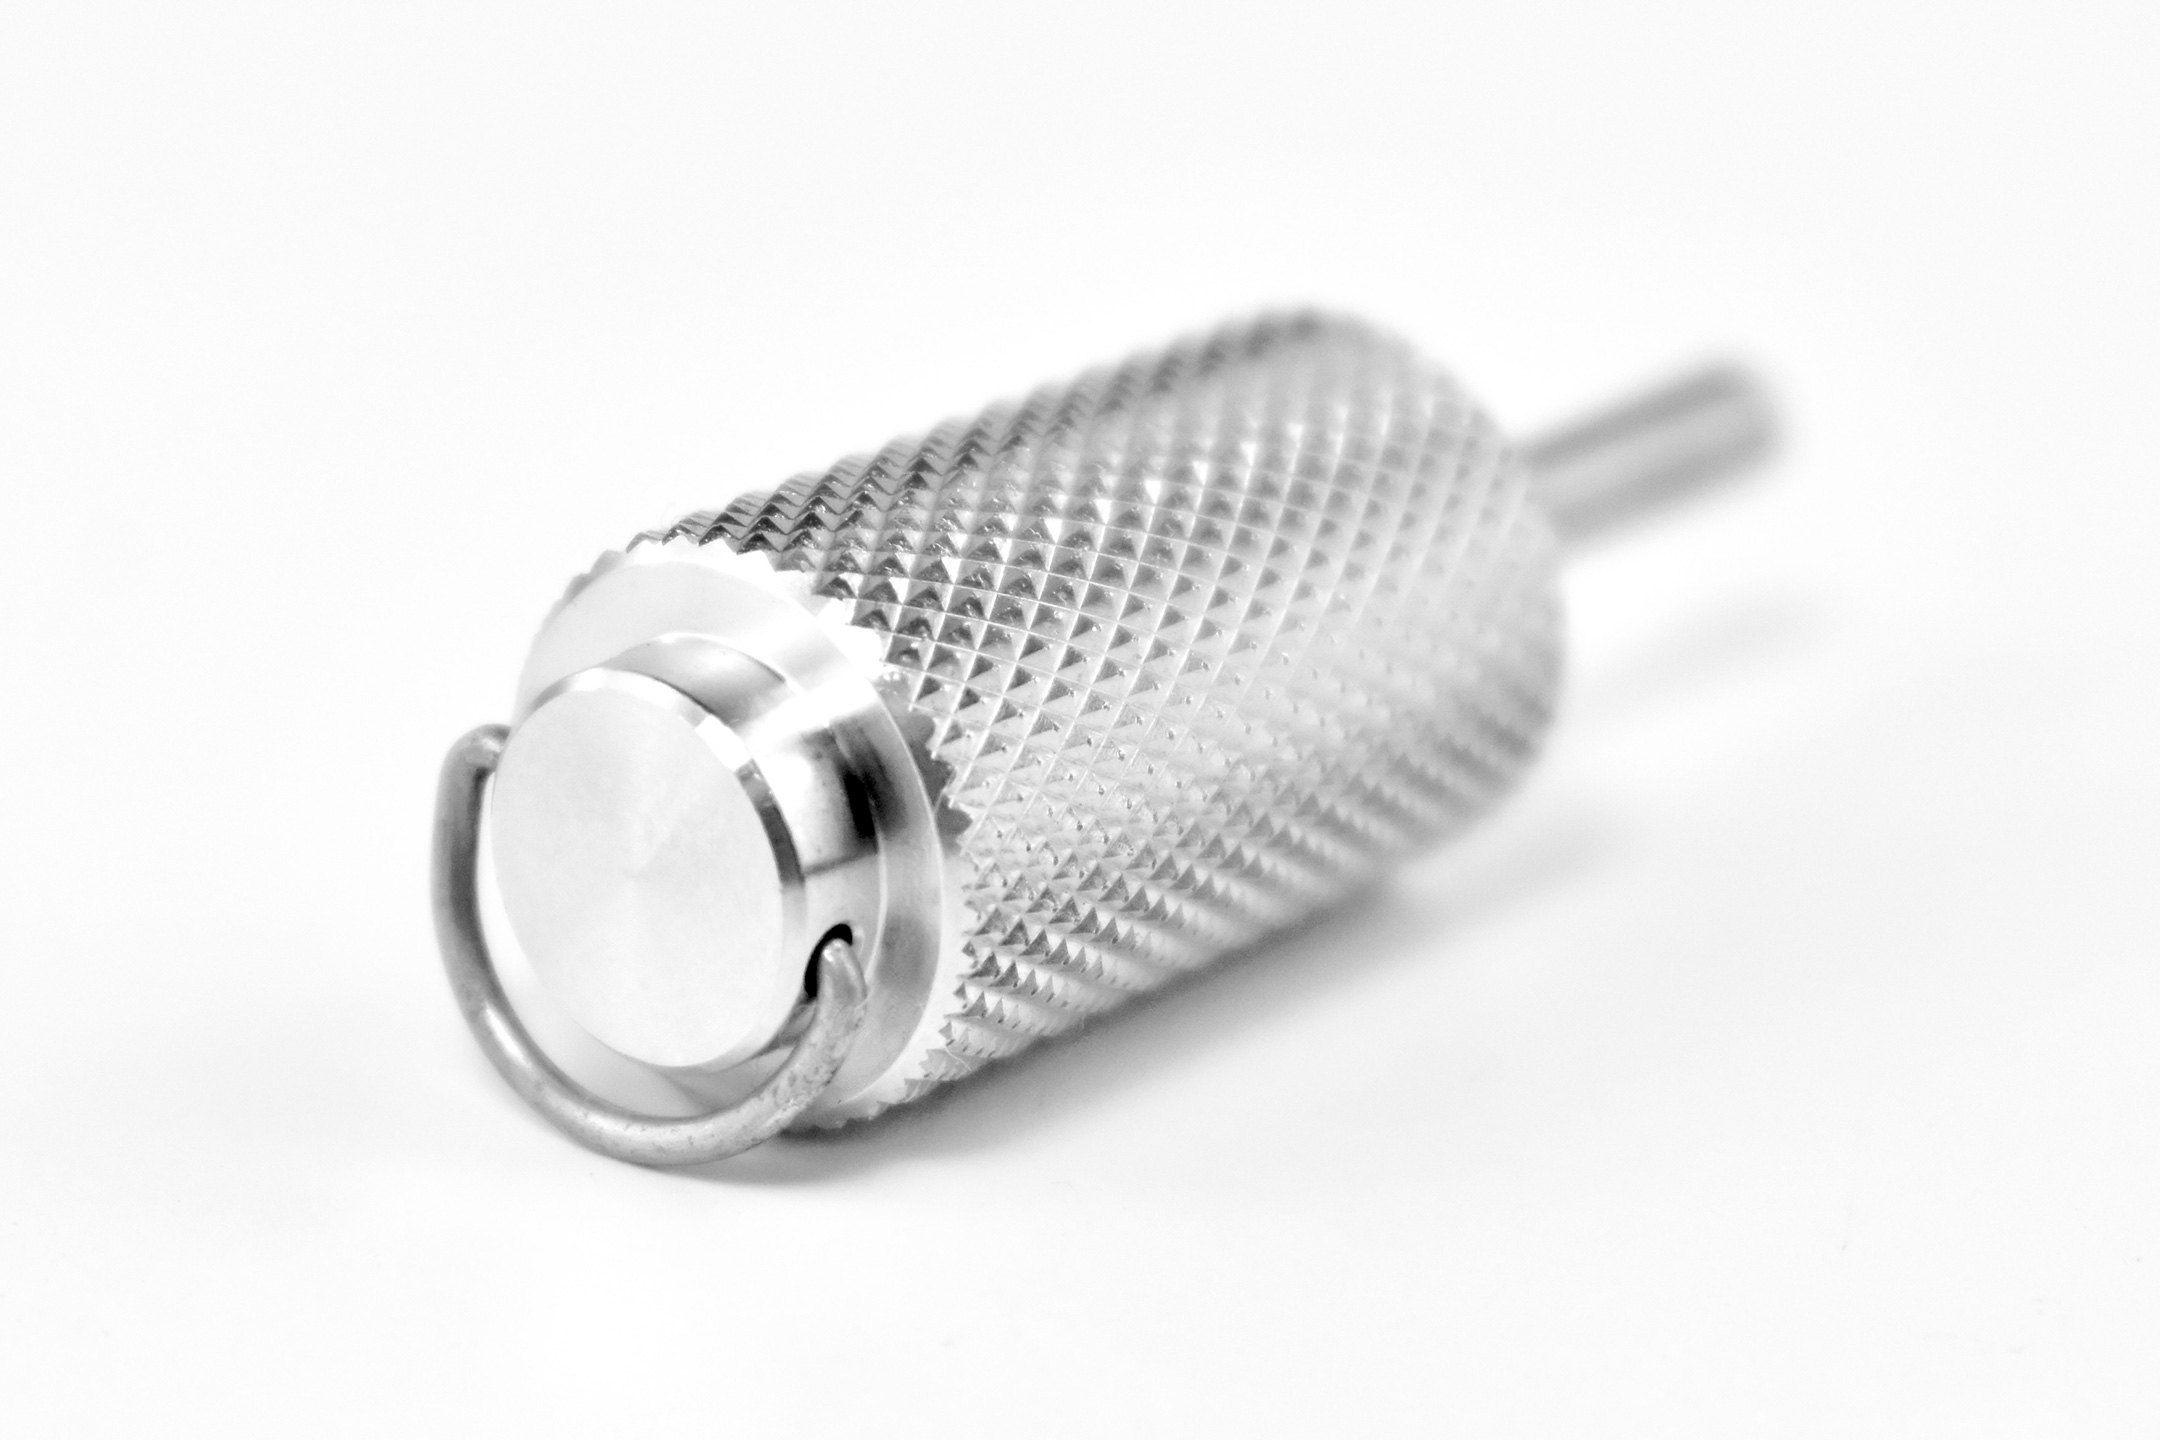
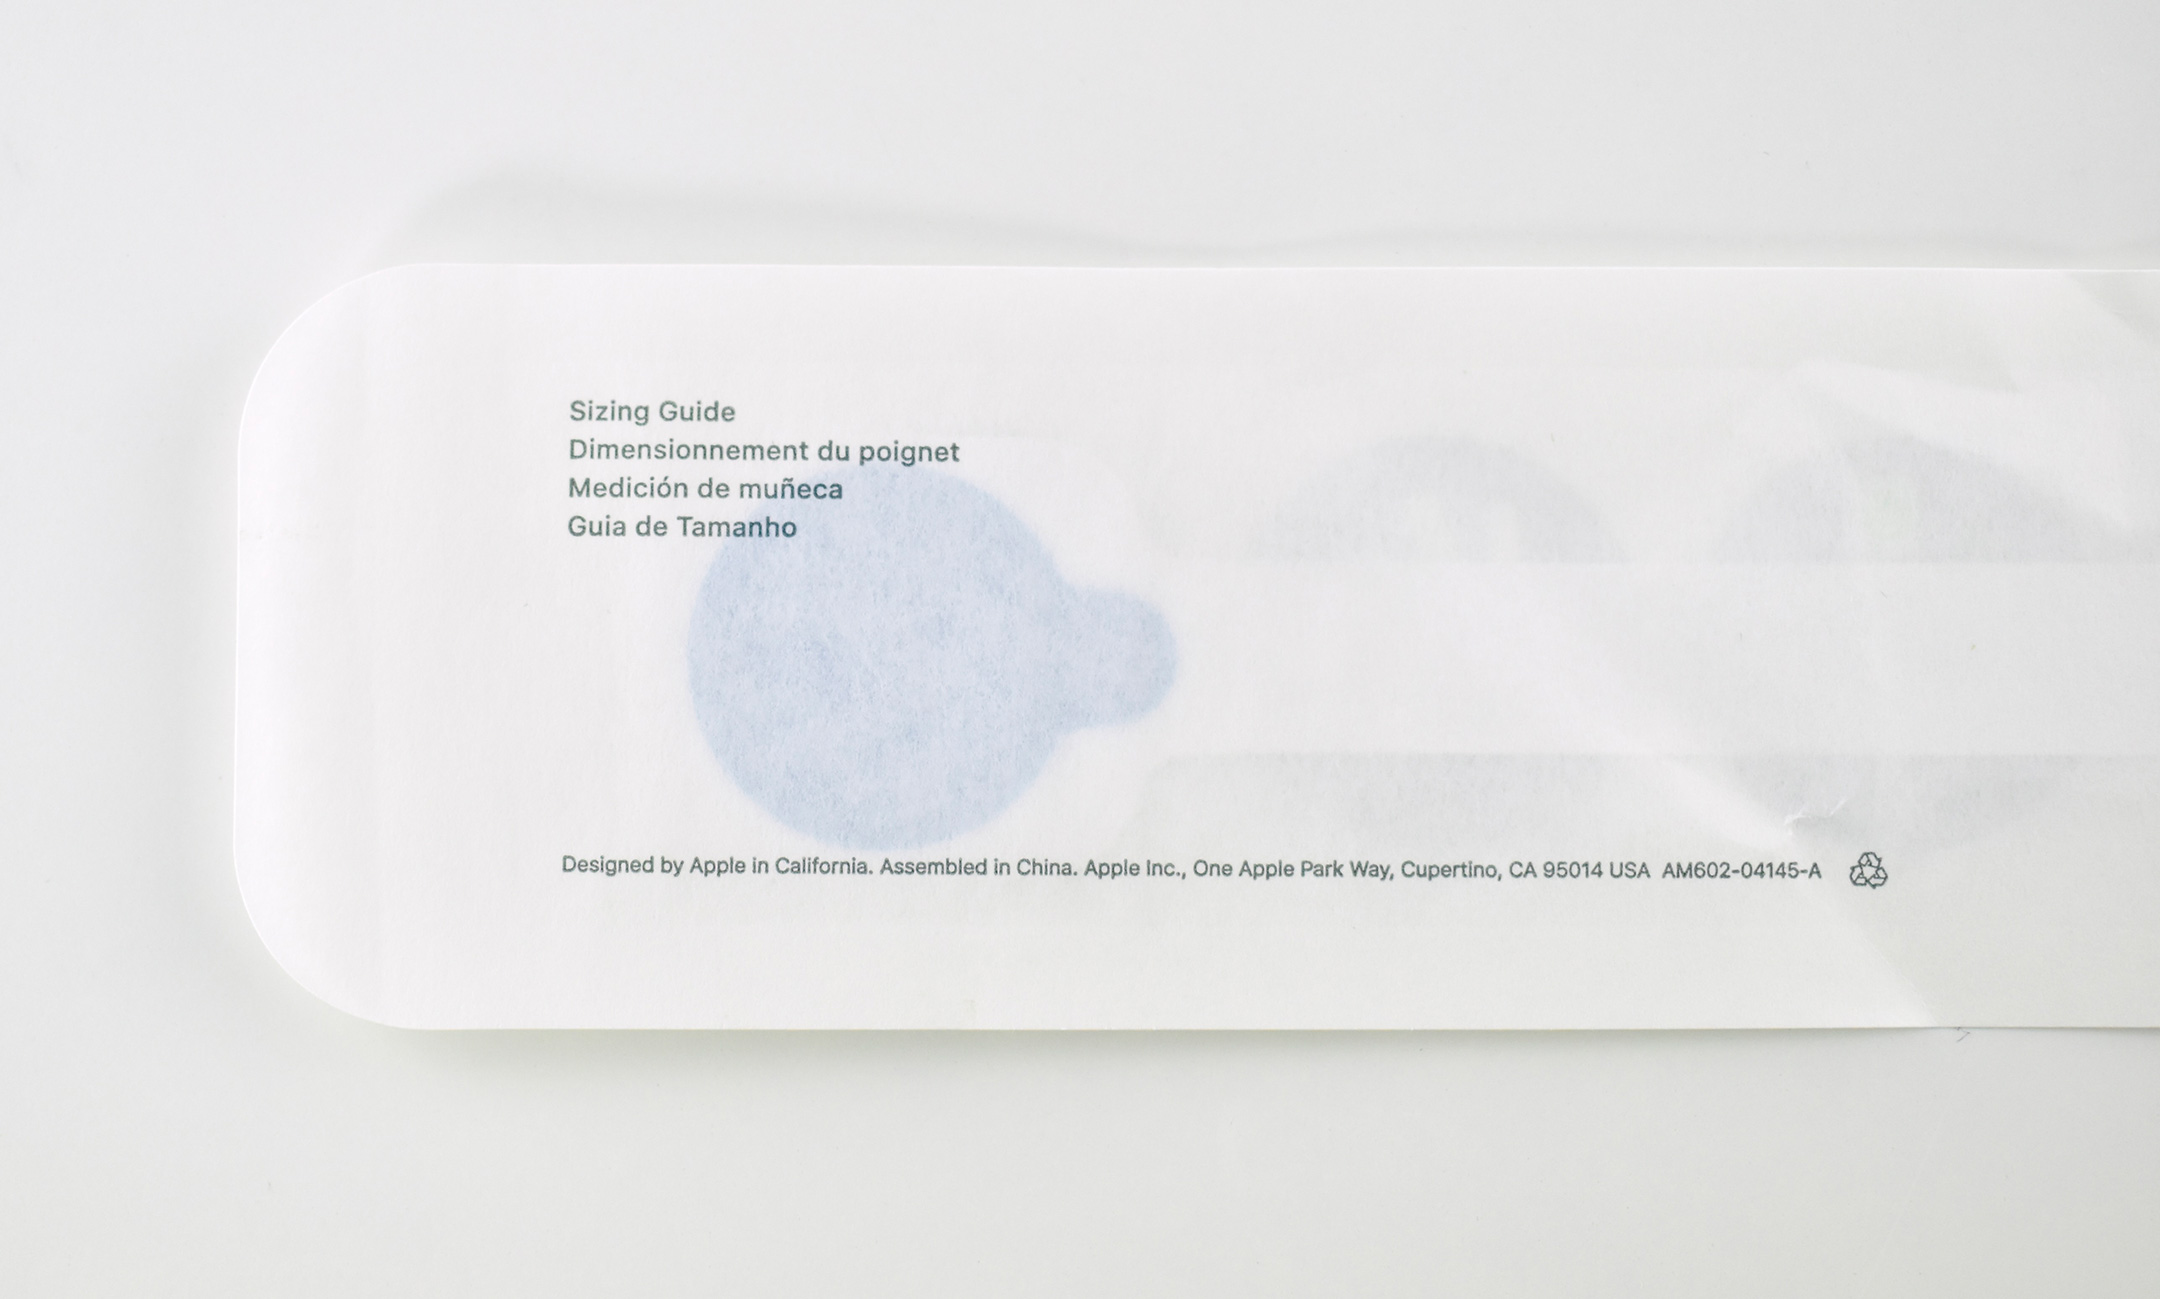
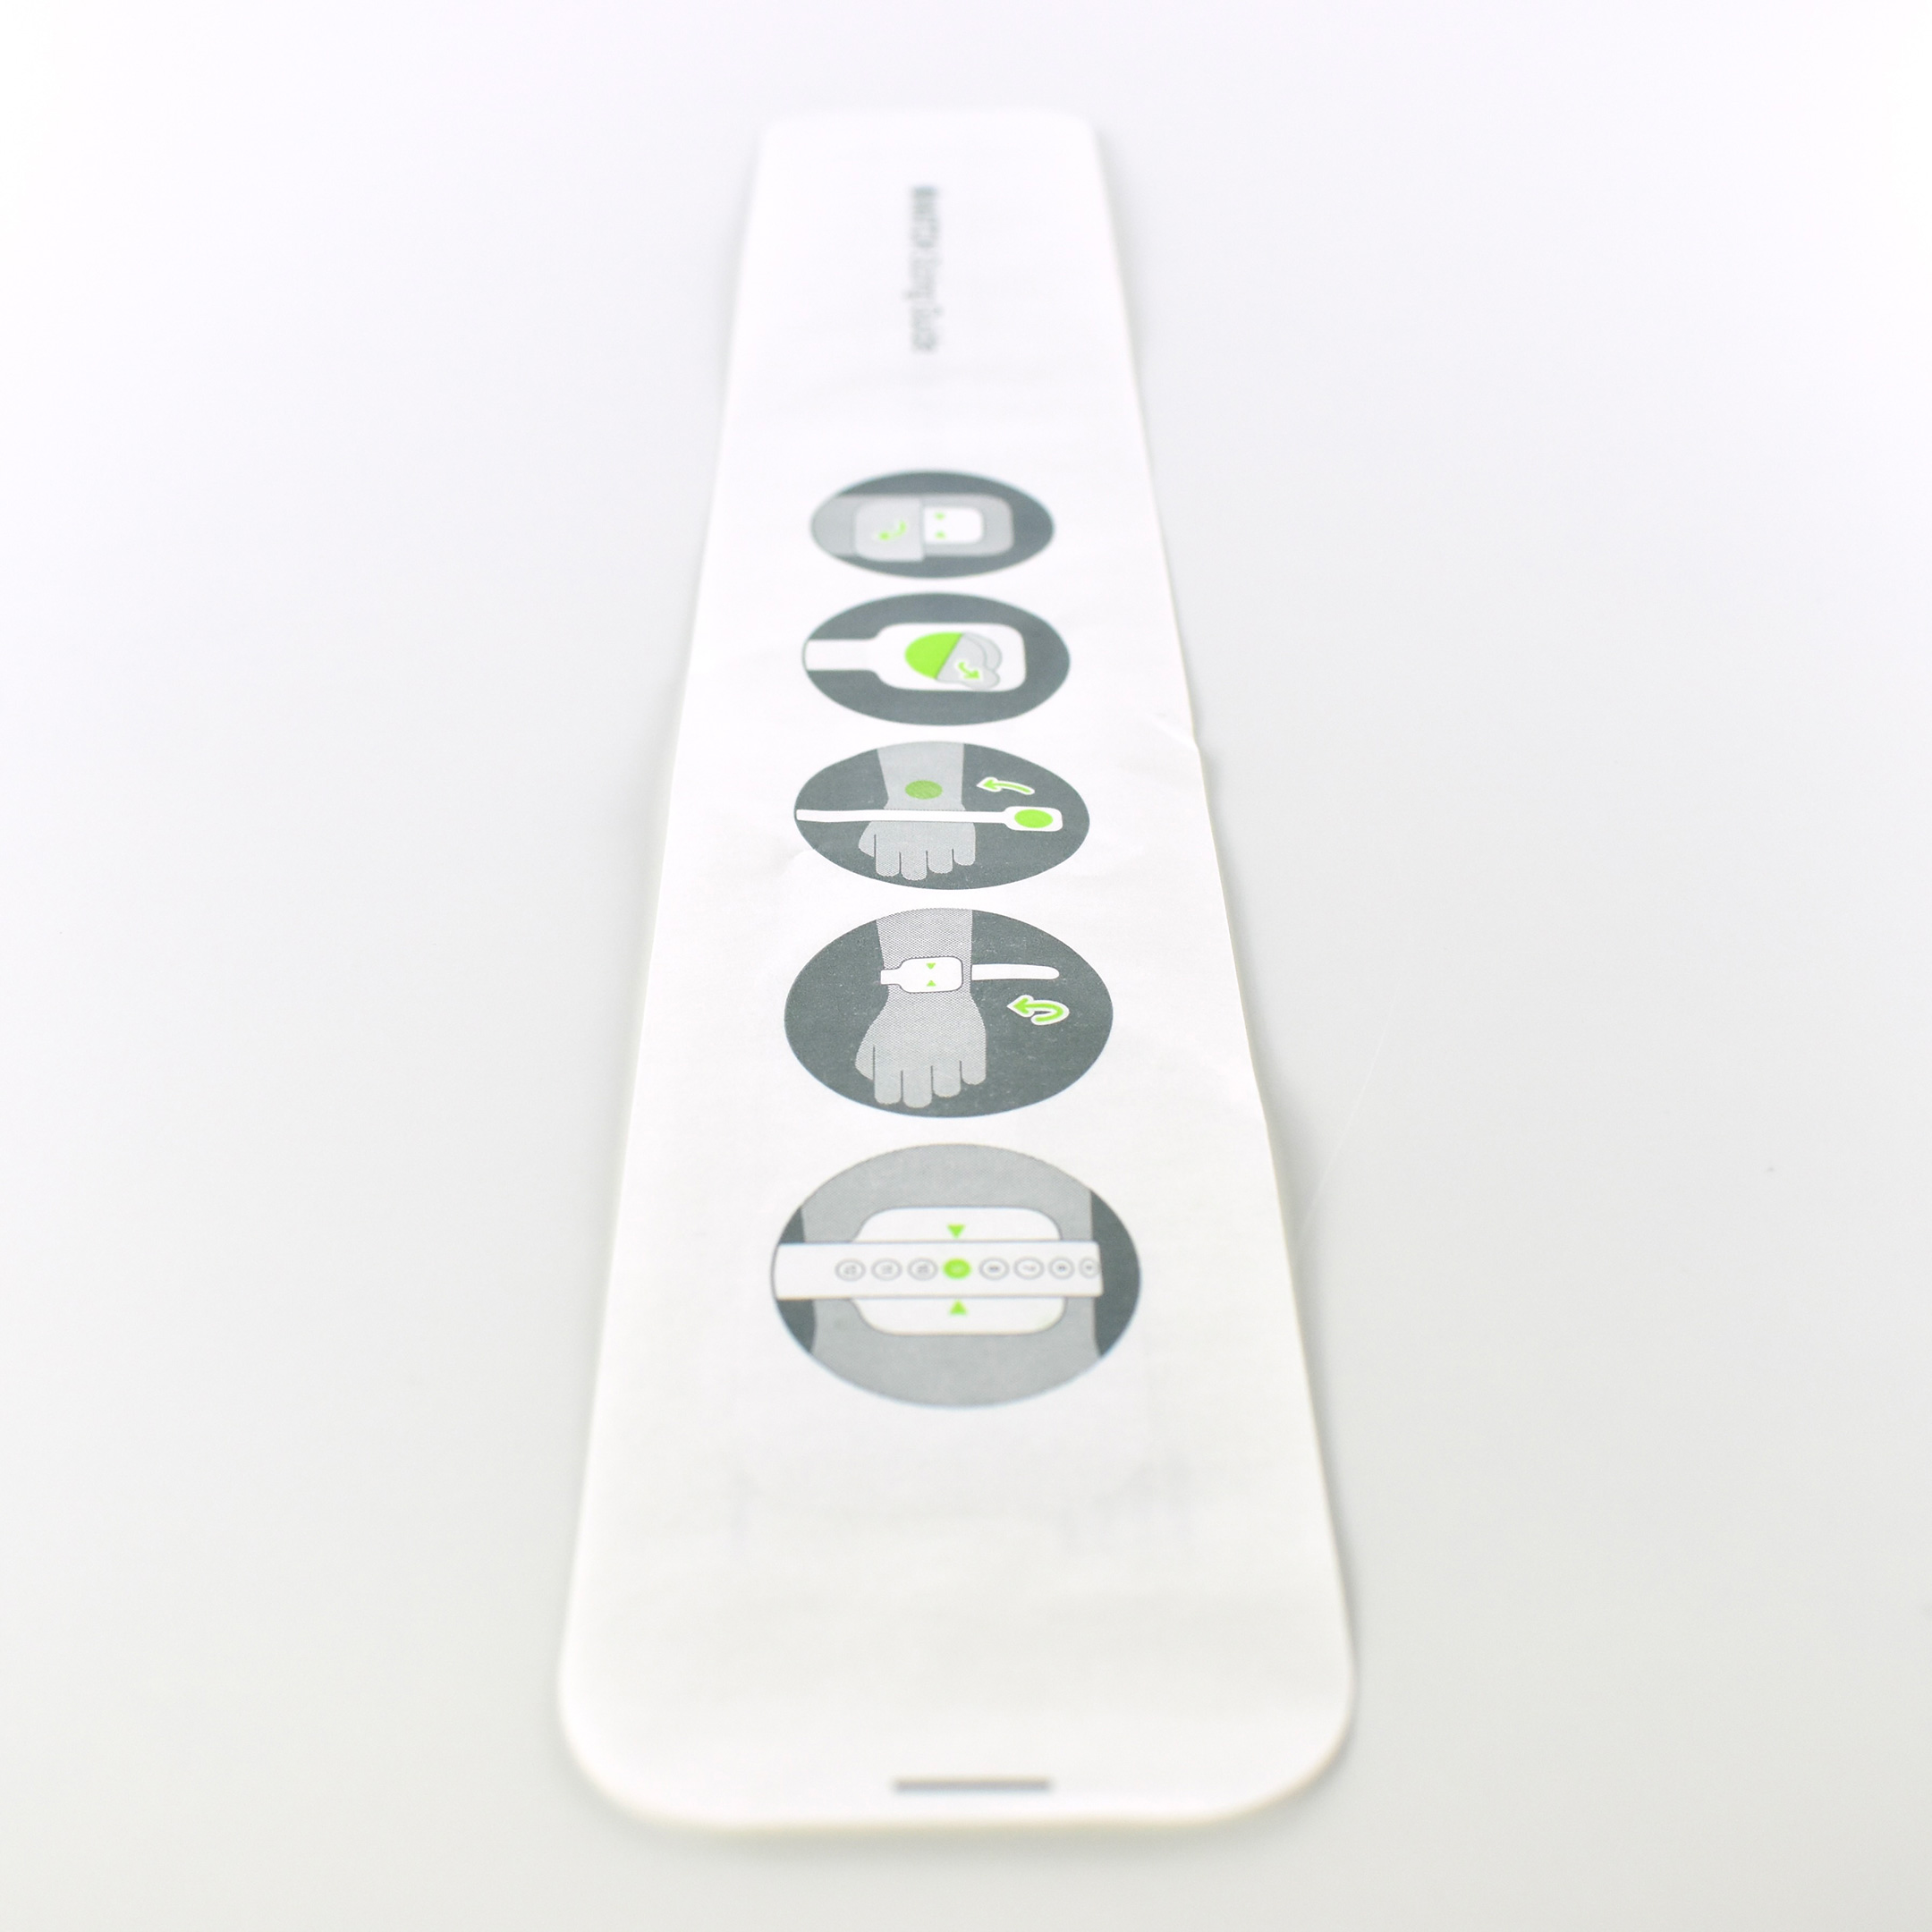
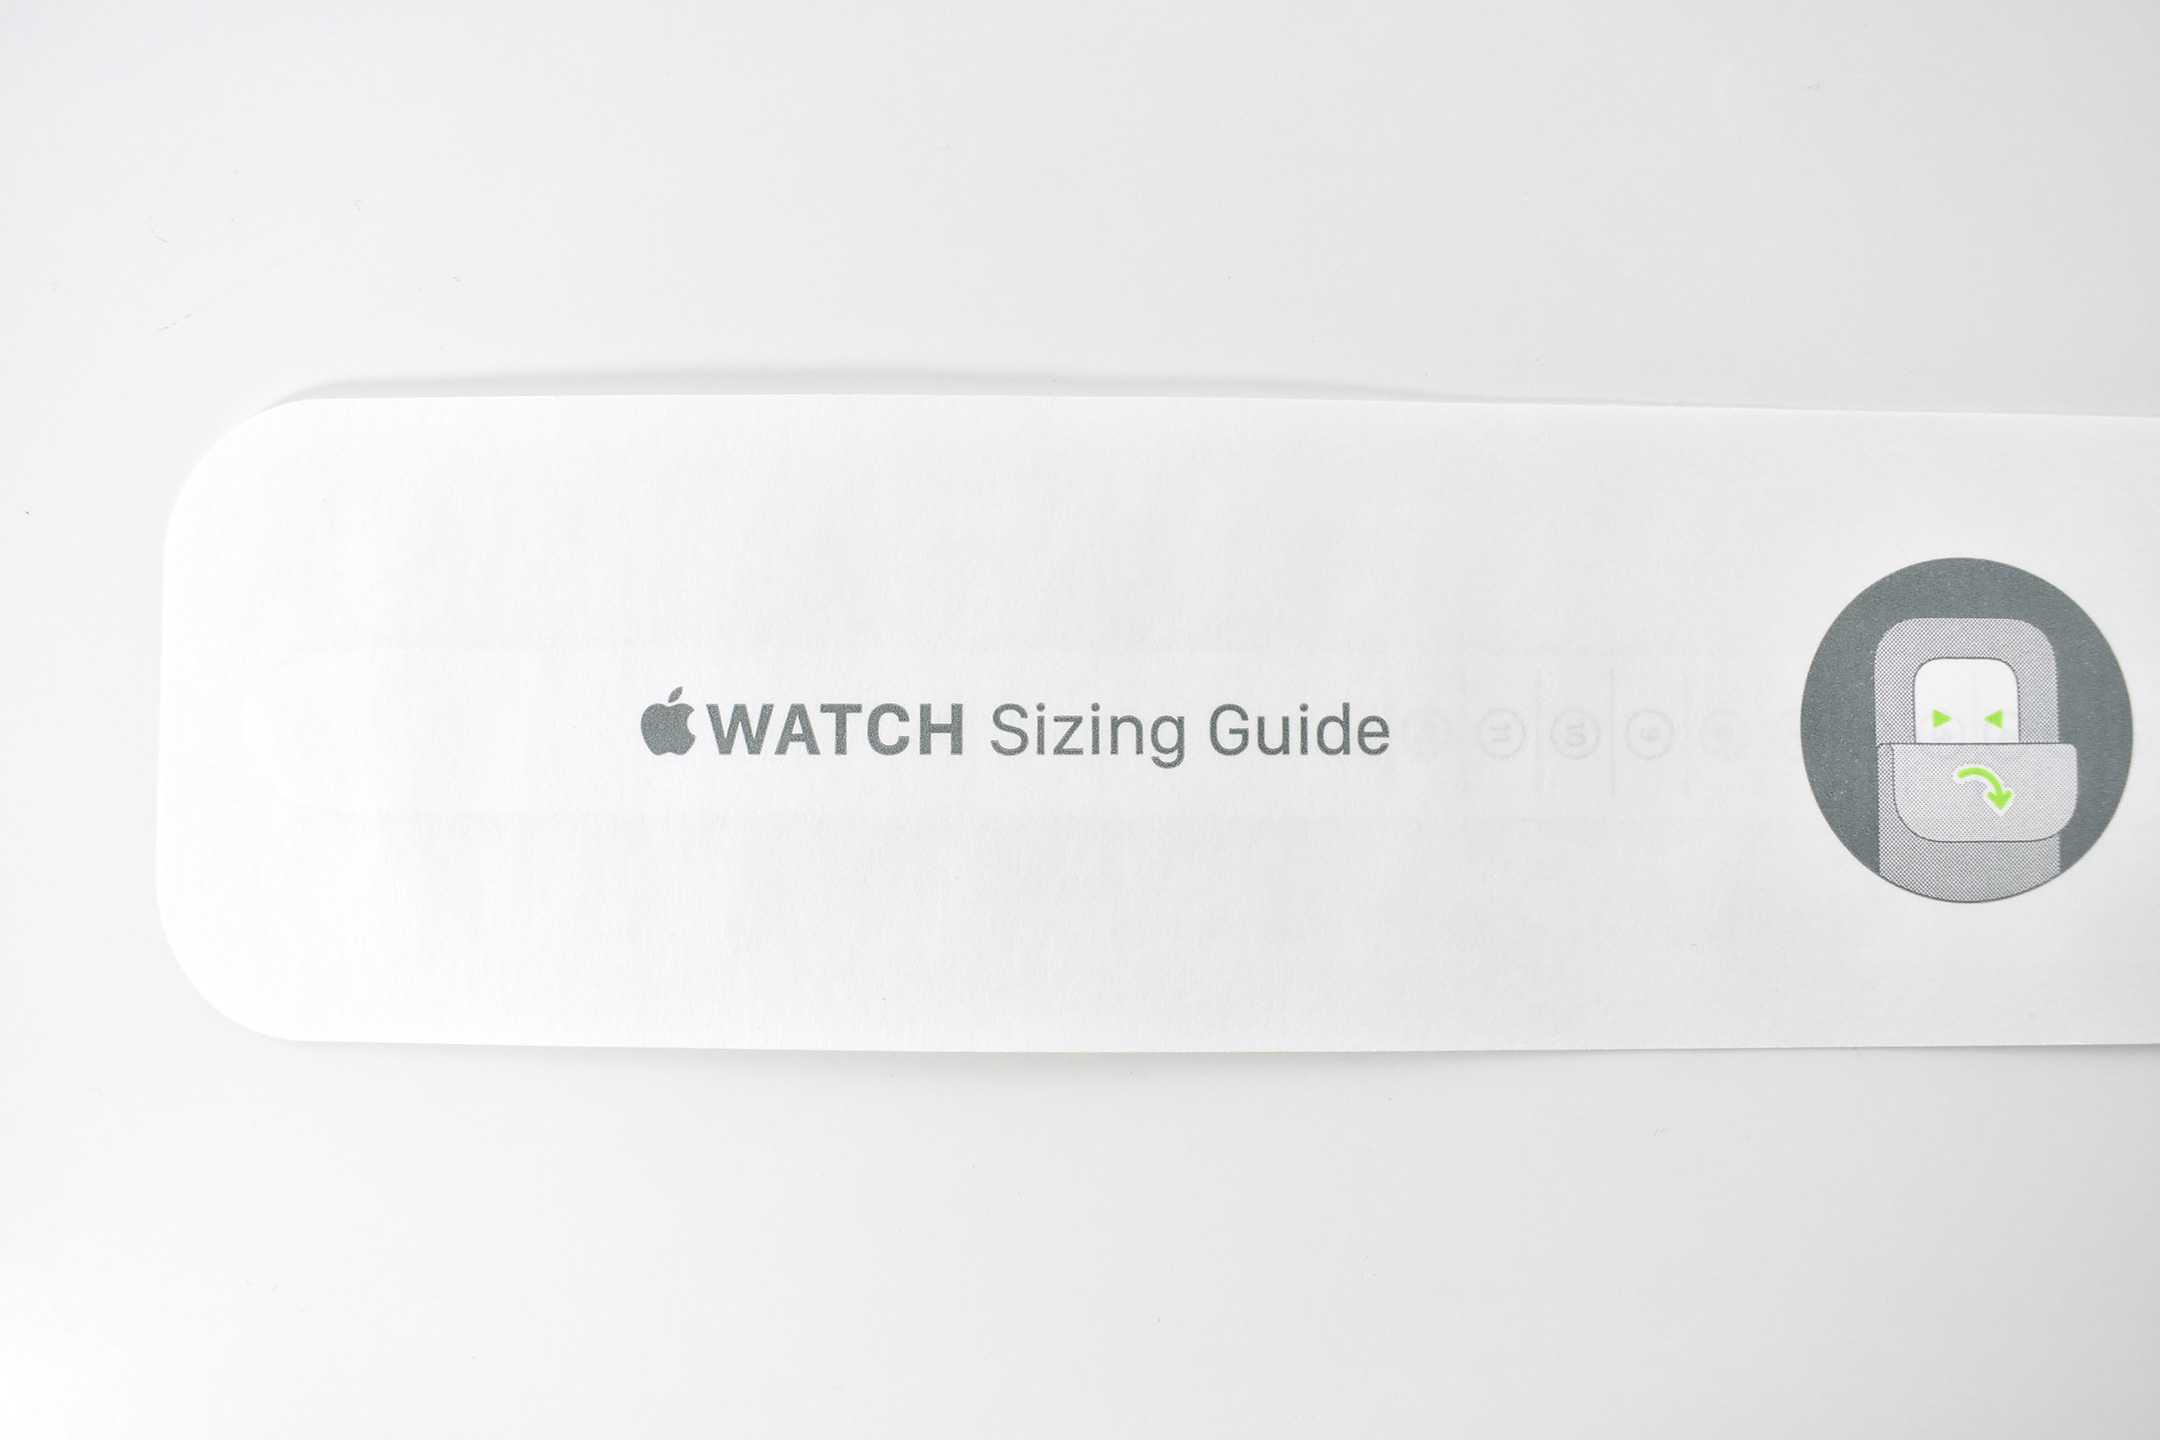
This Sizing Tool was available to Apple Store Customers. The tools includes the directions on the outer package, instructing individuals through diagrams to open the package, peel back an adhesive dot, wrap the tool around the wrist, and determine the band size based upon the location of arrows printed on the Sizing Tool. 

This example is unopened and was obtained at the Apple Store Michigan Avenue in Chicago in December 2021.

Source: Apple (Solo Loop, Sizing Guide)

SIM-eject tool (from iPhone SE Generation 1, 2017)

Over the years, Apple has included a SIM-eject tool with iPhone and iPad models with a SIM (Subscriber Identity Module) tray. Early Apple SIM eject tools were more substantially designed than this version and were made from an alloy named Liquidmetal.

This version of the SIM eject tool shipped with an iPhone SE (2017). While a previous version of the tool was solid, this SIM eject tool is essentially a bent wire. It is unknown as to whether this tool is made from Liquidmetal.

Interestingly, Apple’s official Support web pages refer to the “official” SIM-eject tool, but picture a bent paper clip in their how-to diagrams for removing SIM cards.

Sources: Mac Rumors, Apple