Apple Watch Sport Loop (44 mm, XL, Black, Fall 2017)

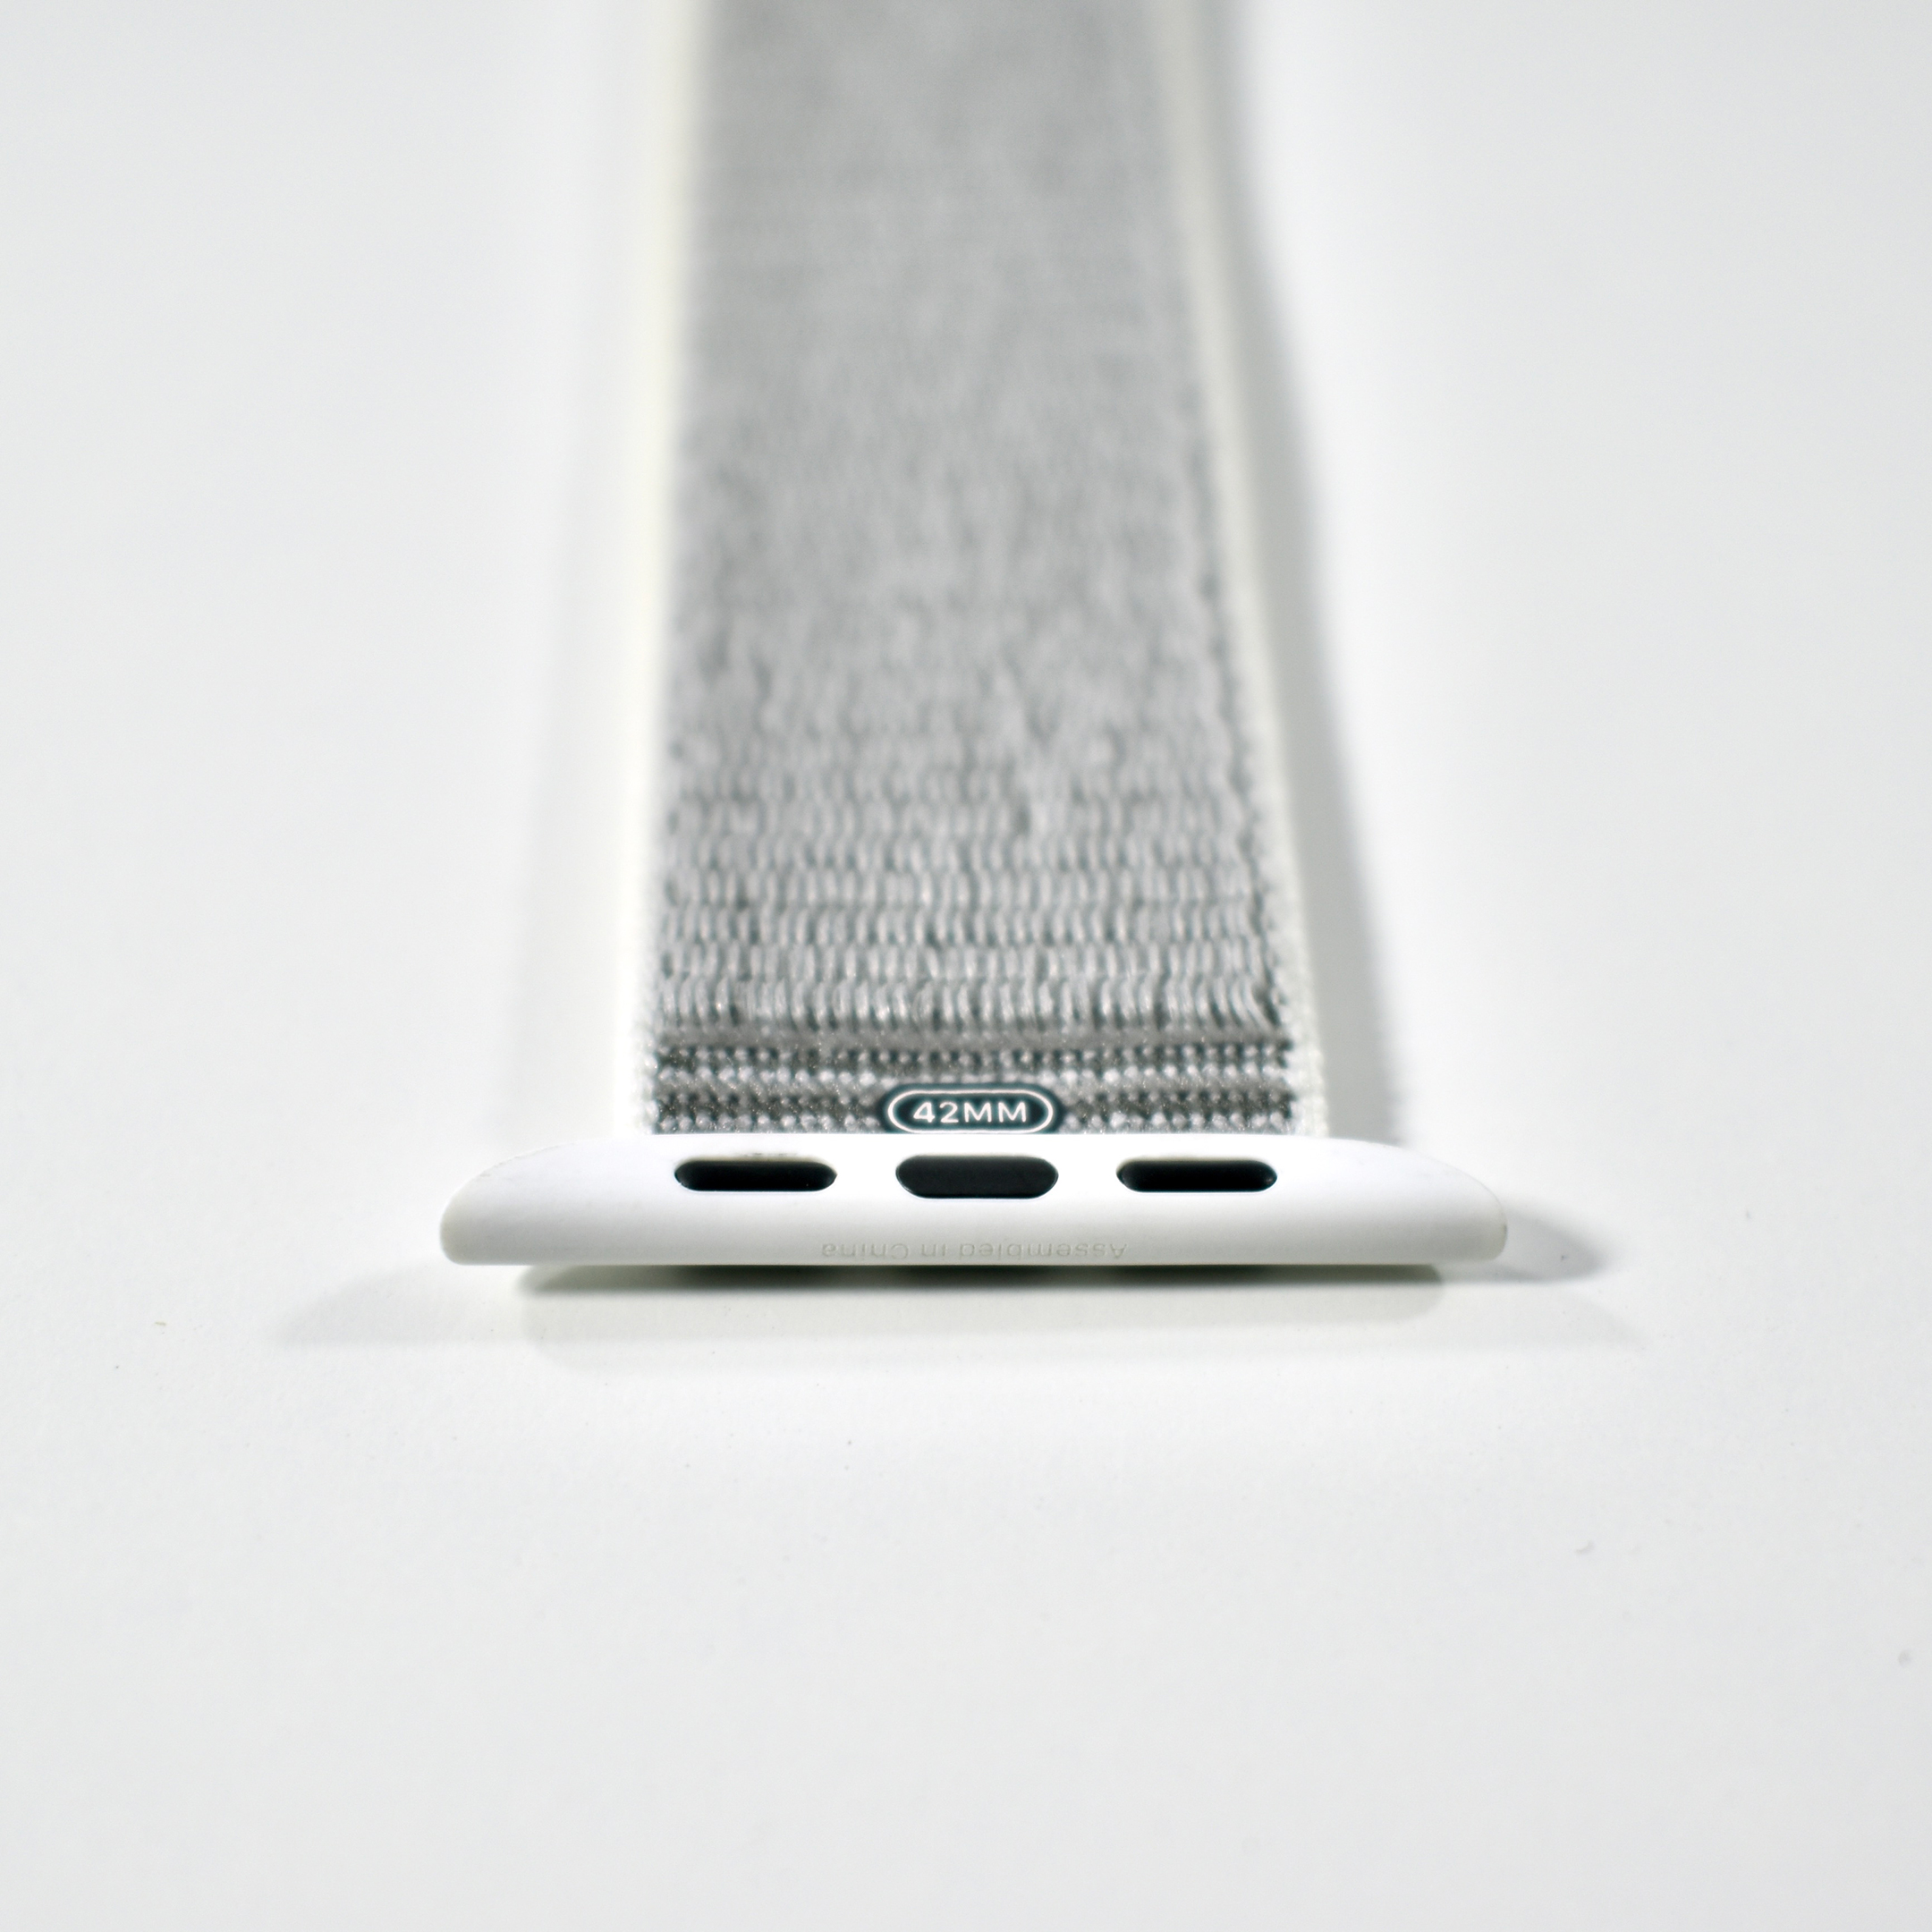
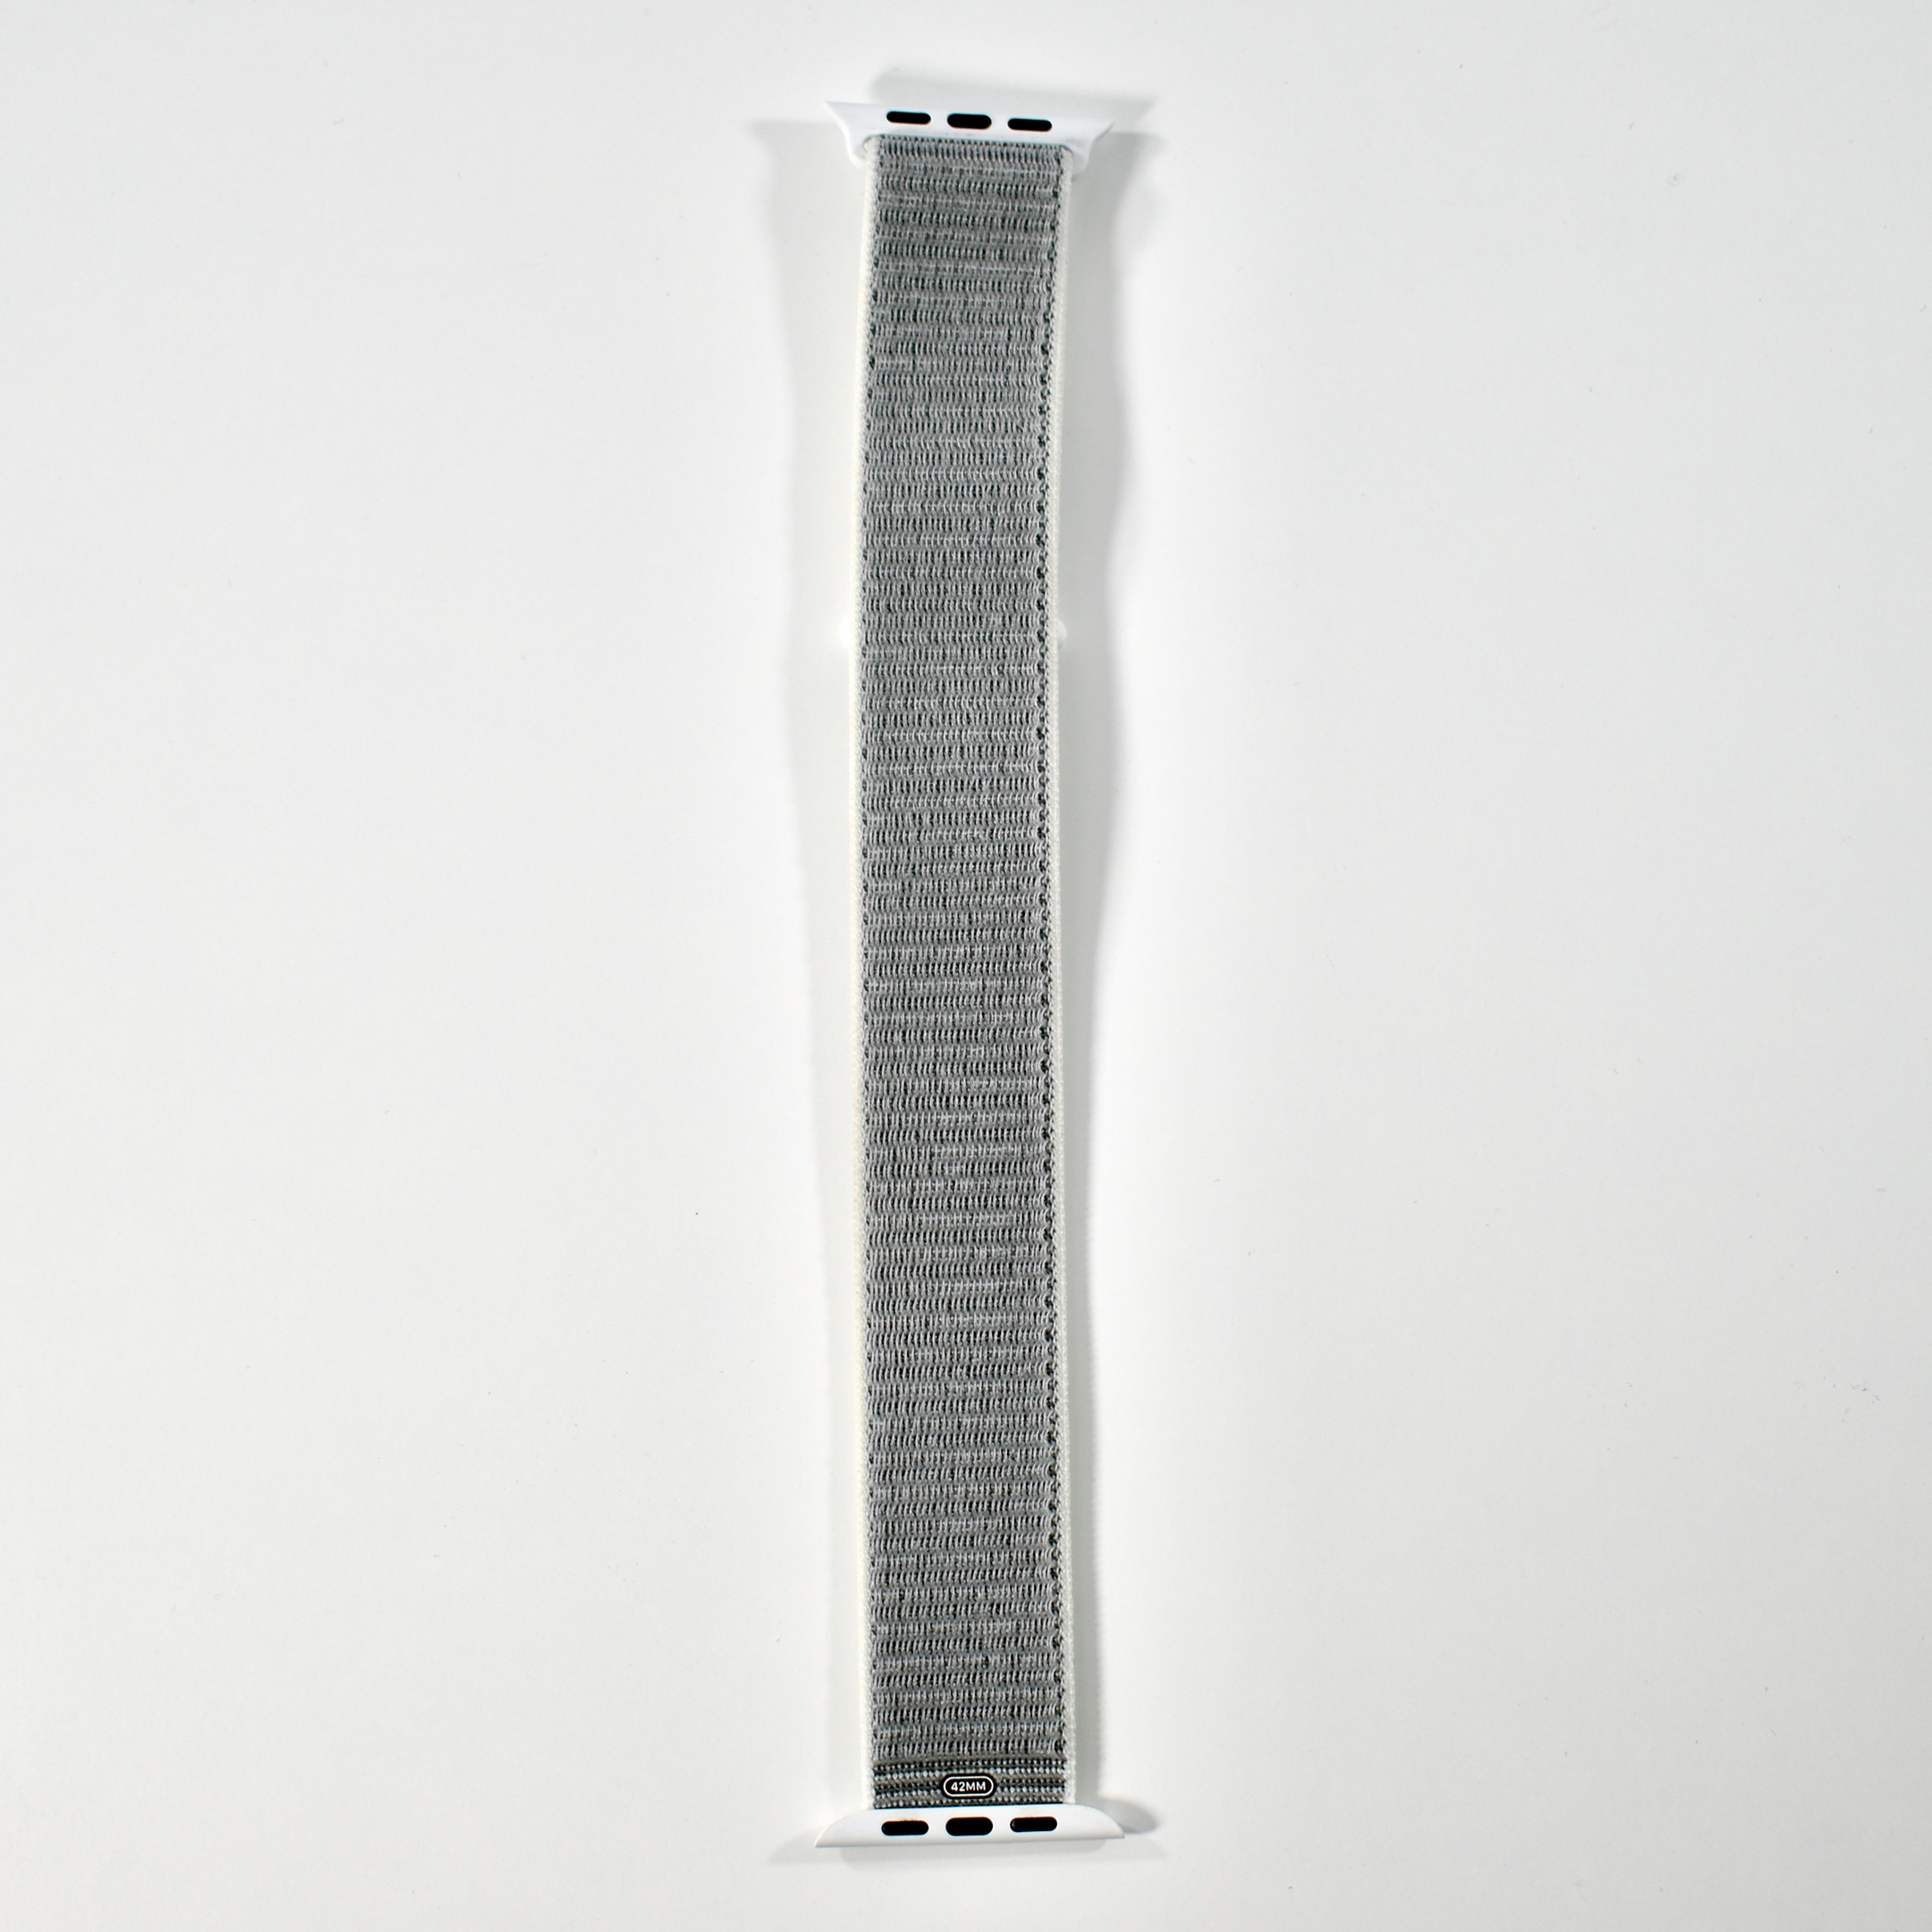
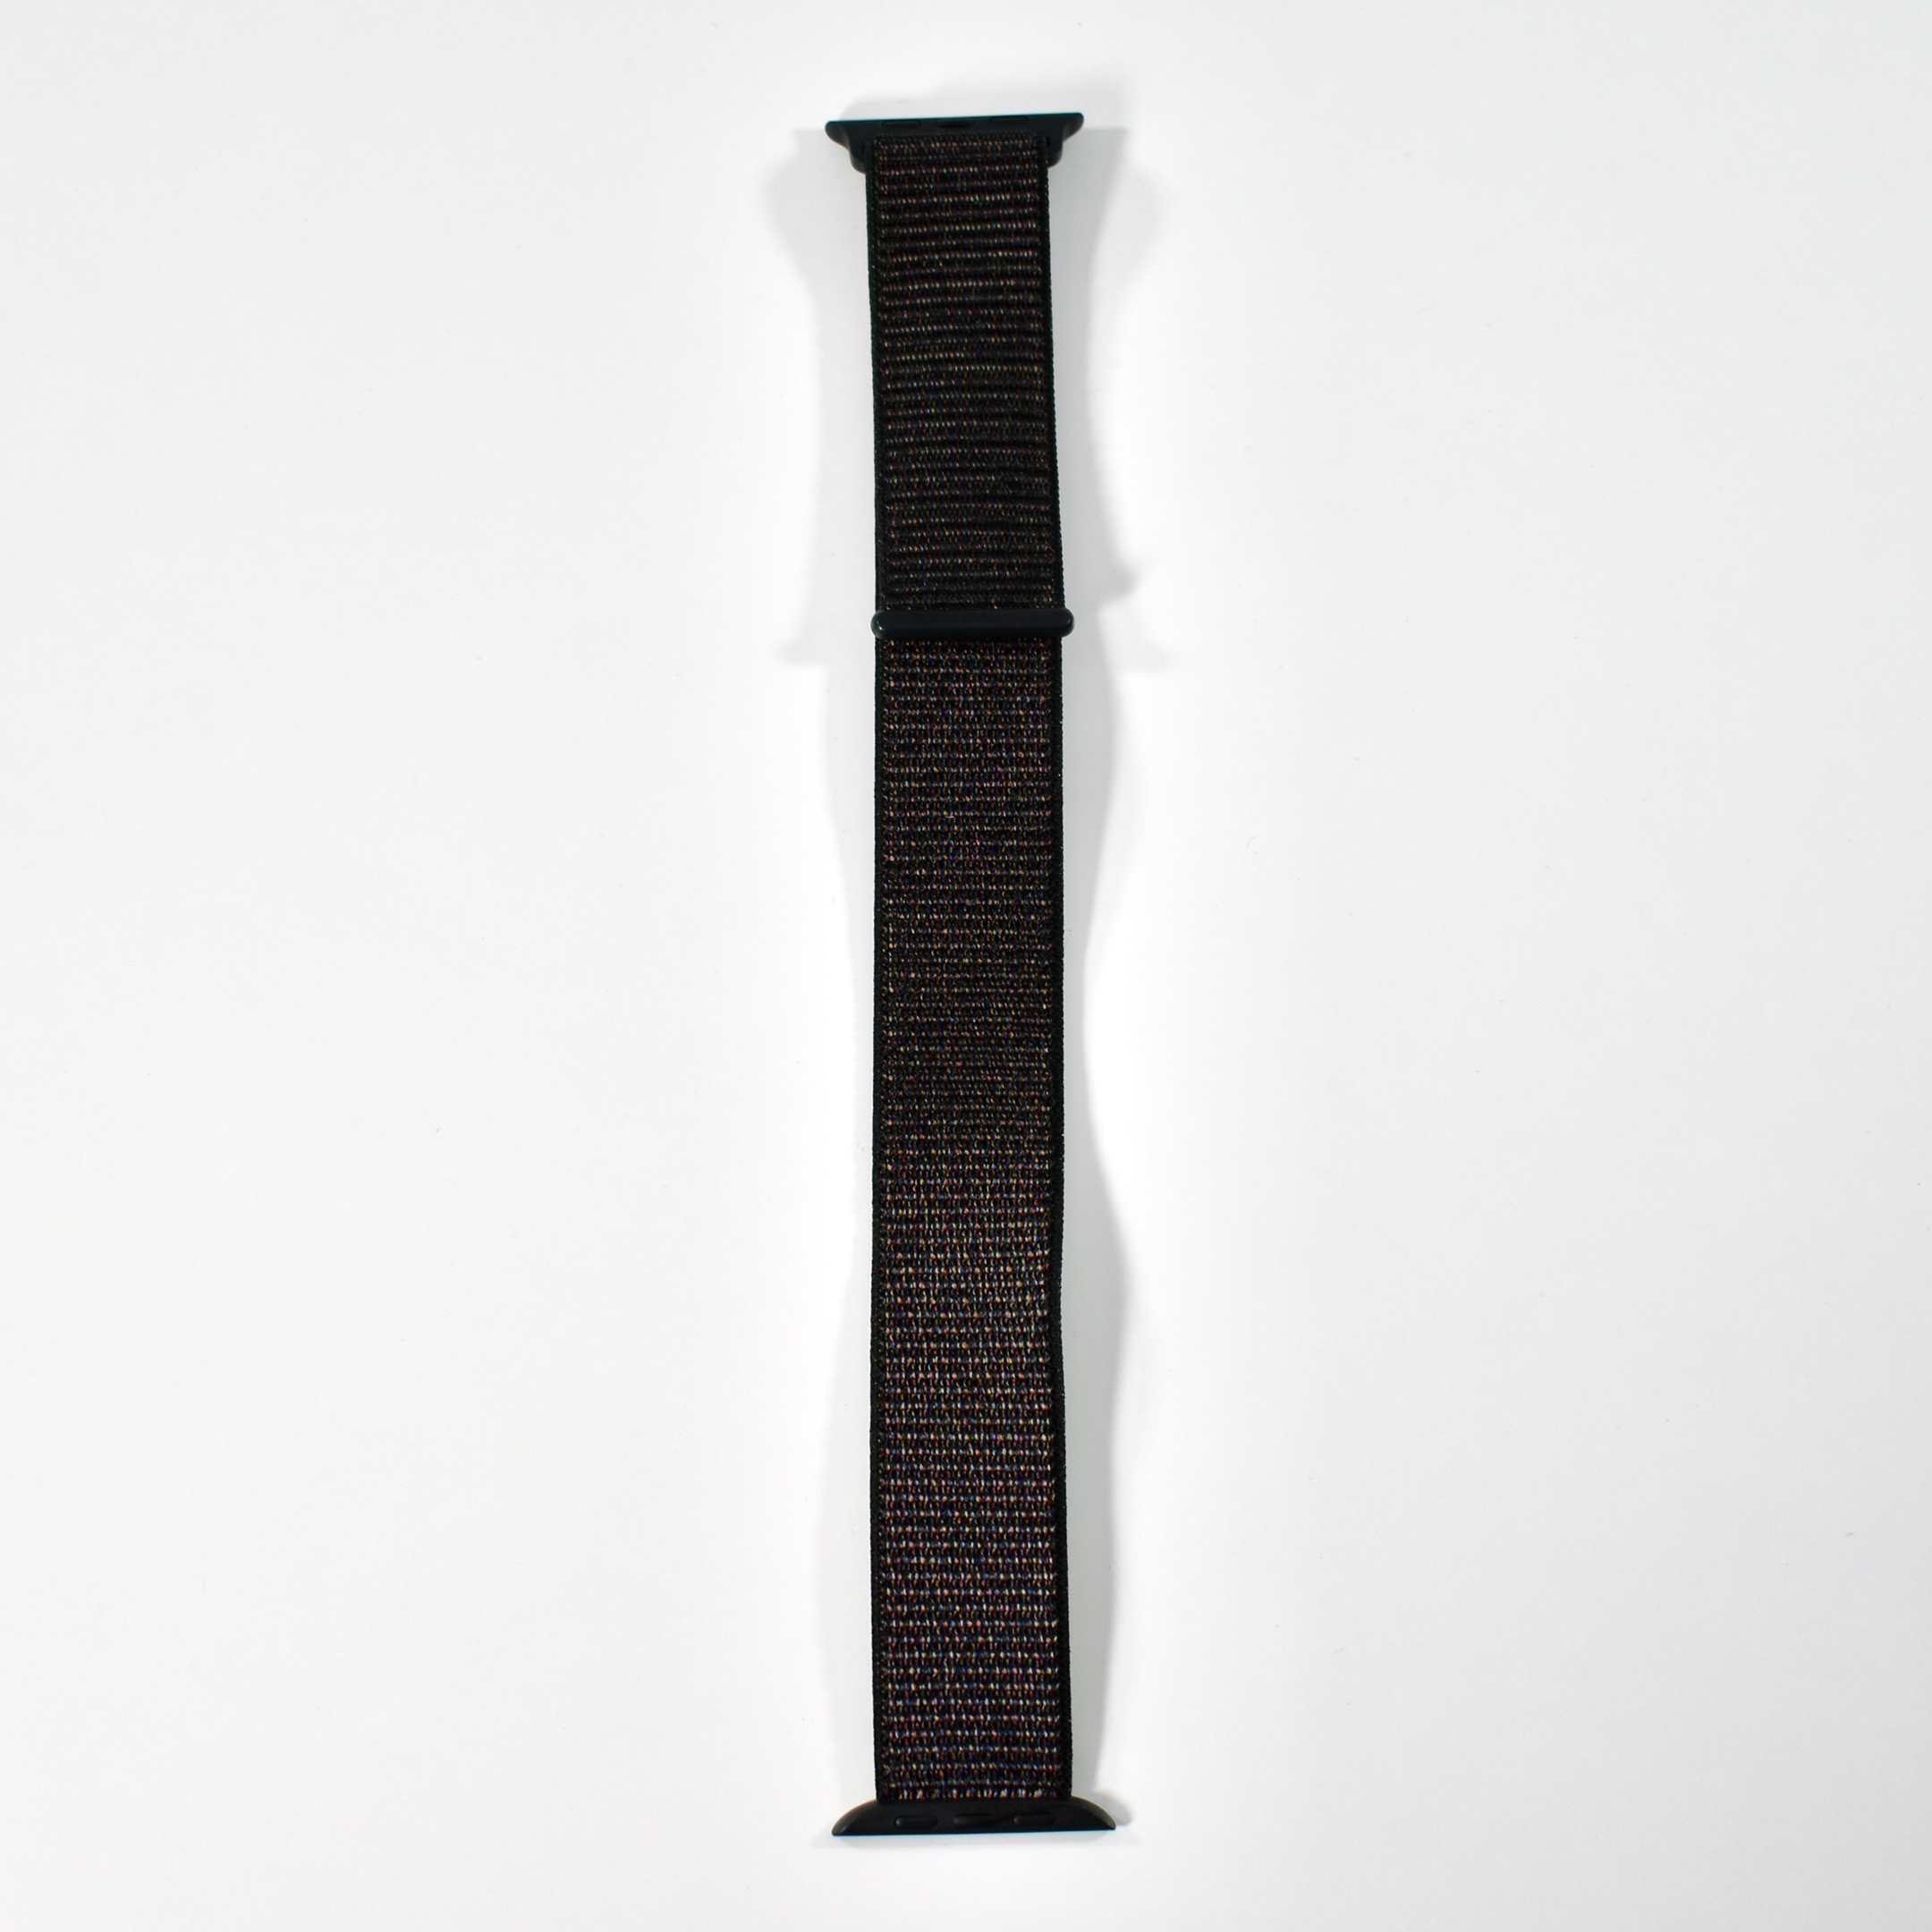
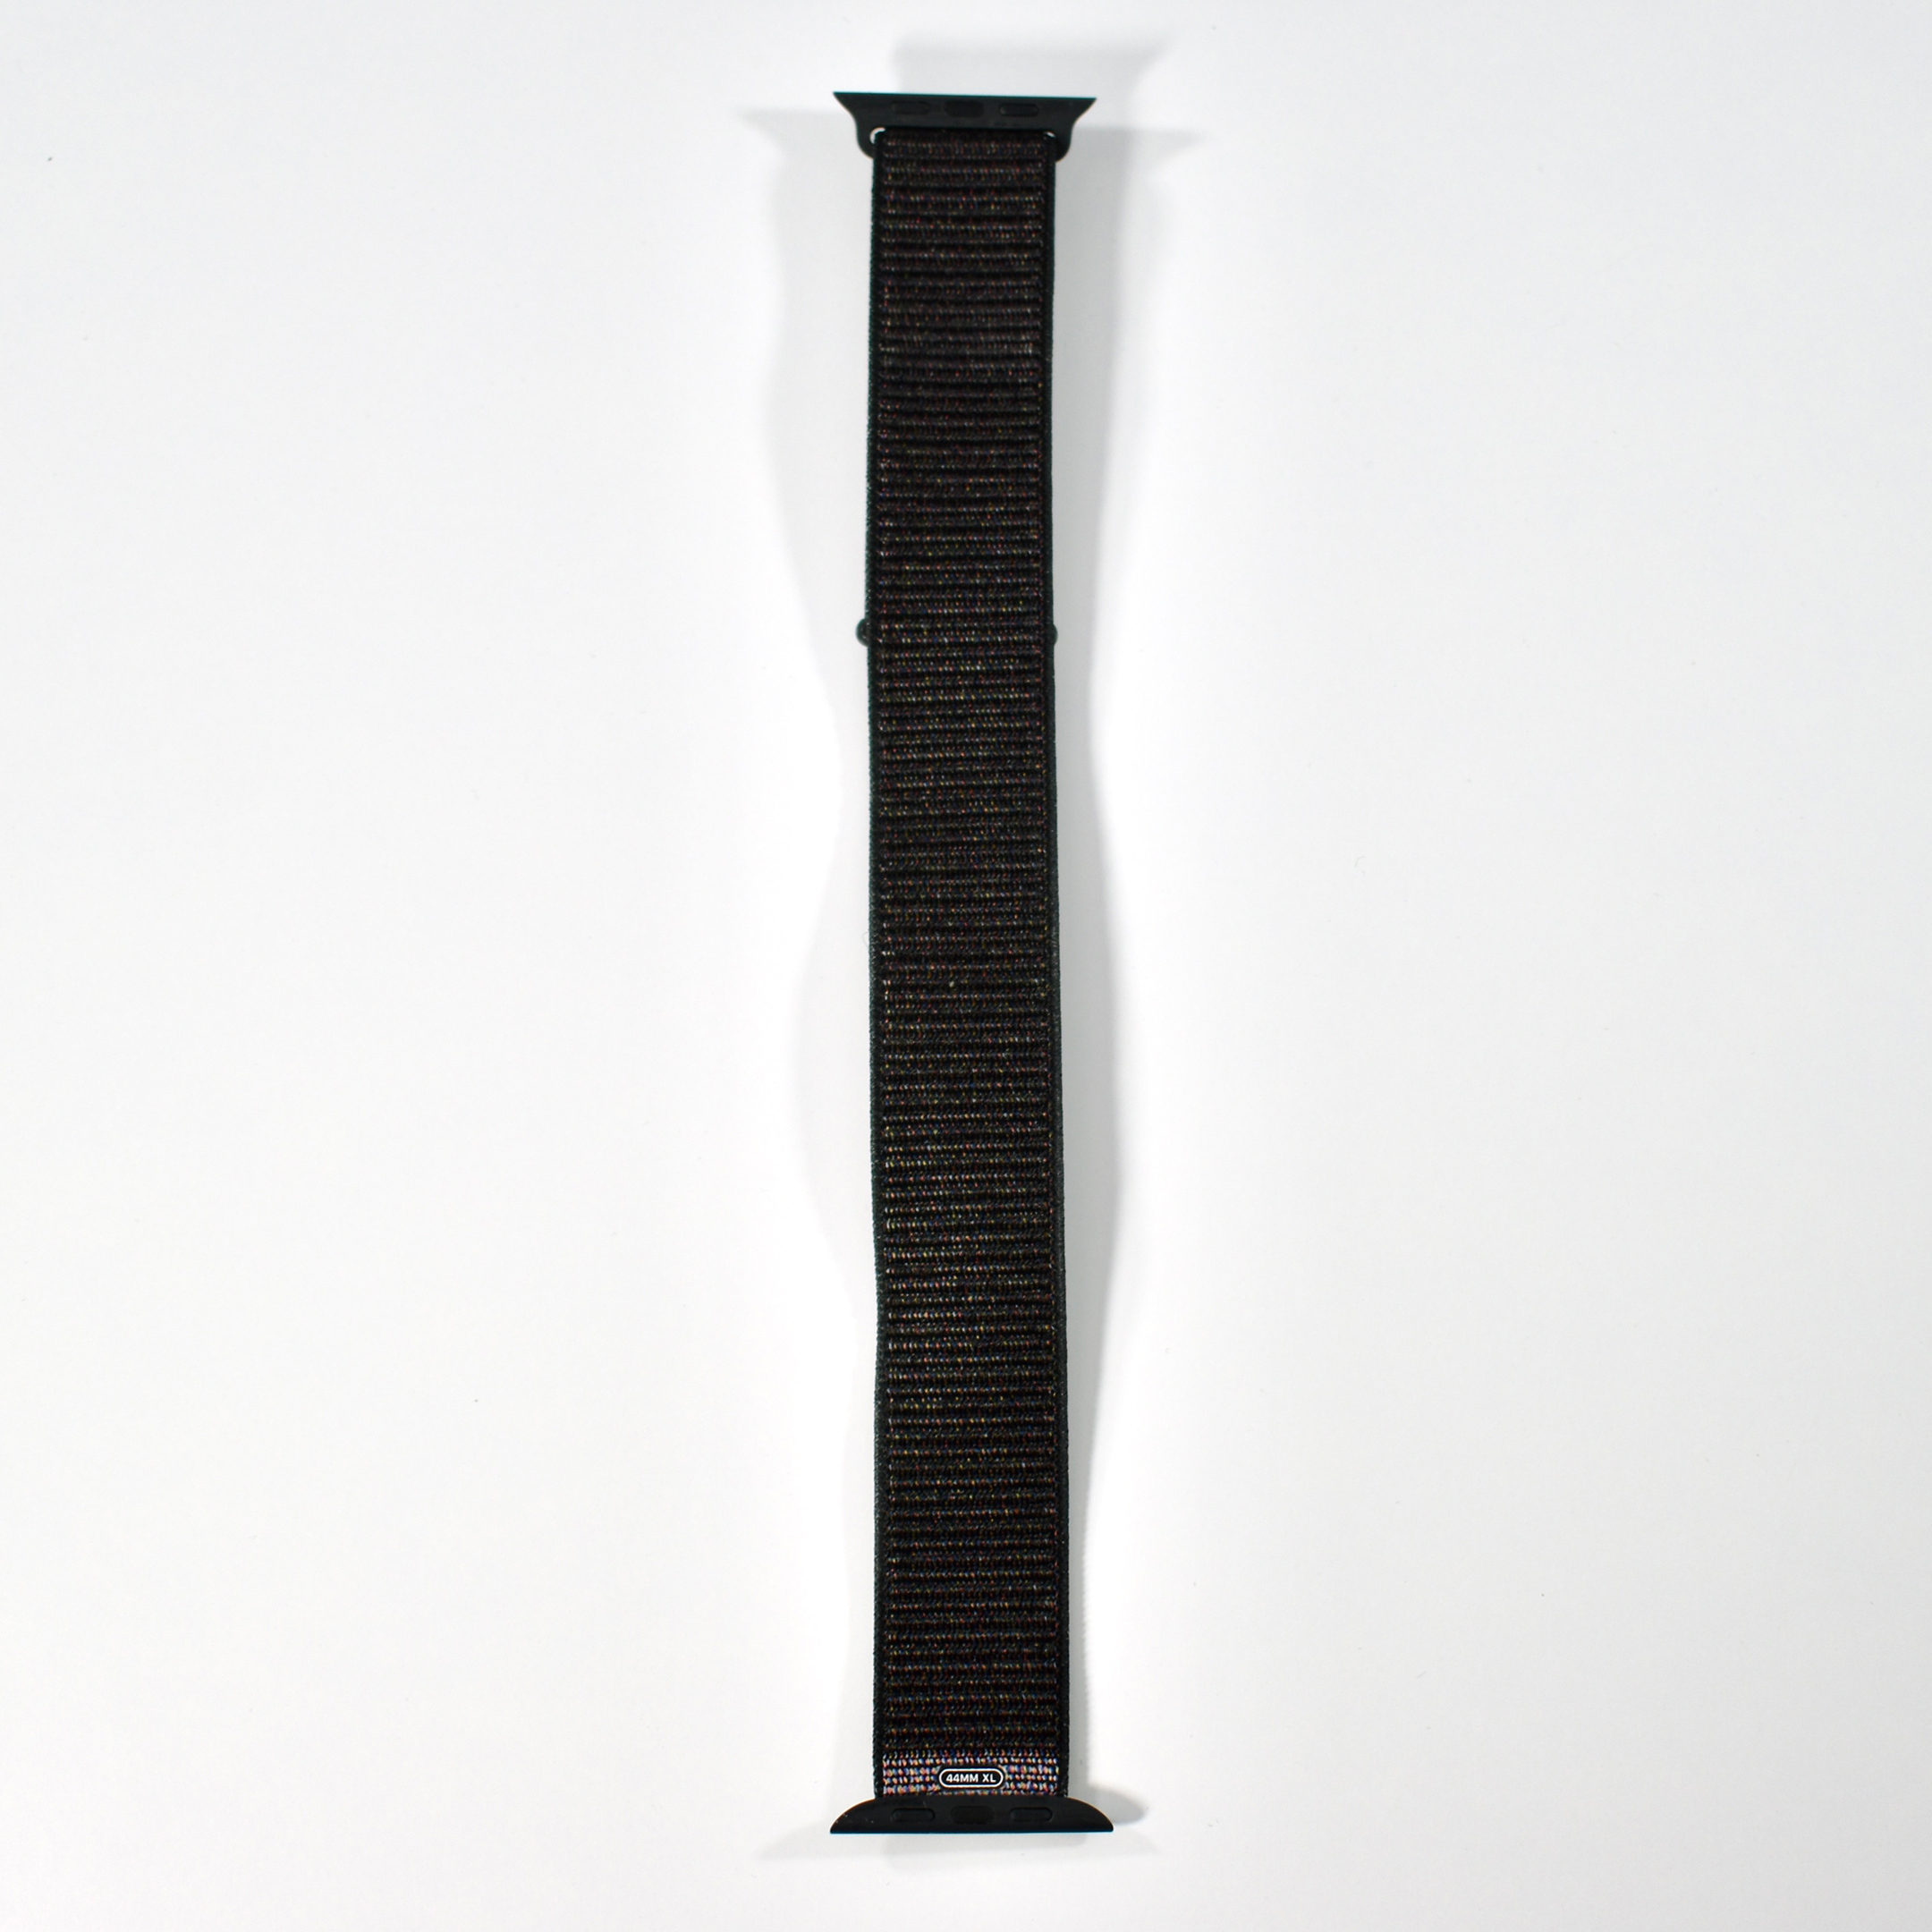
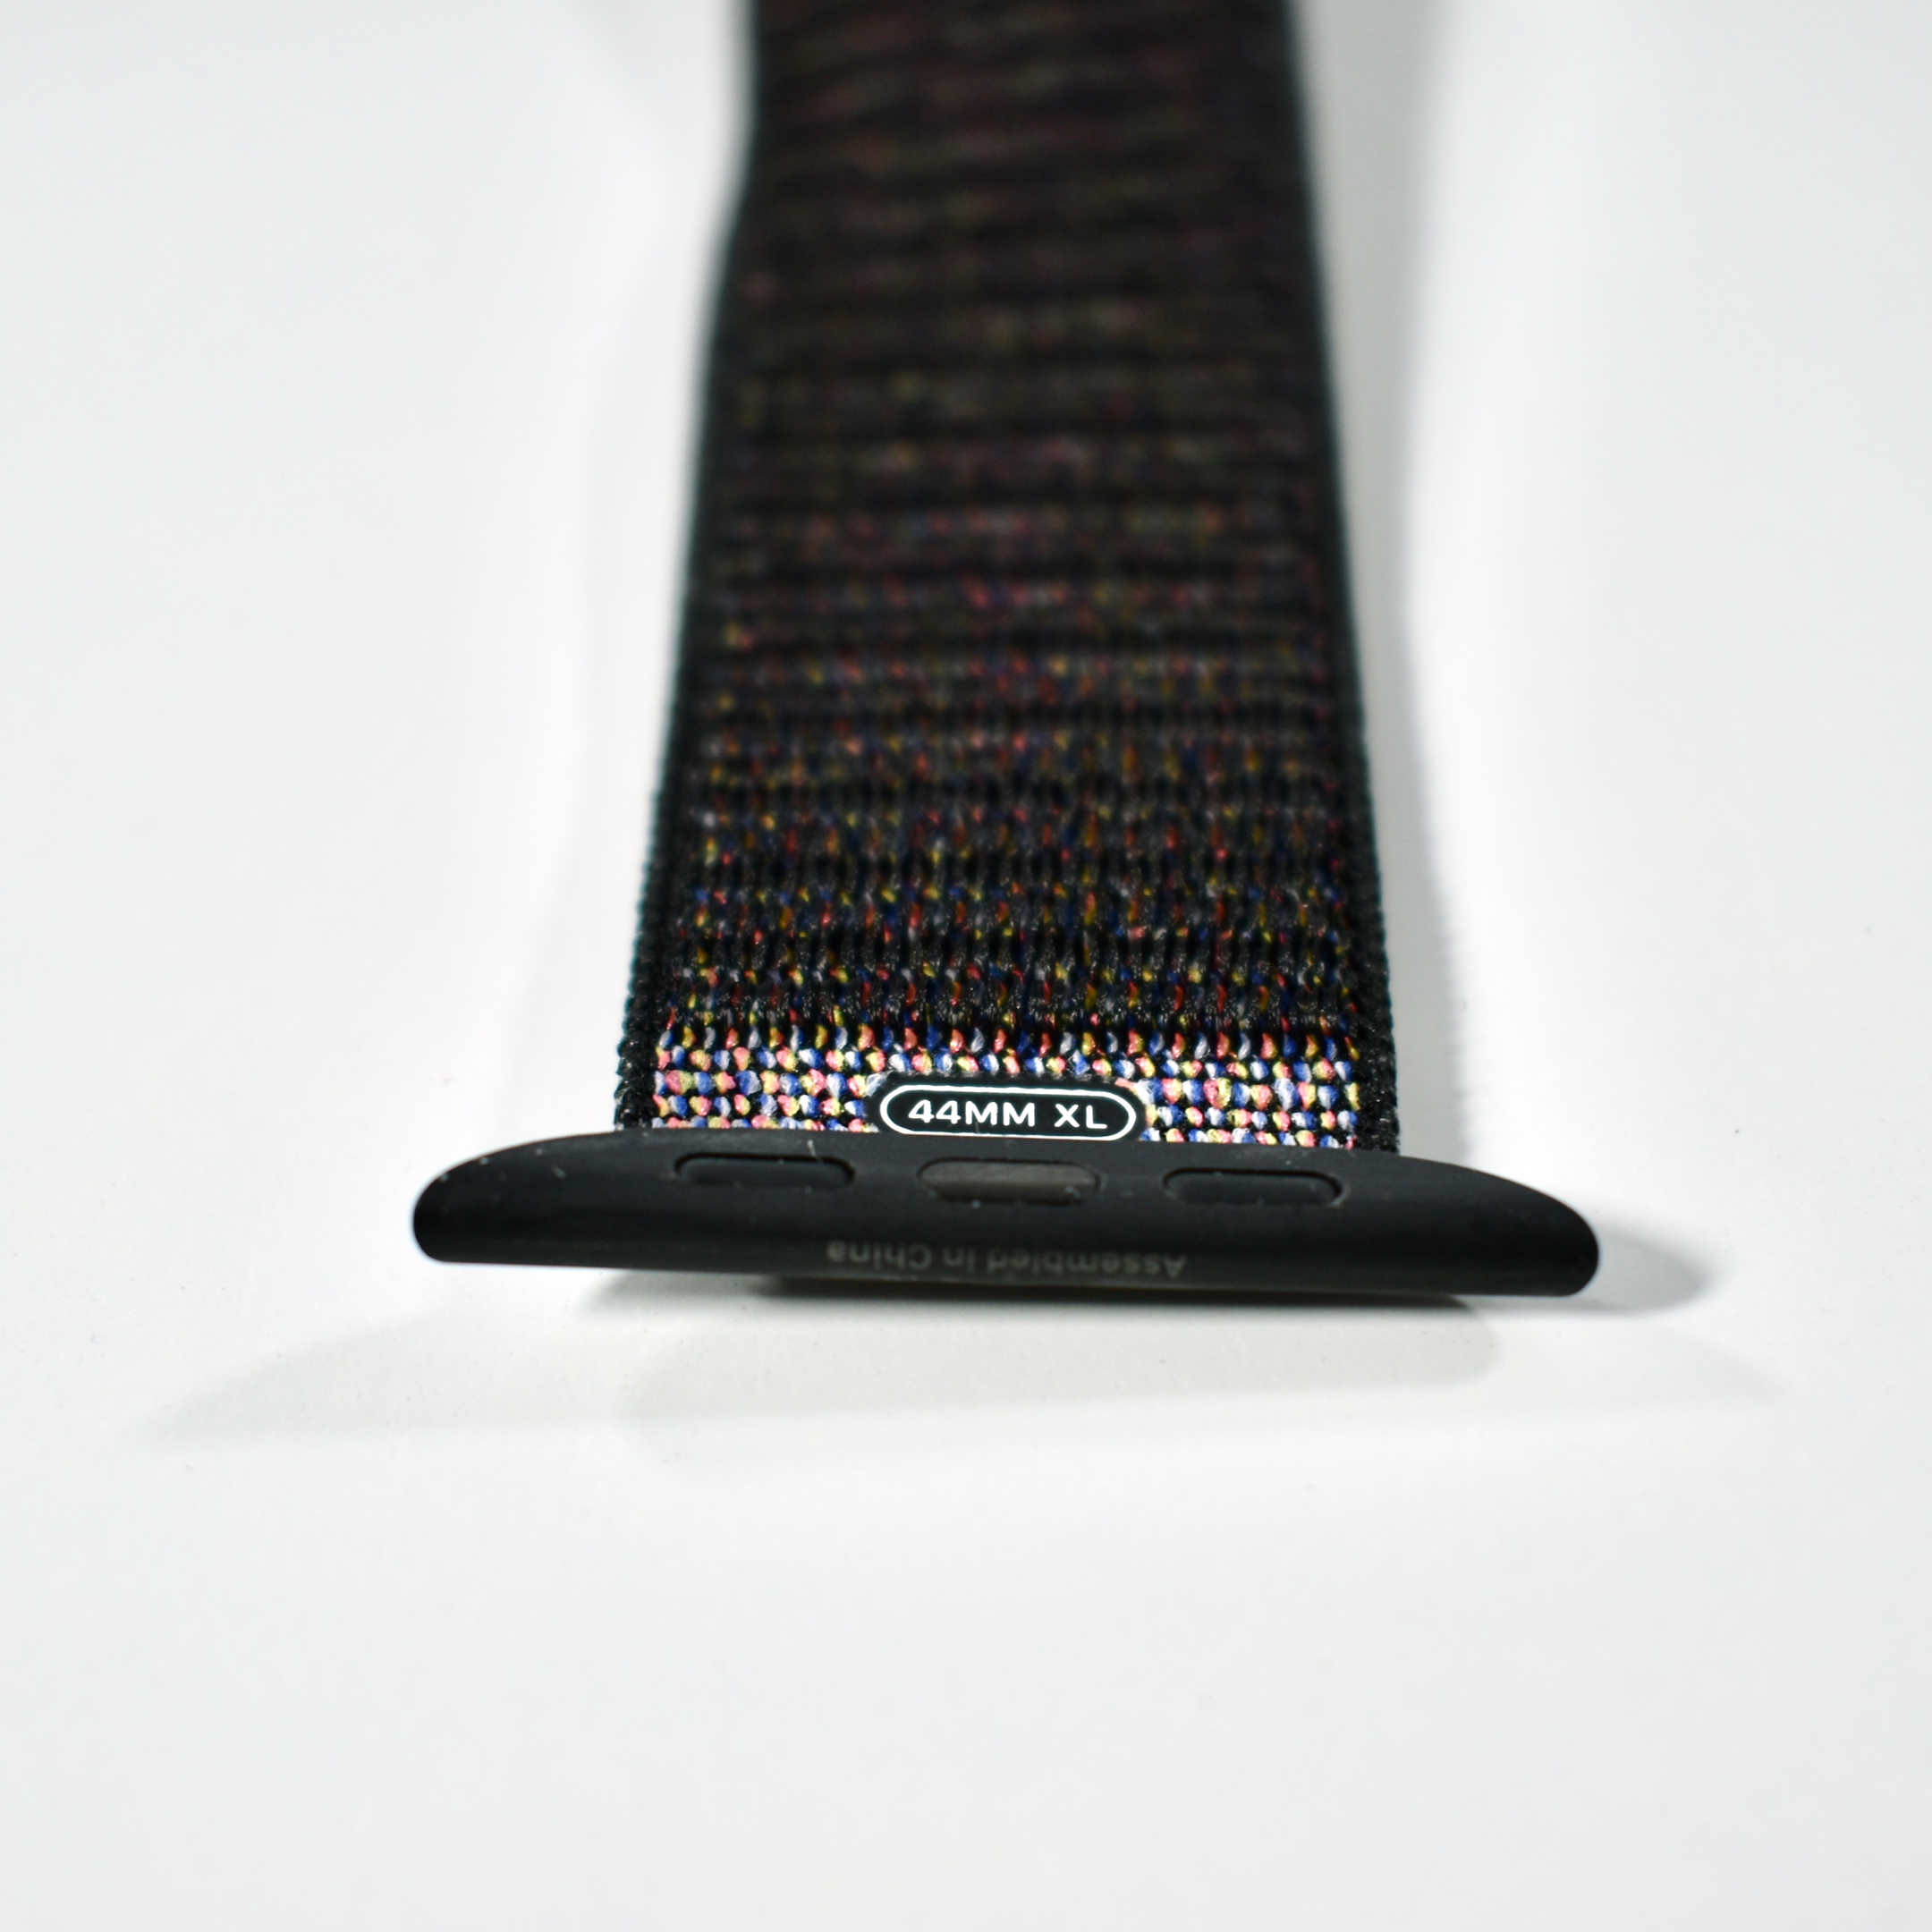
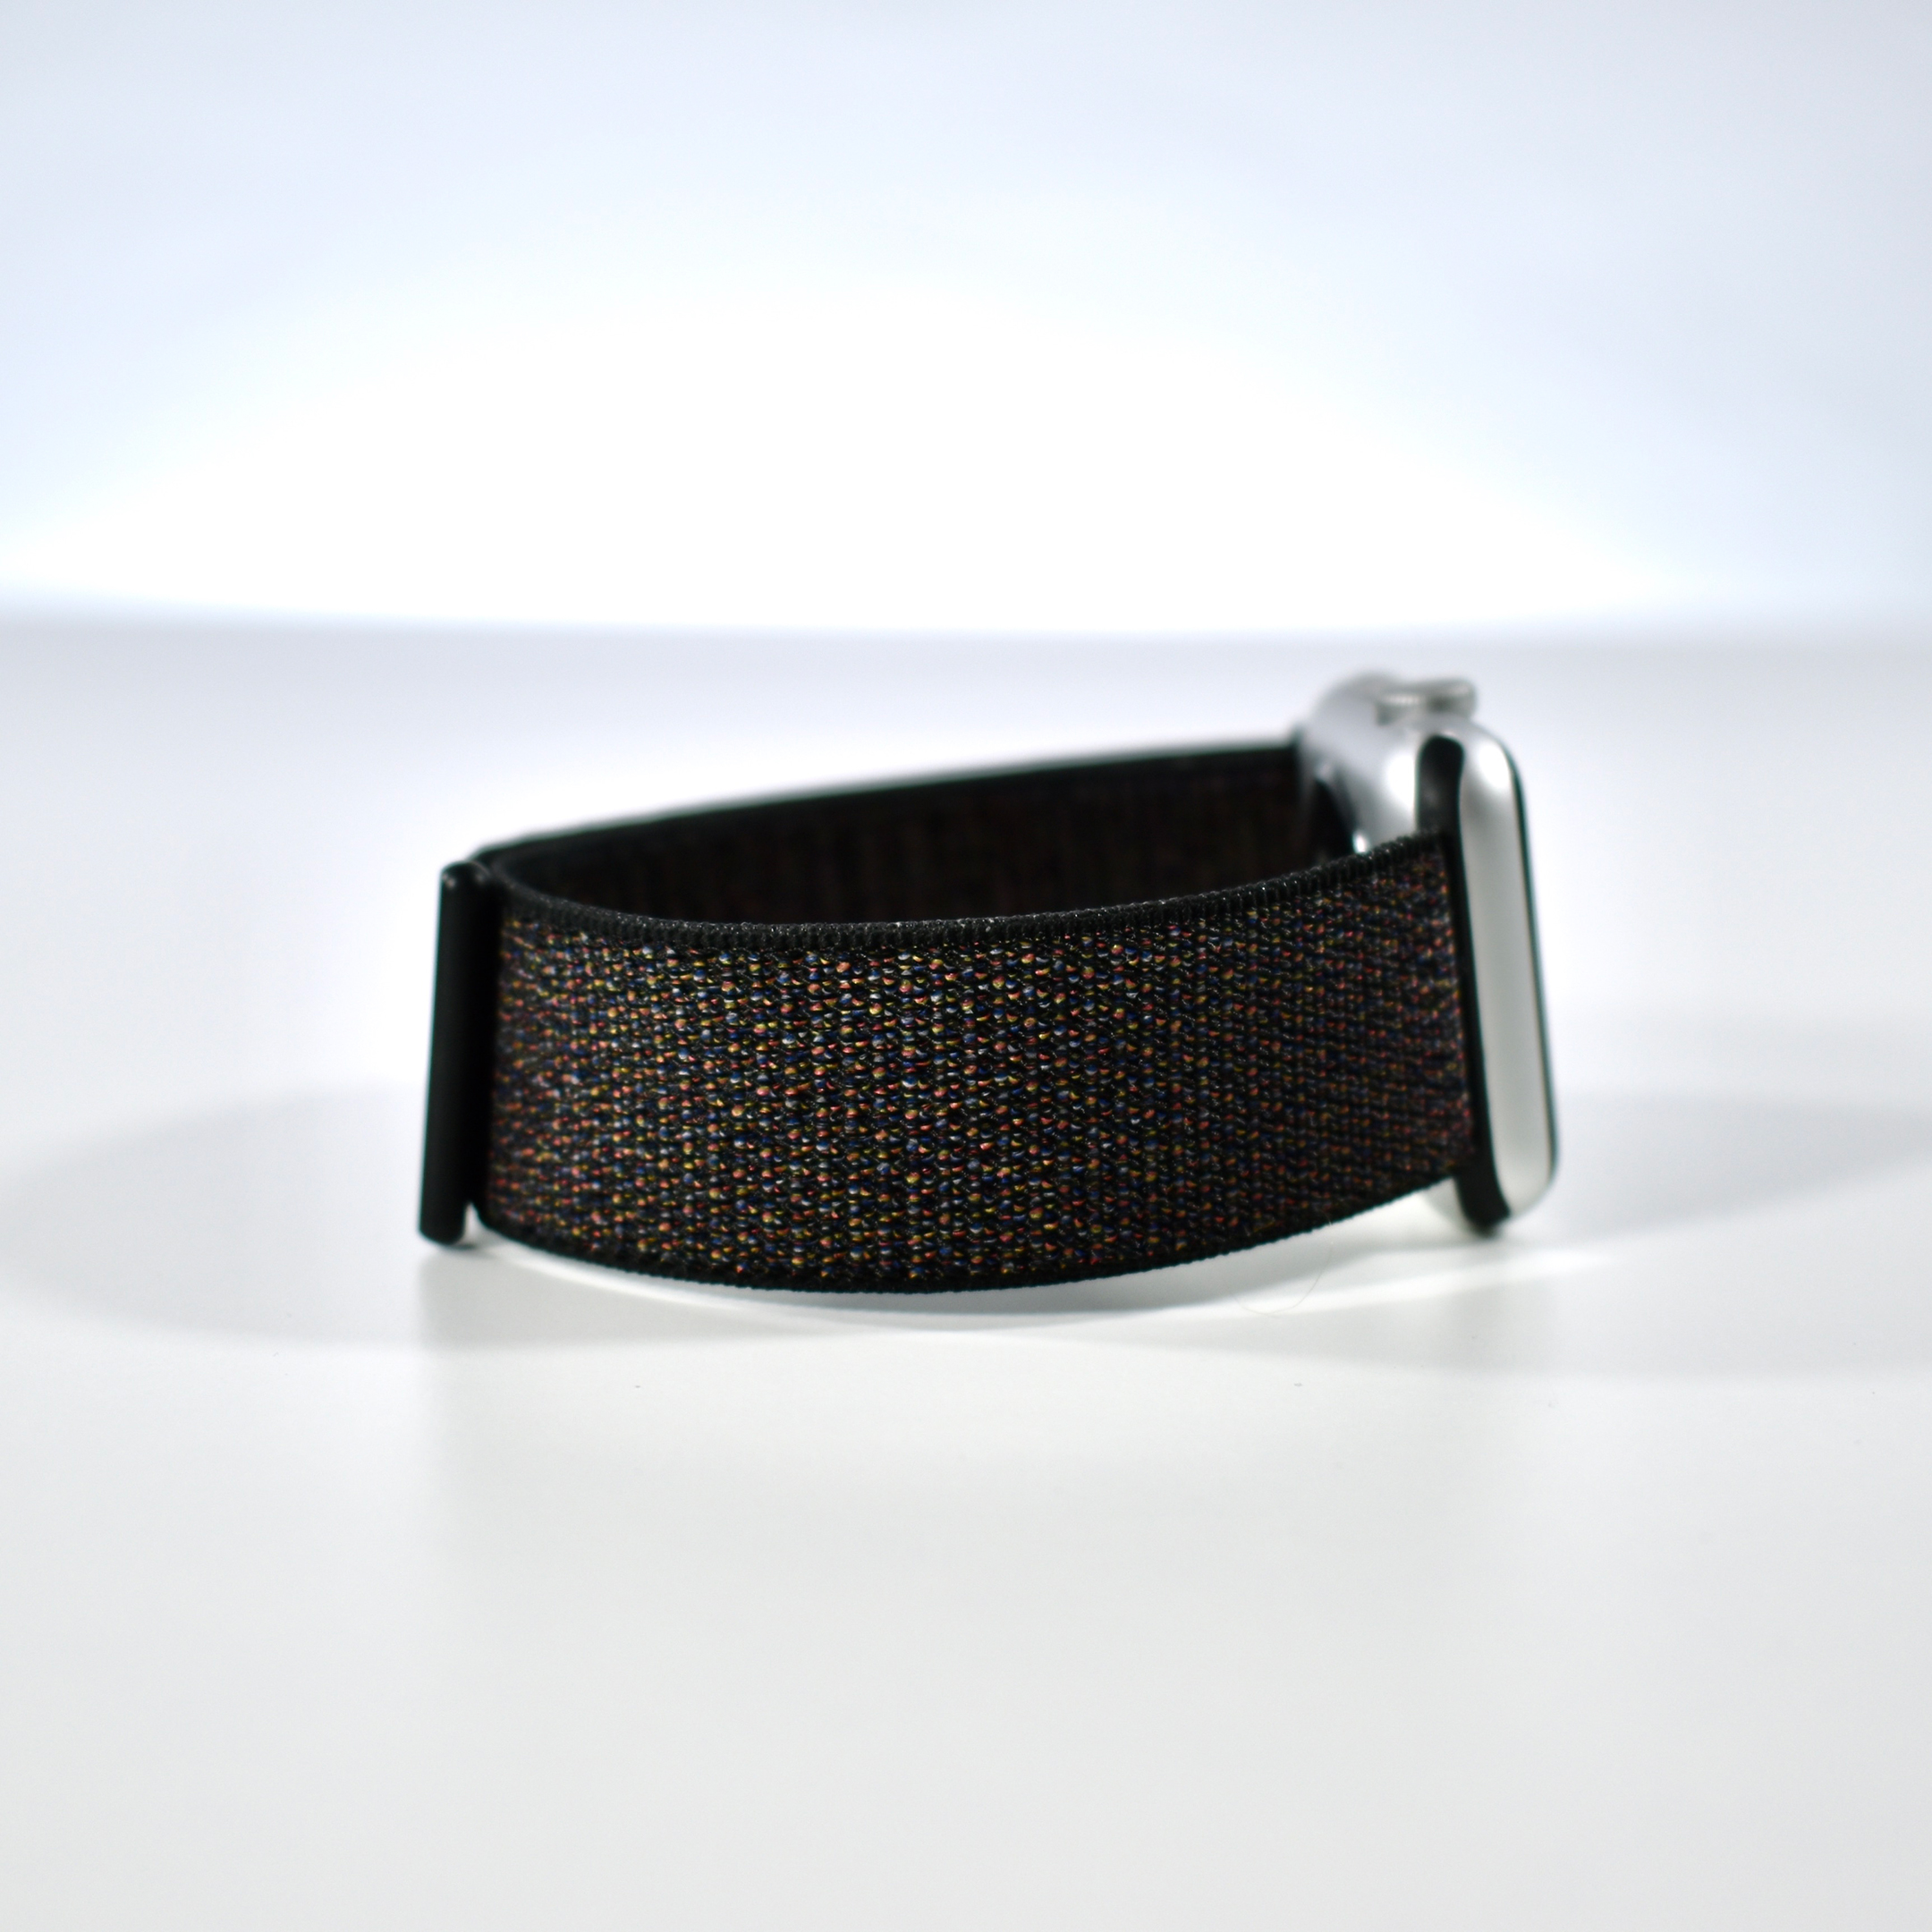
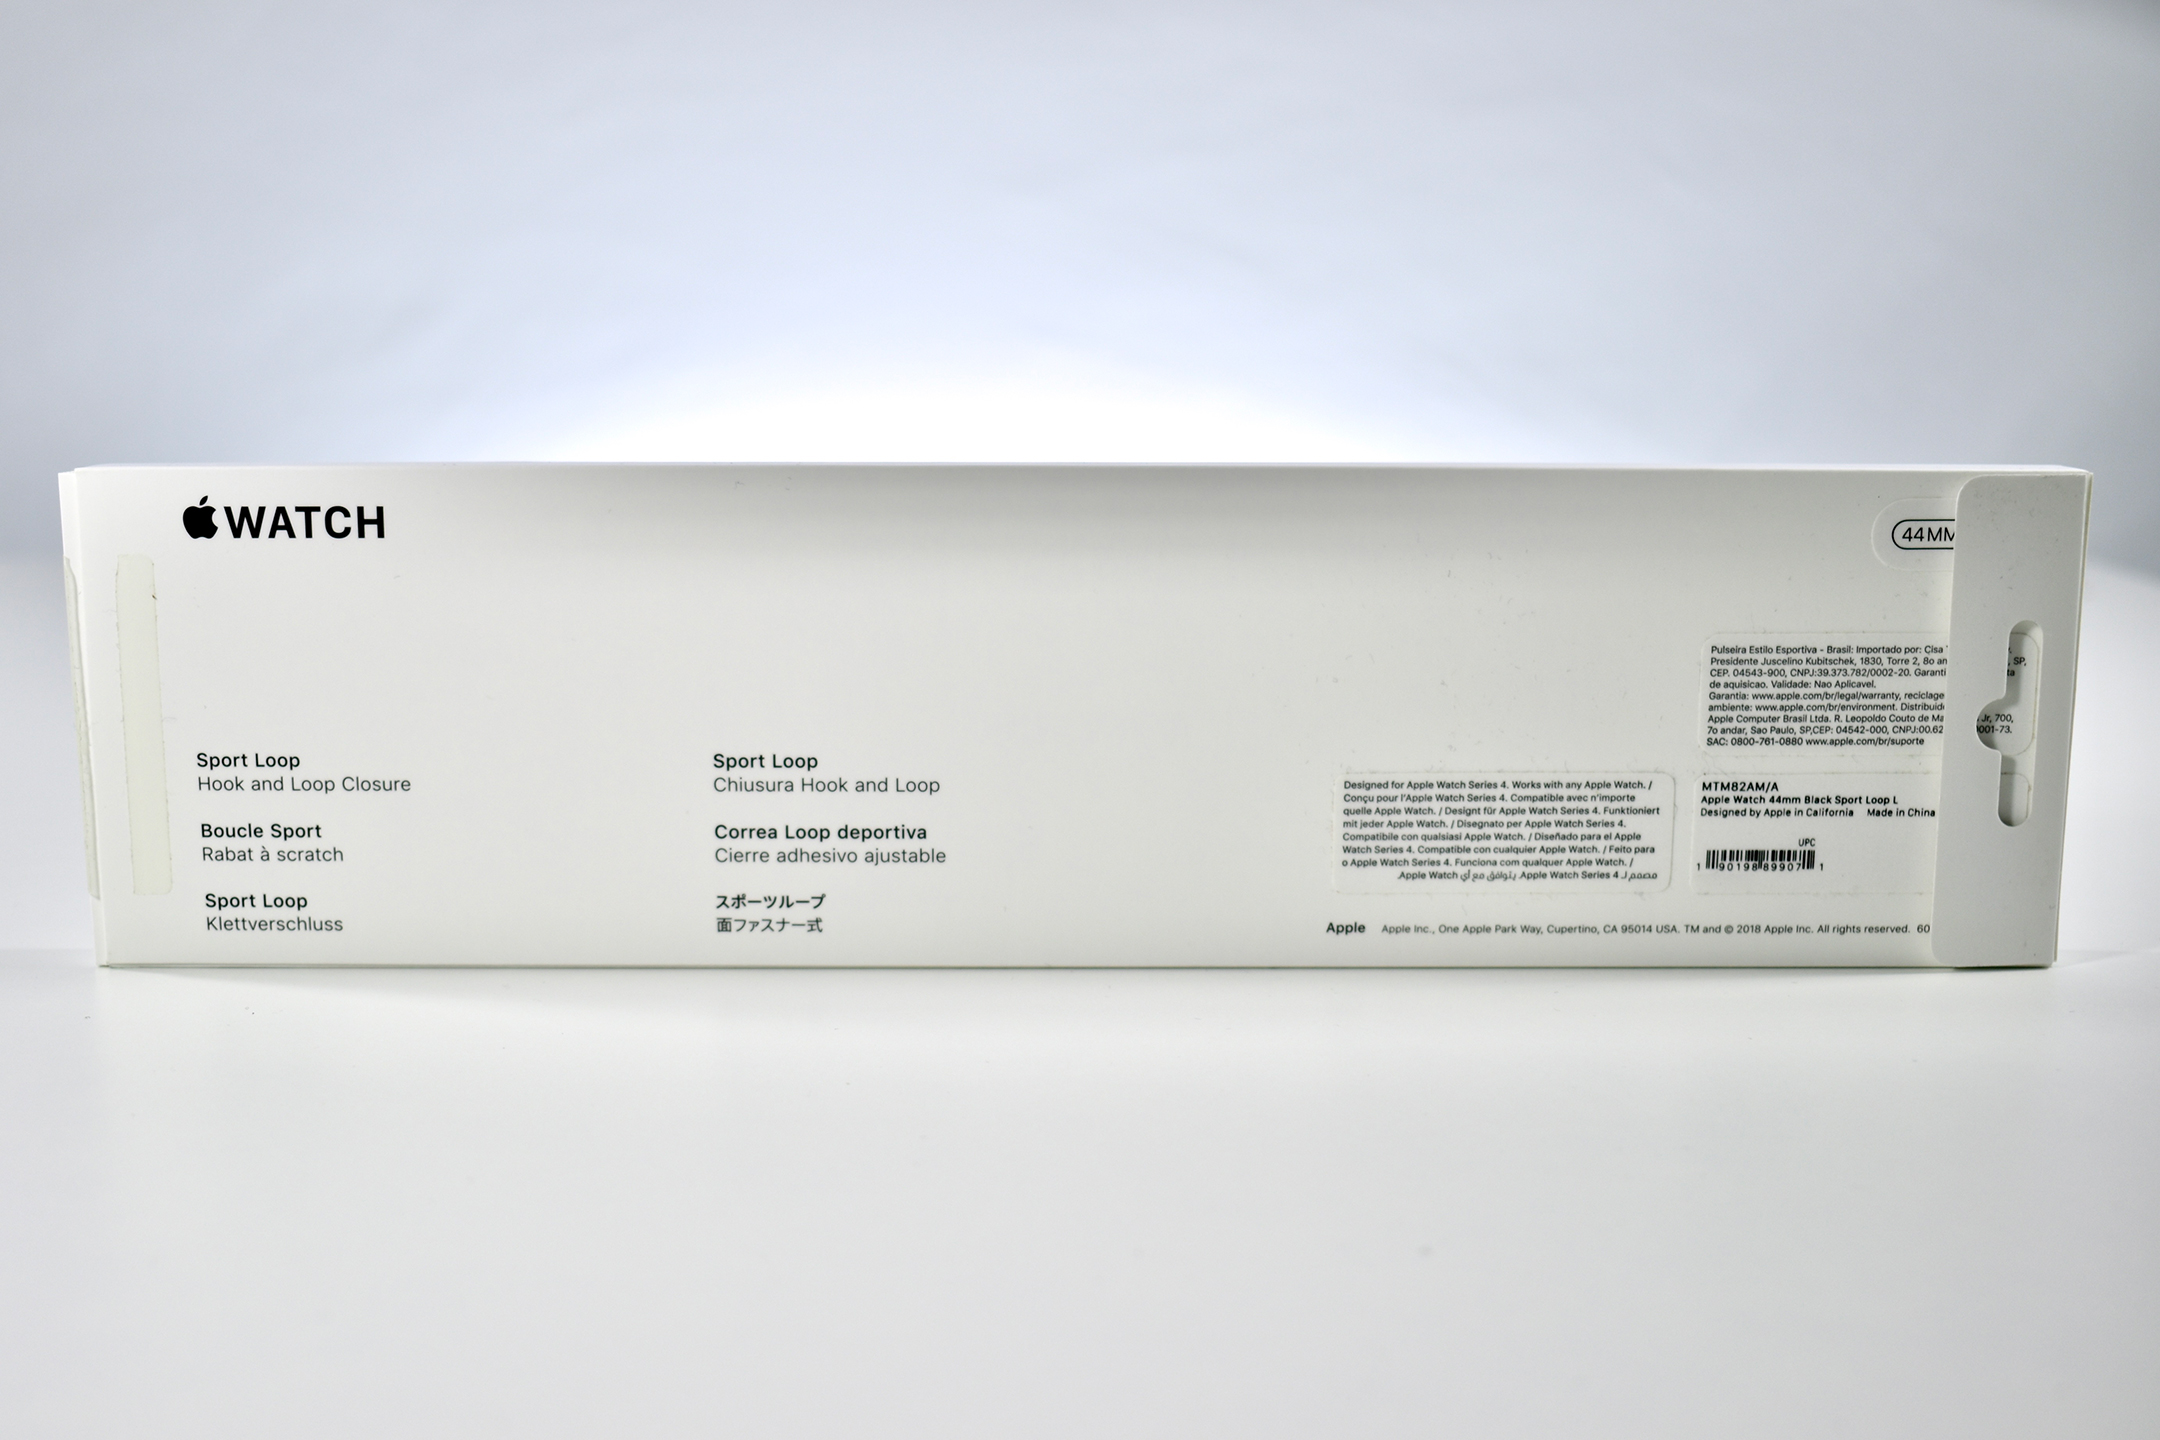
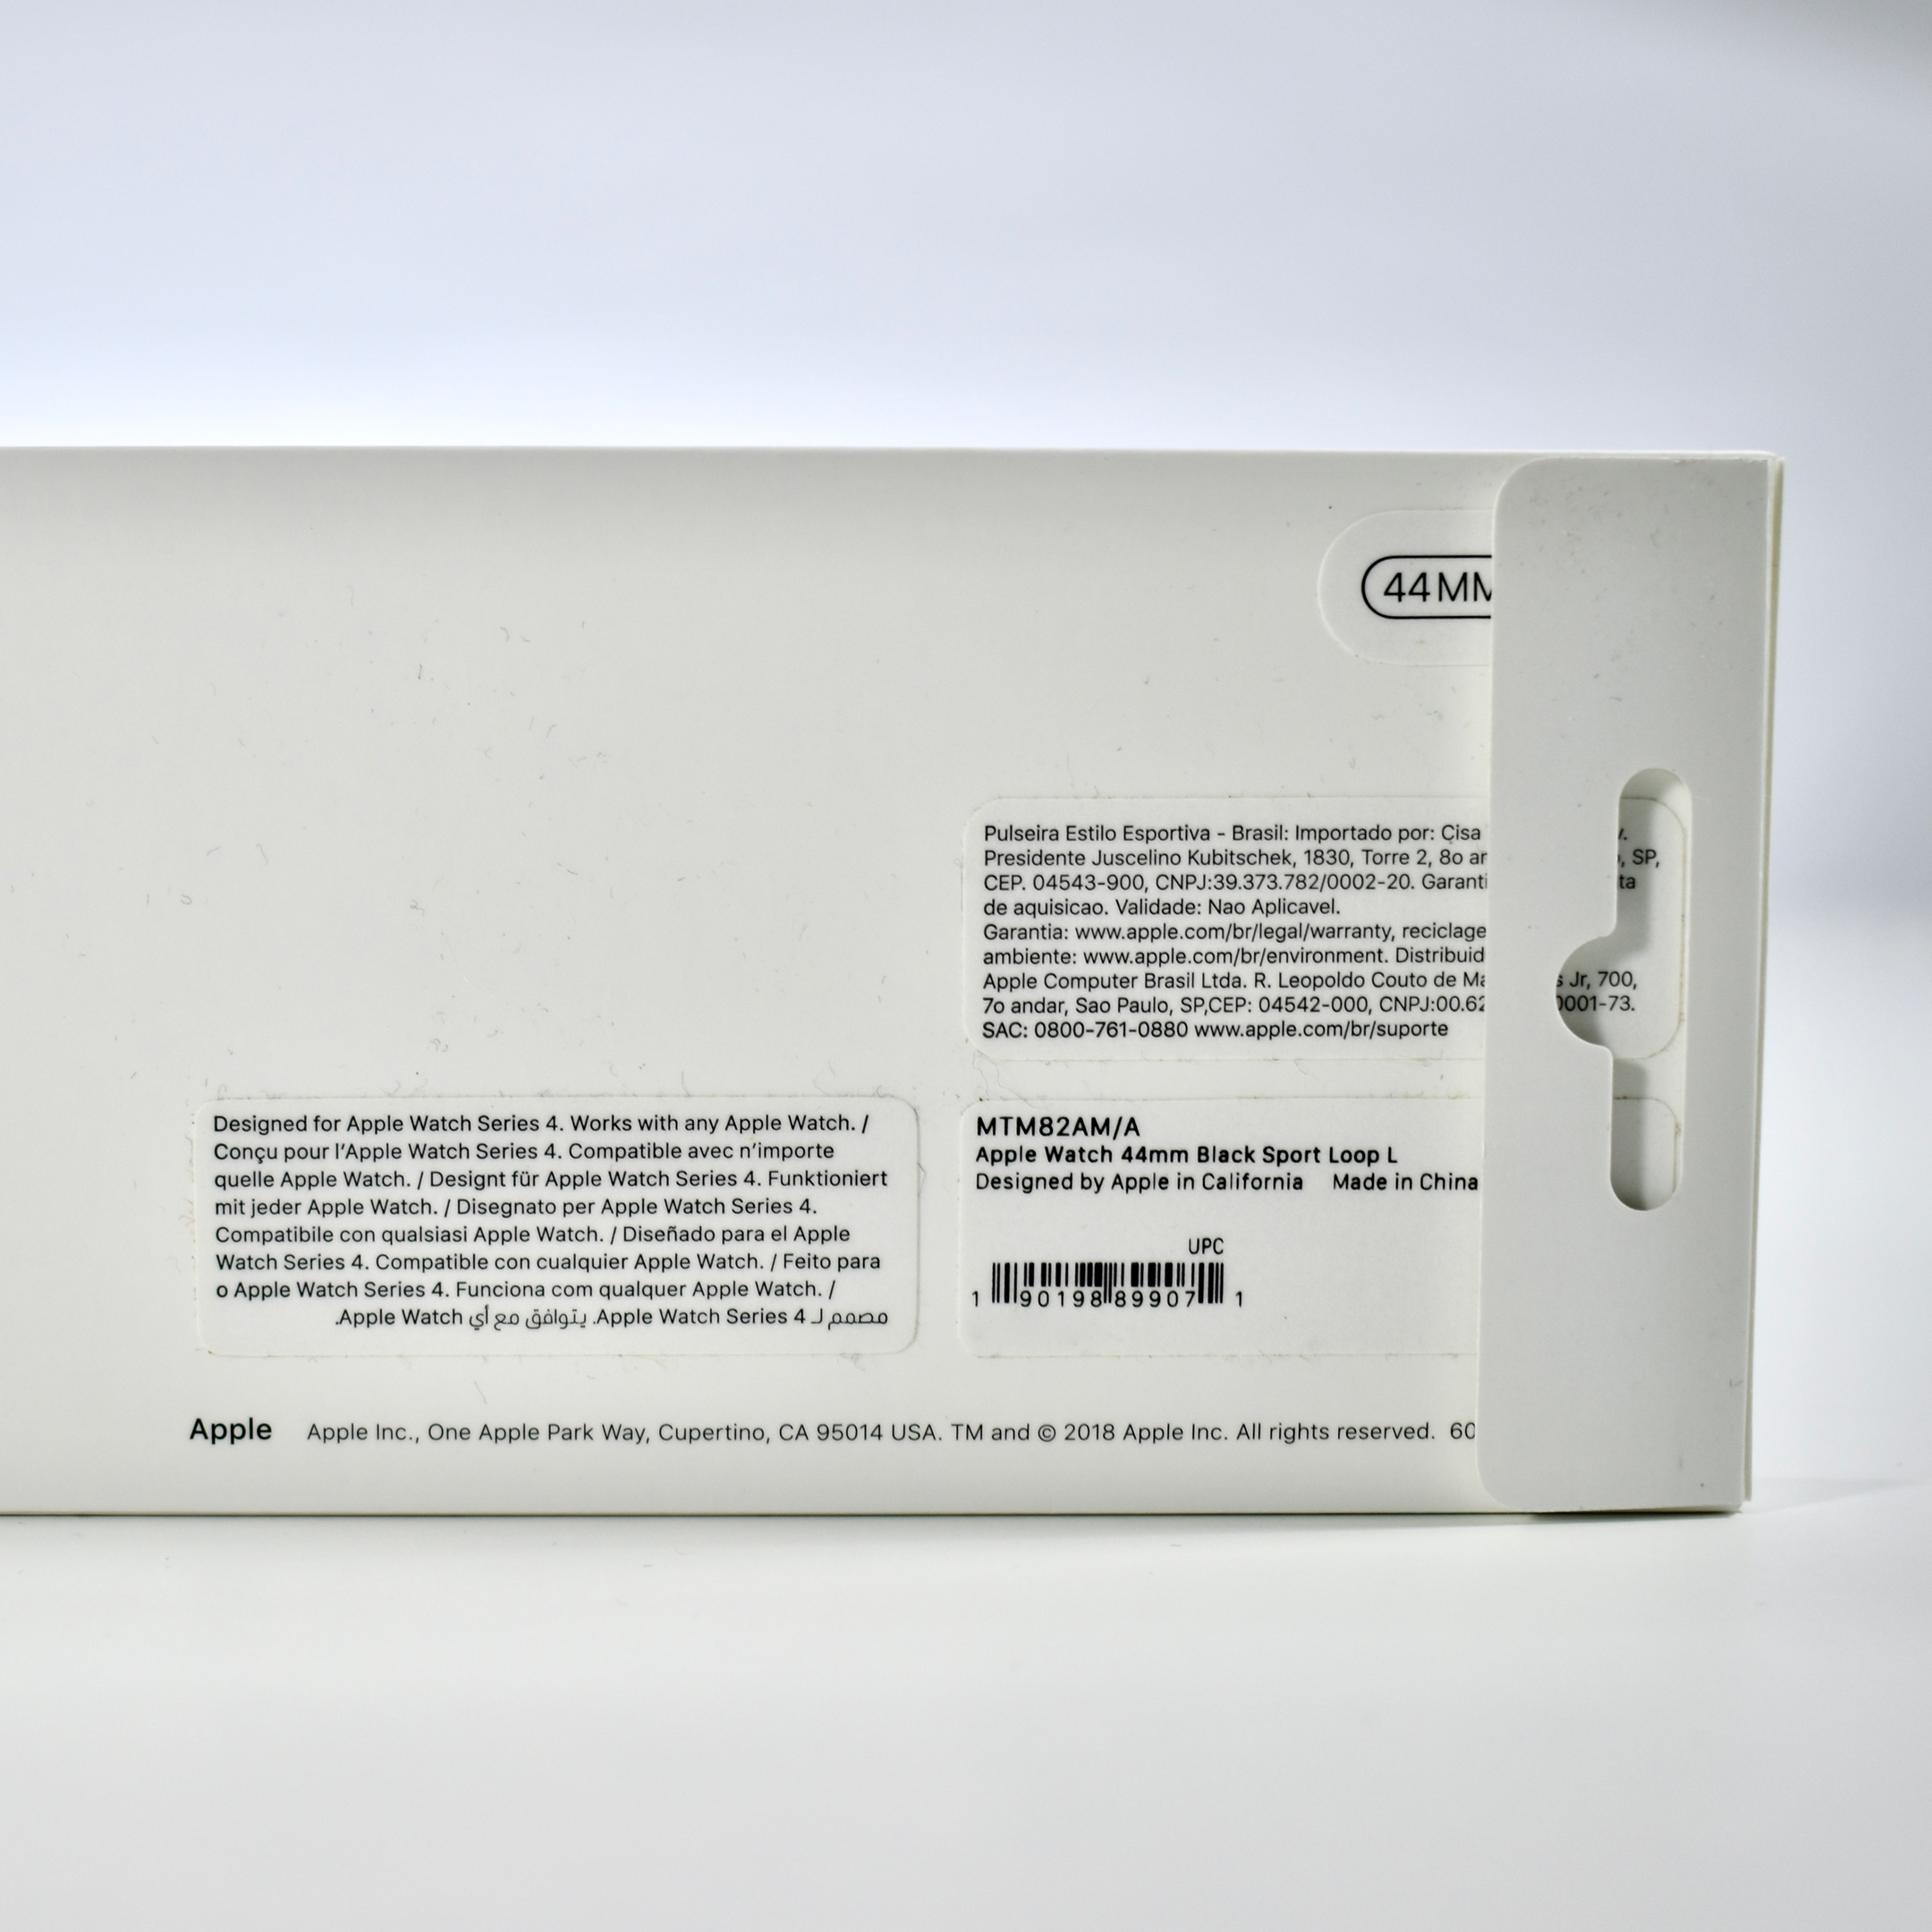
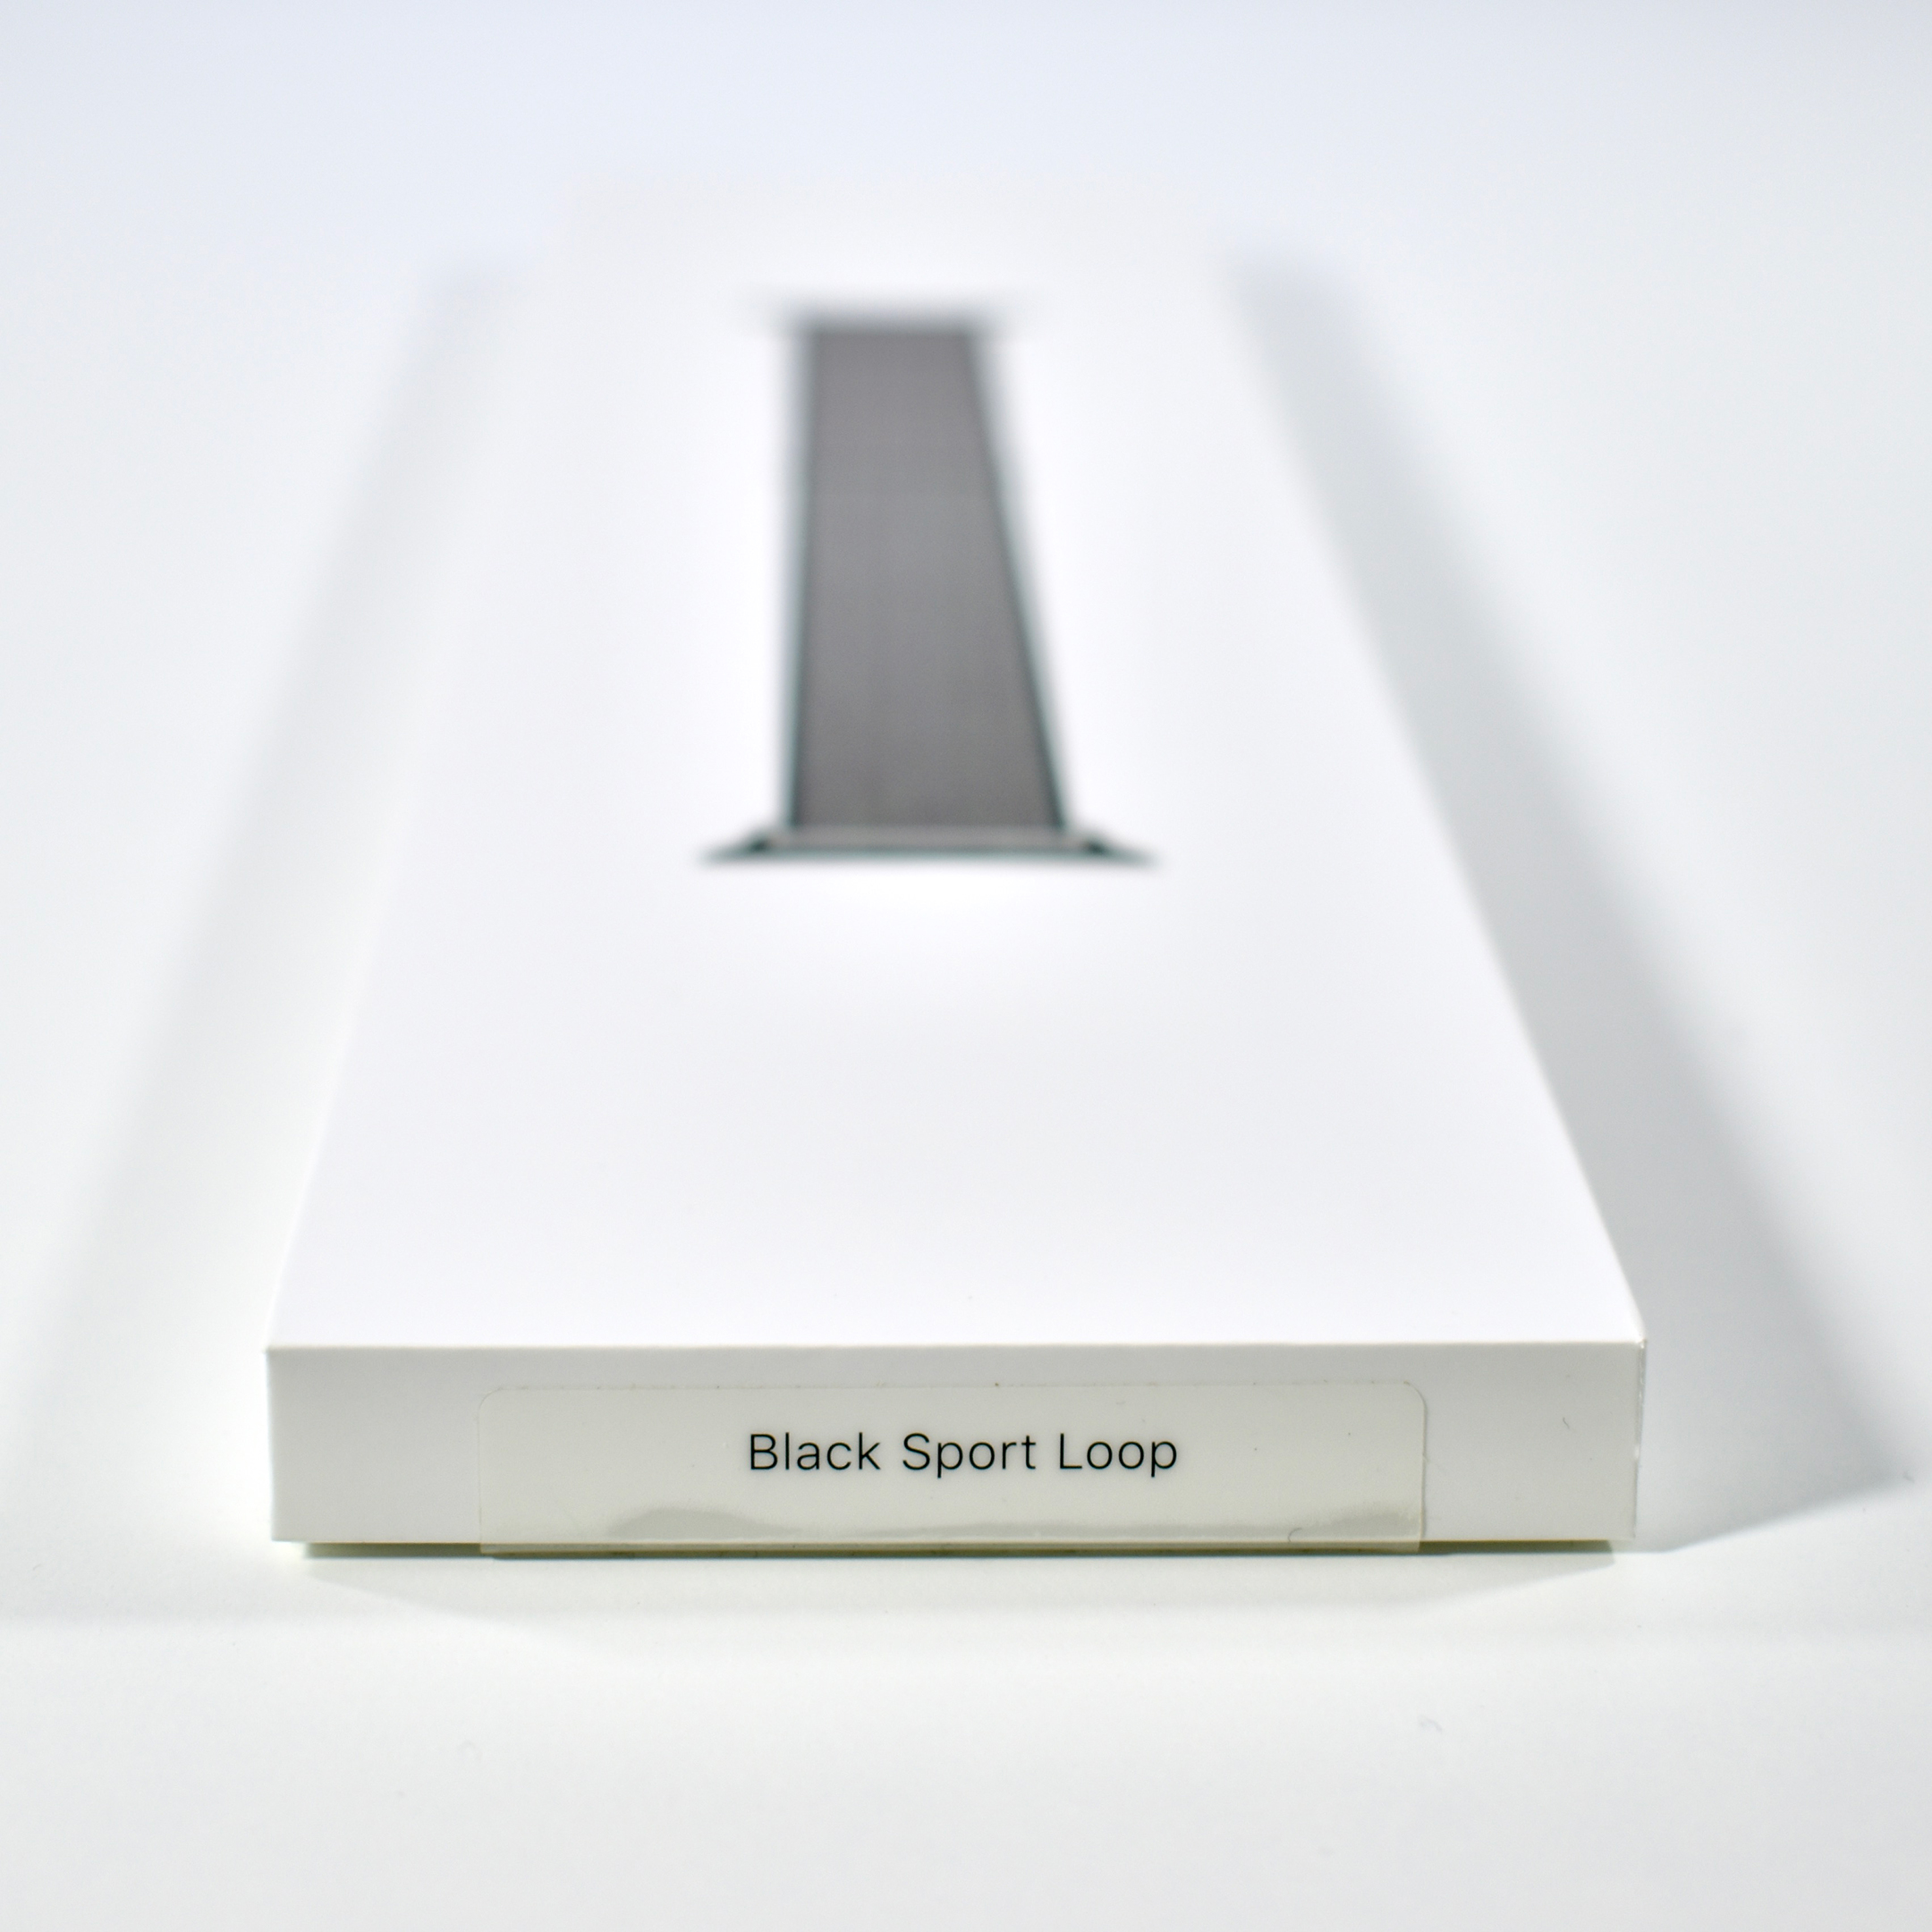
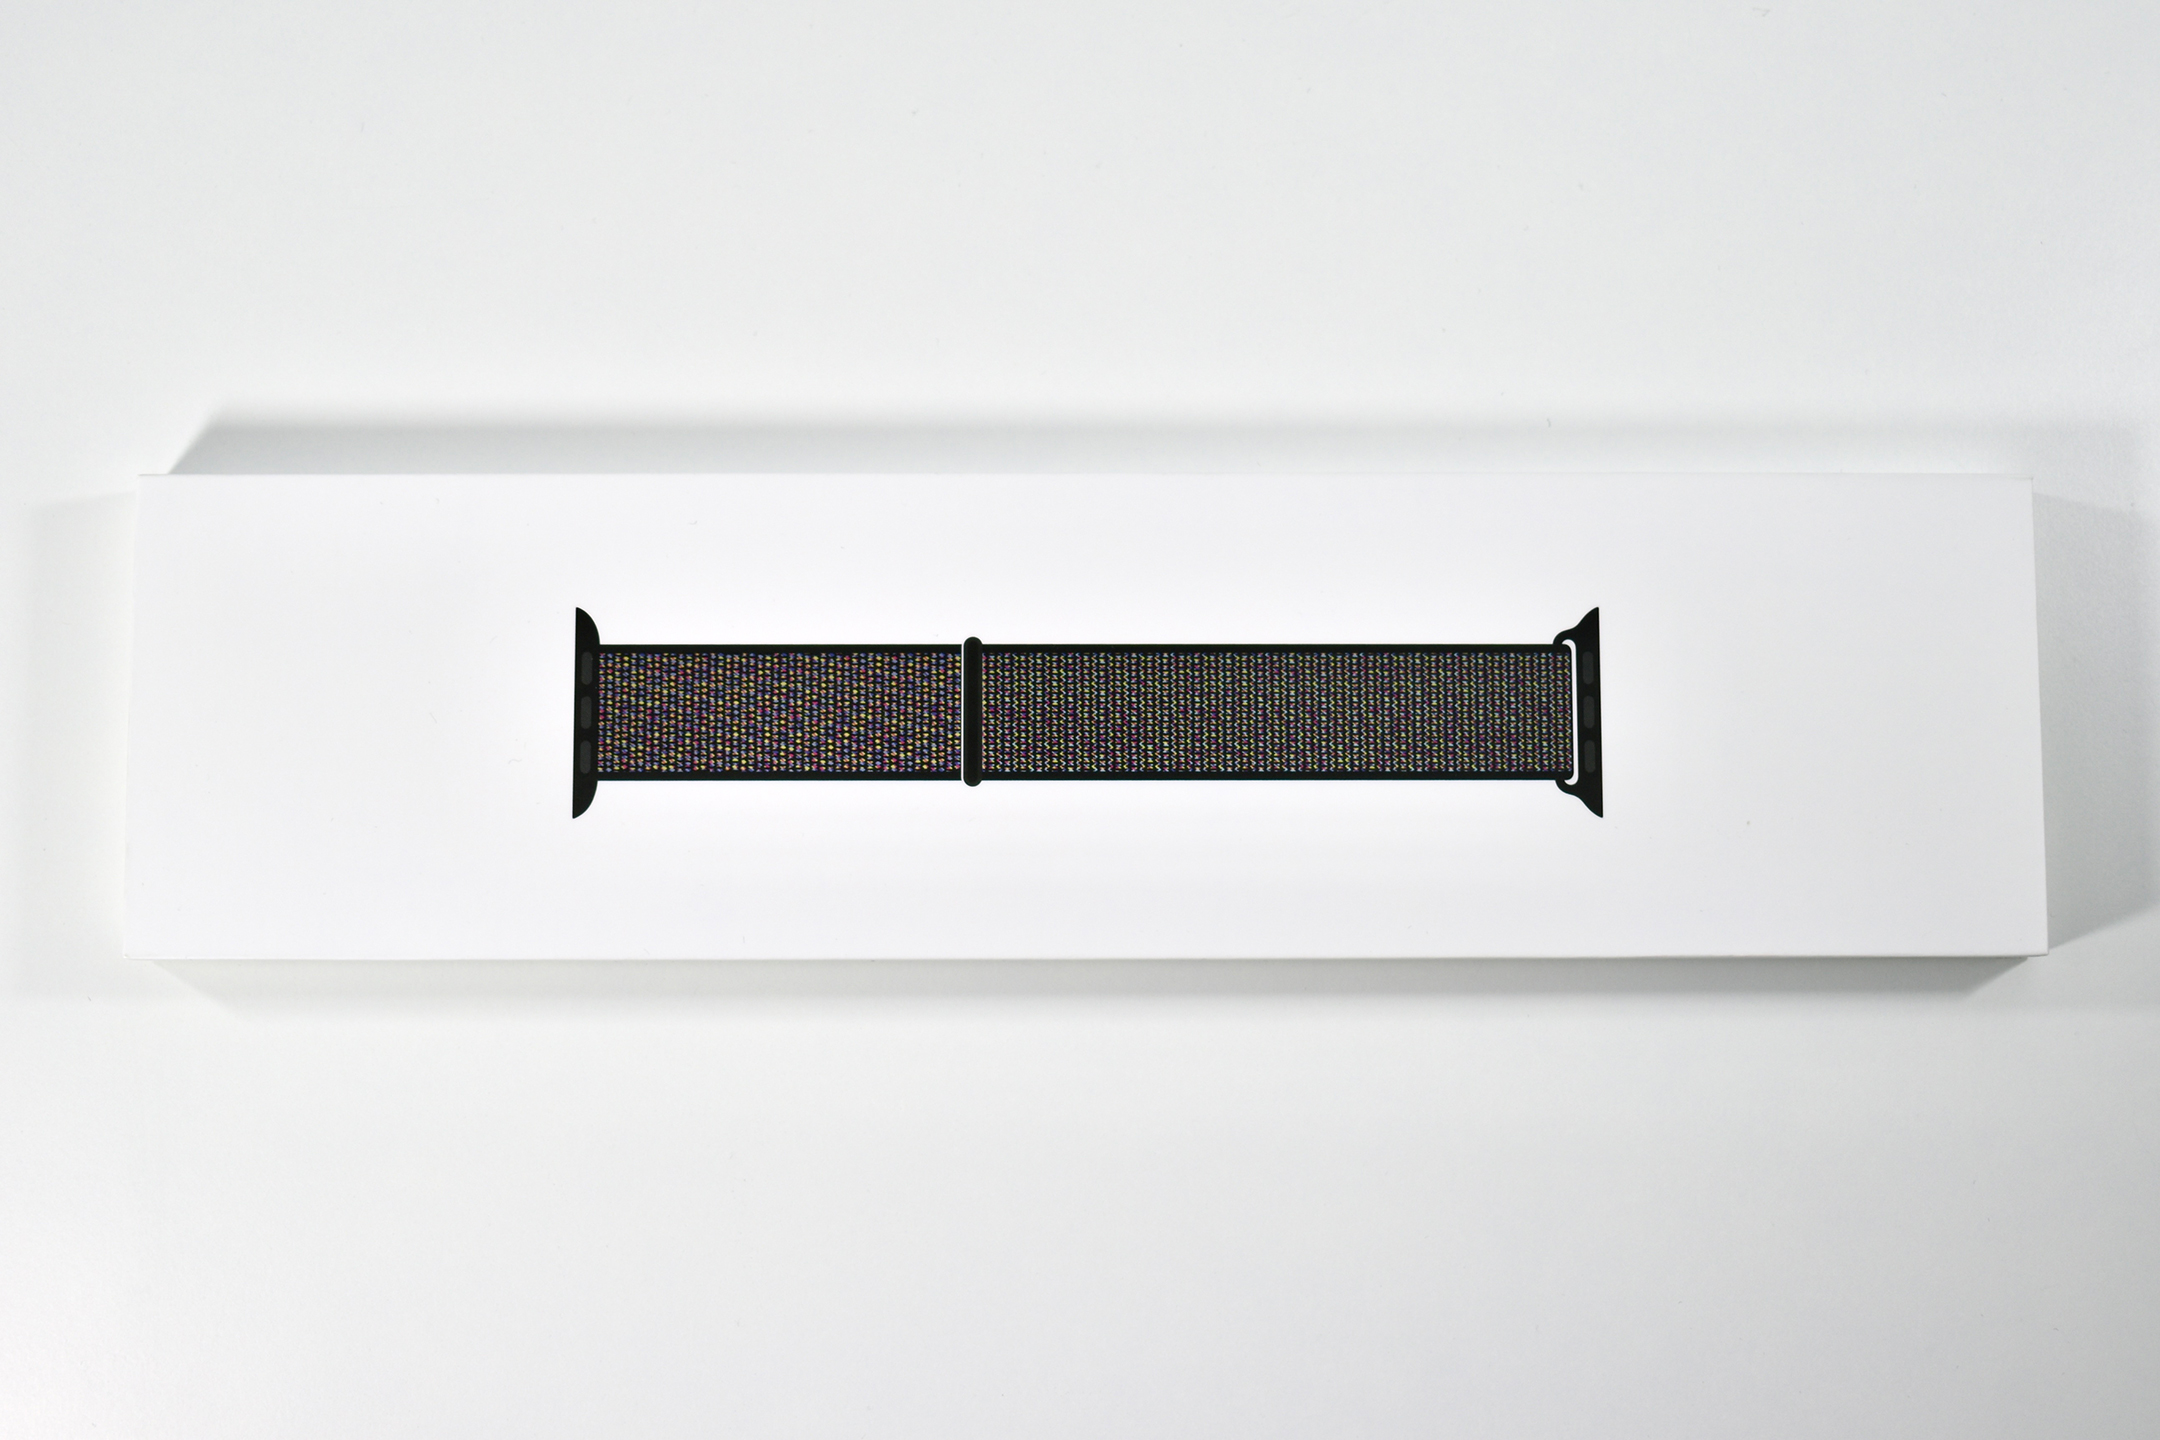
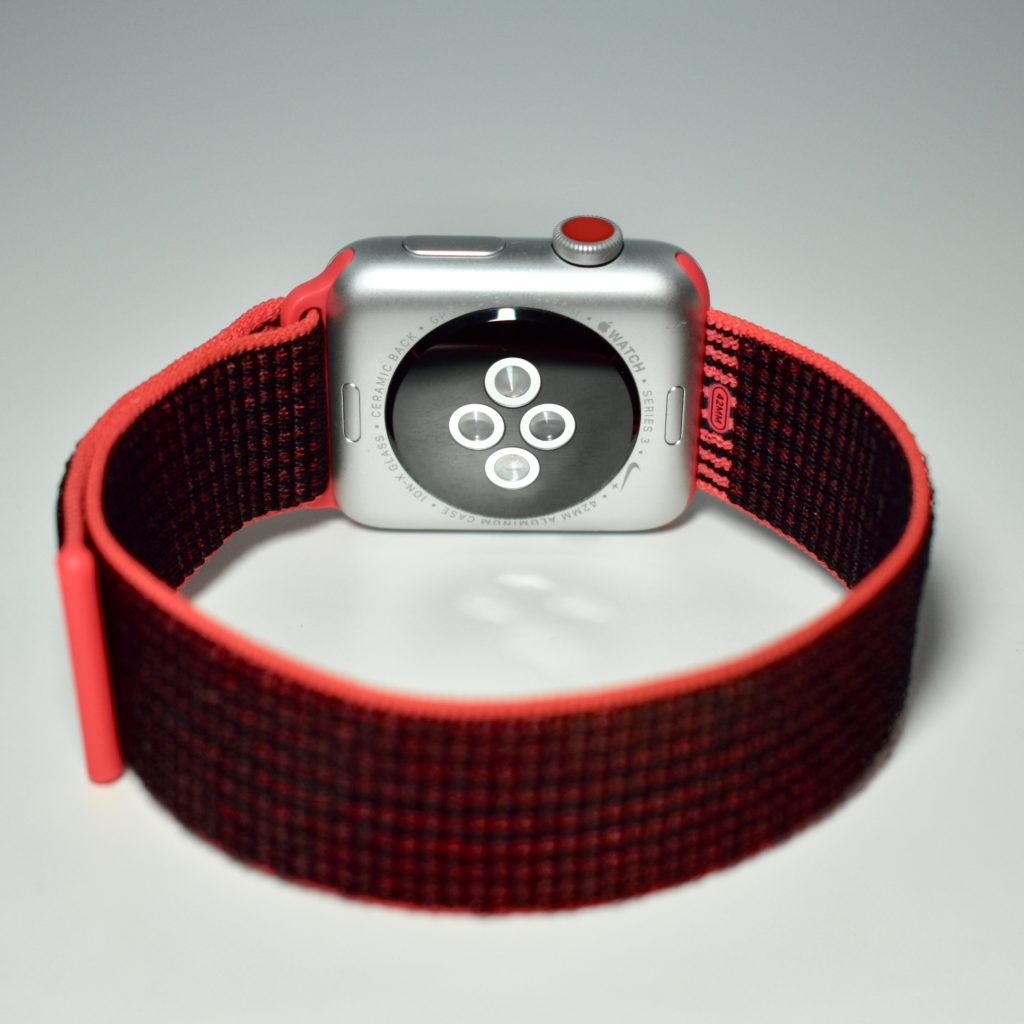
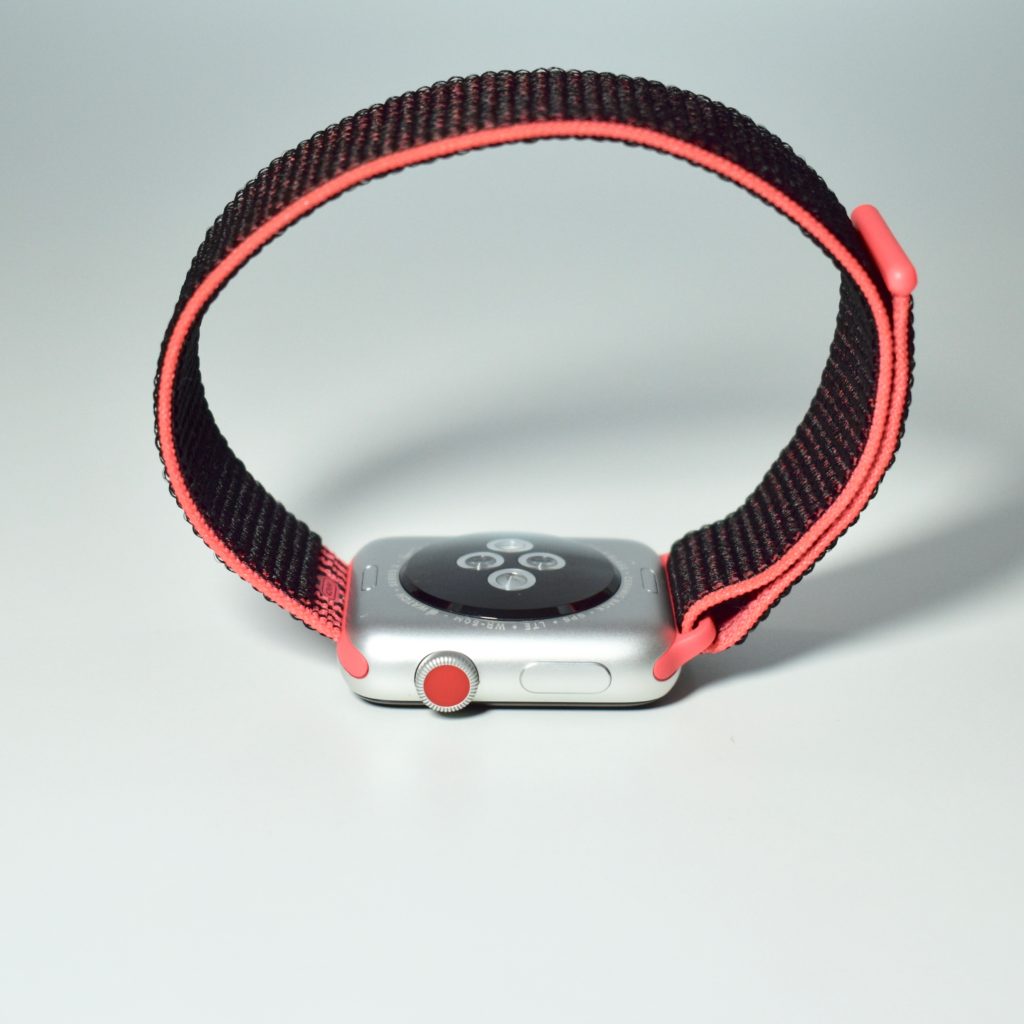
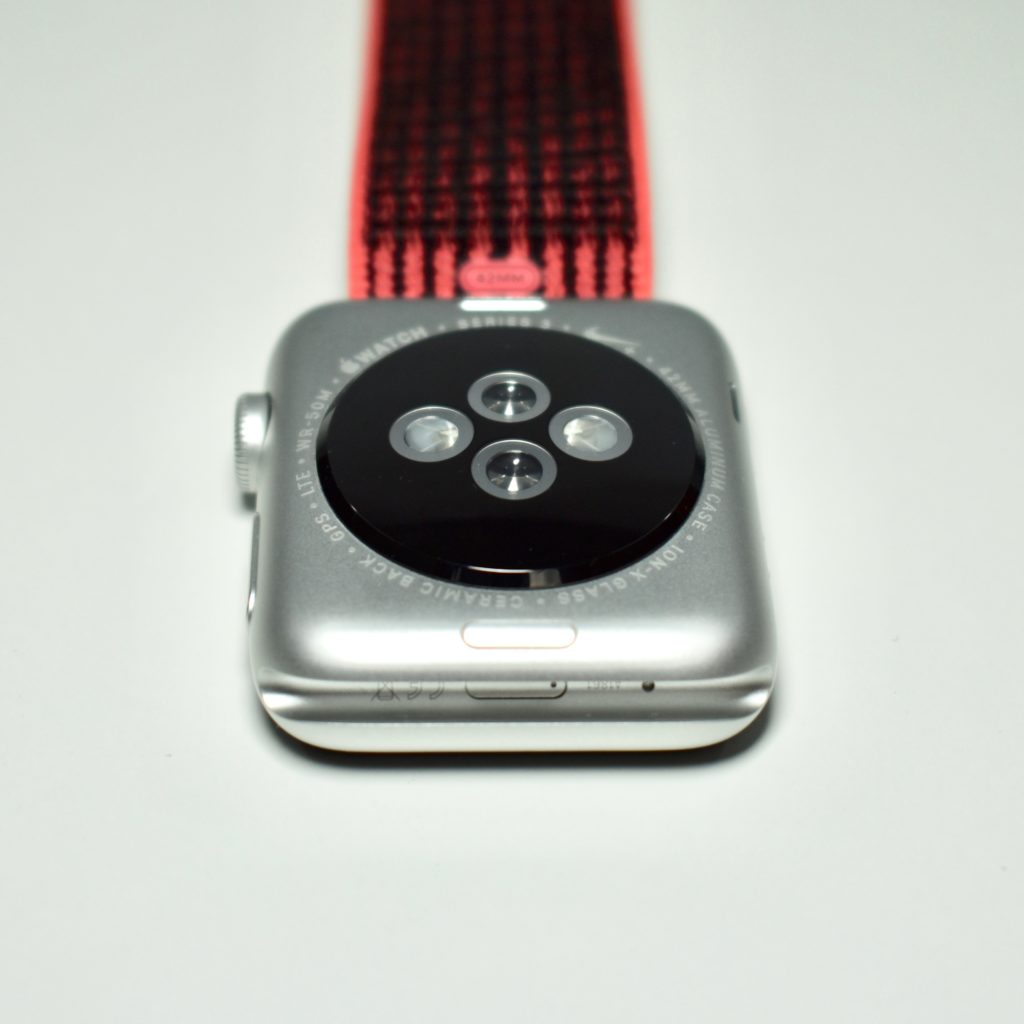
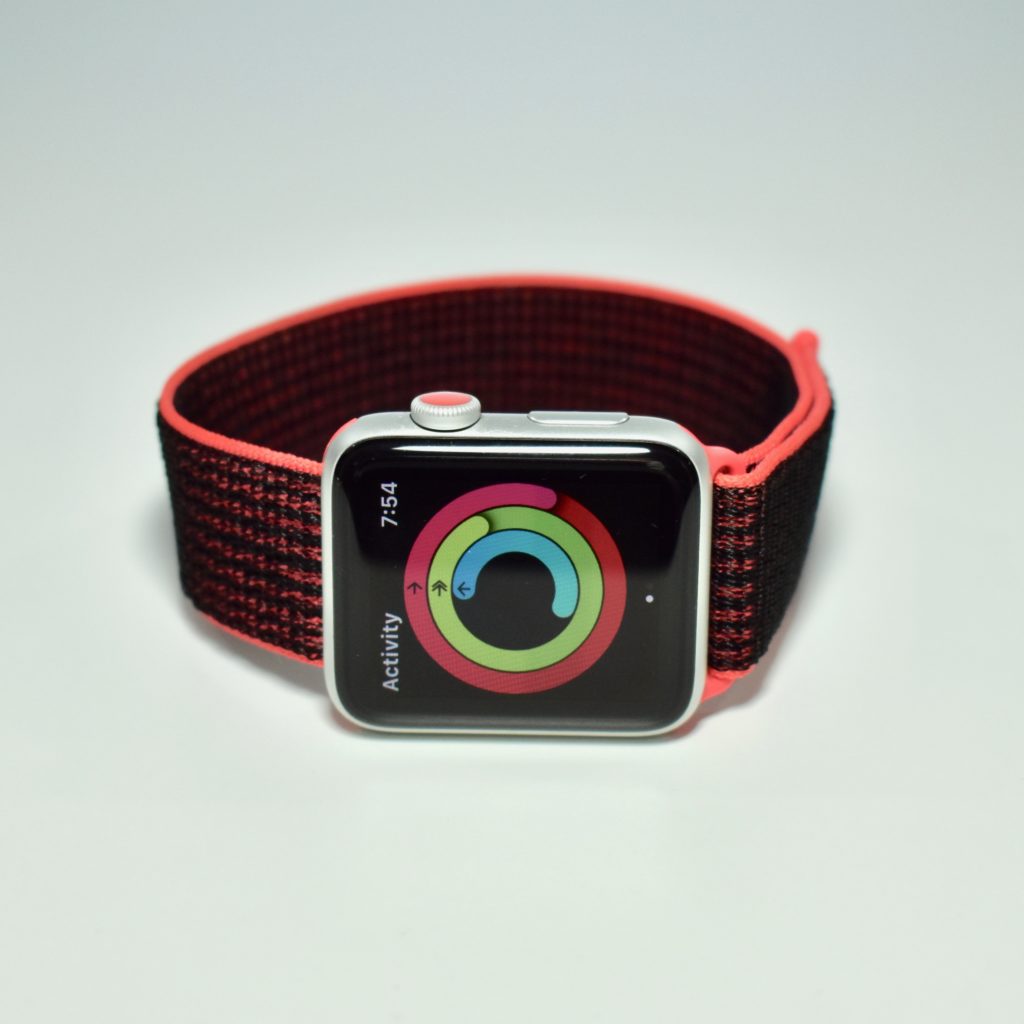
The Apple Watch Sport Loop band is woven from nylon thread to create a hook-and-loop closure. They are available for the 38/40 mm and 42/44 mm Apple Watch models, and are offered in Regular size to fit 130–190 mm wrists. As of this writing (March 2020), this Black Sport Loop has been the only Sport Loop offered in size XL.

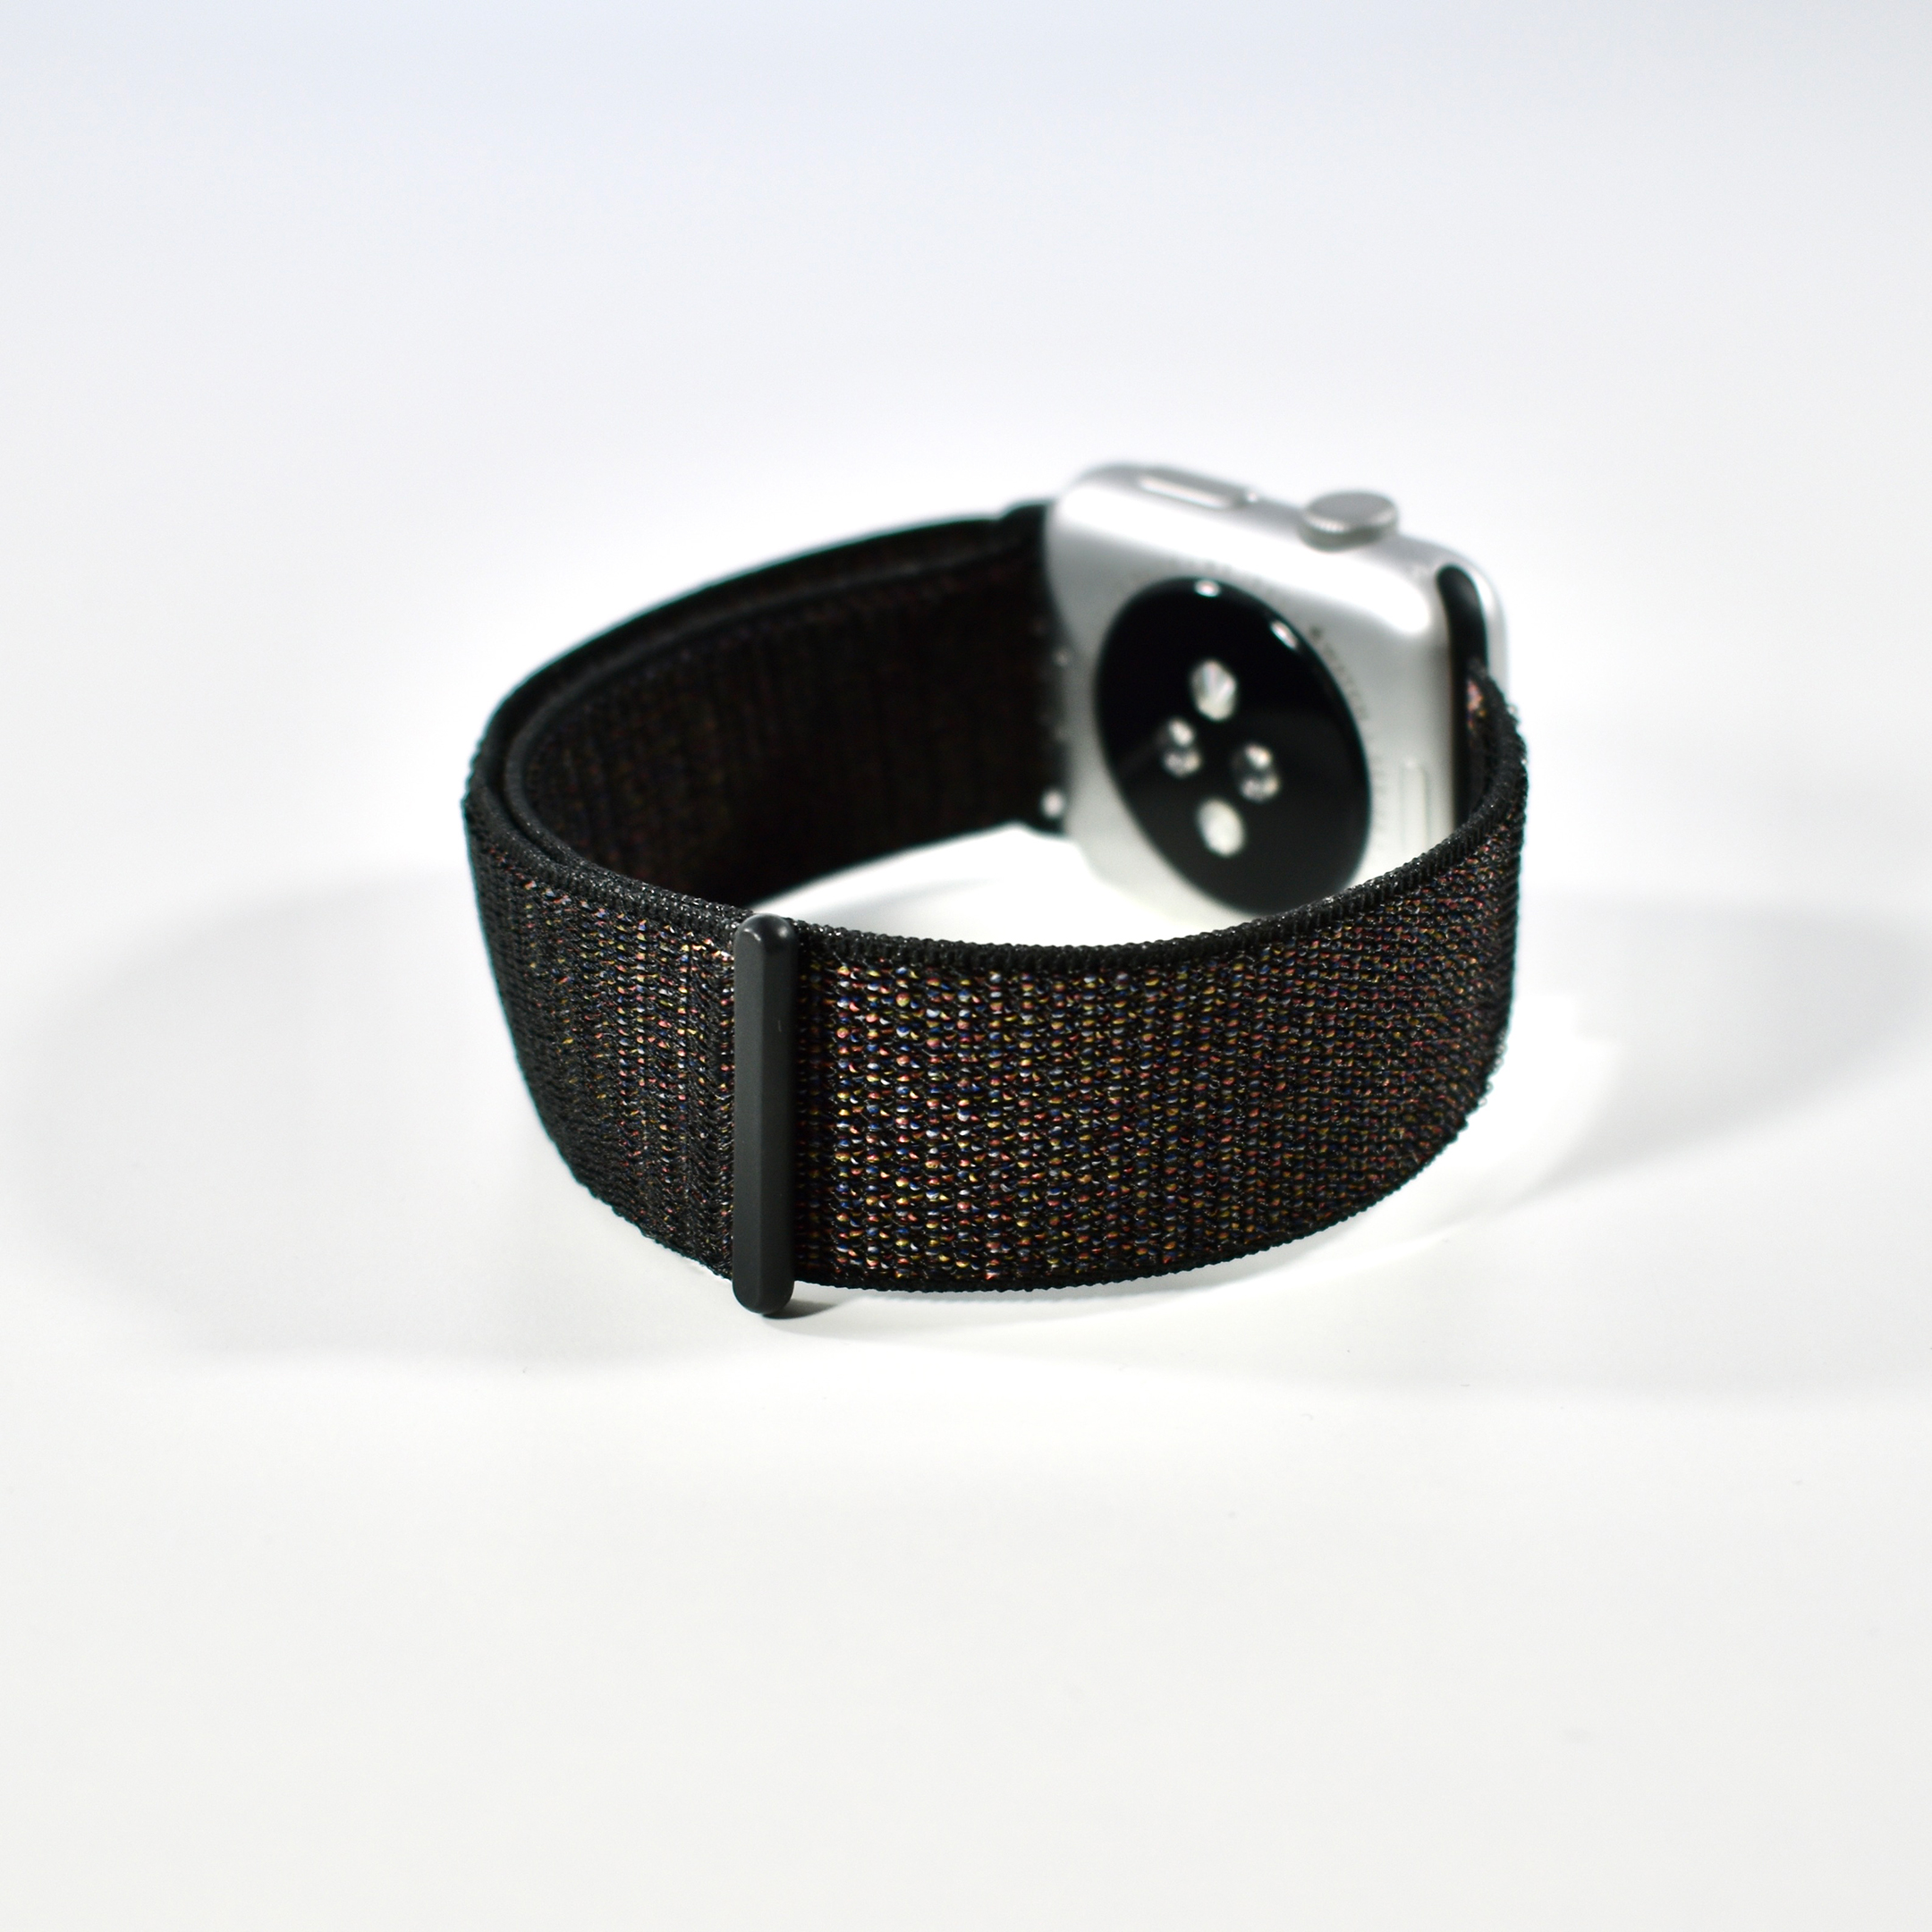
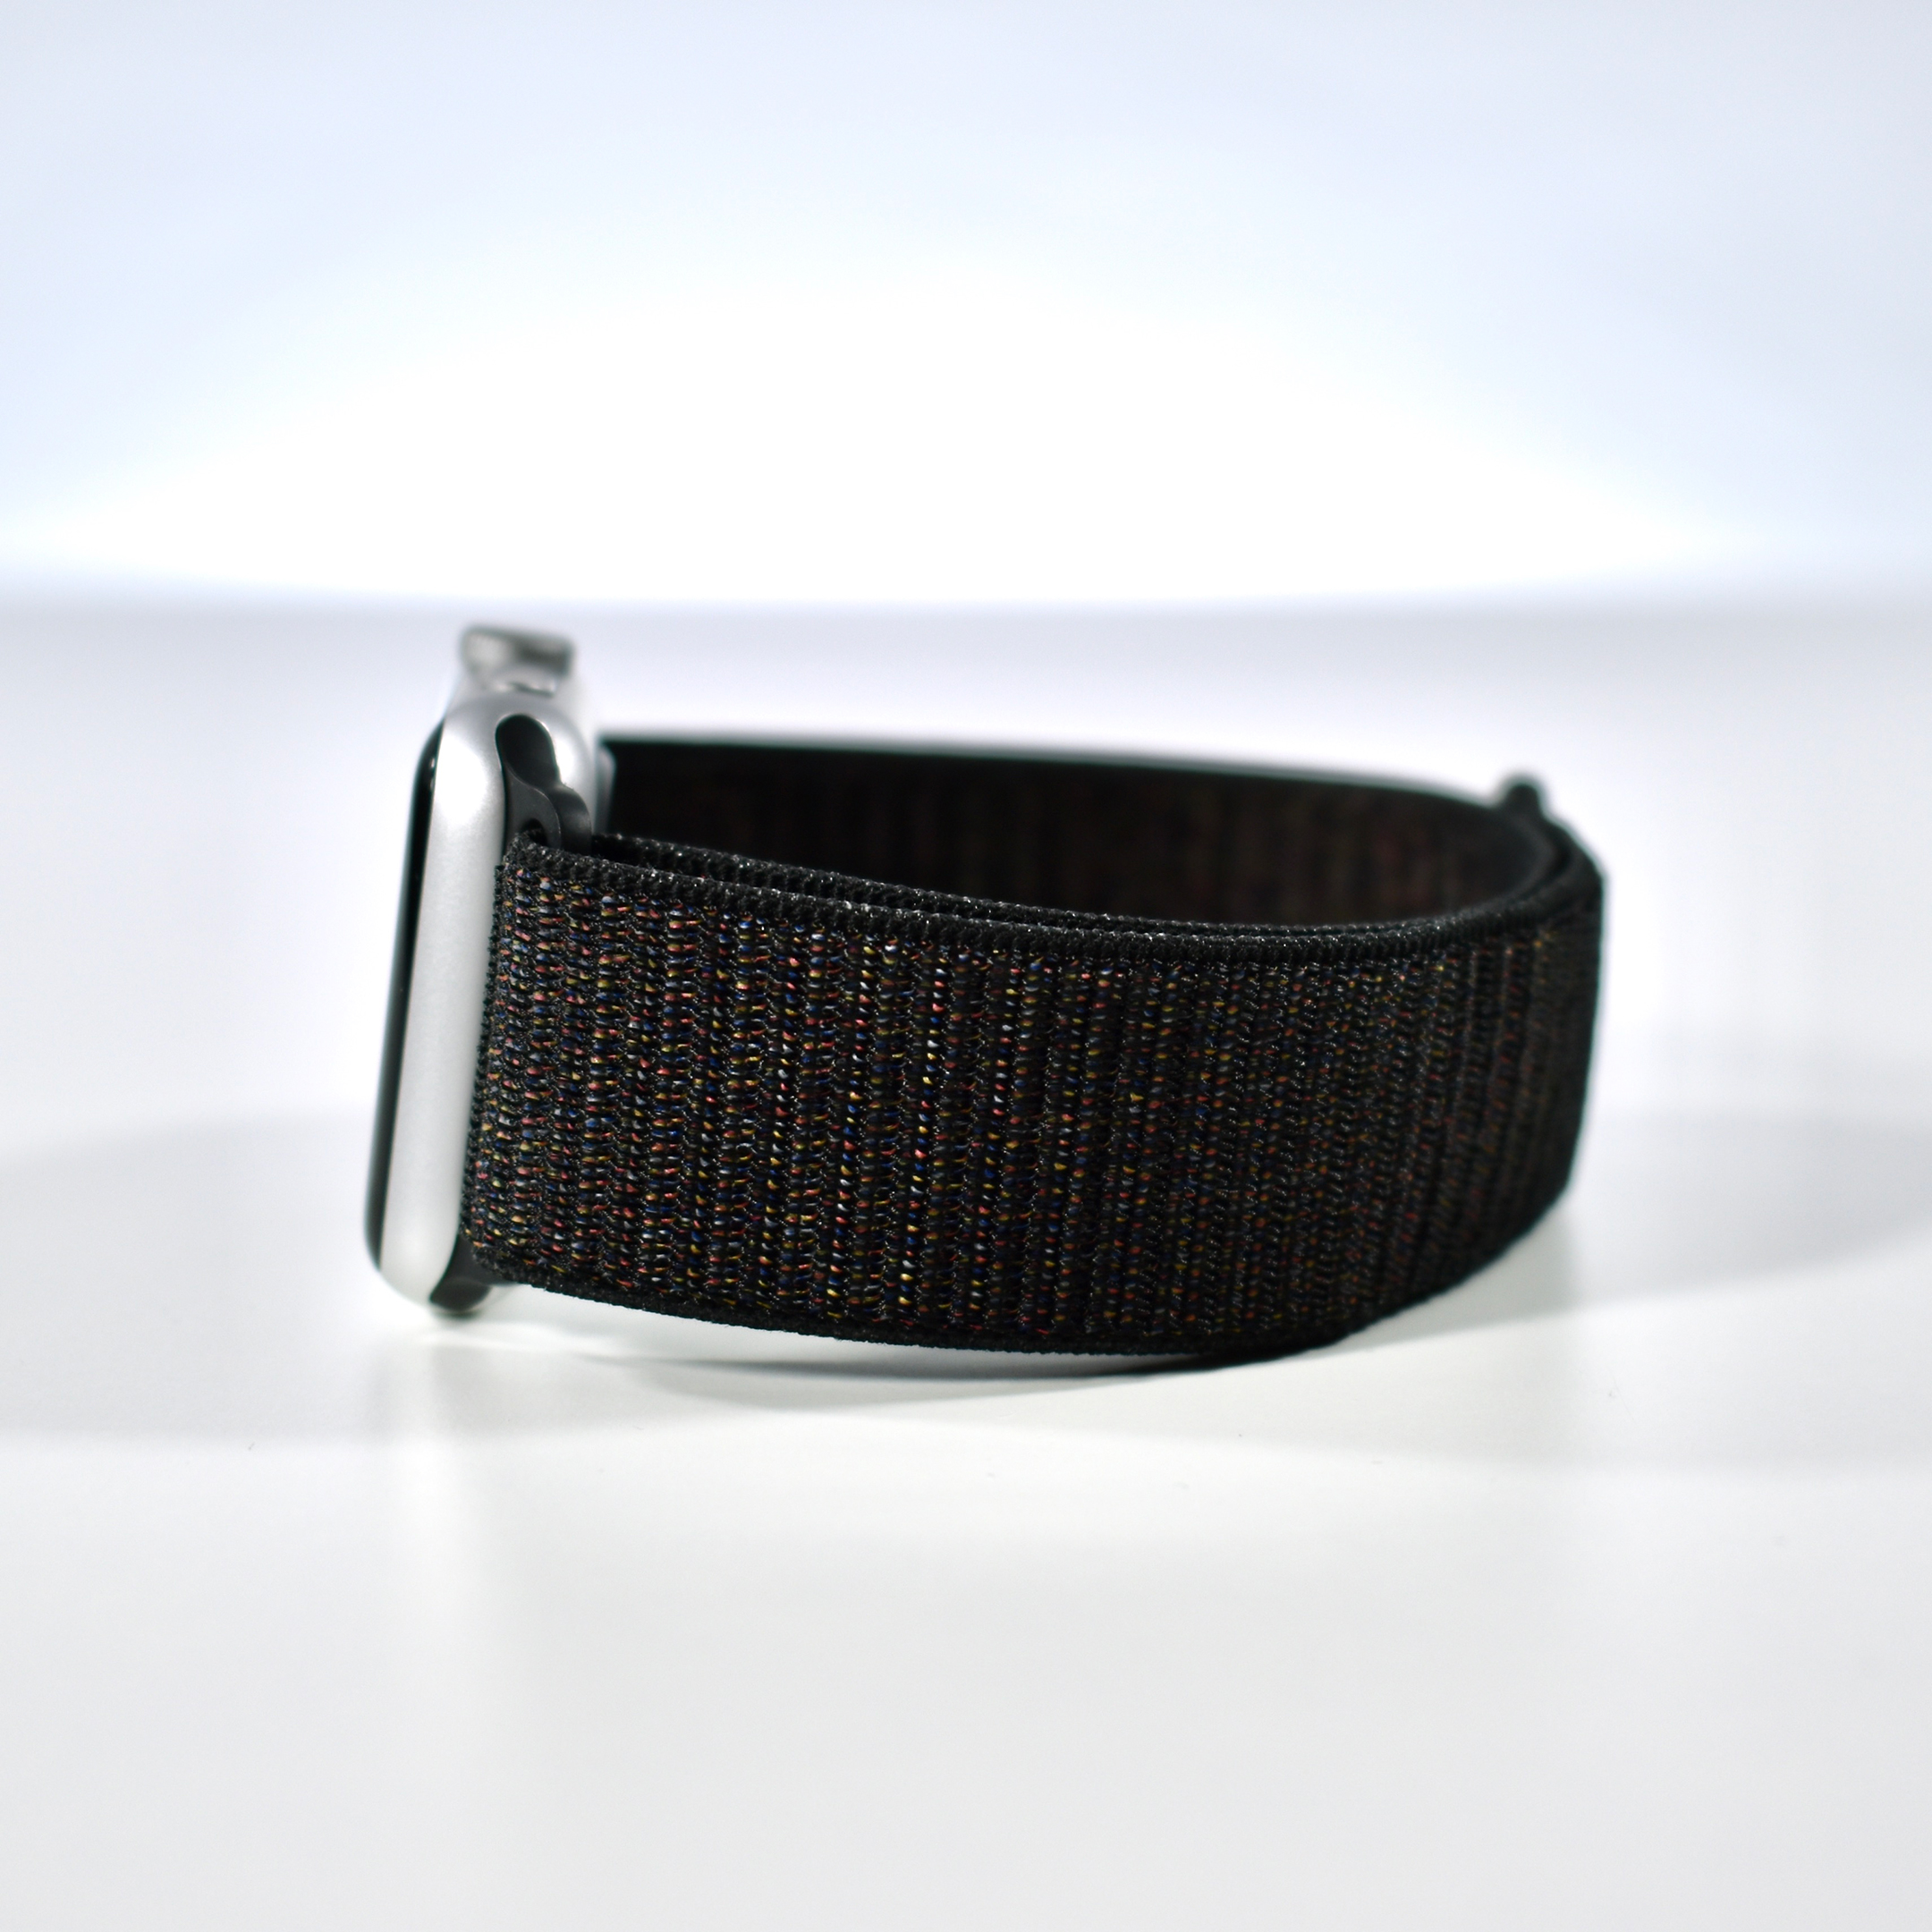
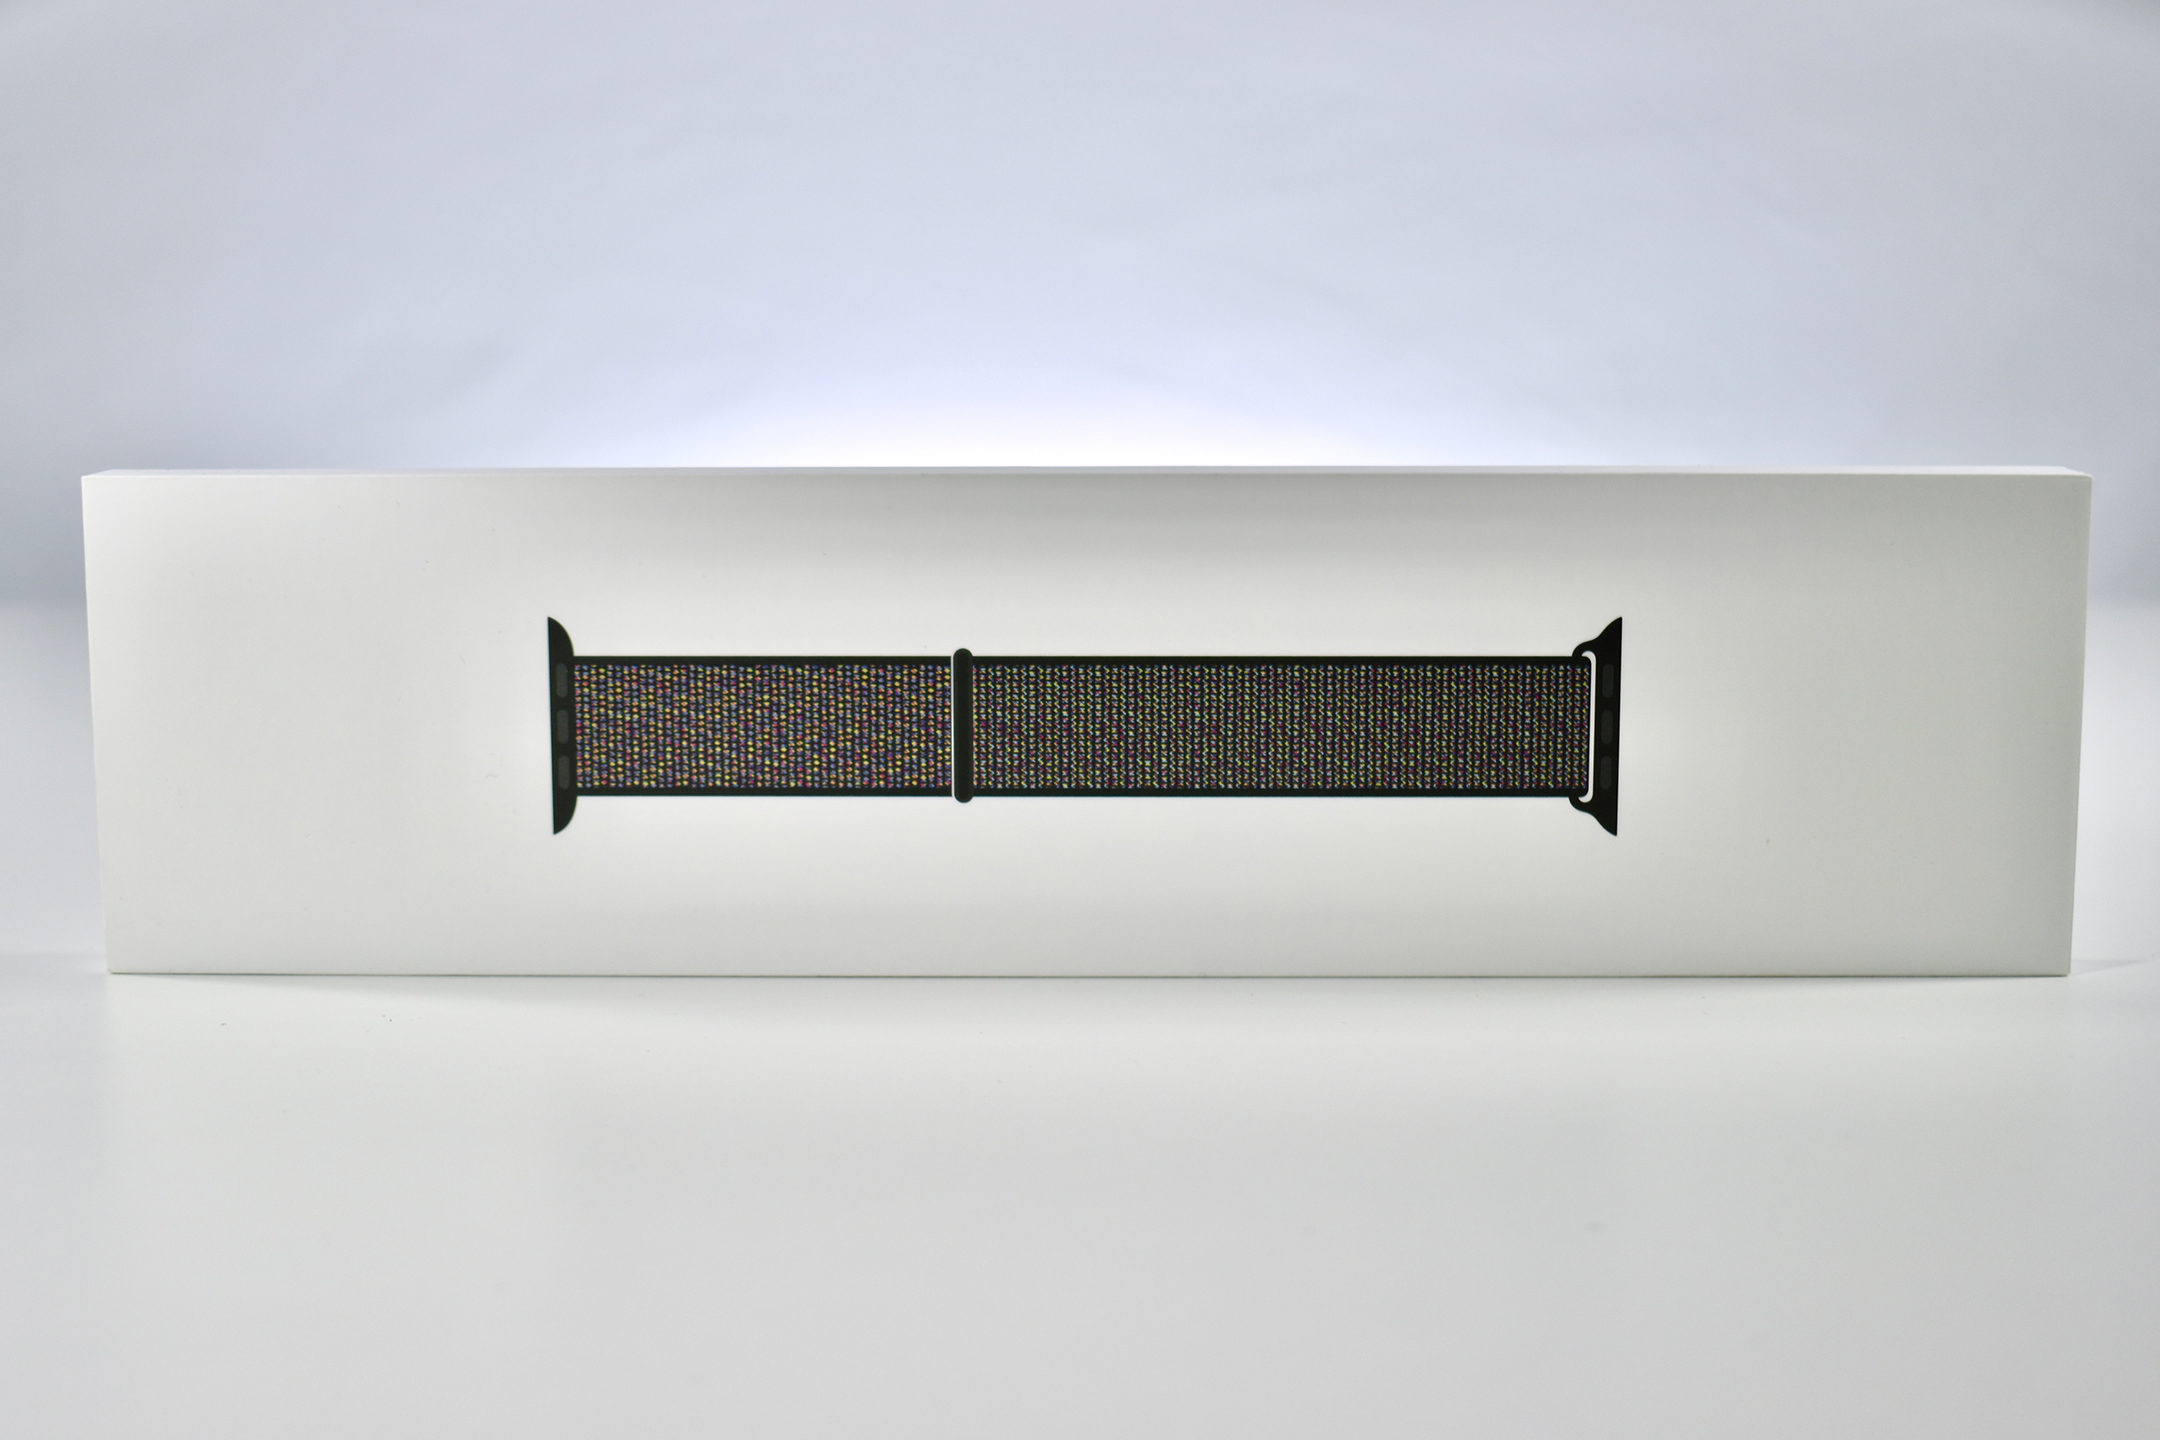
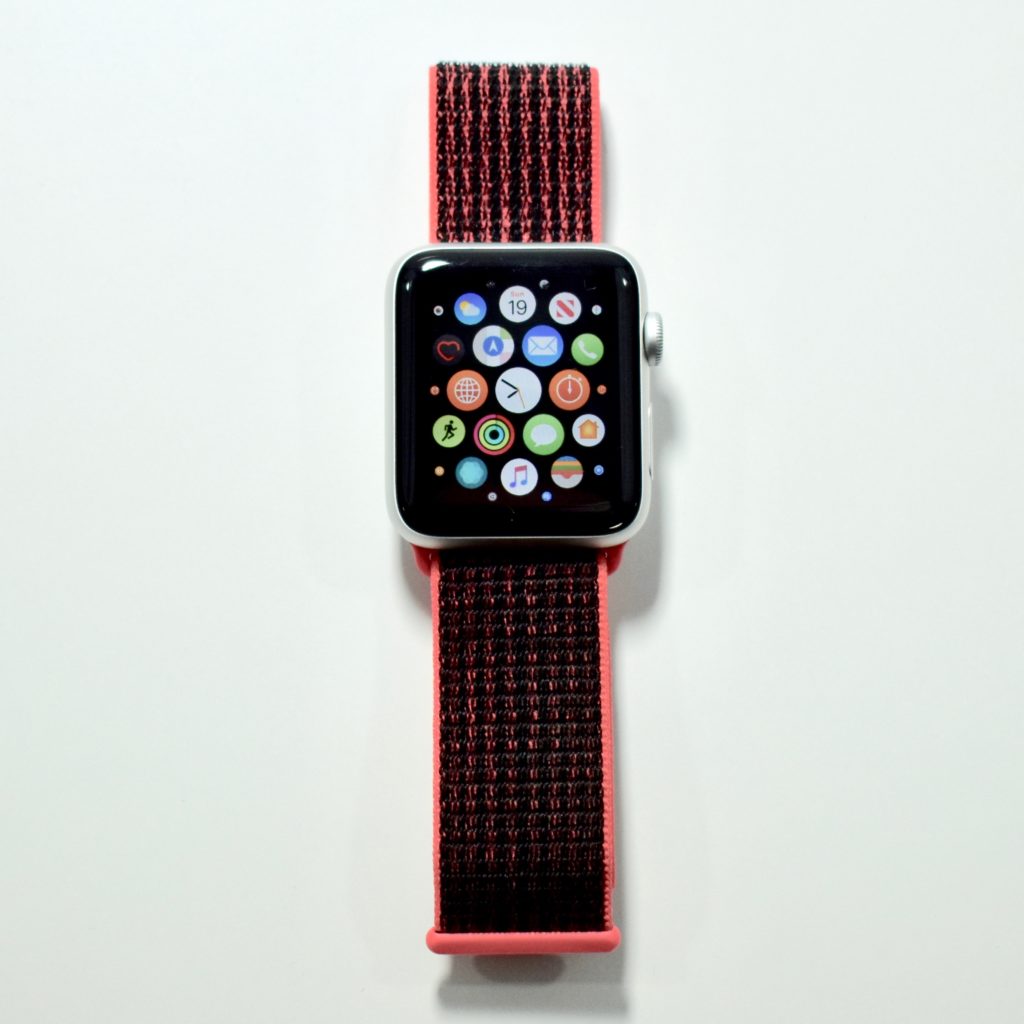
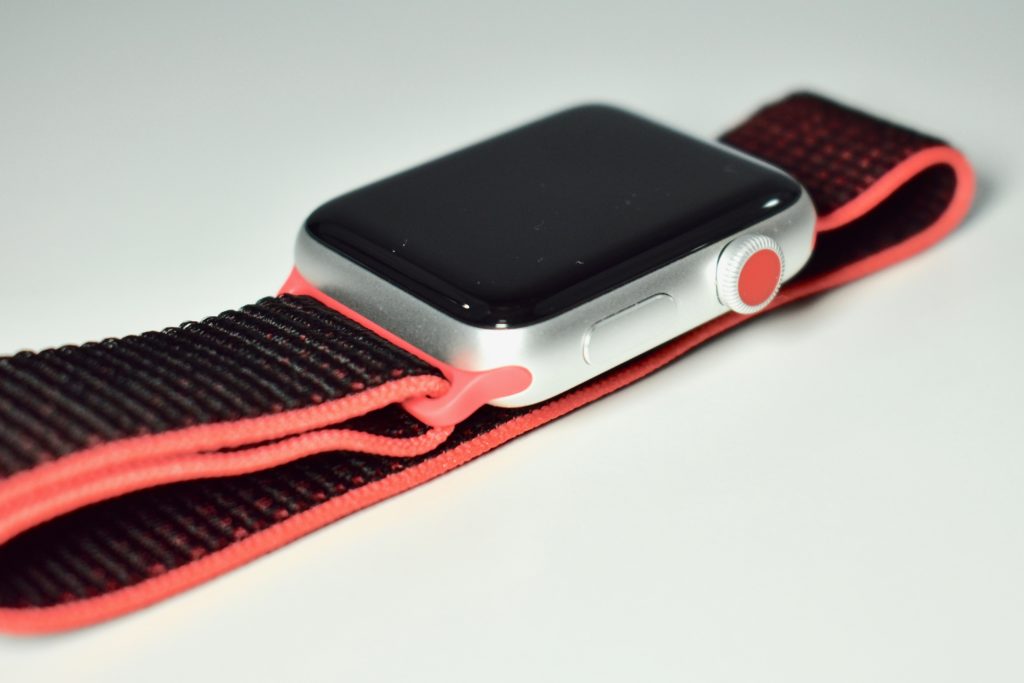
The Apple Watch Sport Loop band has been available in several styles, including (PRODUCT)RED (two versions), Spicy Orange, Nectarine, Electric Pink, Hibiscus, Hot Pink, Pink Sand, Flash Light, Flash, Marine Green, Tahoe Blue, Cape Cod Blue, Midnight Blue, Indigo, Dark Olive, Storm Gray, Black, and Seashell. Close inspection of original styles reveal that designs are comprised of a base color and one or more accent colors; for example, Indigo uses a dark blue base color with accent threads in white, red, and purple. Newer styles use a two-tone design with one or more accent colors—Pomegranate, Khaki, Alaskan Blue, Anchor Gray, Camel, Midnight Blue, and a 2019 (PRODUCT)RED design—for example, Camel features a tan side and a yellow side with light gray accents. The Pride design features the rainbow colors of the LGBT flag.

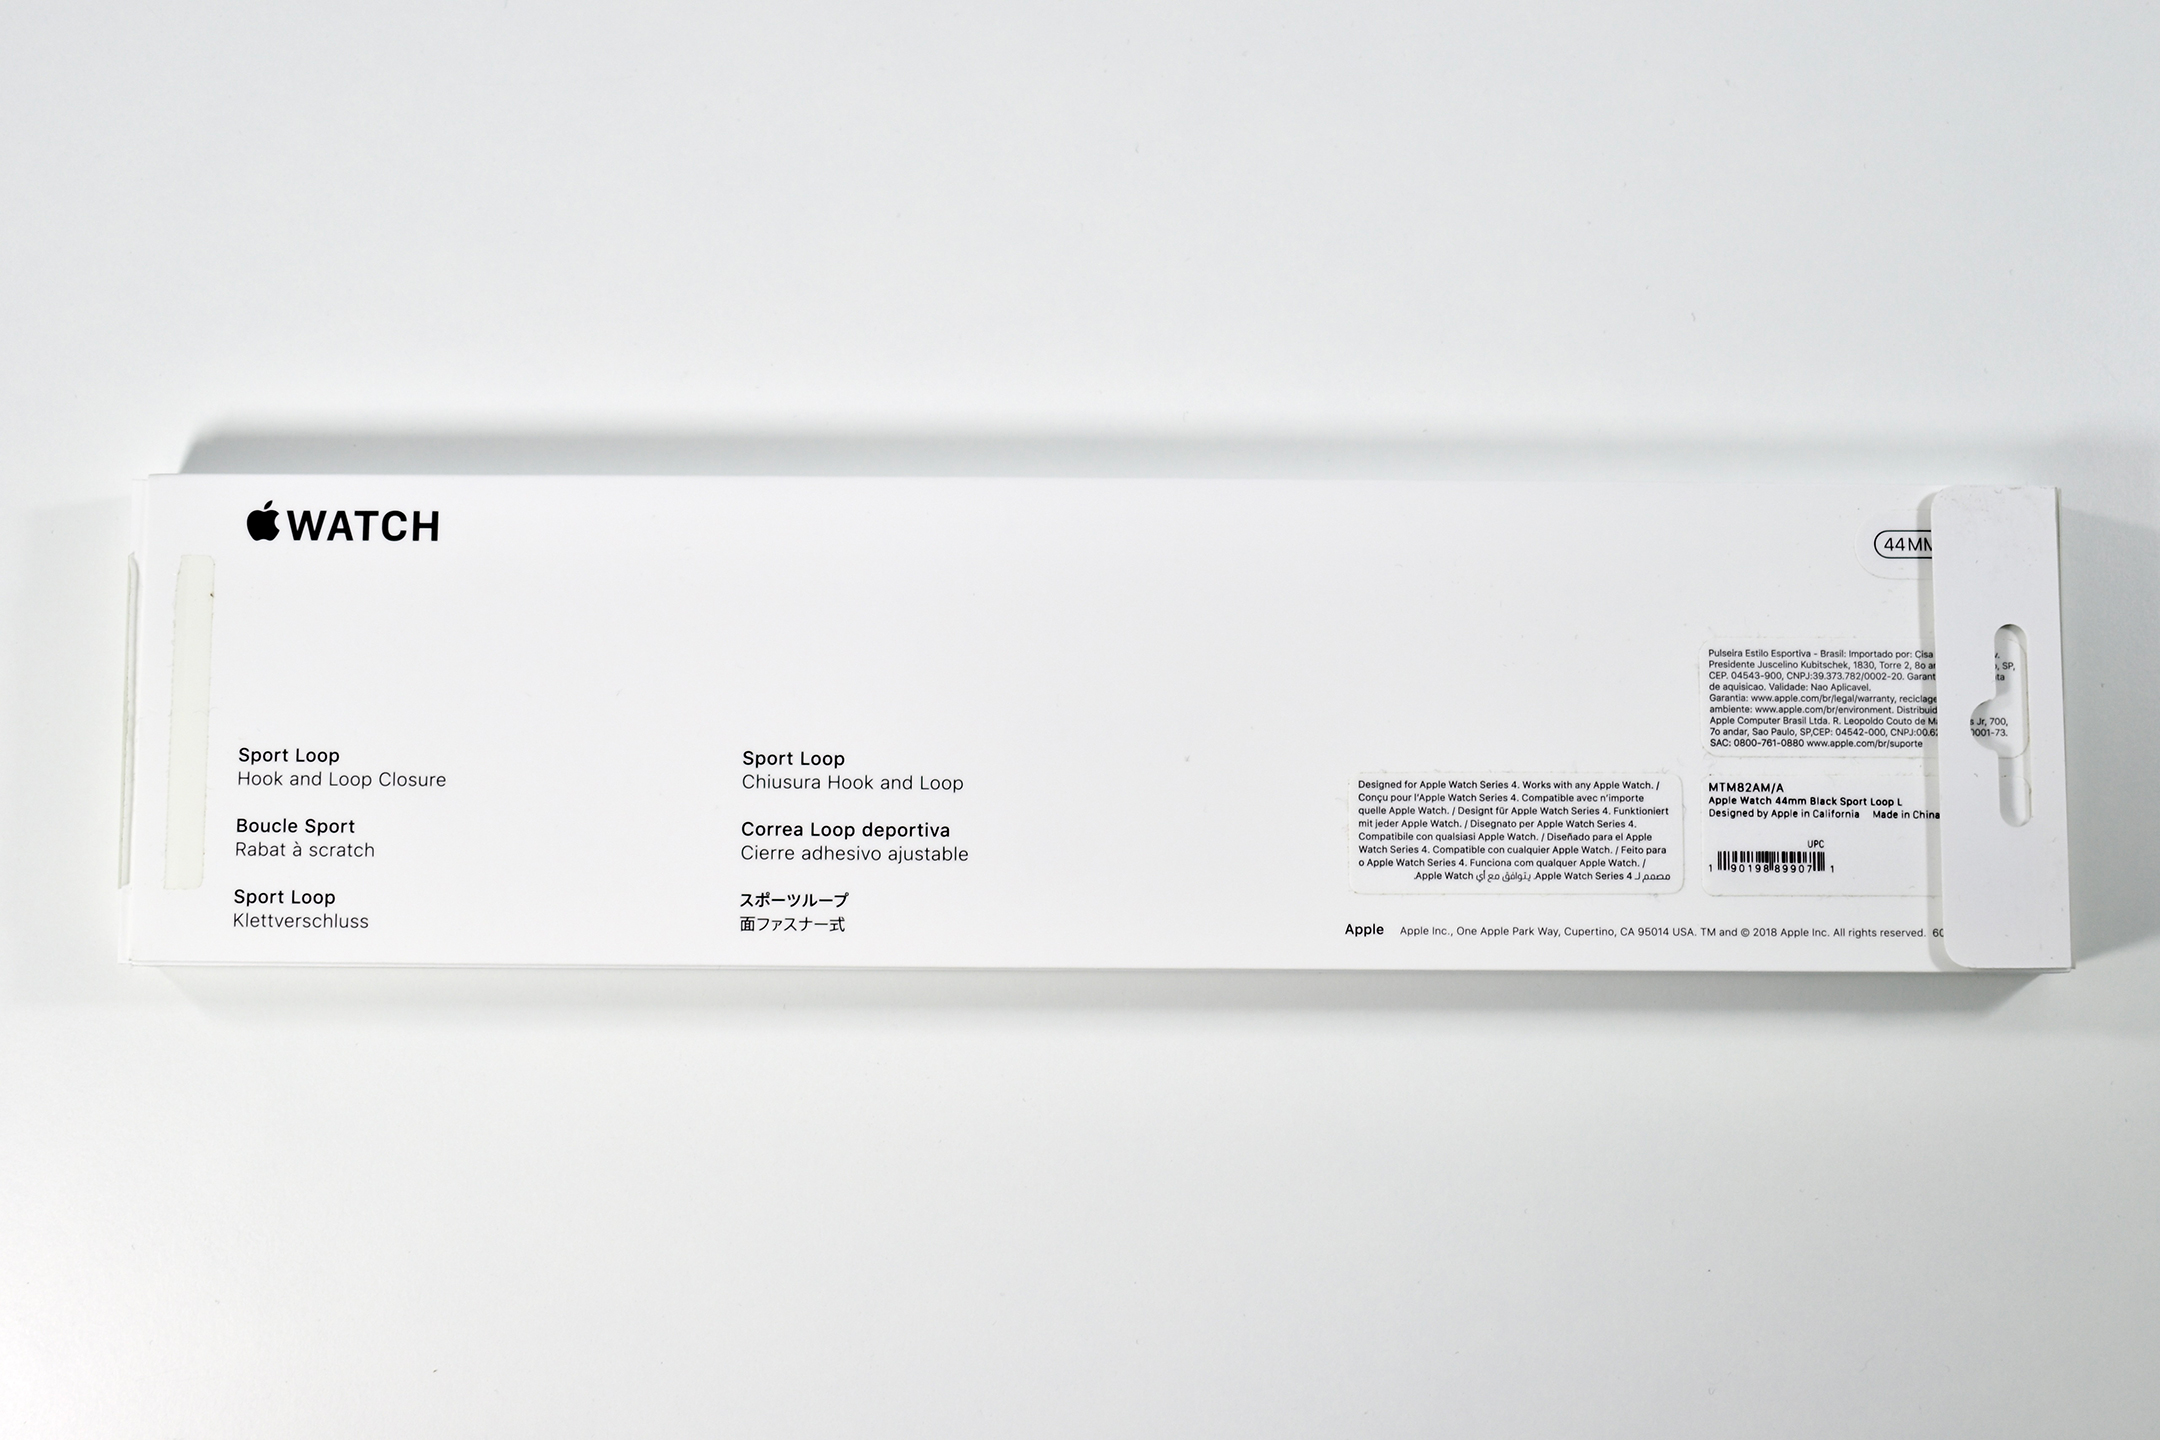
Apple describes the Apple Watch Sport Loop band:

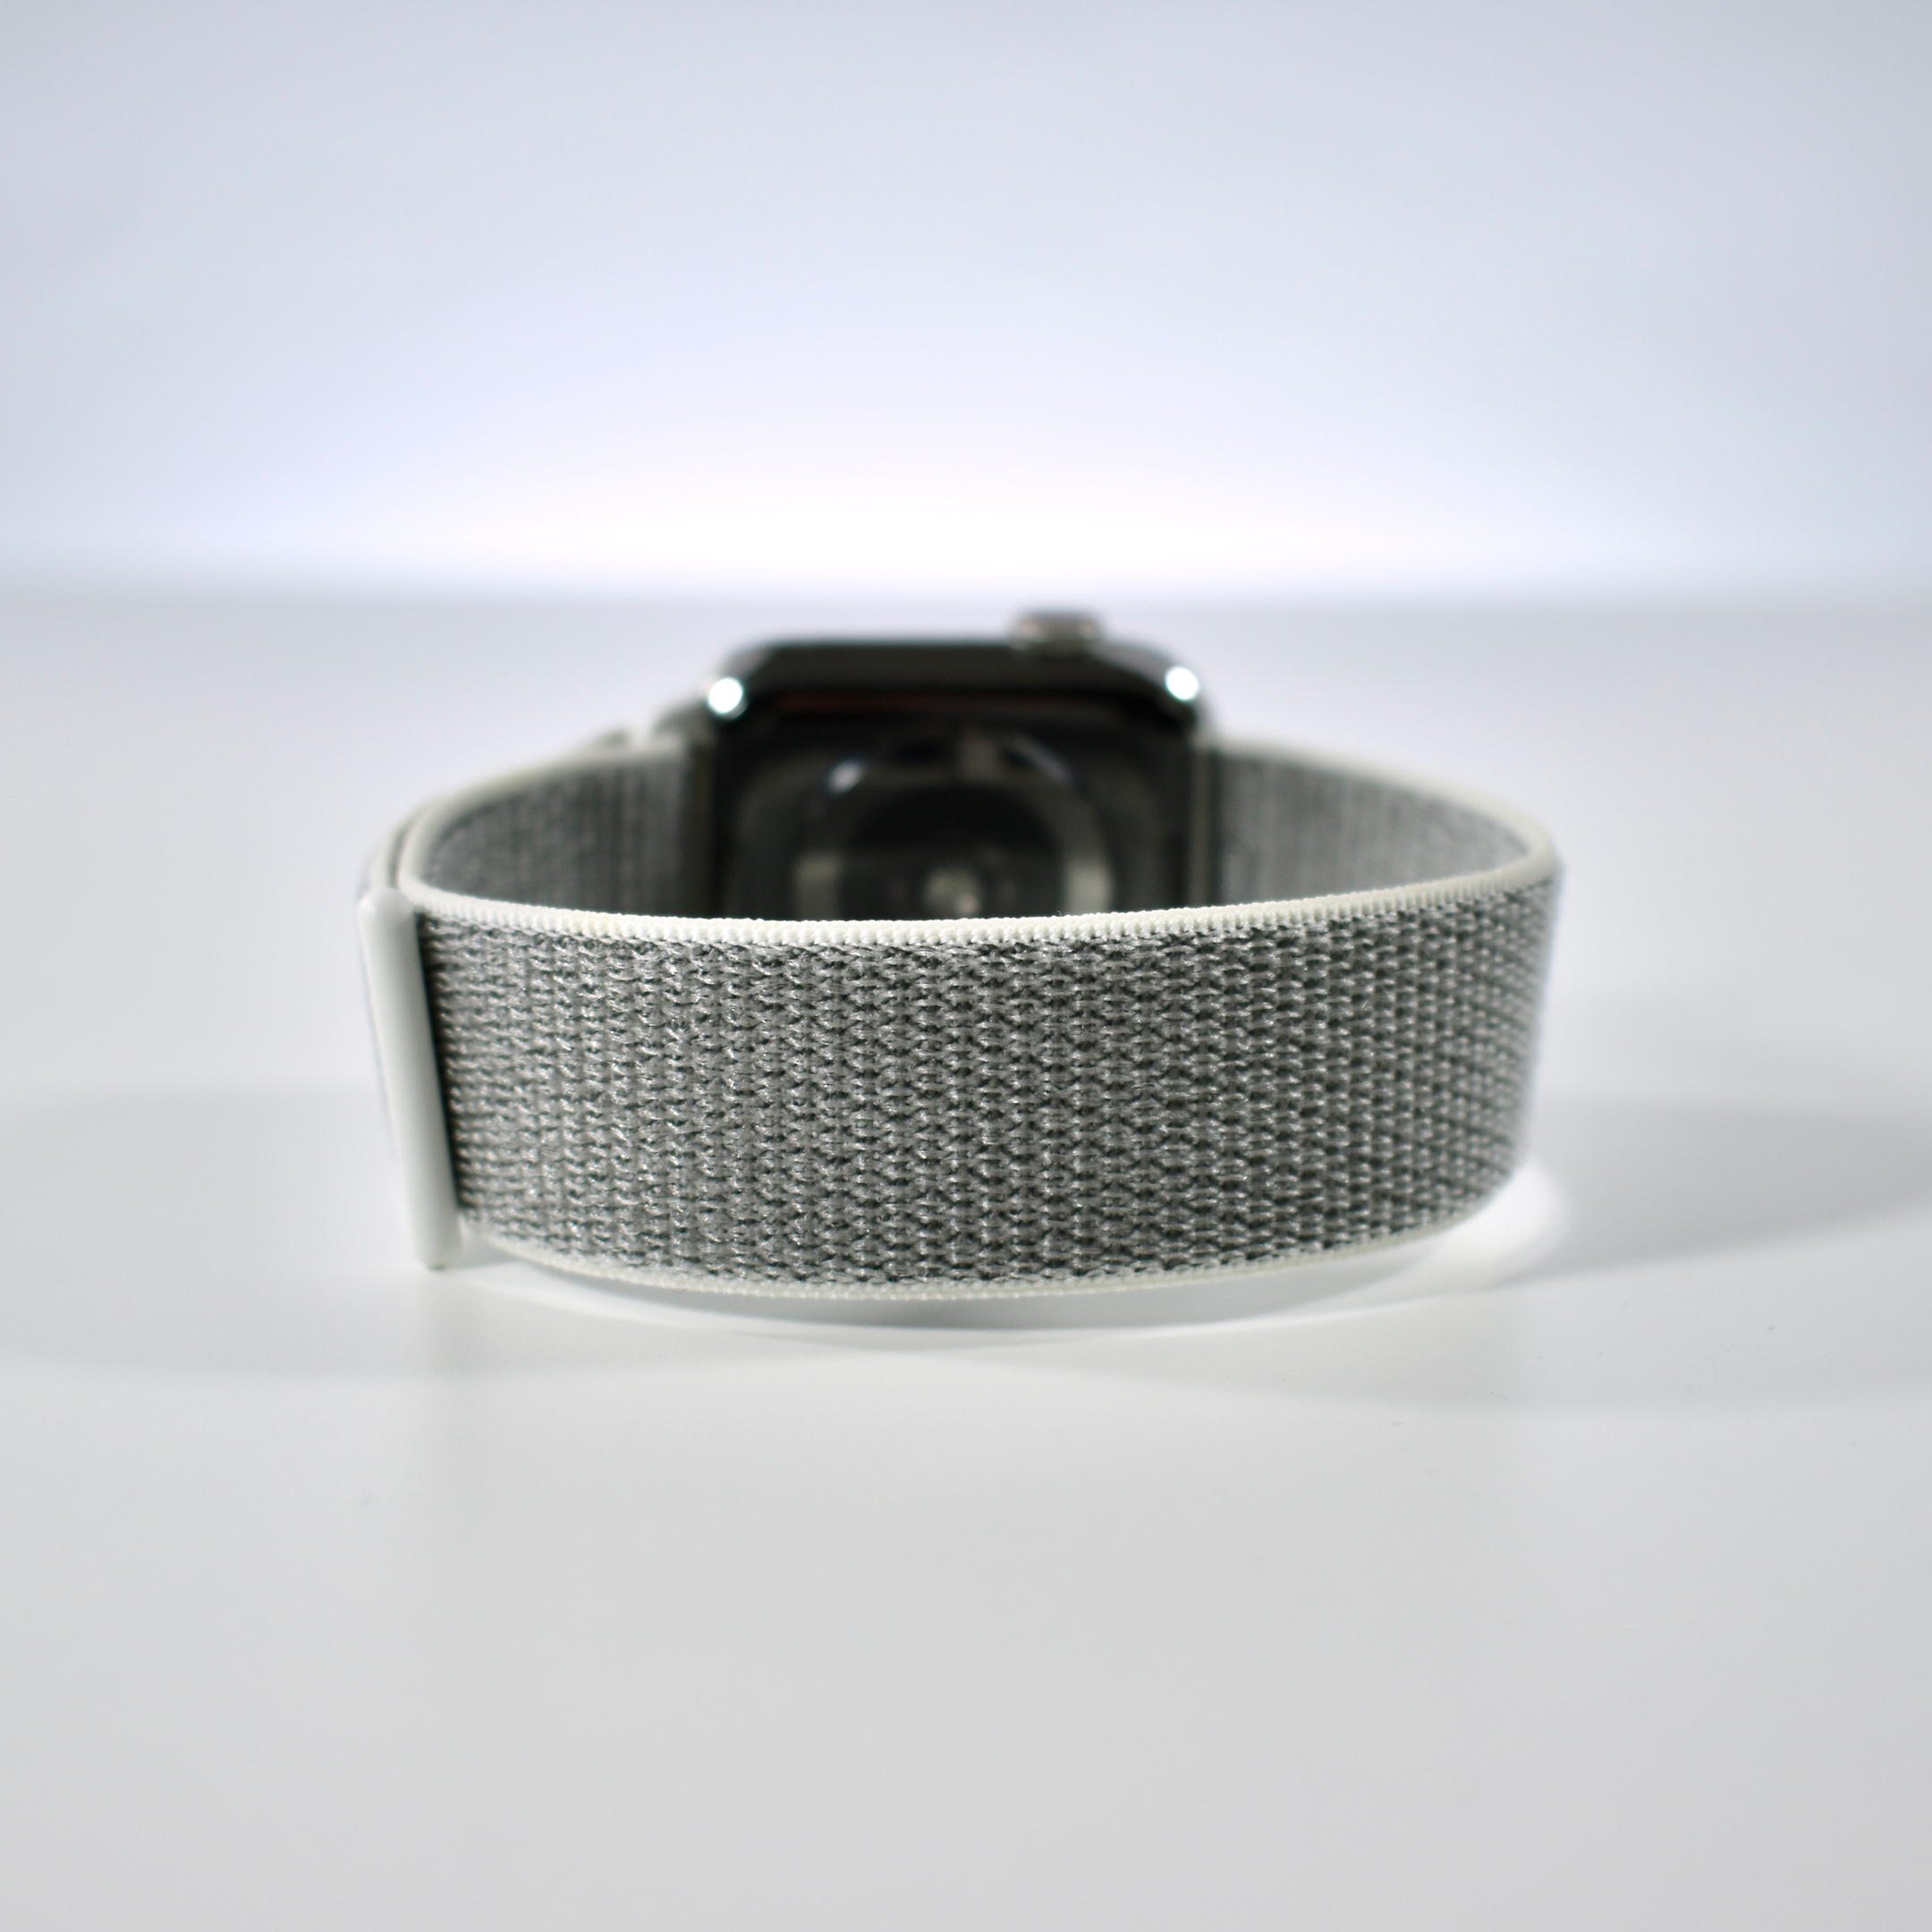
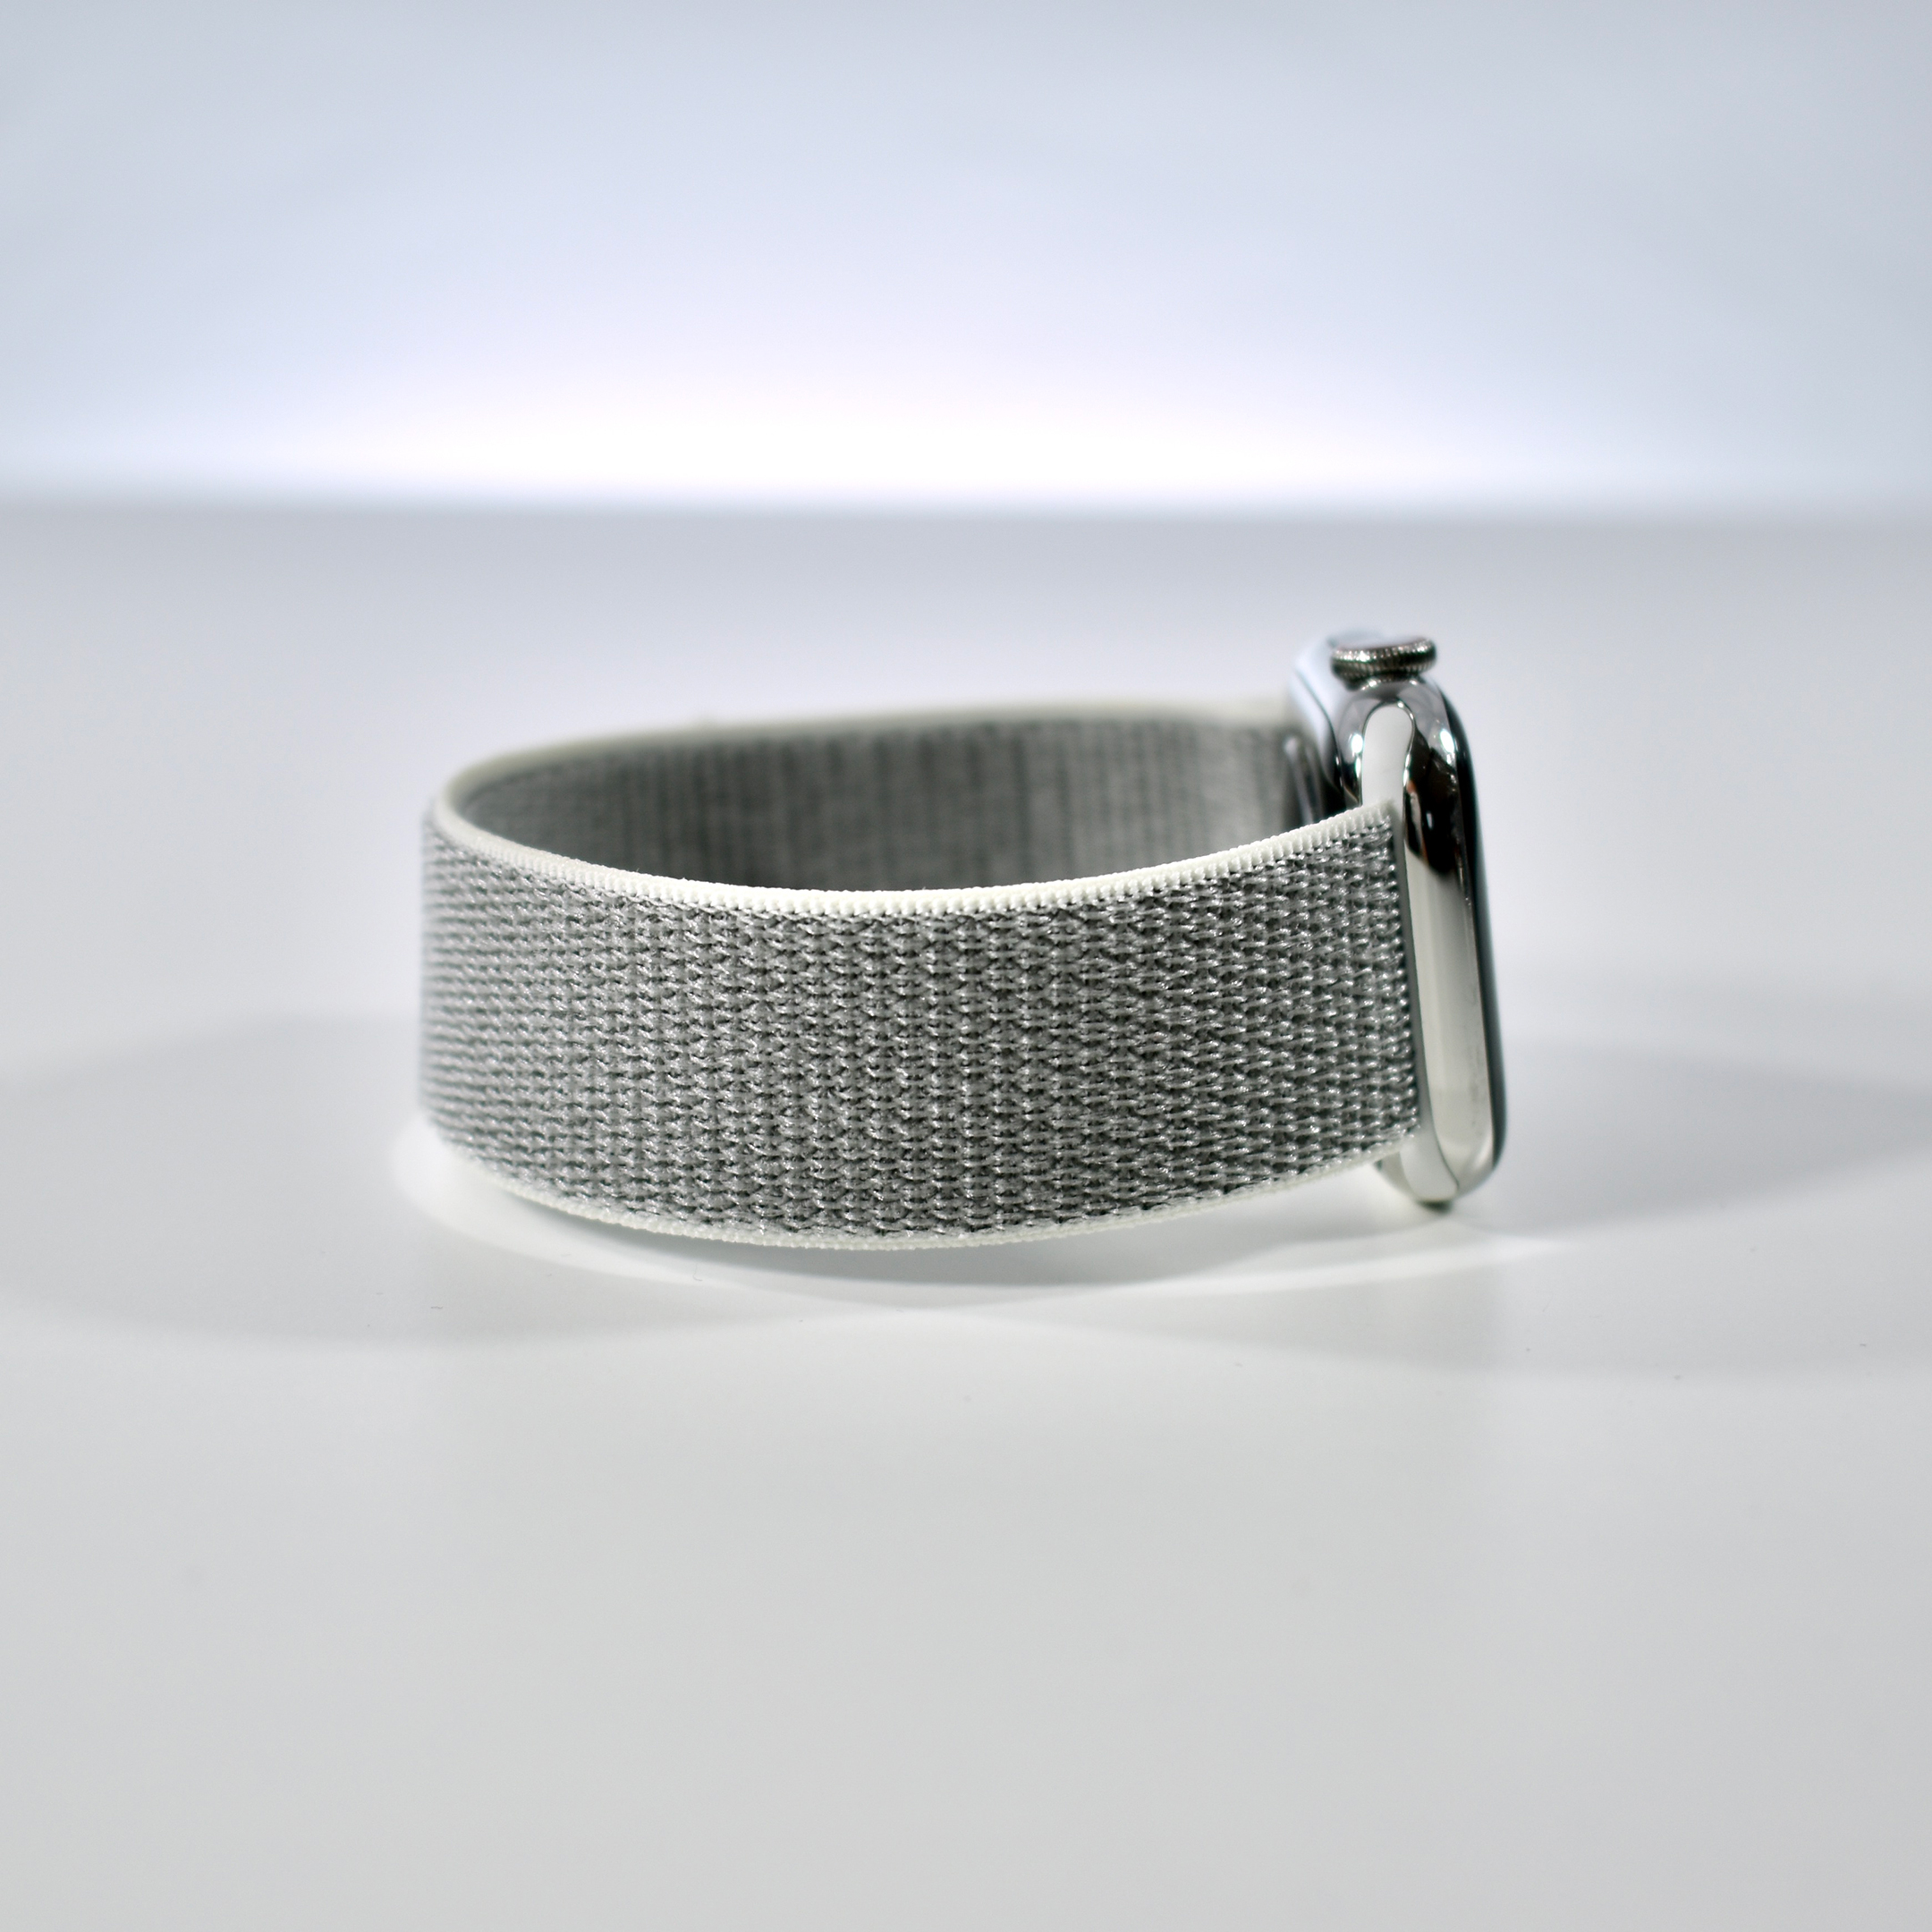
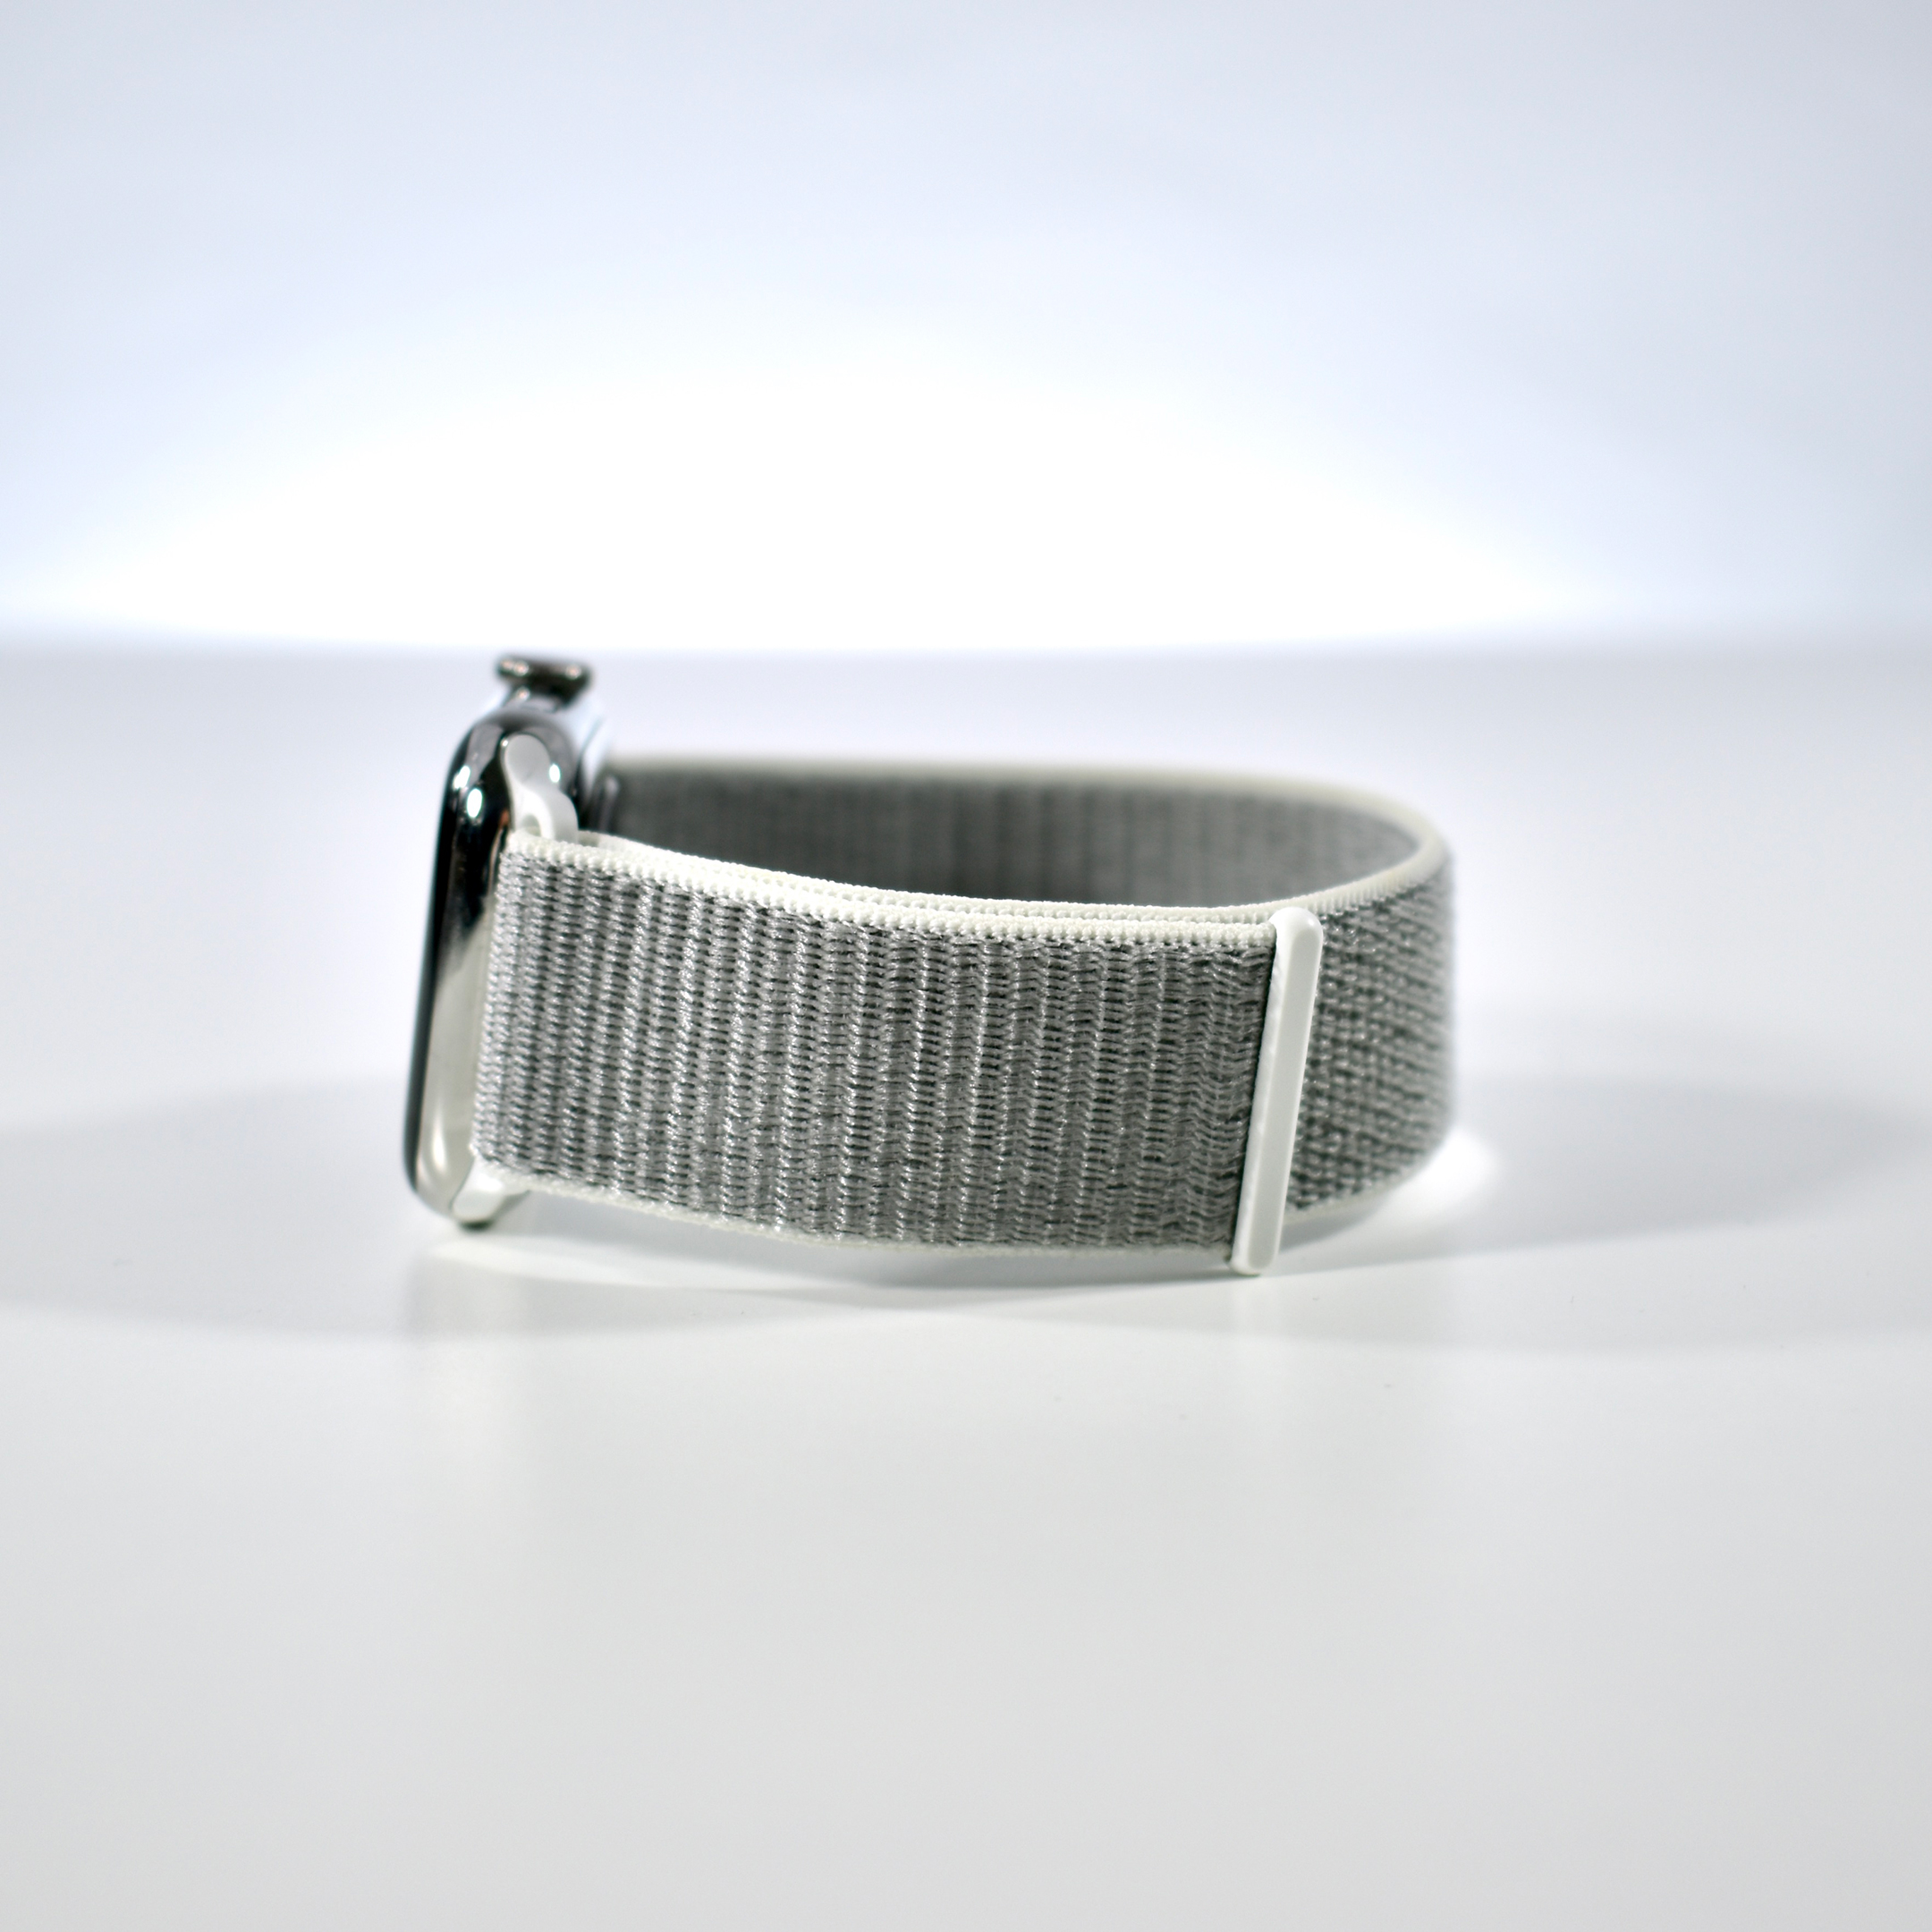
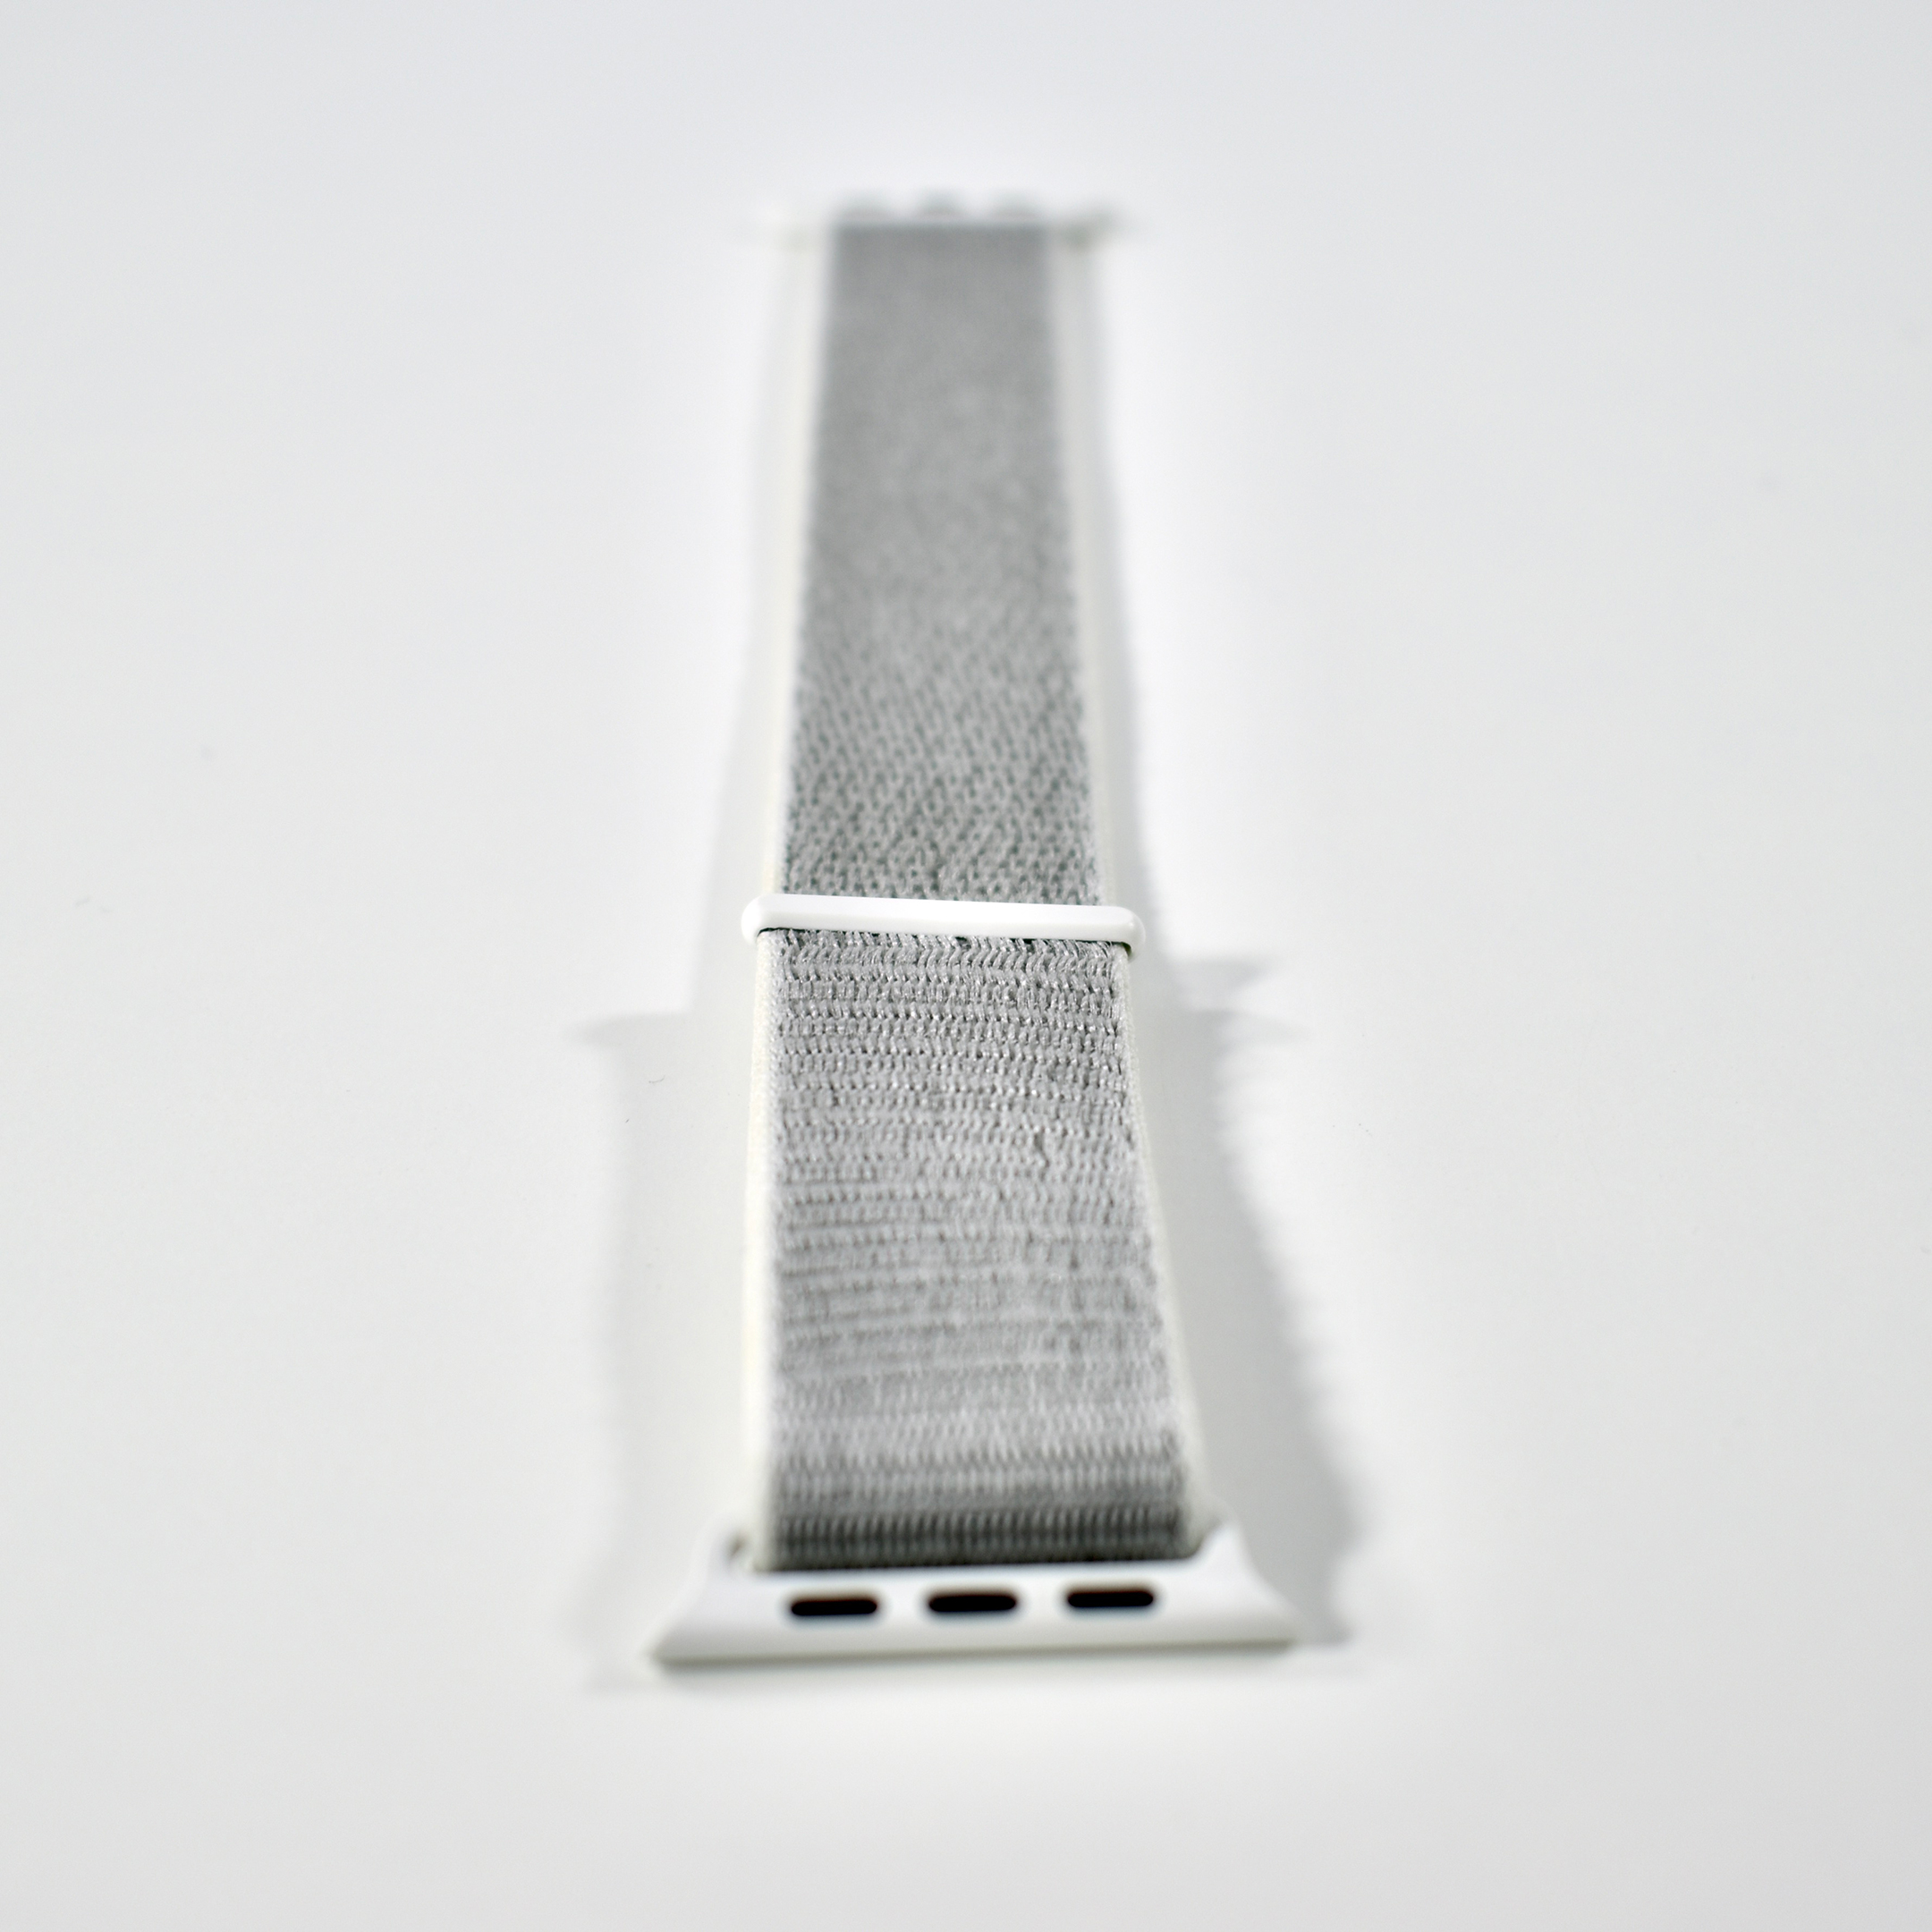
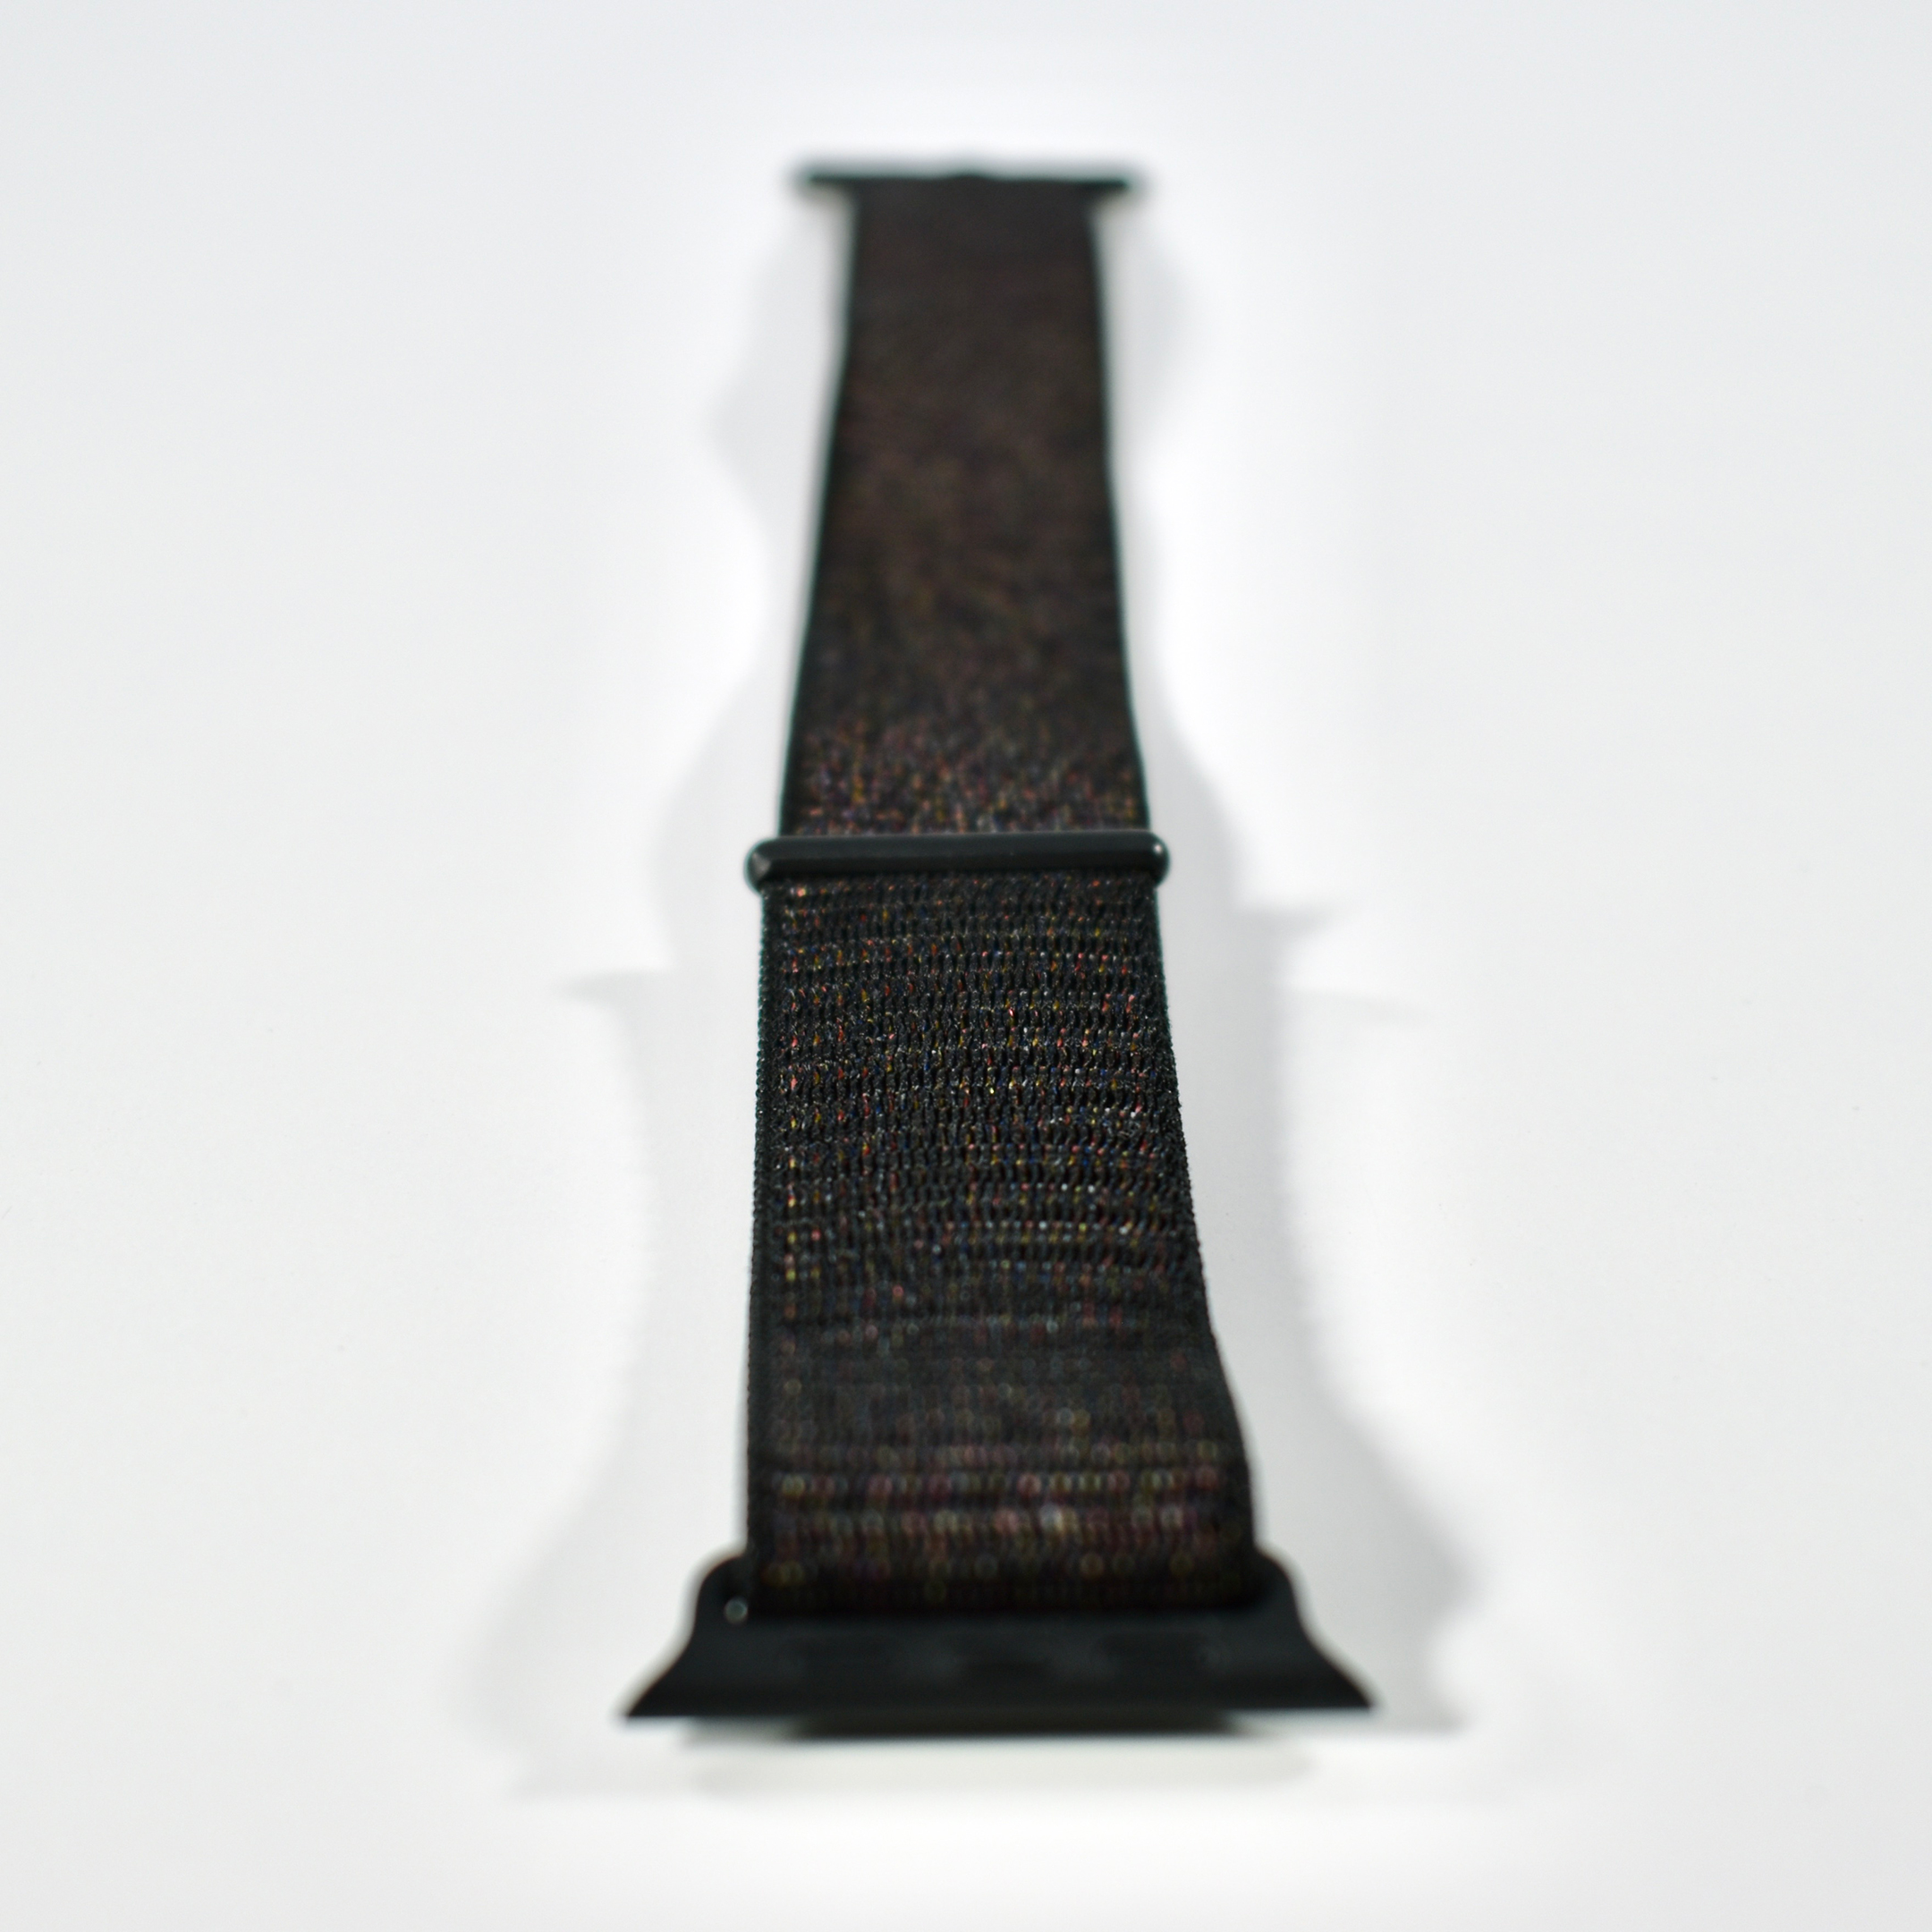
“Soft, breathable, and lightweight, the Sport Loop features a hook-and-loop fastener for quick and easy adjustment. The double-layer nylon weave has dense loops on the skin side that provide soft cushioning while allowing moisture to escape. On the reverse side, the attachment loops are securely anchored for superior durability.”

This XL-size Black Sport Loop is black with subtle red thread accents. Since I tried my first Sport Loop Apple Watch band, I have found this style to be my favorite.

Source: Apple

HomePod (white, 2017)

Apple described the HomePod a “breakthrough wireless speaker for the home that delivers amazing audio quality.” HomePod can be controlled using Siri, “with an array of six microphones…users can interact with it from across the room, even while loud music is playing.”

HomePod’s features include an upward-facing woofer, a custom A8 chip, seven beam-forming tweeters (each with an independent amplifier), automatic room-sensing technology to optimize sound, and a six-microphone array with advanced echo cancellation. When Siri is in use, a multicolor waveform appears on the top of the HomePod using a round 272×340 display. In addition, touch controls are also available on the top of the HomePod.

The HomePod was available in white and space gray. Inside, the HomePod was powered by a 1.4 GHz Apple A8 processor and used 1 GB of RAM, 16 GB of storage, 802.11ac Wi-Fi, and Bluetooth 5.0.

The device runs an operating system that Apple refers to as audioOS (based upon iOS). The audioOS is specifically designed for the HomePod to play audio, run Siri, and control the custom round screen.

When the HomePod was announced in February 2018, multi-speaker support was demonstrated, but the feature was not released until September 2018 along with AirPlay 2. The September 2018 update also added support for multiple timers, Find my Phone, Siri short-cuts, phone calls (while in proximity to iPhone), and music search by lyrics.

I am a fan of the HomePod. I use two in my living room as my primary way of accessing Apple Music and controlling smart home devices. I also added a single HomePod to my bedroom.

Sources: EveryMac.com, Apple.com, Wikipedia.com

Apple Watch Series 3 Nike+ (42mm, silver aluminum case with Bright Crimson/Black Nike Sport Band, 2017)

The Apple Watch Series 3 models had a faster processor and added GPS, a barometric altimeter, and Siri support. This Apple Watch Series 3 is a Nike+ 42 mm model that included GPS and cellular capabilities in United States/Canada, allowing it to send and receive phone calls and access the Internet without an iPhone. This was the first Apple Watch series with this capability. The cellular Apple Watch Series 3 models added a red dot to the Digital Crown.

This Apple Watch had a 312×390 OLED screen and included exclusive Nike watch faces, a built-in Nike+ Run Club app, and audio guided runs featuring the voice of a Nike+ Run Club coach.

Four different options were available for this specific Apple Watch Series 3 Nike+ cellular model:

  • silver aluminum case with Pure Platinum/Black Nike Sport Band
  • space gray aluminum case with Anthracite/Black Nike Sport Band
  • silver aluminum case with Bright Crimson/Black Nike Sport Band
  • space gray aluminum case with a Black/Pure Platinum Nike Sport Loop

This Watch is the silver aluminum case with Bright Crimson/Black Nike Sport Band.

Source: EveryMac.com

Apple Memory Cards (2017)

When I first visited the Apple Park Visitor Center in December 2017, one of several displays caught my eye. The Visitor Center includes an Apple Store, one of only two Apple Stores that sells Apple logo items to the public. (The other Apple Store that sells Apple logo items is the Infinite Loop Apple Store; each location has a different selection of logo items.)

I was quite enamored by the Apple Memory Cards display at the Apple Park Visitor Center. The Memory Cards feature six colors with four designs, each with a white silhouette of an Apple product. All cards have a black back. There are two of each design, for a total of 48 cards. In the Apple Park Visitor Center store, they are arranged as a wreath floating on the wall. I took several photos showing how the wreath is constructed. In Apple’s display, they use a perfectly initiated wood ring with each card affixed with black doubled-sided tape.

Somewhat oddly, the display at the Apple Visitor Center (and the one I made to replicate it) includes 30 cards; however, the deck only includes 24 different designs. Thus, each color displays four unique designs and one duplicate. Since I was creating a near-reproduction of the display, I went with 30 cards.

Since I do not have the facilities or expertise to construct a perfect oak ring with angled cuts, I put my creativity and problem-solving skills to work to find a relatively inexpensive and widely available substitute that I could construct. For a while, I considered designing a 3-D printed ring in pieces, but a far lower-tech solution hit me one day: binder clips. Standing in for angled cuts in a custom oak ring, I decided to use binder clips affixed with foam tape. Since I didn’t want to permanently damage the Memory Cards, I affixed each card to the metal binder clip with rare earth neodymium magnets. (I used one of my sets of Buckycube magnets. Even though this product is no longer available in the USA, other neodymium magnets can still be purchased on Amazon and elsewhere.)

I began by making a template using the drawing features in Pages. I have included the template, materials/supplies list, and directions here if you wish to make your own version. I’m guessing most people could complete the project for $30–60, depending on many factors. The Apple Memory Cards cost $10 and the IKEA frame is $14.99, but the neodymium magnets can be expensive. If you are willing to use foam adhesive or some other adhesion method, your cost could come in far lower since the 2 main elements here are binder clips and the Memory Cards.

MATERIALS

SUPPLIES

  • X-acto blade
  • Metal ruler or straight edge
  • Post-It tabs or removable tape

DIRECTIONS

  1. Remove the clear plastic front from the IKEA frame. You will not use it for this project.
  2. Cut a strong backing for the frame on which you will mount the binder clips and cards. I used black foam core board from Staples, cut to size with an X-acto blade and metal ruler.
  3. Print the template. I used 11×17 paper, but you could also print it on 2 sheets of any size paper and tape it together.
  4. Cut out each rectangle with an X-acto blade. The template is used as a guide and will be discarded so the rectangle cuts do not need to be perfect—you just need to get the angles right so you can align the binder clips precisely.
  5. Remove the silver wires from 30 small binder clips. (I used black binder clips on my black background, but if I could have found 30 small white binder clips, I’d have used a white background.)
  6. Using a ruler and Post-It tabs, position the template exactly in the center of the backing. (You could use any removable tape for this, I had Post-It tabs on hand.)
  7. Using double-sided foam adhesive, stick each binder clip to the backing using the holes cut from the template. Make sure the angles and placement are precise. I used an X-acto blade to trim the double-sided foam adhesive to match the size of each binder clip.
  8. Assemble the frame with the binder clips facing up. (The front plastic/glass is not used.)
  9. Attach one card to each binder clip using a small neodymium magnet. The angle of the binder clips and the overlap of the cards will cover the binder clips when viewed from the front. (You could stick the Memory Cards to the binder clips with other methods; I chose magnets to not potentially destroy the cards.)
  10. Hang your new artwork!