Apple Park Michael Schwab poster set (4 posters, 16 x 20 inches each, 2022)

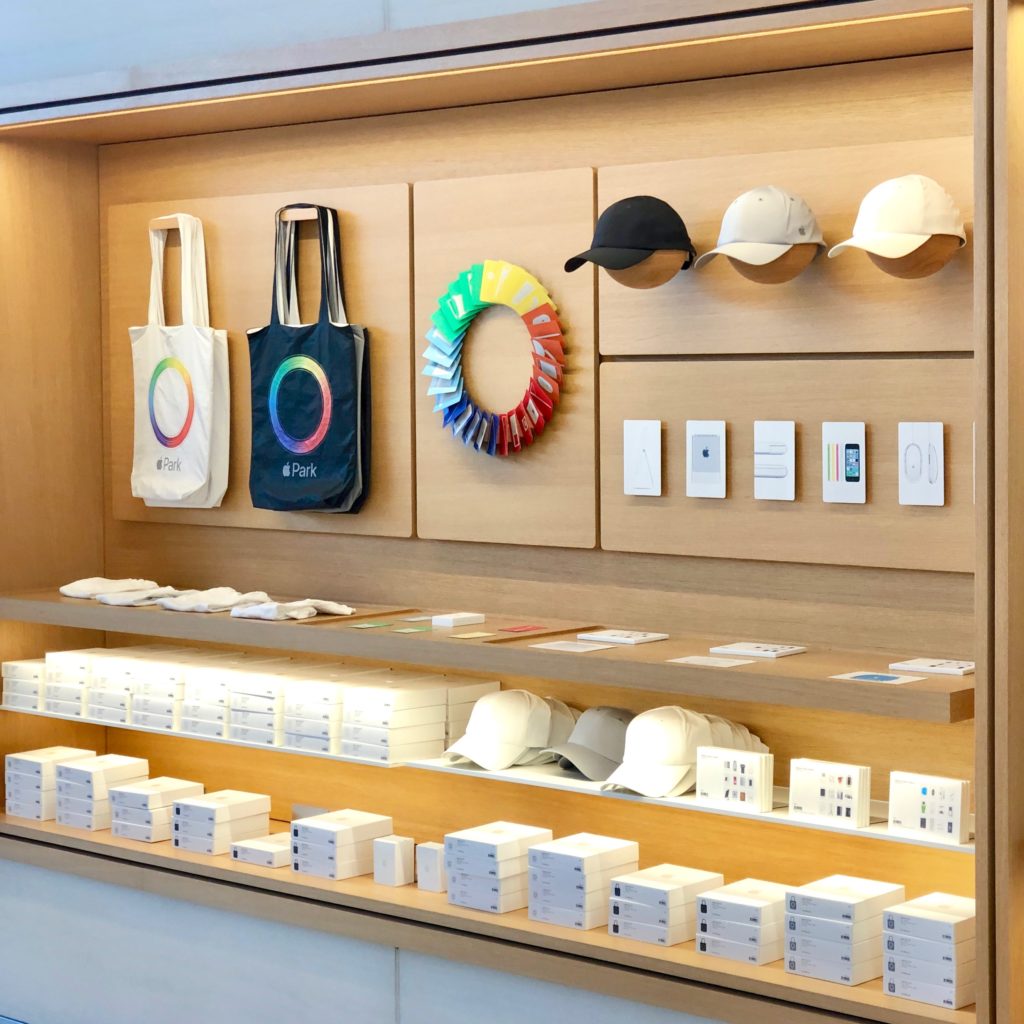
This set of posters was sold at the Apple Park Apple Park Visitor Center in 2022. The set includes four different designs by the graphic artist Michael Schwab. The posters were packaged in a white cardboard tube with a label that read, “Apple Park M. Schwab Poster Set (4pk) HP932LL/A.” Each poster measured 16 x 20 inches.

The designs included the following representations:

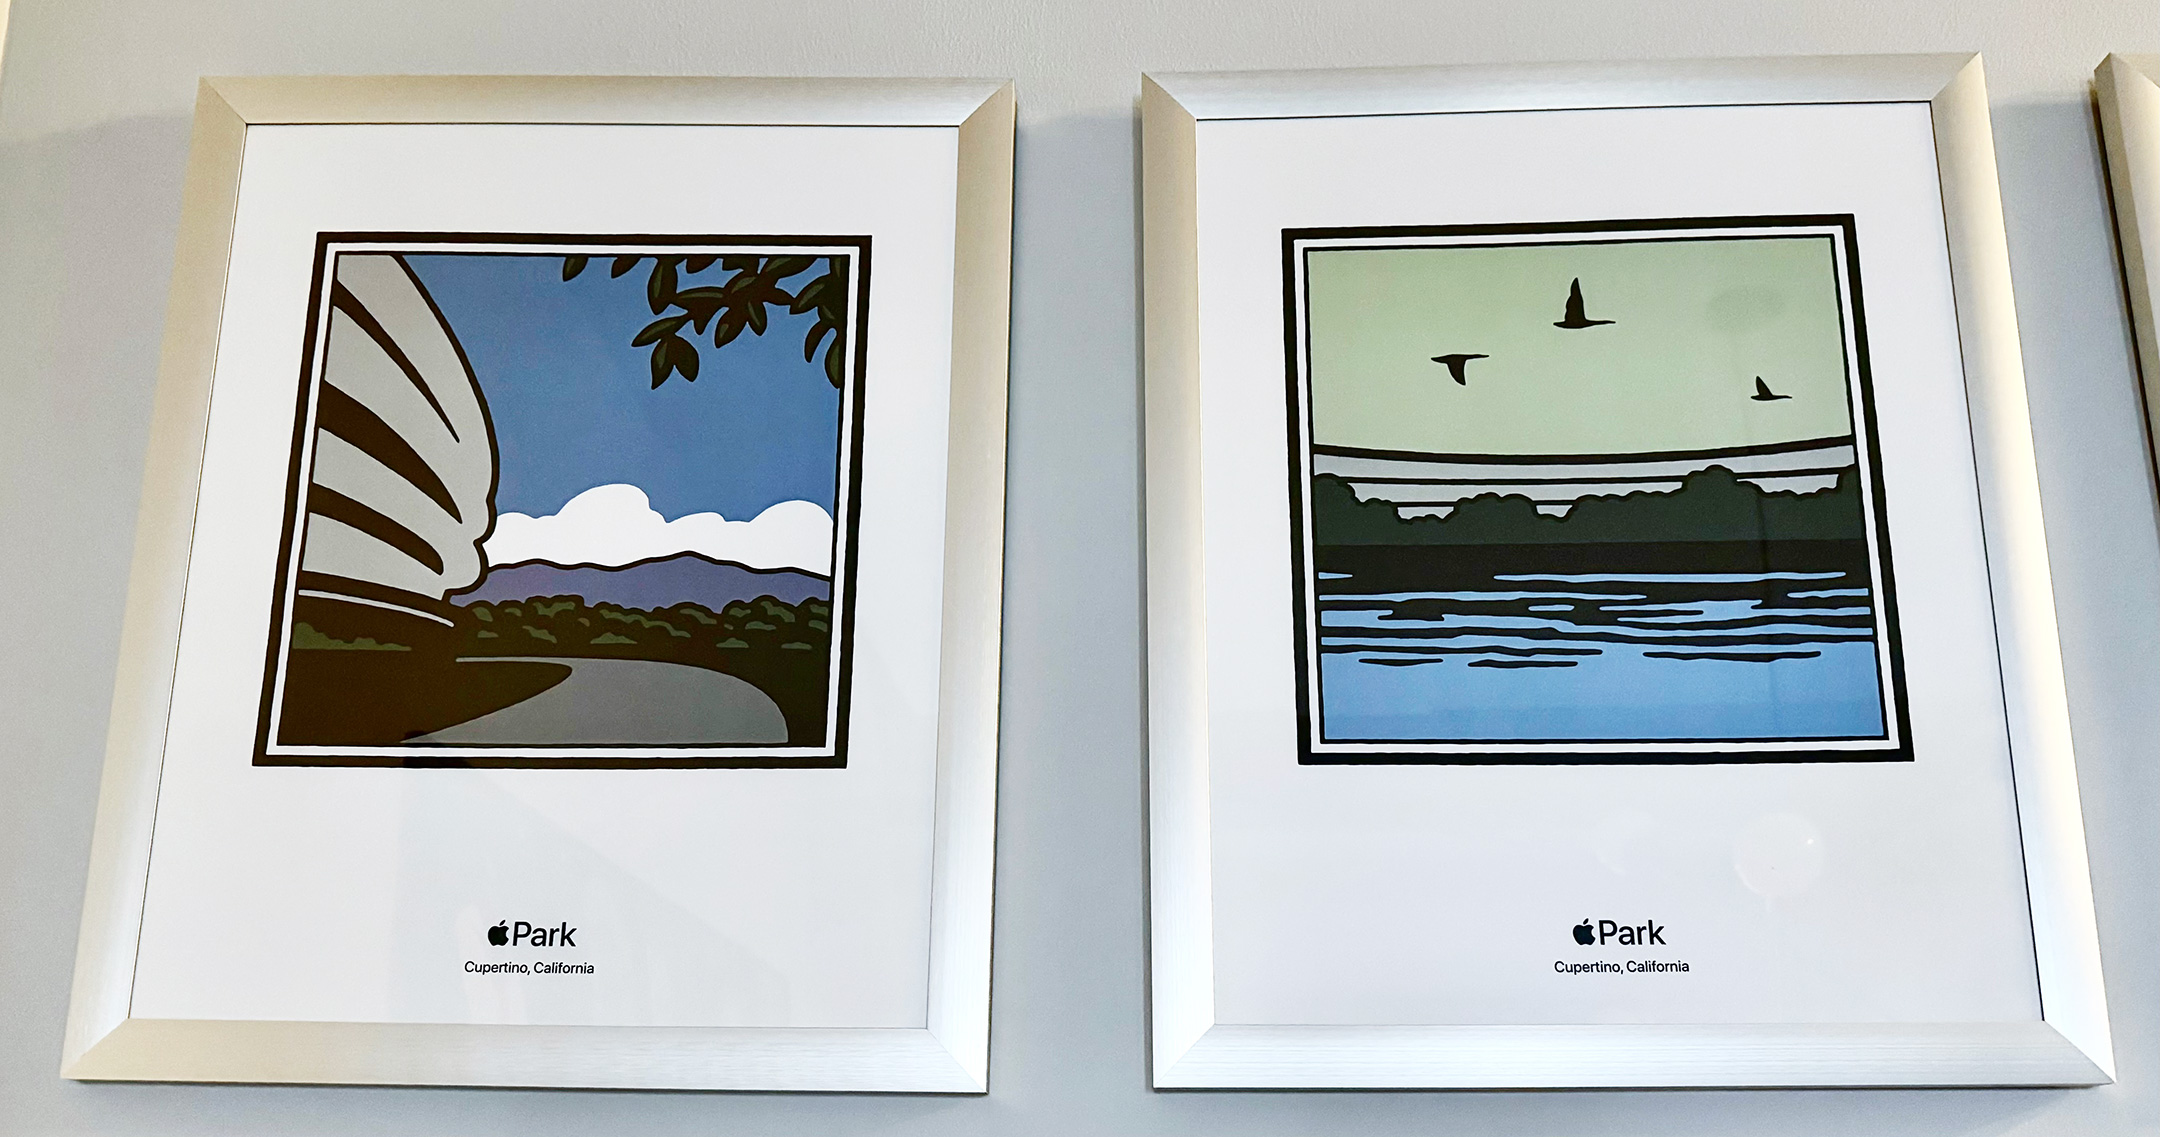
  • Apple Park office structure (a partial view)
  • Reflecting pool in the outdoor center of the Apple Park office structure with three birds flying above
  • Steve Jobs Theater at night with a crescent moon above
  • An apple tree, reminiscent of those growing in the outdoor center of the Apple Park office structure

This set is presented in the order that the posters were hanging in the Apple Park Visitor Center Apple Store. The poster designs were also available on white t-shirts (one design per shirt). In fact, when I first saw the posters in the Visitor Center Apple Store, it was not obvious to me that they were available for sale because they appeared to only show the details of the t-shirt design. An Apple employee let me know the posters were available.

According to Michael Schwab’s website, he was born in Oklahoma in 1952 and now lives and works in northern California. His biography states:

“From his studio in Marin County, he has established a national reputation as one of America’s leading graphic artists.

He has created national award-winning logos and posters for a remarkable list of prestigious clients, including Apple, Amtrak, The Golden Gate National Parks, Major League Baseball, Robert Mondavi, Muhammad Ali, Nike, Pebble Beach, Polo Ralph Lauren, Robert Redford, San Francisco Opera, Sundance, Sunset Books, and Wells Fargo, among others.

Having attended school in Texas, New York and California, Michael has a broad array of visual, cultural, and geographic references to which he regularly turns for ideas. 

His work is easily recognized by his signature use of large, flat areas of color, dramatic perspectives and bold, graphic images of archetypal human forms.”

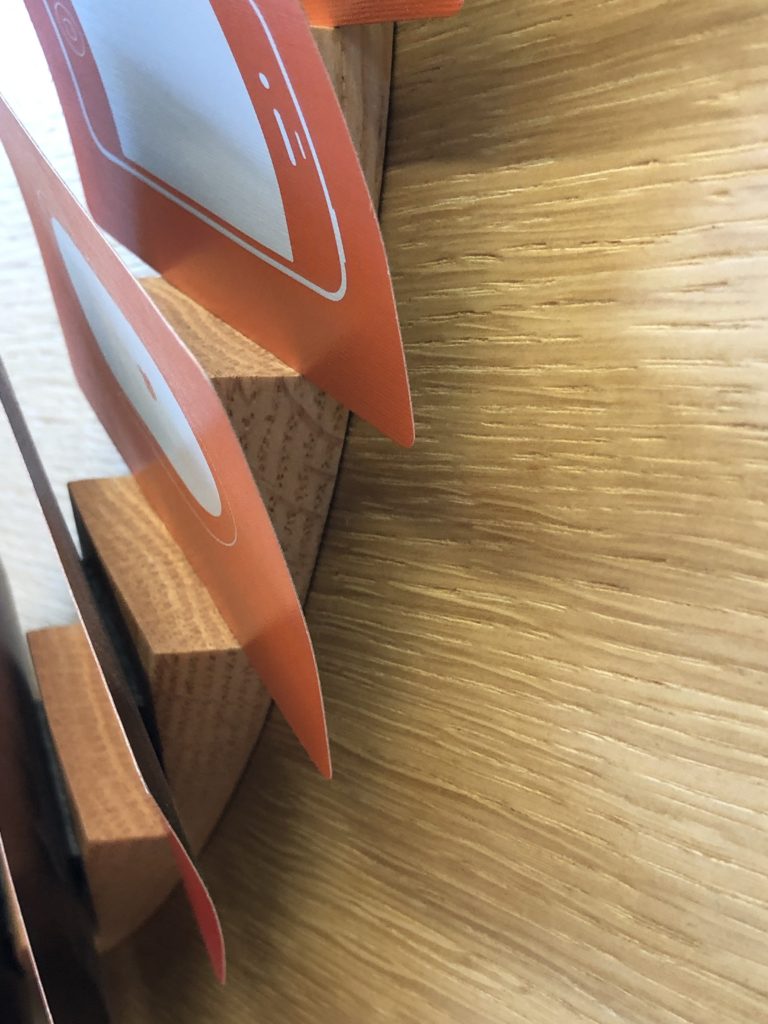
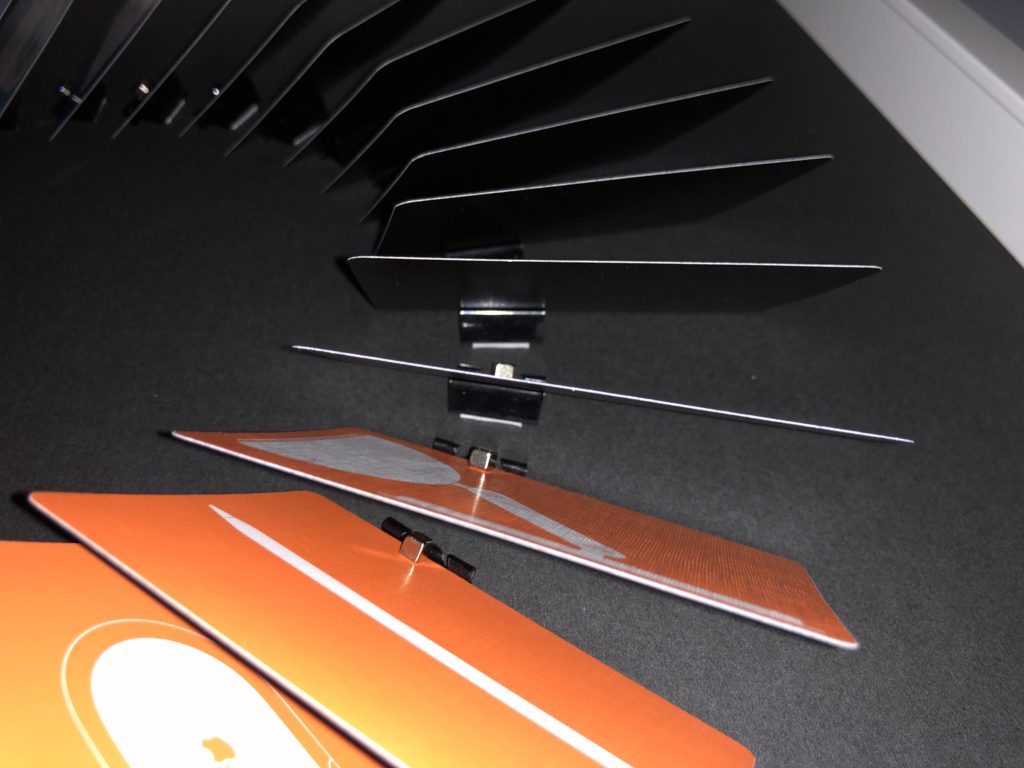
Please note, the photography style of this entry is very different from my typical posts because this set of posters hangs in my home. These photos were captured with iPhone 17 Pro in situ with inconsistent lighting, angles, and reflections.

Source: Michael Schwab

Hello Screen T-Shirt (black shirt, multicolor print, 2XL, 2023)

This black T-shirt featured a 4-bit version of the original Macintosh with the cursive “hello” screen design from the Macintosh release in 1984.

This shirt was purchased at the Apple Store at the Apple Park Visitor Center in Cupertino, CA. The shirt is a size 2XL and unopened in its original box. The white box is printed with a white Apple logo and measured 195mm x 195mm x 35mm. The box indicated that the shirt was 100% cotton and made in Turkey (Türkiye).

Macintosh Drawing T-Shirt (black shirt, multicolor print, 2XL, 2023)

This white T-shirt featured the original Macintosh “Picasso” logo that was used on the box and other packaging for the original Macintosh in 1984.

I found it curious that Apple referred to this design as “Macintosh Drawing” and not “Picasso”—as Apple fans have referred to it for decades. However, research for this post may reveal the reason.

According to a Cult of Mac article, “The logo was designed by Tom Hughes and John Casado, art directors on the Macintosh development team.” The article indicates that one of the art directors reported that “the inspiration for the drawing style was Matisse….The idea of the graphics being ‘Picasso style’ was, as I remember, a journalist’s description at the time of the launch.”

This shirt was purchased at the Apple Store at the Apple Park Visitor Center in Cupertino, CA. The shirt was a size 2XL and unopened in its original box. The white box was printed with a white Apple logo and measured 195mm x 195mm x 35mm. The box indicated that the shirt was 100% cotton and made in Turkey (Türkiye).

Source: Cult of Mac

Apple Memory Cards (2017)

When I first visited the Apple Park Visitor Center in December 2017, one of several displays caught my eye. The Visitor Center includes an Apple Store, one of only two Apple Stores that sells Apple logo items to the public. (The other Apple Store that sells Apple logo items is the Infinite Loop Apple Store; each location has a different selection of logo items.)

I was quite enamored by the Apple Memory Cards display at the Apple Park Visitor Center. The Memory Cards feature six colors with four designs, each with a white silhouette of an Apple product. All cards have a black back. There are two of each design, for a total of 48 cards. In the Apple Park Visitor Center store, they are arranged as a wreath floating on the wall. I took several photos showing how the wreath is constructed. In Apple’s display, they use a perfectly initiated wood ring with each card affixed with black doubled-sided tape.

Somewhat oddly, the display at the Apple Visitor Center (and the one I made to replicate it) includes 30 cards; however, the deck only includes 24 different designs. Thus, each color displays four unique designs and one duplicate. Since I was creating a near-reproduction of the display, I went with 30 cards.

Since I do not have the facilities or expertise to construct a perfect oak ring with angled cuts, I put my creativity and problem-solving skills to work to find a relatively inexpensive and widely available substitute that I could construct. For a while, I considered designing a 3-D printed ring in pieces, but a far lower-tech solution hit me one day: binder clips. Standing in for angled cuts in a custom oak ring, I decided to use binder clips affixed with foam tape. Since I didn’t want to permanently damage the Memory Cards, I affixed each card to the metal binder clip with rare earth neodymium magnets. (I used one of my sets of Buckycube magnets. Even though this product is no longer available in the USA, other neodymium magnets can still be purchased on Amazon and elsewhere.)

I began by making a template using the drawing features in Pages. I have included the template, materials/supplies list, and directions here if you wish to make your own version. I’m guessing most people could complete the project for $30–60, depending on many factors. The Apple Memory Cards cost $10 and the IKEA frame is $14.99, but the neodymium magnets can be expensive. If you are willing to use foam adhesive or some other adhesion method, your cost could come in far lower since the 2 main elements here are binder clips and the Memory Cards.

MATERIALS

SUPPLIES

  • X-acto blade
  • Metal ruler or straight edge
  • Post-It tabs or removable tape

DIRECTIONS

  1. Remove the clear plastic front from the IKEA frame. You will not use it for this project.
  2. Cut a strong backing for the frame on which you will mount the binder clips and cards. I used black foam core board from Staples, cut to size with an X-acto blade and metal ruler.
  3. Print the template. I used 11×17 paper, but you could also print it on 2 sheets of any size paper and tape it together.
  4. Cut out each rectangle with an X-acto blade. The template is used as a guide and will be discarded so the rectangle cuts do not need to be perfect—you just need to get the angles right so you can align the binder clips precisely.
  5. Remove the silver wires from 30 small binder clips. (I used black binder clips on my black background, but if I could have found 30 small white binder clips, I’d have used a white background.)
  6. Using a ruler and Post-It tabs, position the template exactly in the center of the backing. (You could use any removable tape for this, I had Post-It tabs on hand.)
  7. Using double-sided foam adhesive, stick each binder clip to the backing using the holes cut from the template. Make sure the angles and placement are precise. I used an X-acto blade to trim the double-sided foam adhesive to match the size of each binder clip.
  8. Assemble the frame with the binder clips facing up. (The front plastic/glass is not used.)
  9. Attach one card to each binder clip using a small neodymium magnet. The angle of the binder clips and the overlap of the cards will cover the binder clips when viewed from the front. (You could stick the Memory Cards to the binder clips with other methods; I chose magnets to not potentially destroy the cards.)
  10. Hang your new artwork!