Apple employee challenge cards (2019–2021)

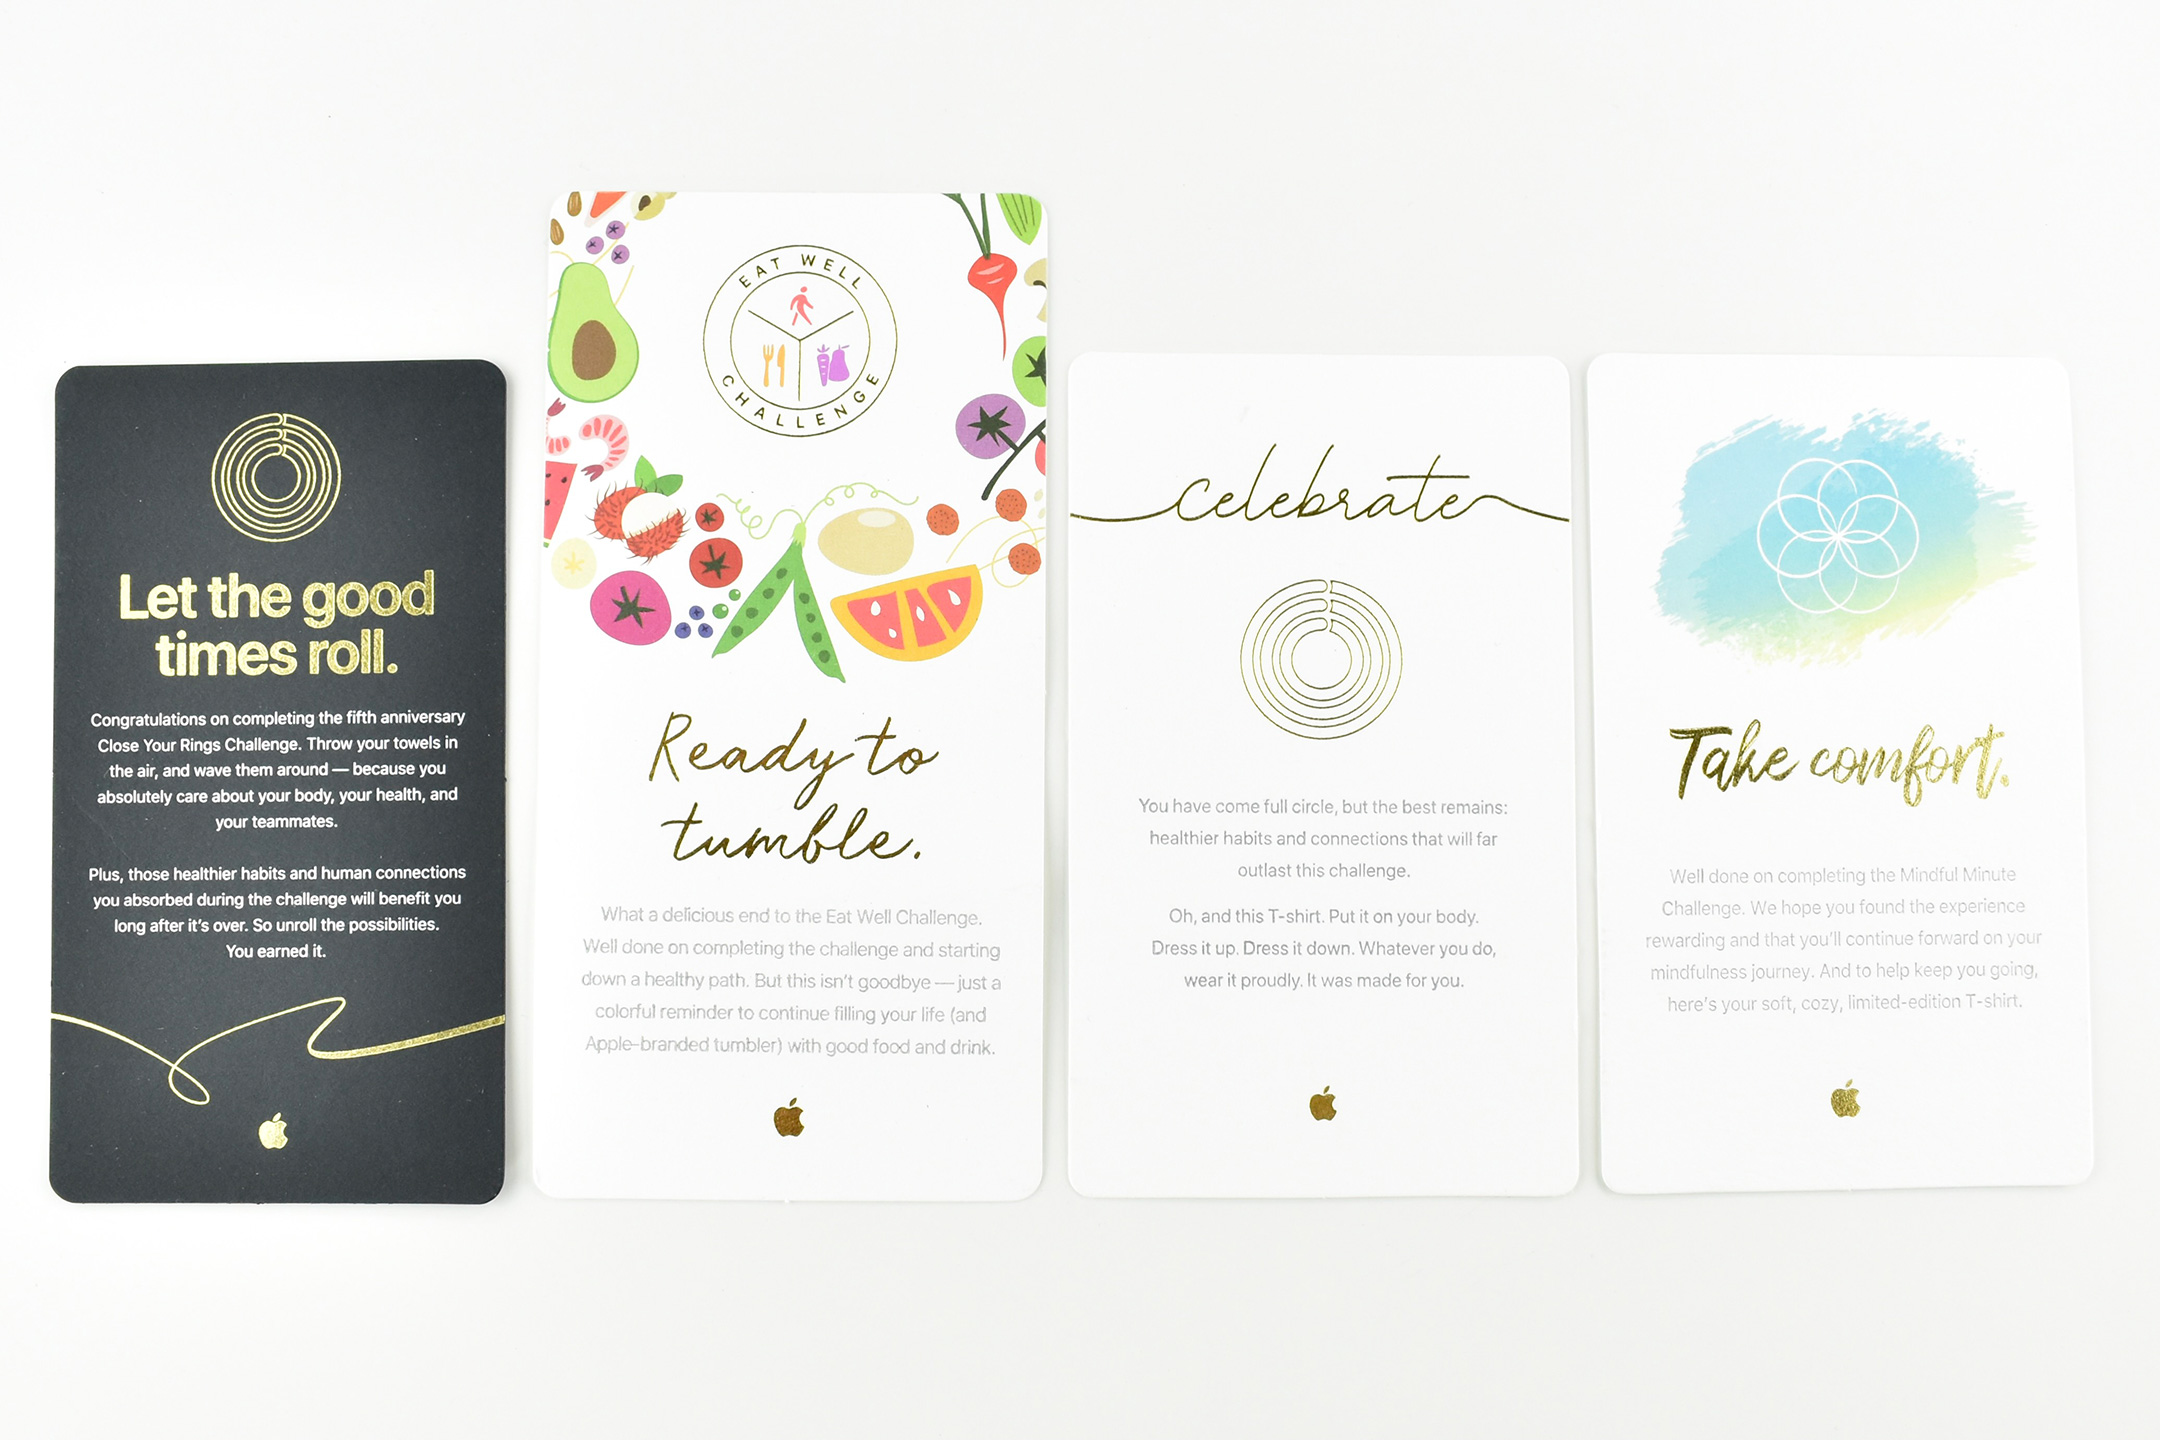
Apple challenge cards are sent to Apple employees who participate in company-sponsored events, usually with a gift to celebrate the accomplishment of successfully completing the challenge.

From left to right, the challenge cards include:

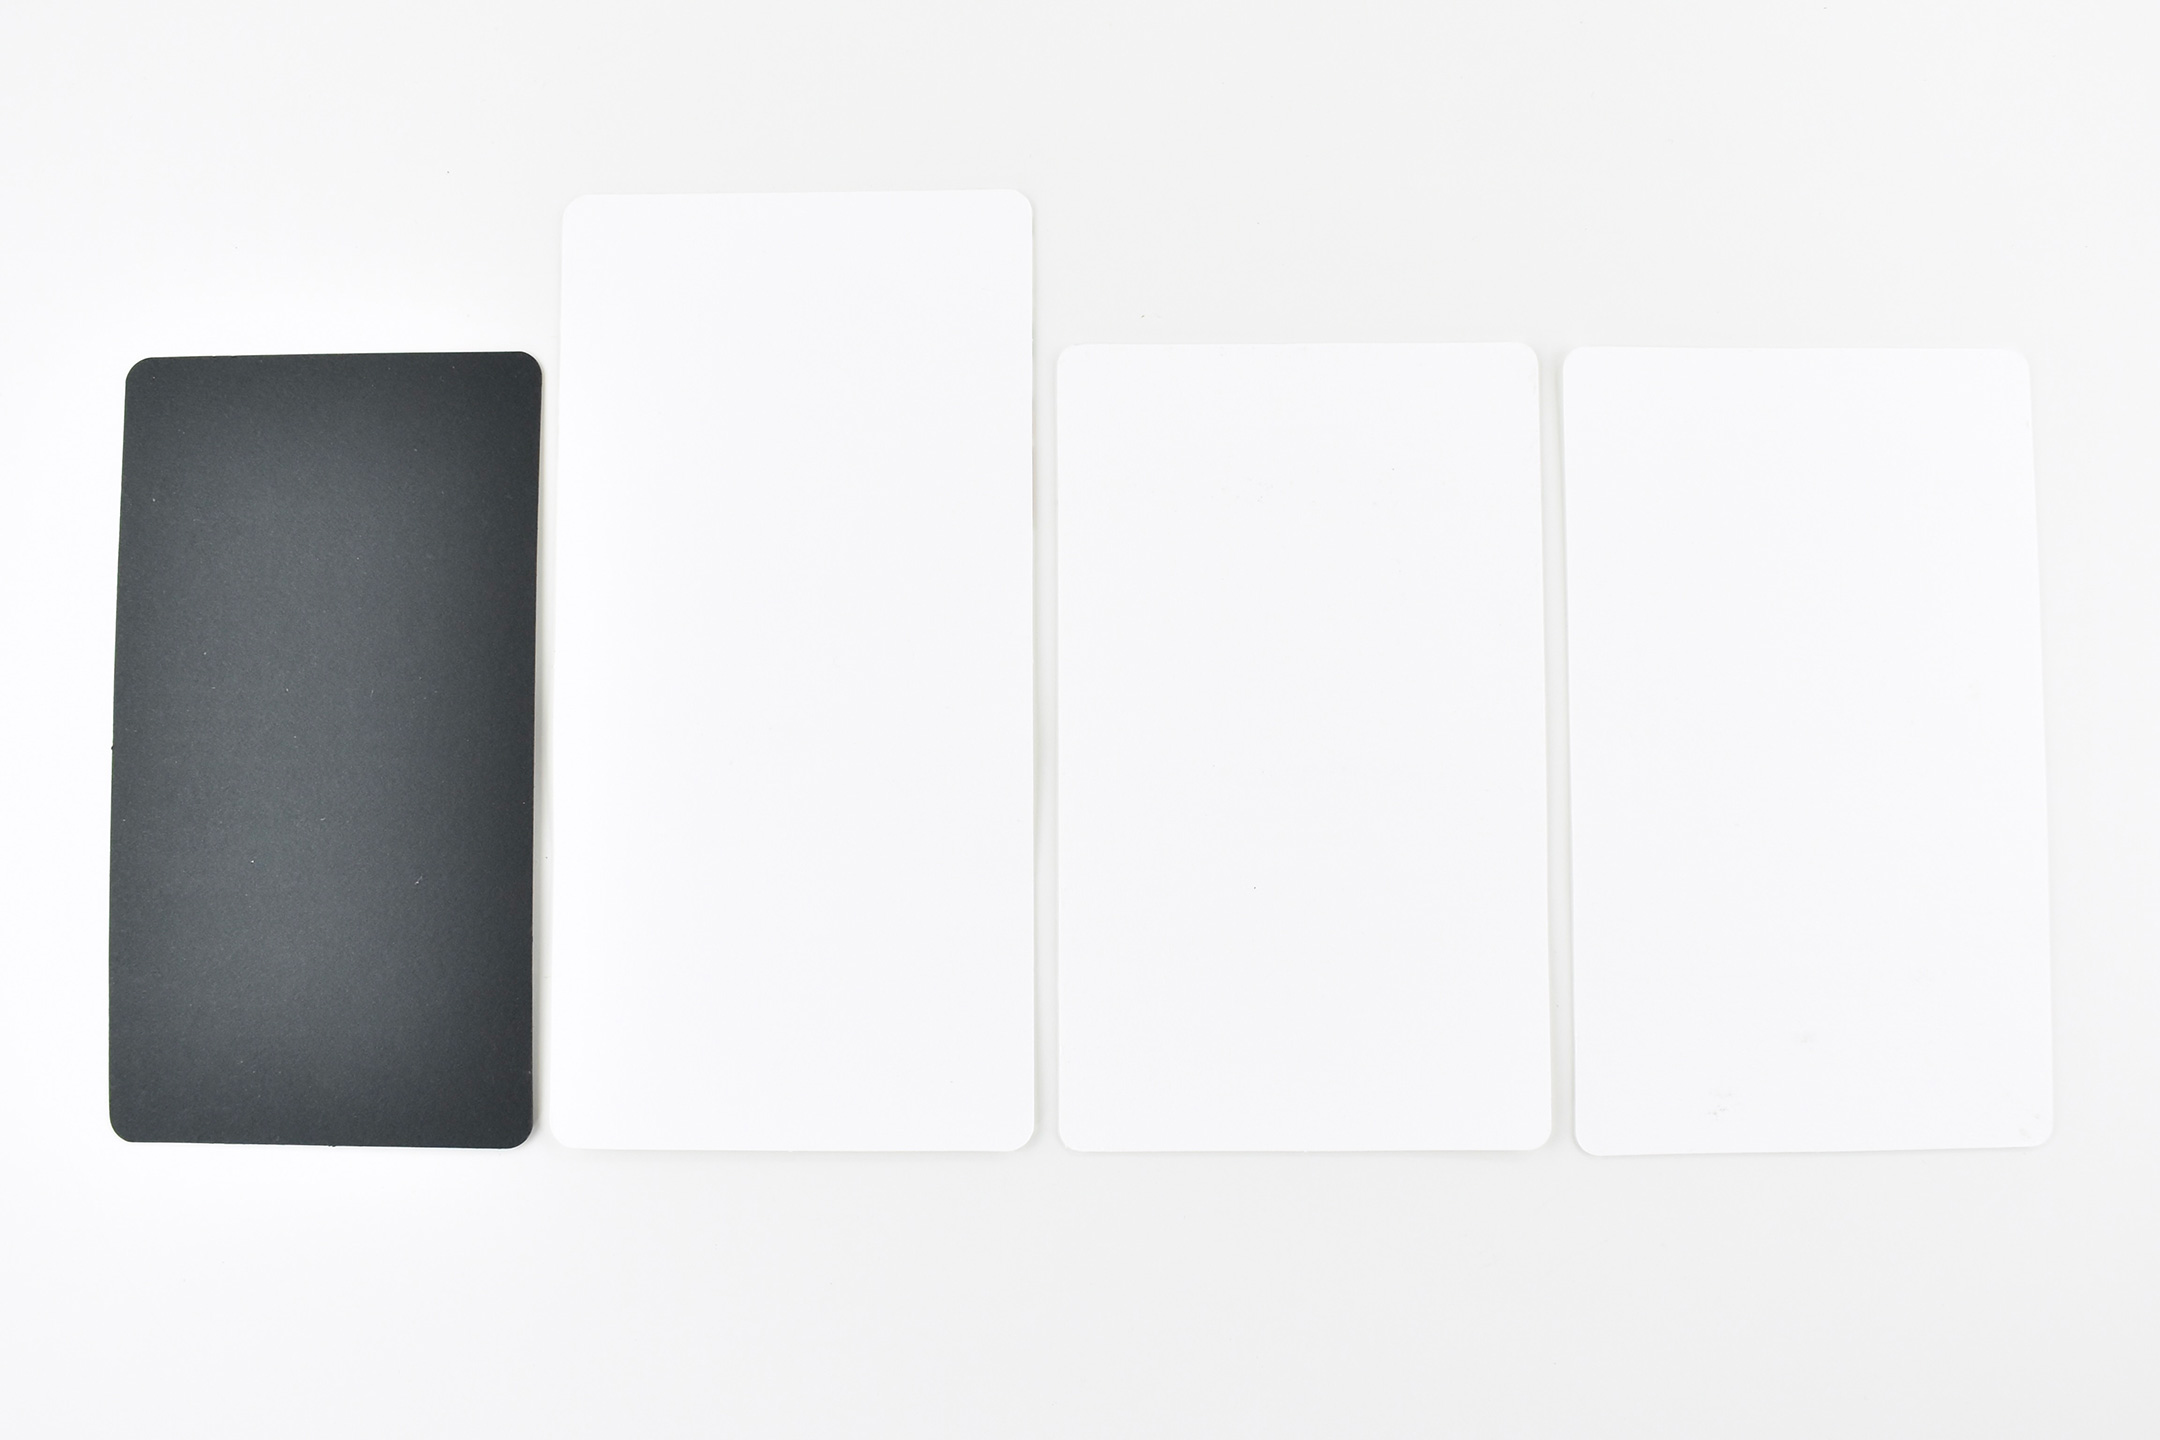
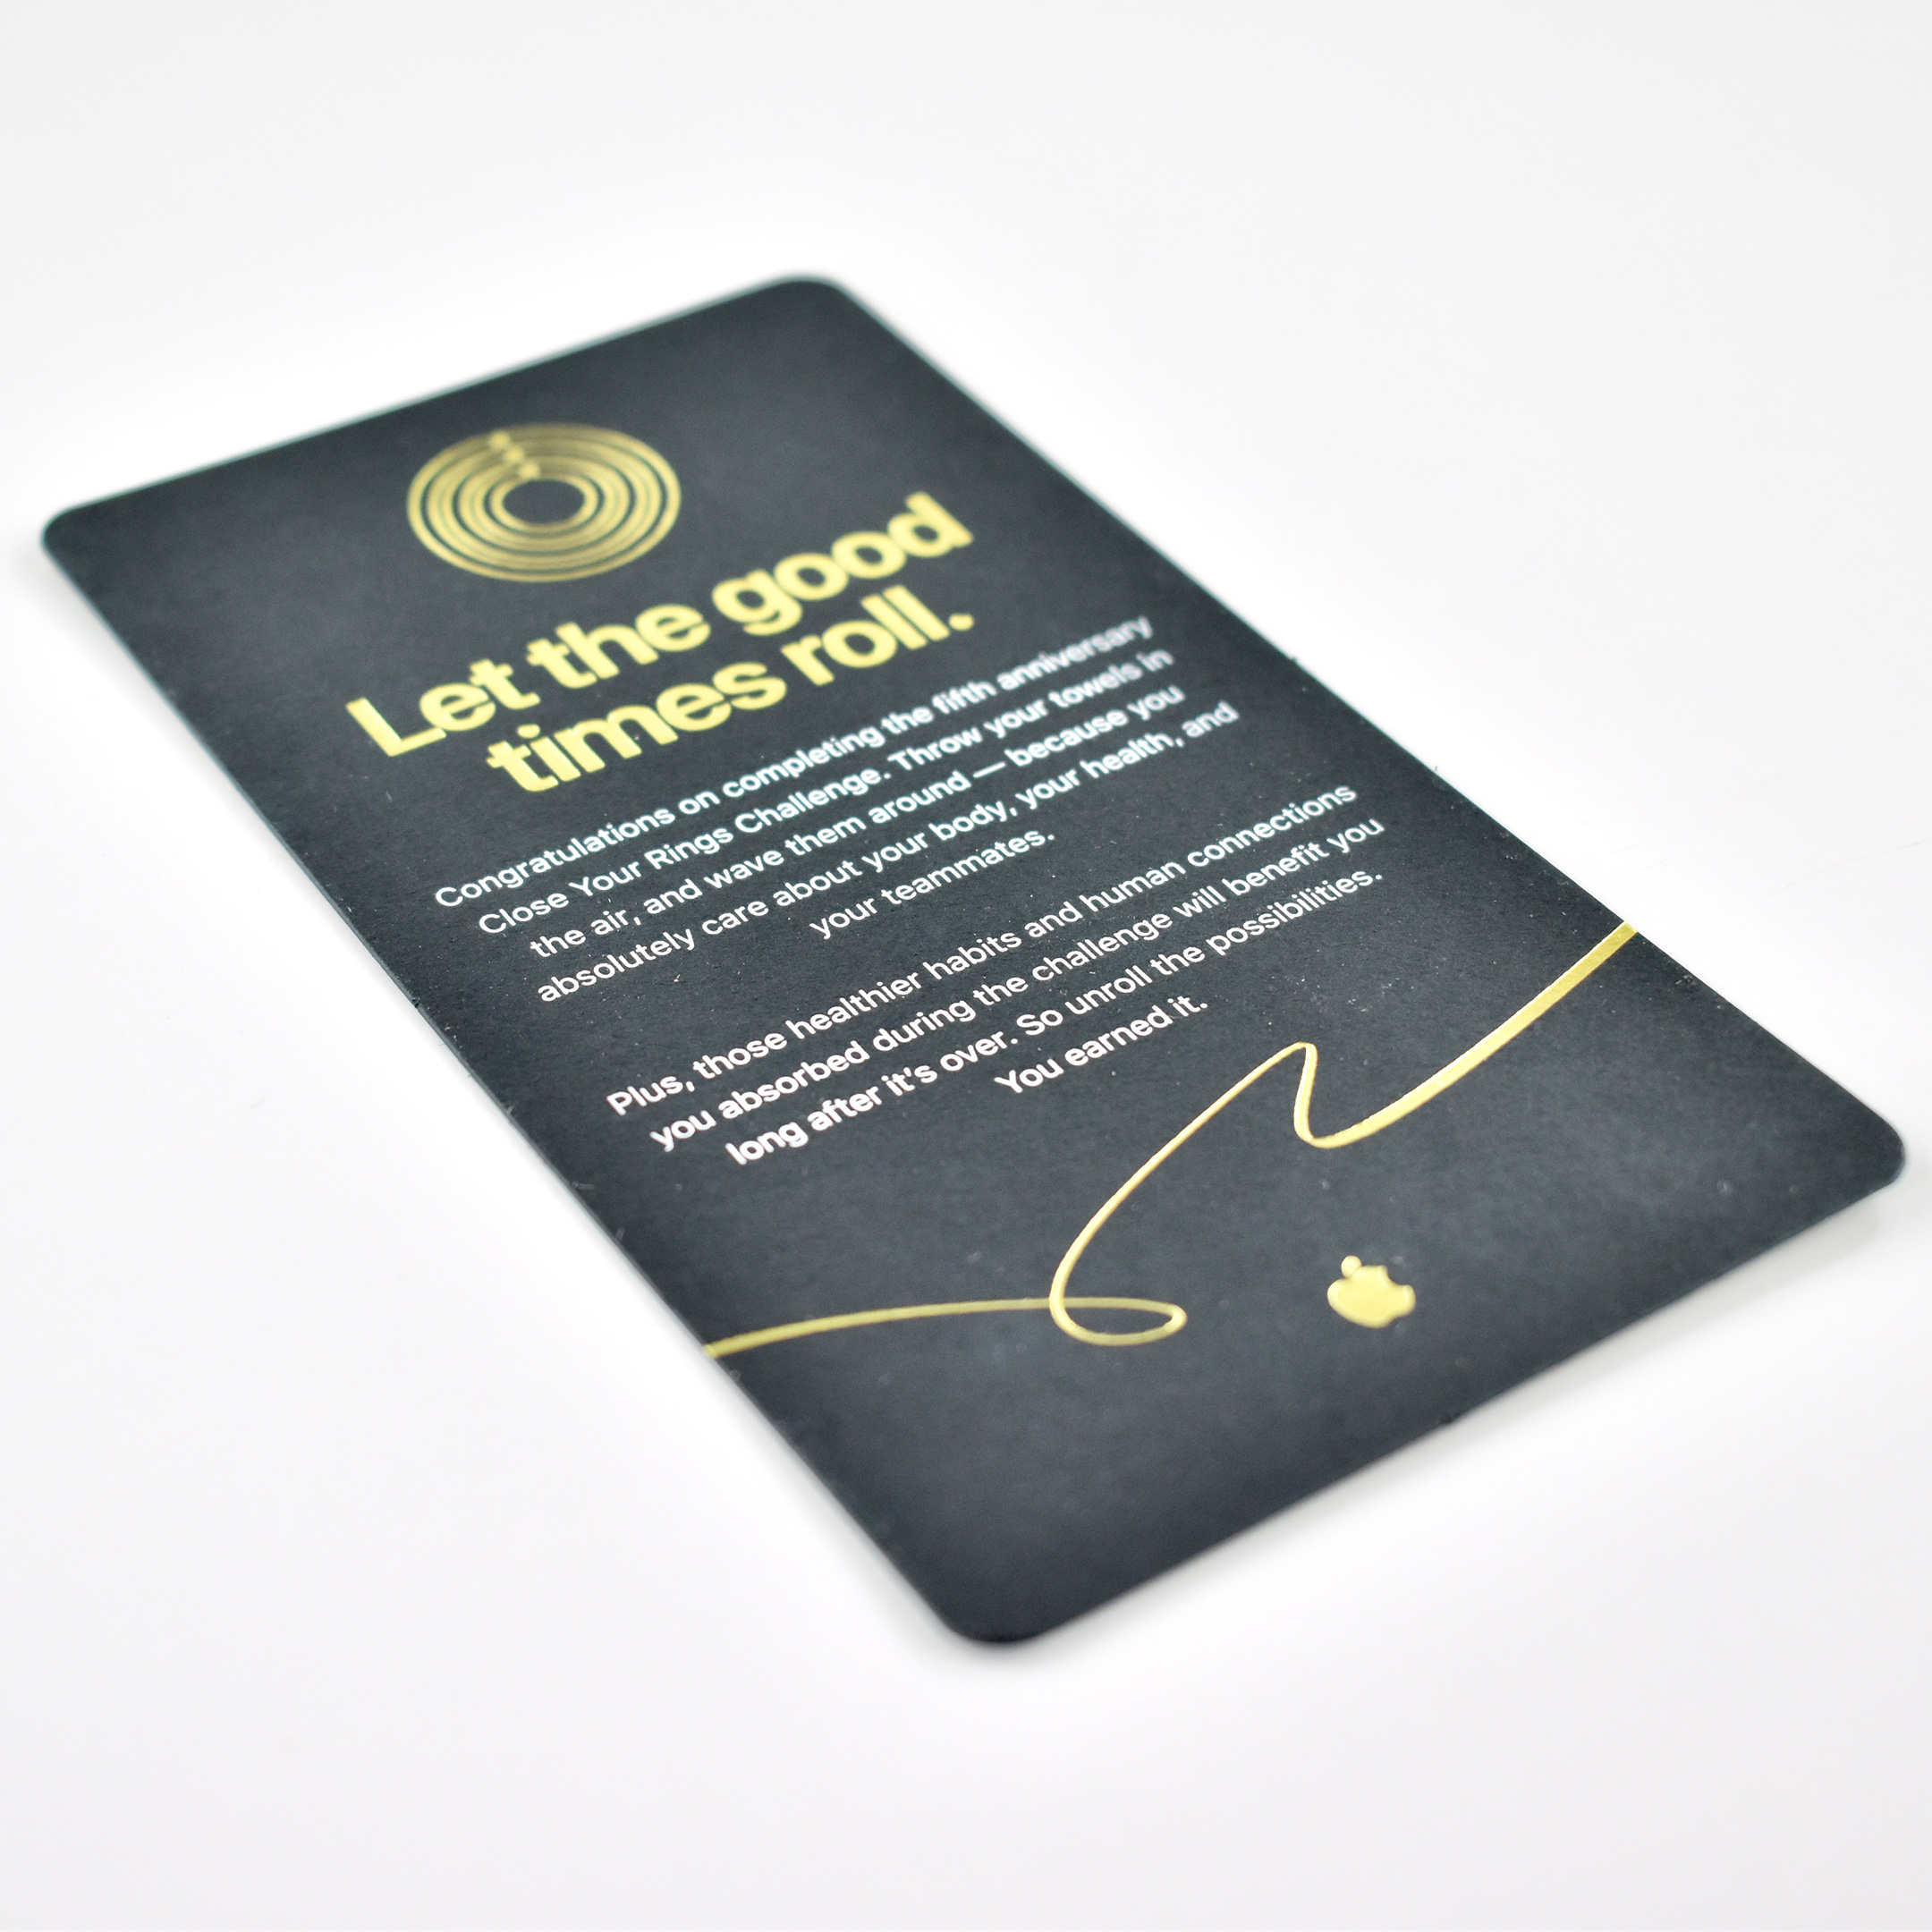
  • Let the good times roll.—Apple’s fifth Close Your Rings Challenge shipped with a set of black embroidered towels. (The black card measures 2.75 x 5 inches and is printed on light textured cardboard.)
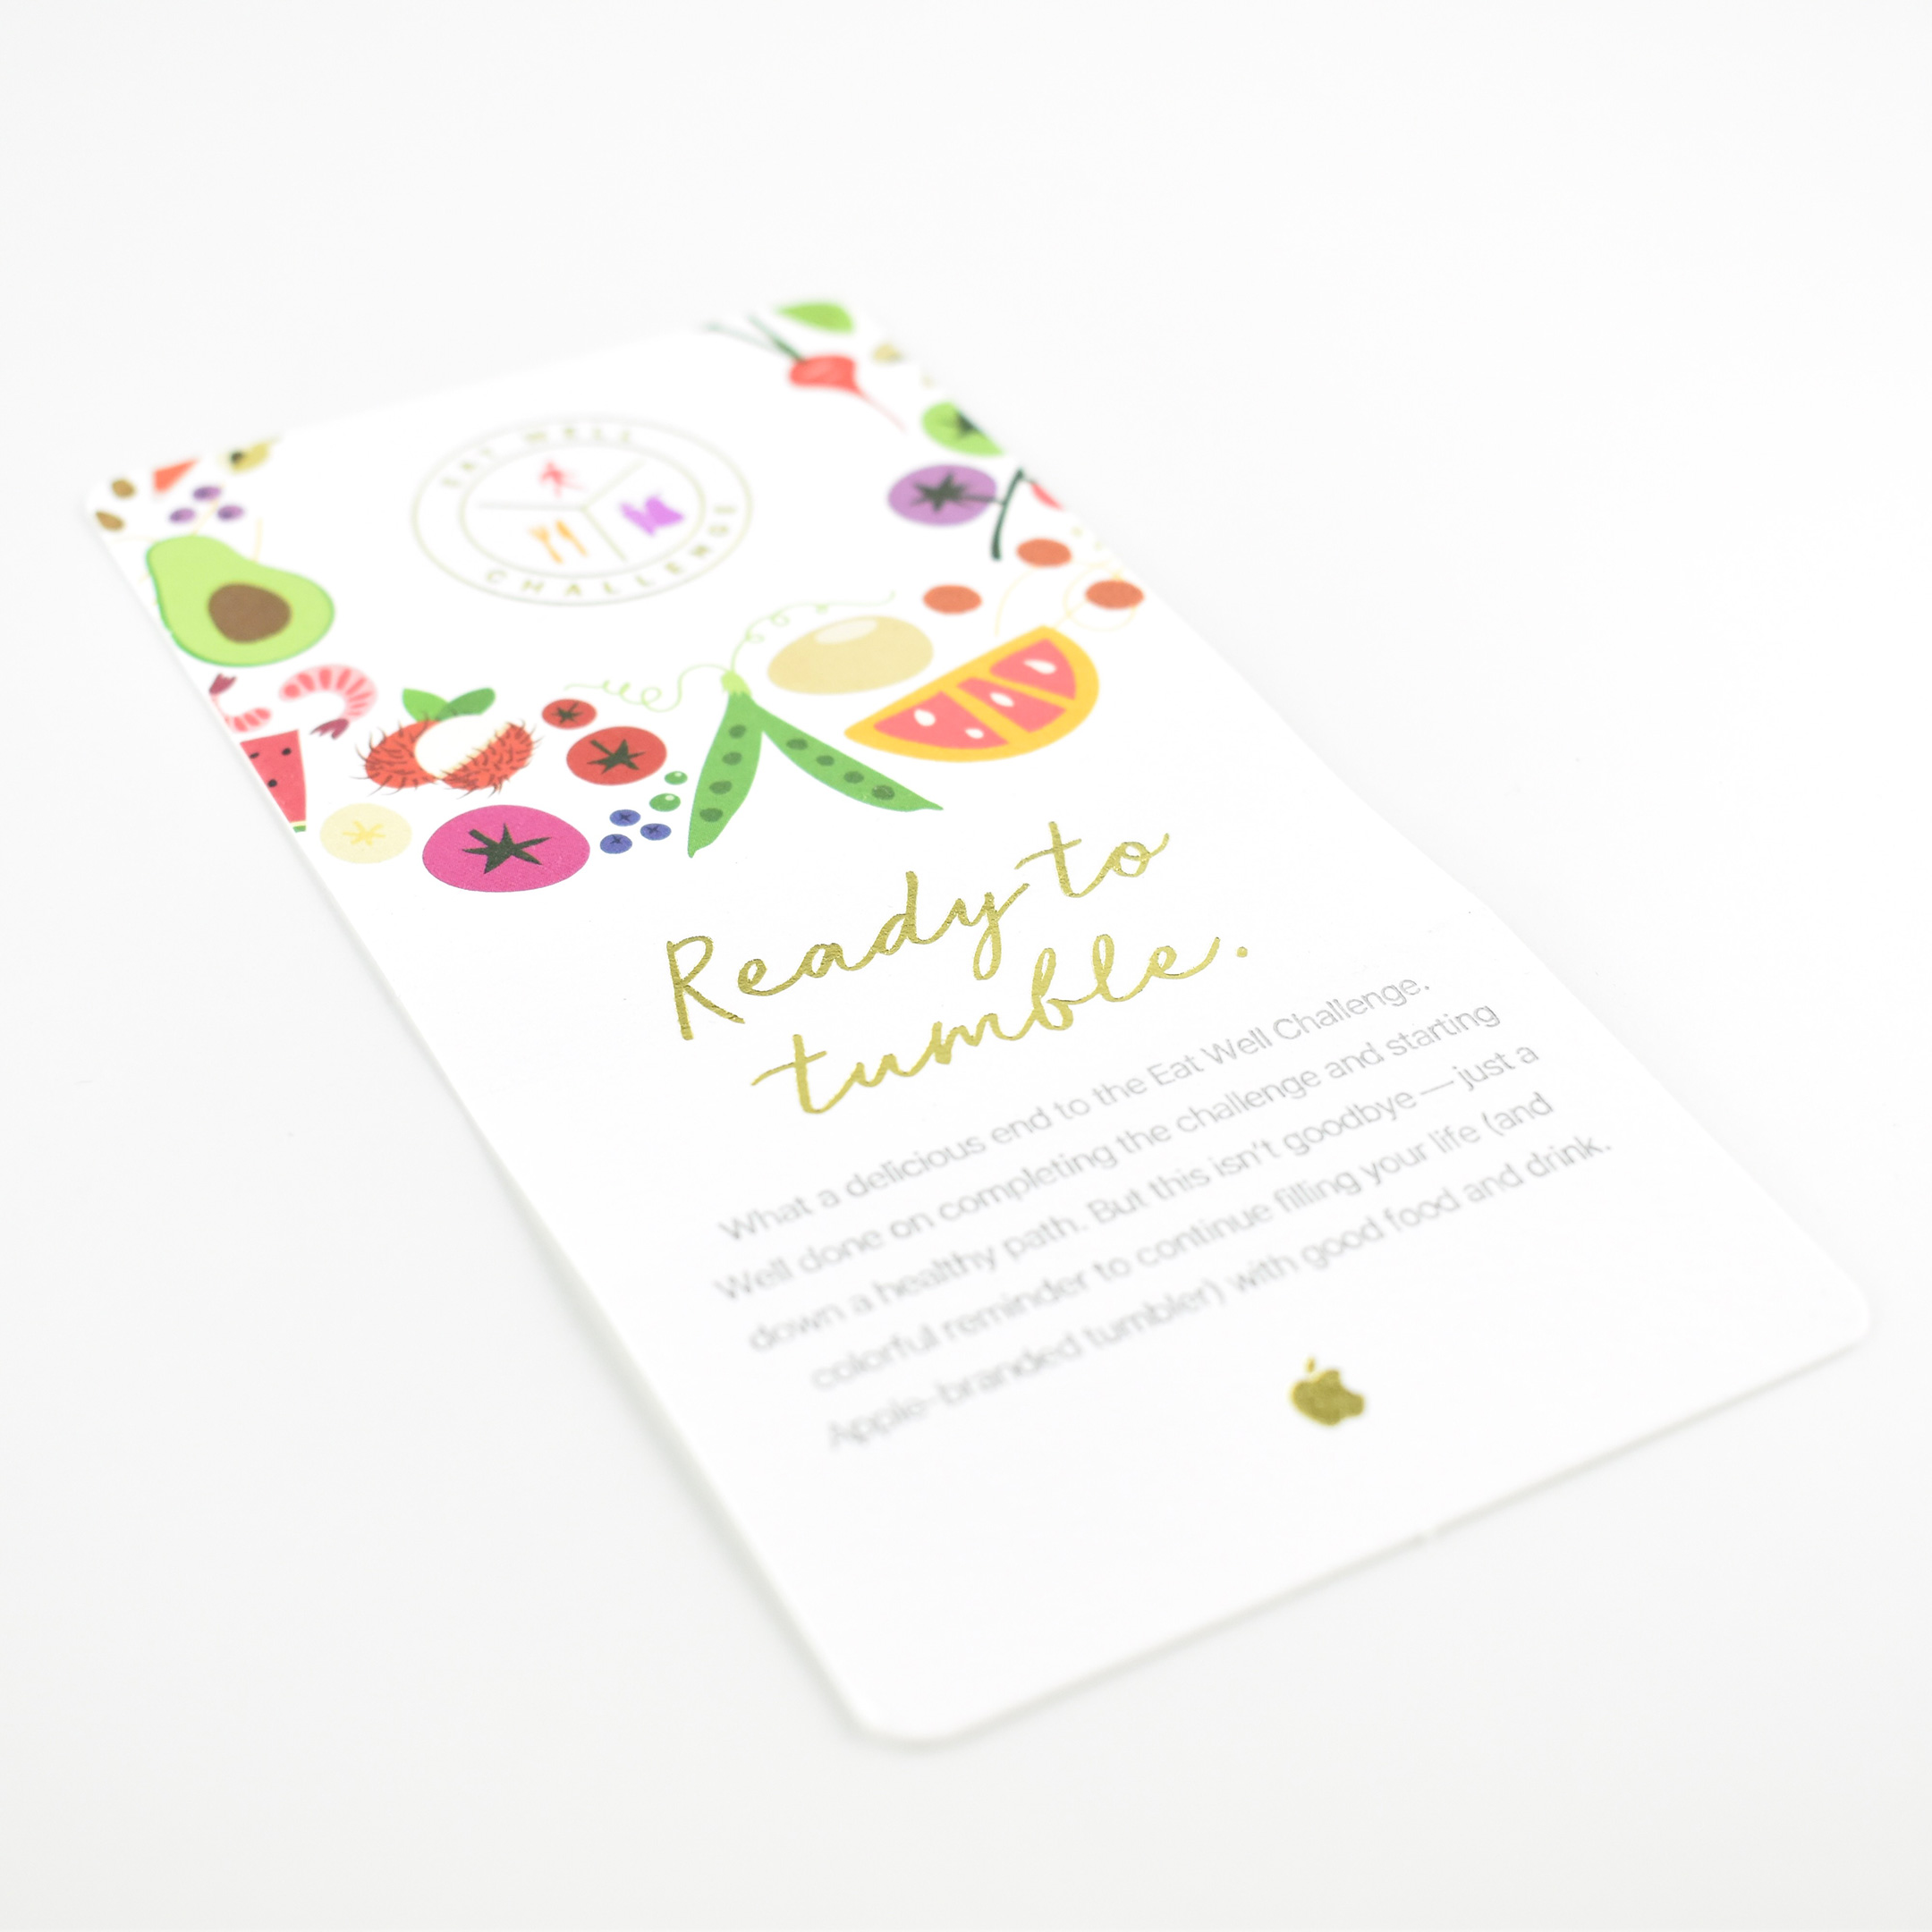
  • Ready to tumble.—Apple’s Eat Well Challenge shipped with an Apple-branded tumbler. (The card measures 3 x 6 inches and is printed on light textured cardboard.)
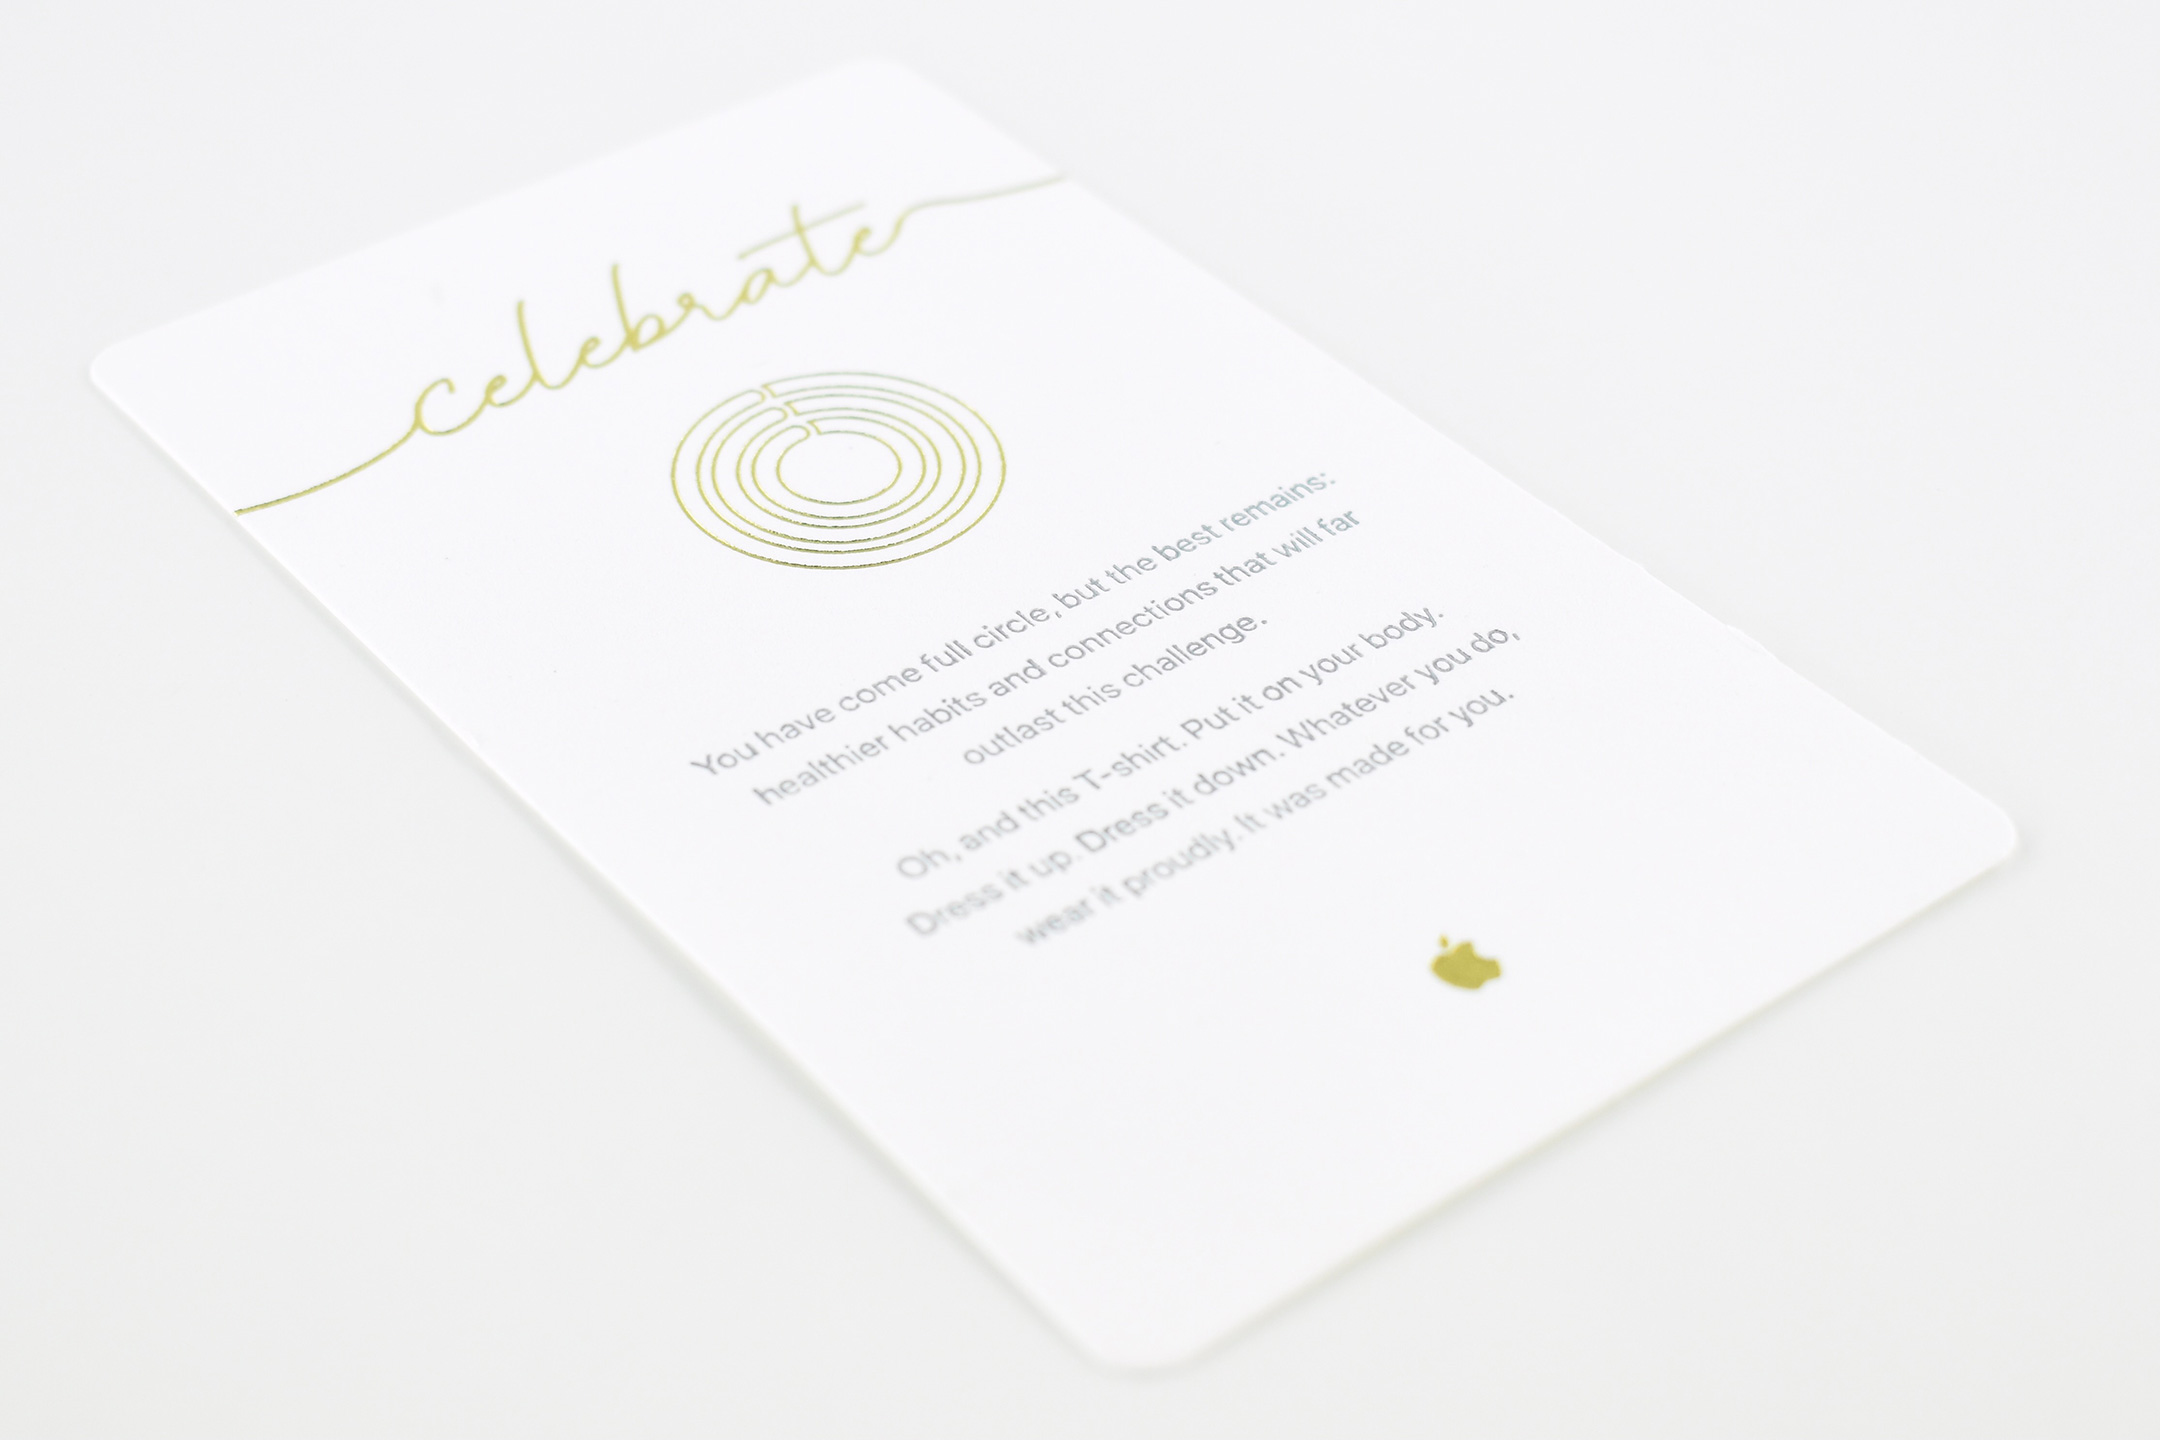
  • Celebrate—shipped with a t-shirt. (The card measures 3 x 5 inches and is printed on light textured cardboard.)
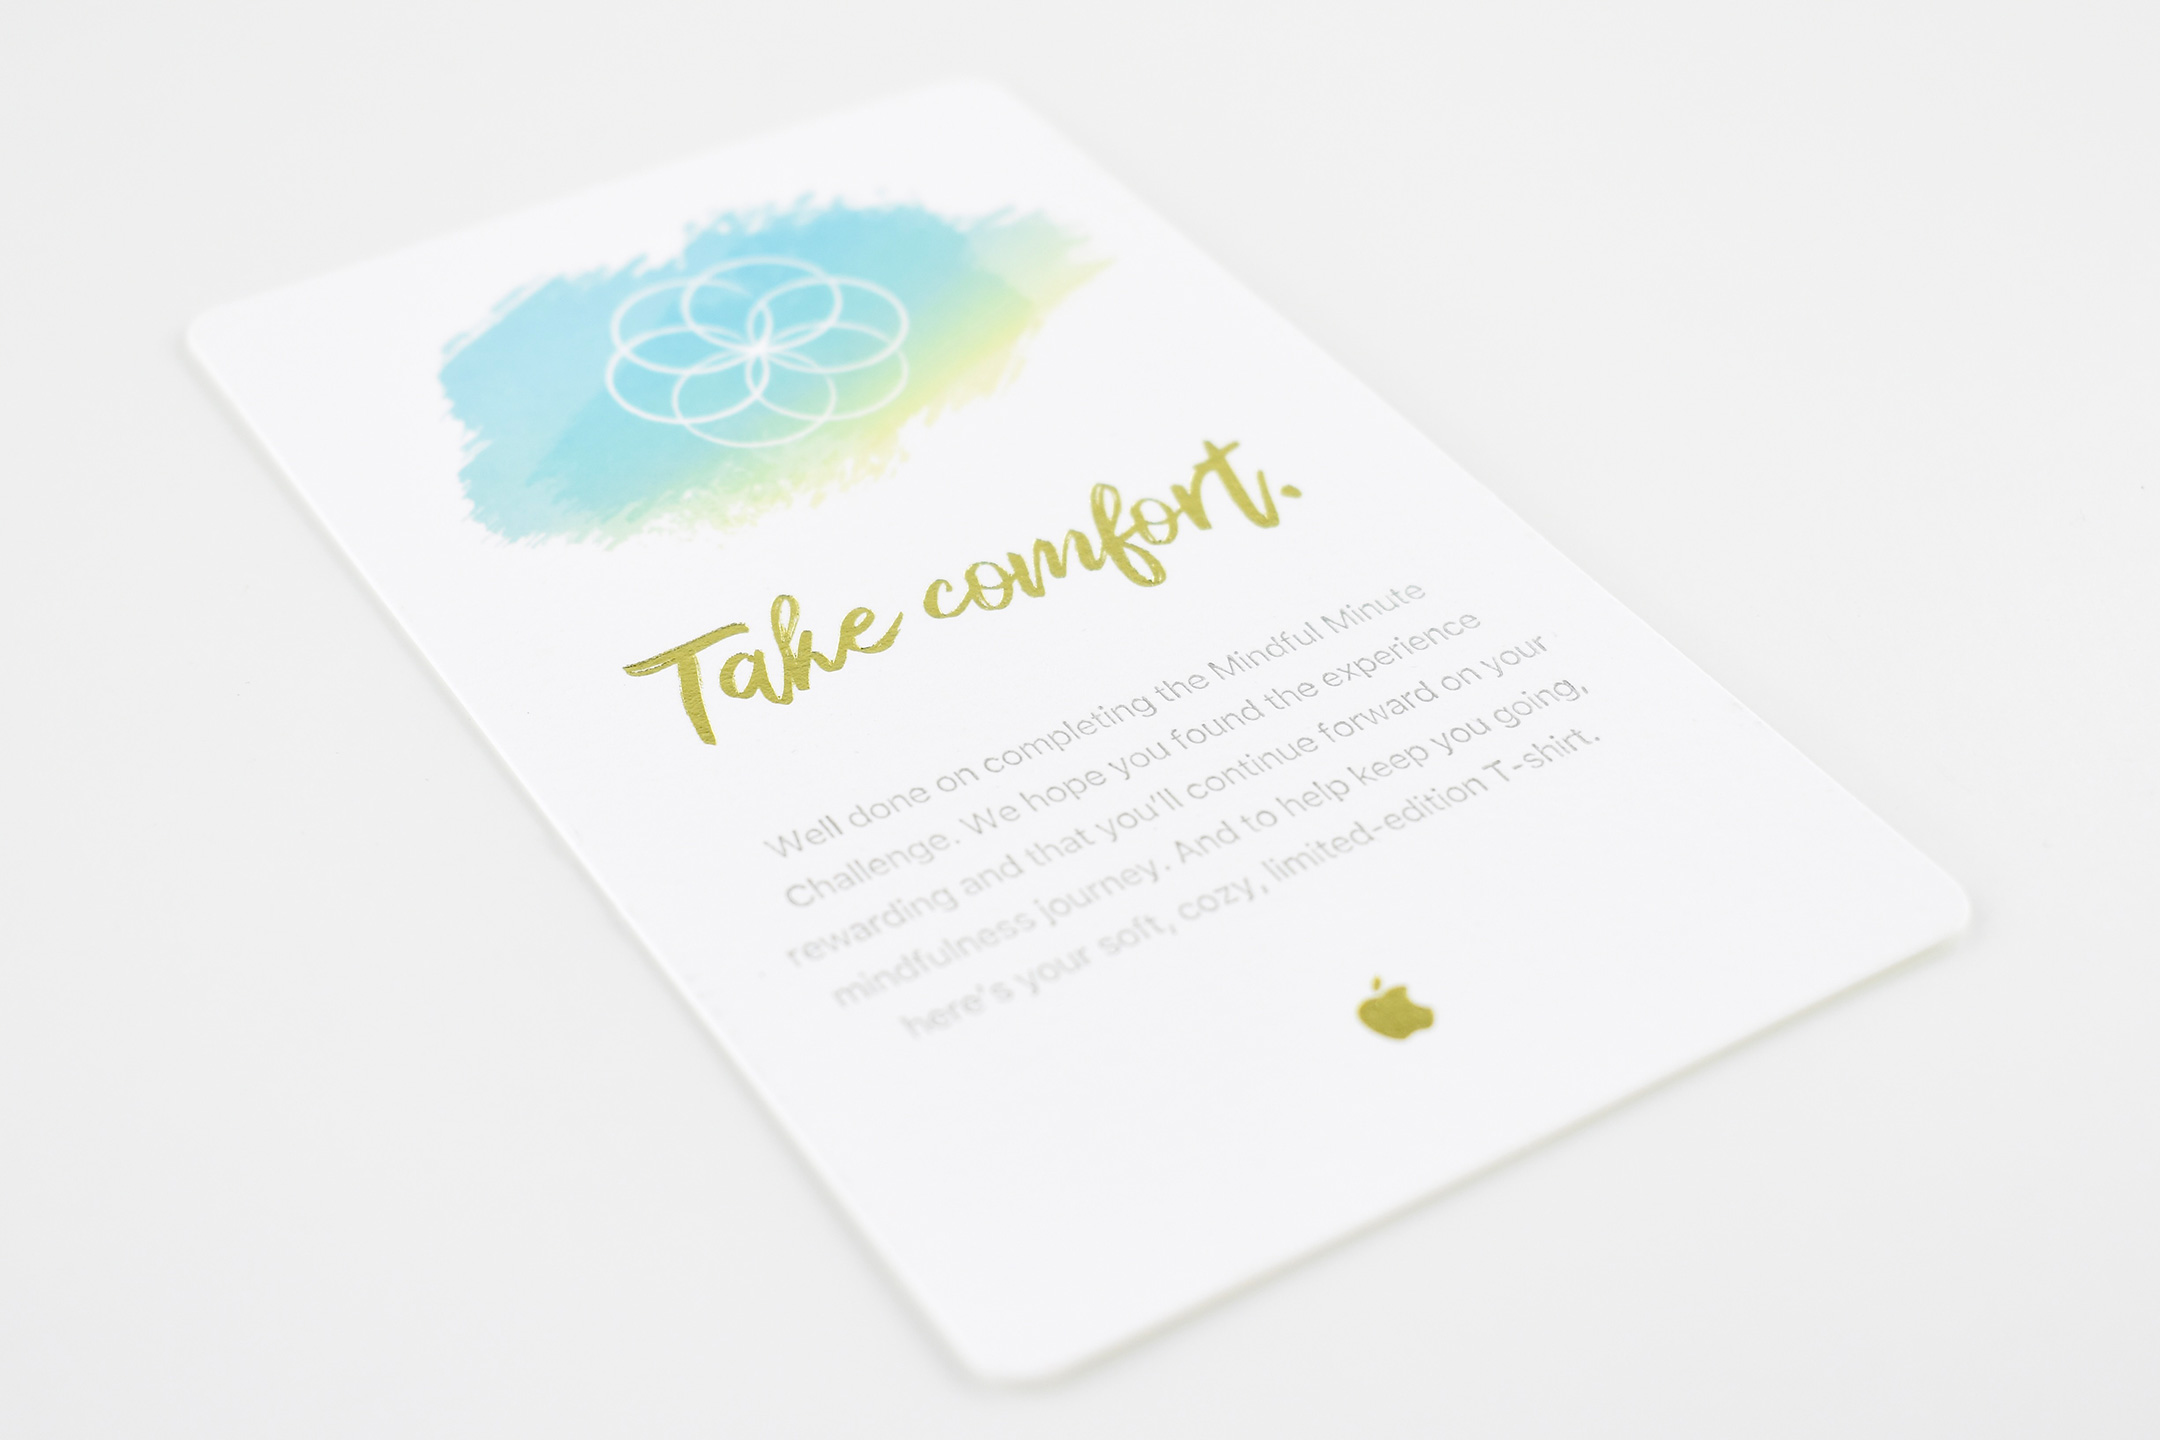
  • Take comfort.—Apple’s Mindful Minute Challenge shipped with a limited-edition T-shirt. (The card measures 3 x 5 inches and is printed on light textured cardboard.)

Plastic Coated Playing Cards (poker size, c. 1998)

These Apple playing cards feature Macintosh operating system imagery reminiscent of Mac OS 8 and the never-released Rhapsody operating system of the mid- to late-1990s. At the time, Mac OS 8 (beginning with Mac OS 8.5) used 32-bit icons and supported 24-bit color (16.7 million colors). The design of the playing cards uses the design aesthetic of the time, but the art does not appear pixelated.

The playing cards originally shipped in a plastic wrapper with a plastic pull that allowed for easy unwrapping. Although this deck is not sealed, photos of sealed decks show the plastic pull printed with “HOYLE,” the card manufacturer, in gold.

The deck contains 54 cards in four suits with two Jokers. Each suit is labeled traditionally as Ace, 2–10, Jack, Queen, and King. However, these cards to not use traditional suits of diamond (red ♦), heart (red ♥), club (black ♣), and spade (black ♠). Instead, the deck uses an alarm clock icon (red symbols), user profile icon (stylized face profile, red symbols), trash can icon (black symbols), and bomb icon (black symbols). The Jack, Queen, and King of each suit have a unique design, although each Jack holds a feather and wears a hat, each queen holds a flower and wears a two-pointed crown, and each king holds a sword and wears a three-pointed crown. The Joker is an original-style all-in-one Macintosh wearing a three-pointed jester hat.

The font used on the cards is similar to Chicago, the Mac OS system font of the time, but is more customized.

The card backs use all four suits in a repeating pattern and displayed primarily in red. The back center of each card features the multi-color Apple logo in a white circle.

Sources: Wikipedia (card deck, Mac OS 8), Worthpoint

Apple Memory Cards (2017)

When I first visited the Apple Park Visitor Center in December 2017, one of several displays caught my eye. The Visitor Center includes an Apple Store, one of only two Apple Stores that sells Apple logo items to the public. (The other Apple Store that sells Apple logo items is the Infinite Loop Apple Store; each location has a different selection of logo items.)

I was quite enamored by the Apple Memory Cards display at the Apple Park Visitor Center. The Memory Cards feature six colors with four designs, each with a white silhouette of an Apple product. All cards have a black back. There are two of each design, for a total of 48 cards. In the Apple Park Visitor Center store, they are arranged as a wreath floating on the wall. I took several photos showing how the wreath is constructed. In Apple’s display, they use a perfectly initiated wood ring with each card affixed with black doubled-sided tape.

Somewhat oddly, the display at the Apple Visitor Center (and the one I made to replicate it) includes 30 cards; however, the deck only includes 24 different designs. Thus, each color displays four unique designs and one duplicate. Since I was creating a near-reproduction of the display, I went with 30 cards.

Since I do not have the facilities or expertise to construct a perfect oak ring with angled cuts, I put my creativity and problem-solving skills to work to find a relatively inexpensive and widely available substitute that I could construct. For a while, I considered designing a 3-D printed ring in pieces, but a far lower-tech solution hit me one day: binder clips. Standing in for angled cuts in a custom oak ring, I decided to use binder clips affixed with foam tape. Since I didn’t want to permanently damage the Memory Cards, I affixed each card to the metal binder clip with rare earth neodymium magnets. (I used one of my sets of Buckycube magnets. Even though this product is no longer available in the USA, other neodymium magnets can still be purchased on Amazon and elsewhere.)

I began by making a template using the drawing features in Pages. I have included the template, materials/supplies list, and directions here if you wish to make your own version. I’m guessing most people could complete the project for $30–60, depending on many factors. The Apple Memory Cards cost $10 and the IKEA frame is $14.99, but the neodymium magnets can be expensive. If you are willing to use foam adhesive or some other adhesion method, your cost could come in far lower since the 2 main elements here are binder clips and the Memory Cards.

MATERIALS

SUPPLIES

  • X-acto blade
  • Metal ruler or straight edge
  • Post-It tabs or removable tape

DIRECTIONS

  1. Remove the clear plastic front from the IKEA frame. You will not use it for this project.
  2. Cut a strong backing for the frame on which you will mount the binder clips and cards. I used black foam core board from Staples, cut to size with an X-acto blade and metal ruler.
  3. Print the template. I used 11×17 paper, but you could also print it on 2 sheets of any size paper and tape it together.
  4. Cut out each rectangle with an X-acto blade. The template is used as a guide and will be discarded so the rectangle cuts do not need to be perfect—you just need to get the angles right so you can align the binder clips precisely.
  5. Remove the silver wires from 30 small binder clips. (I used black binder clips on my black background, but if I could have found 30 small white binder clips, I’d have used a white background.)
  6. Using a ruler and Post-It tabs, position the template exactly in the center of the backing. (You could use any removable tape for this, I had Post-It tabs on hand.)
  7. Using double-sided foam adhesive, stick each binder clip to the backing using the holes cut from the template. Make sure the angles and placement are precise. I used an X-acto blade to trim the double-sided foam adhesive to match the size of each binder clip.
  8. Assemble the frame with the binder clips facing up. (The front plastic/glass is not used.)
  9. Attach one card to each binder clip using a small neodymium magnet. The angle of the binder clips and the overlap of the cards will cover the binder clips when viewed from the front. (You could stick the Memory Cards to the binder clips with other methods; I chose magnets to not potentially destroy the cards.)
  10. Hang your new artwork!